Sadly, things just don’t last forever. With our house being nearly thirty years old, many of the existing features are wearing out and needing to be replaced. Last fall, the carpet in the living room and dining room was replaced with maple hardwood flooring, making a big change to front part of the house. A big improvement!
The next big project on my list was to replace the retaining wall and landscaping in our front yard. Interlocking retaining wall blocks, when originally designed, were meant to last about 20 years. Our wall was built in 1989 and was definitely showing its age. Over the past five years, several of the blocks had deteriorated. When a block in the center of the wall would break down, I would remove it and transfer a block from the ends of the wall, covering the gap in the exposed ends with landscape rock. This strategy worked for a while. But ultimately, I could no longer postpone replacing the wall. Too many of the blocks were now crumbling.
So, over the winter I designed my new wall, sought estimates from contractors for removing and replacing the old wall, and had everything set to go when spring arrived. On May 2nd, I started working on prepping the yard for the contractor to come. This involved relocated as much of the landscaping rock as I could dig out, and moving my perennials to our back yard in an attempt to save them for replanting in the new landscaping.
The contractor started on May 11th, with the removal of four large trees and the existing retaining wall. The following Monday, he started to dig out for the new wall. Unfortunately, it started to rain mid-afternoon. . . and continued to rain for the next ten days. Every day, the contractor would come and pump out the water hoping that he could start working on building the wall. But, ever day the rain continued to fall.
Finally, when he was able to start, it was just before Memorial Day. So, our wall, which was supposed to be completed by May 20th, wasn’t done until June 2nd. And, to top off my frustration, the contractor kept making changes to the shape of the wall. Some of the changes I accepted, because to redo them would have set the project back several more days. So, every change in the wall meant a change in the plant design that I had been planning.
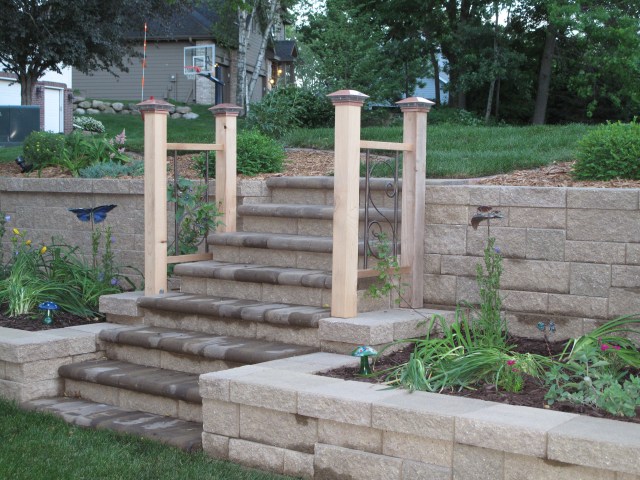
After the contractor was done, I was able to take over. Shrubs were planted, perennials transplanted from the back yard to the new front yard, mulch spread, brick edging placed around all of the planting areas, and black dirt spread over the yard areas. A large maple tree was planted by Arbor Hills Tree Farm (glad I was home the day that they came as it was amazing to watch them dig and plant the tree in less than thirty minutes). After having part of our front sidewalk replaced and new sod installed, the project was done.
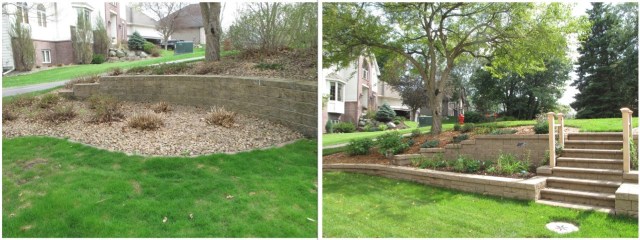
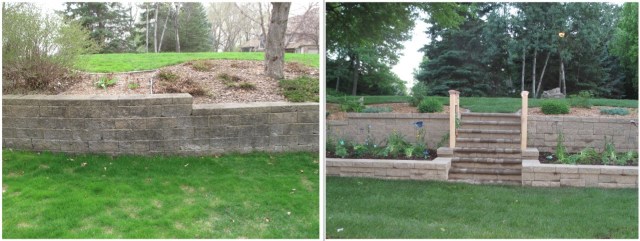
After adding some decorative elements, my front yard is now complete. So, here are some before and after pictures as well as a short video of the project.


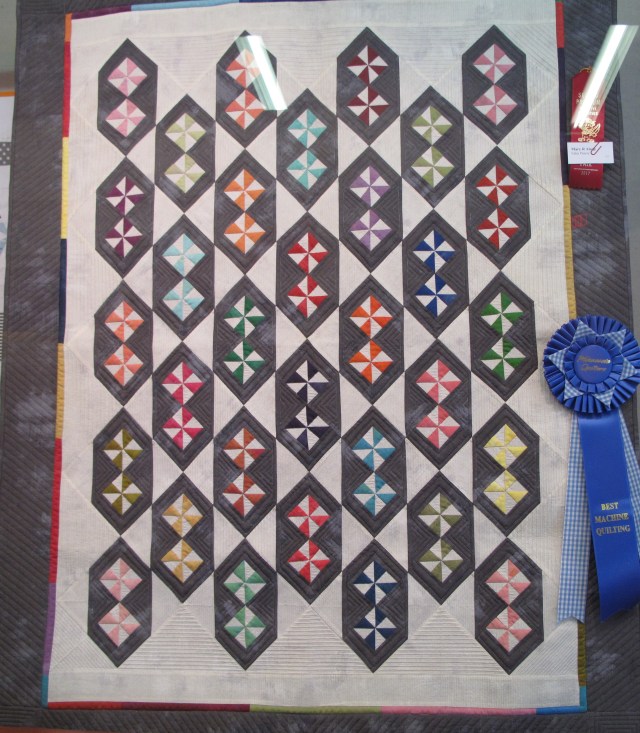
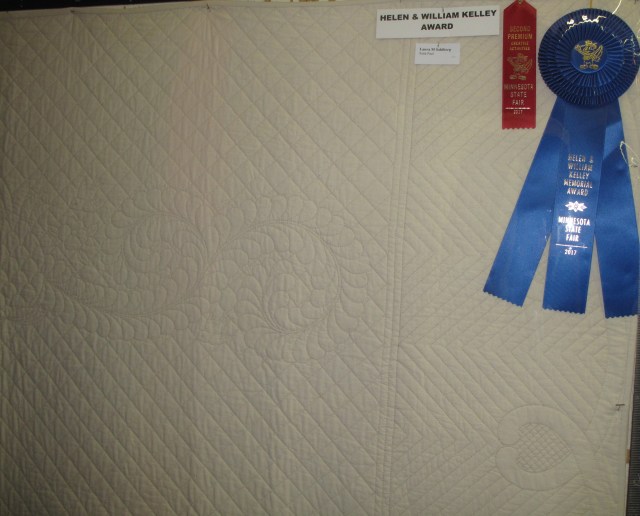
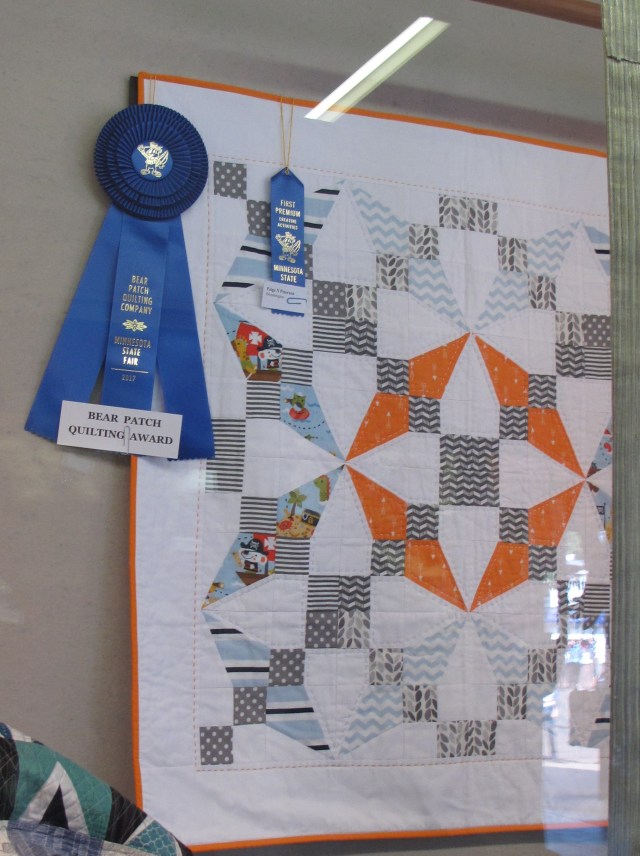
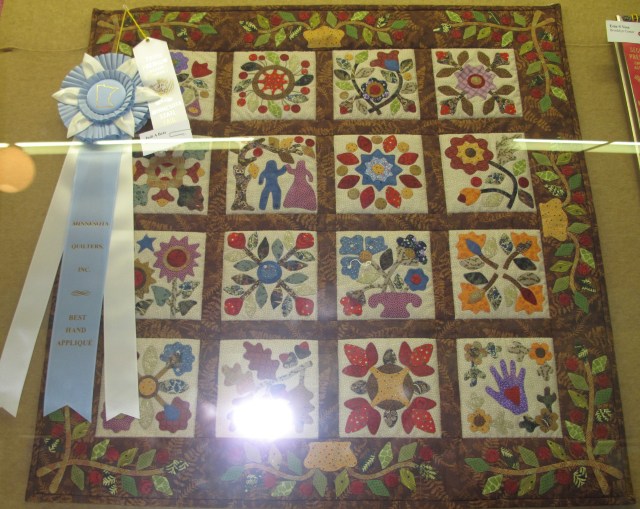
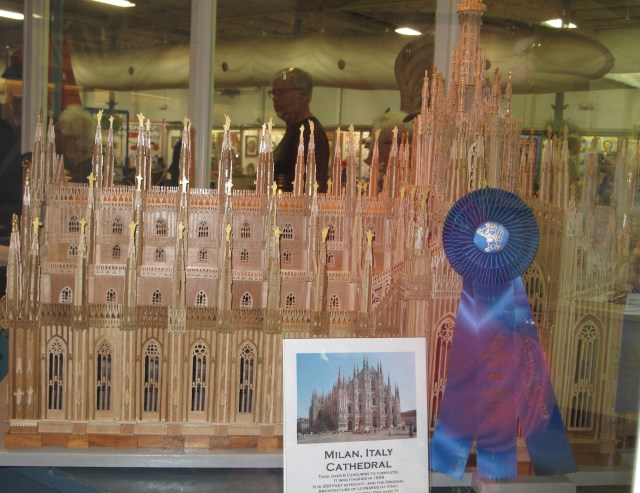
 It’s Fair time in Minnesota. Most people who post fair pictures on social media that show the many foods eaten at the fair. Today, when I went to the fair, I actually didn’t eat anything, although the food did smell really good! But, I did spend a couple hours looking at the projects in the Creative Activities Building. Lots of wonderful craftsmanship on display.


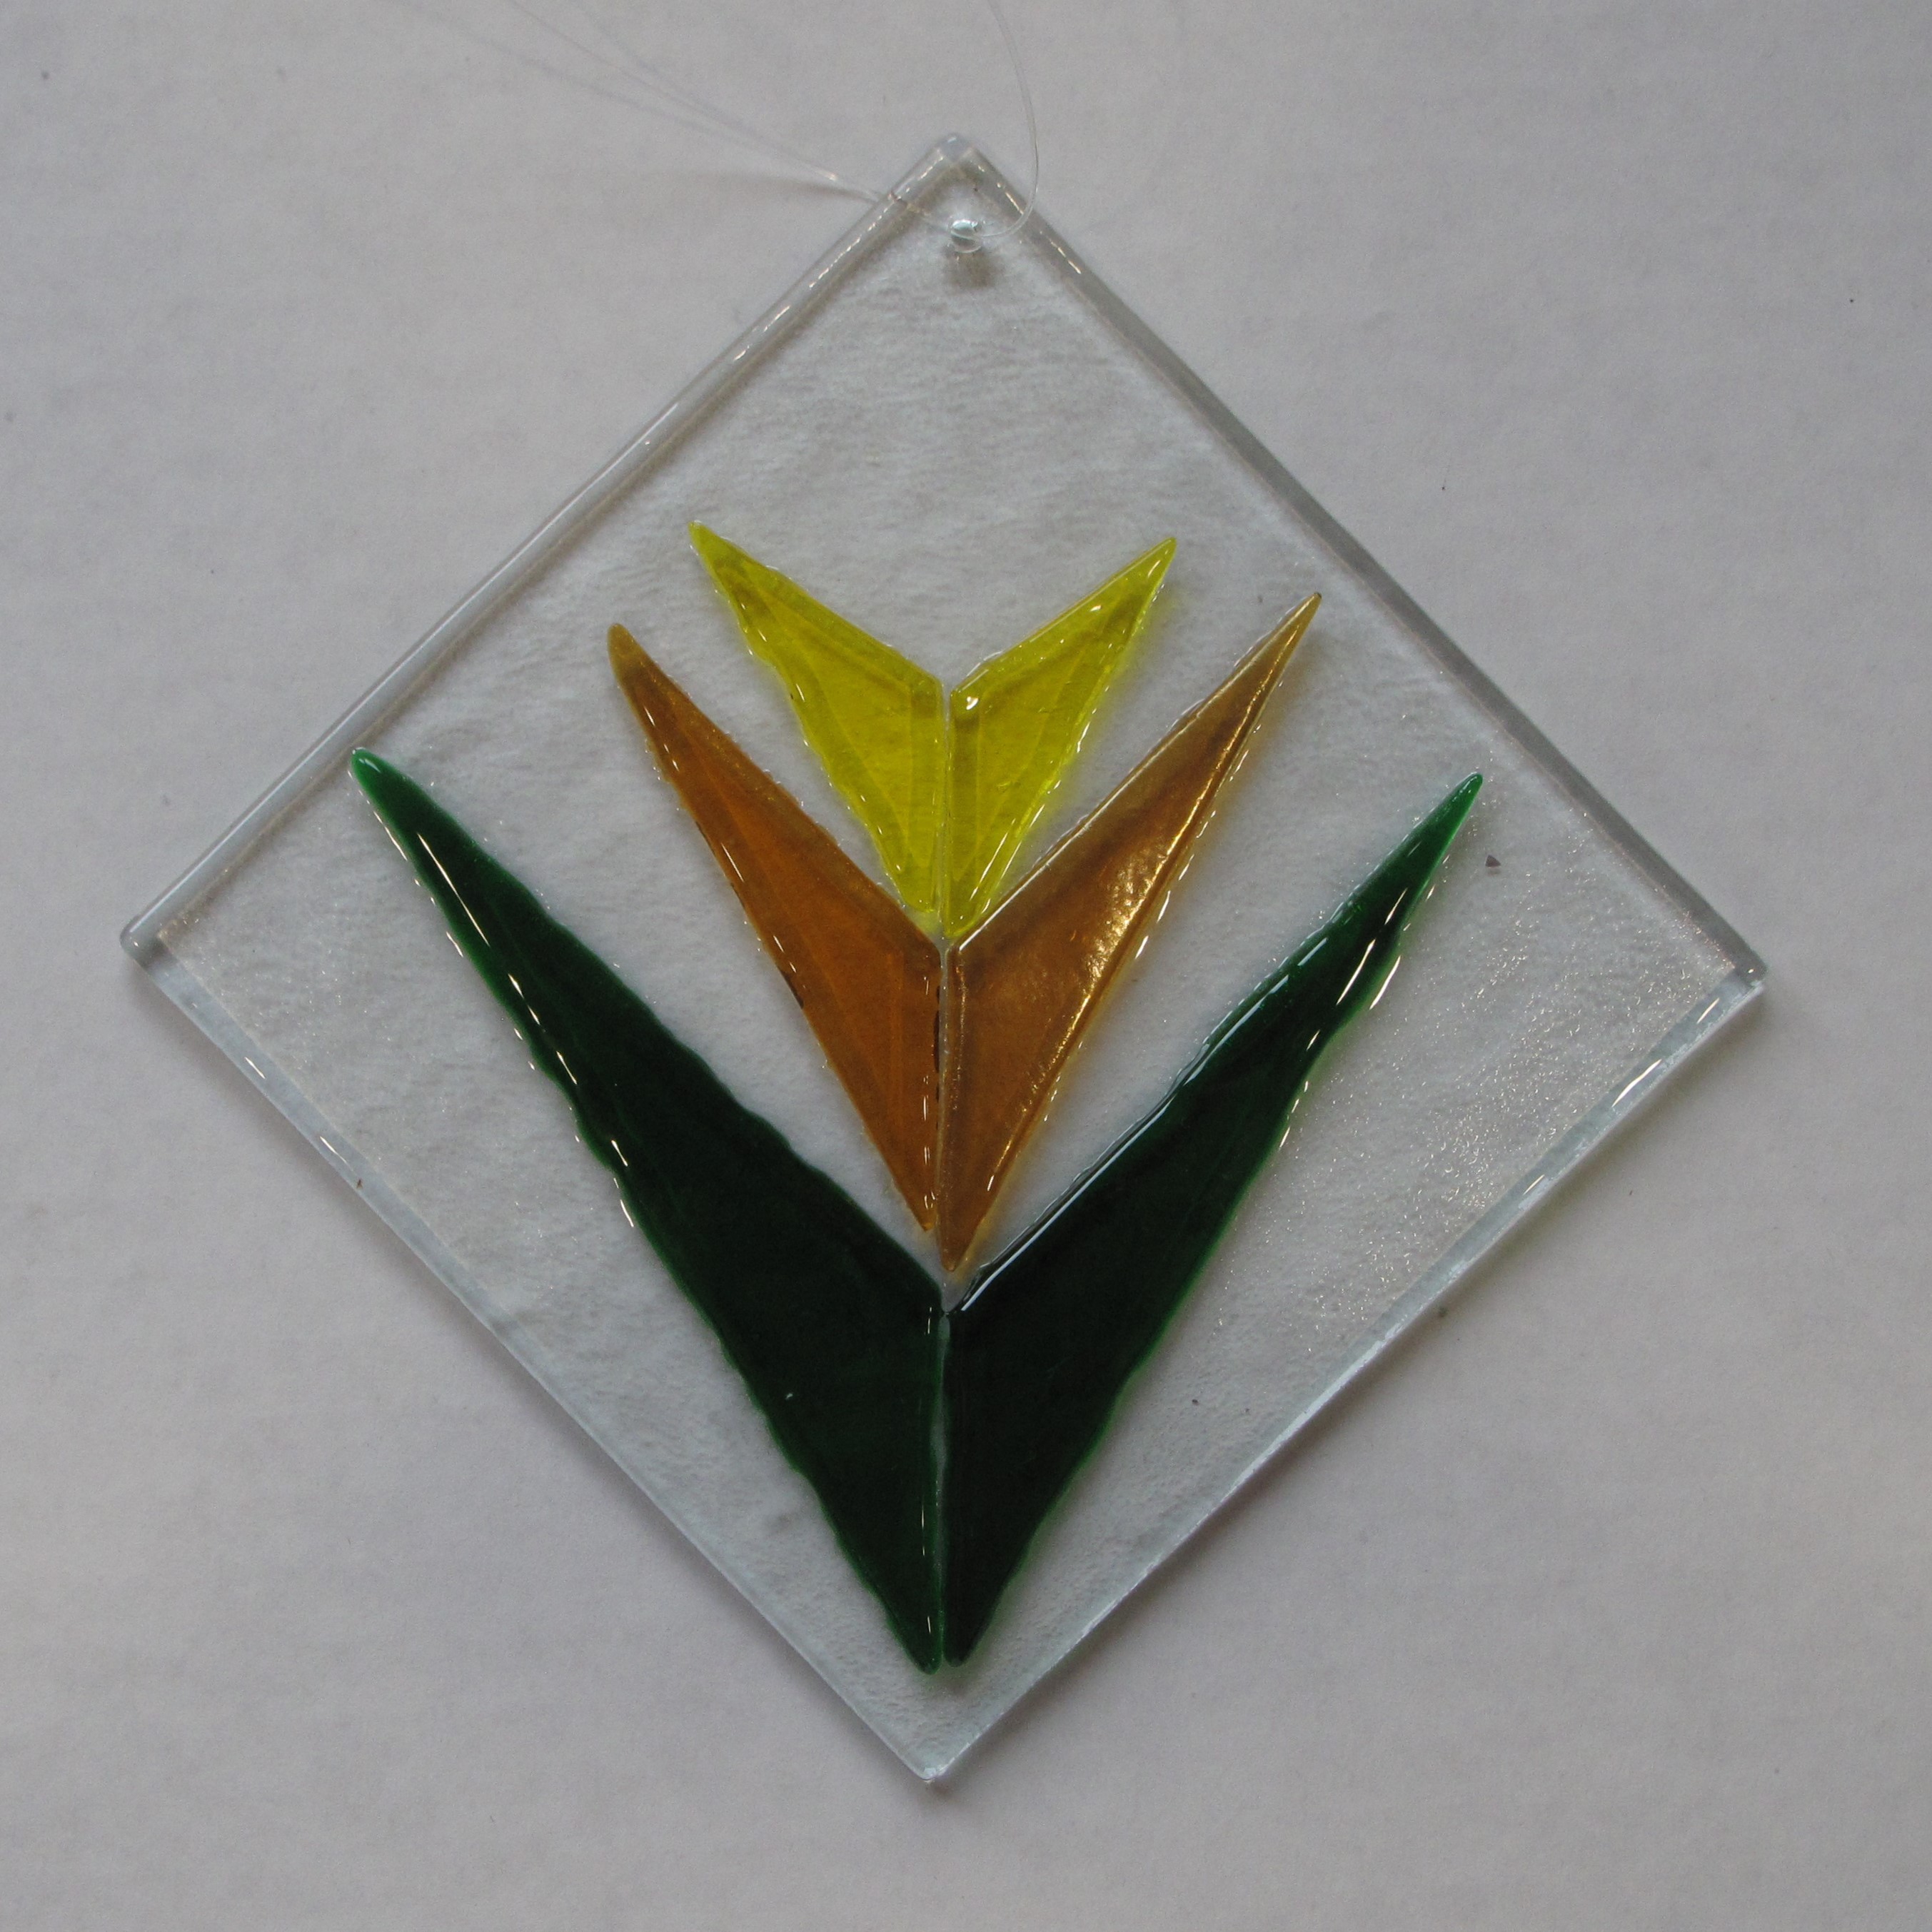
 The first one I made was a circular stone. After cutting the glass, I used contact paper to hold the glass pieces in place. To hold the contact paper in the mold, I used spray adhesive. After mixing and carefully pouring the stepping stone concrete, I let the mold cure for two days. Unmolding was rather difficult, but once I did get the concrete out, I was really pleased with the result.