While staying in South Carolina, I wanted to learn more about some of the local culture. Unfortunately, I discovered that the Gullah Museum of Hilton Head Island was closed for the season.

I was, however, able to attend an informational lecture on the history, food and crafts of the Gullah people at the Coastal Discovery Center.

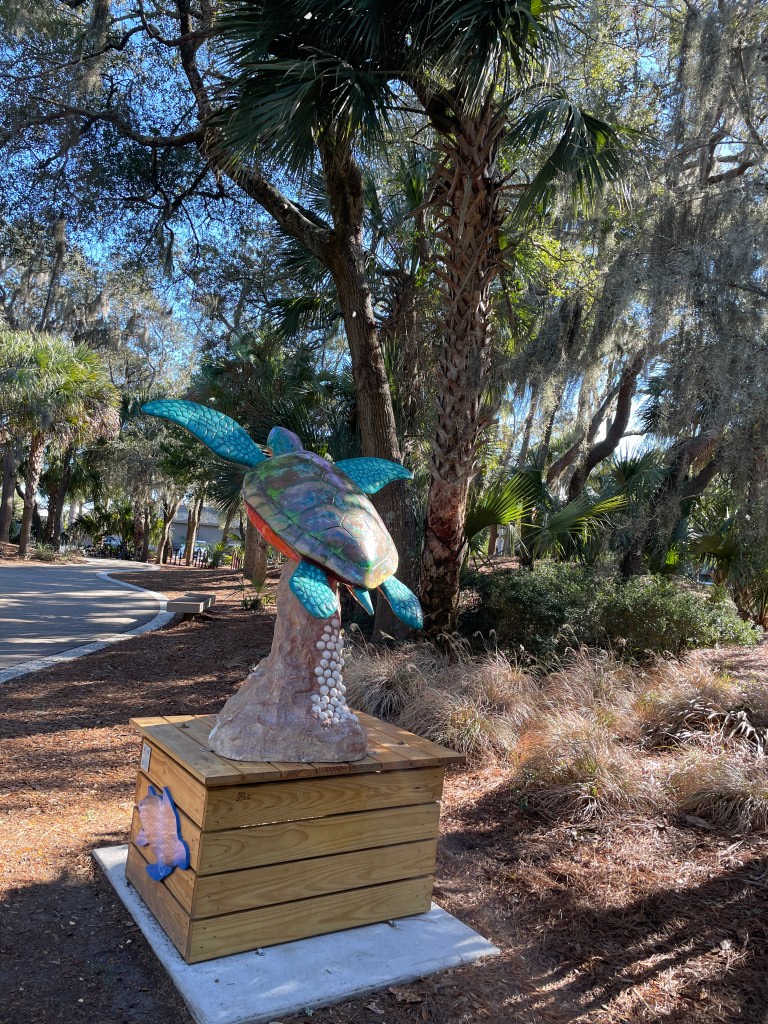
The Gullah are an African American ethnic group who predominantly live in the low country region of Georgia and South Carolina, with smaller groups found in Florida and North Carolina. Historically, they lived mainly on the coastal plains and the Sea Islands. Because of this relative isolation, these people developed a creole culture that has preserved much of their African linguistic and cultural diversity. Gullah crafts, farming and fishing traditions, folk beliefs, music, rice-based cuisine and story-telling traditions all exhibit strong influences from Central and West African cultures.
I found the lecture very interesting. But, I was mostly interested in the Gullah recipes and crafts.
Being allergic to seafood, I was limited in the traditional recipes that I could try. But, here are a couple that I enjoyed:
Gullah Red Rice
Ingredients
- 2 tablespoons olive oil
- 1/2 pound sausage cut into bite sized pieces
- 2 onions, diced
- 6 tomatoes, diced
- 1 tablespoon chili powder
- 1 cup long grain rice
- 1 teaspoon salt
- 1 cup water
Directions
- Heat the olive oil in a large pot over medium heat.
- Add the sausage and cook until browned, then remove from the pot and set aside.
- Add the onions and tomatoes to the pot and saute until the onions are translucent.
- Stir in the water, rice, salt and chili powder. Add the meat, stirring at medium high heat until mixture comes to a boil.
- Reduce to simmer, cover and cook for 20 minutes.

Fried Corn Cakes
Ingredients
- 1 tablespoon butter
- ½ cup chopped onion
- ¼ cup diced bell pepper
- 1 tablespoon chopped celery, with some leaves
- ½ cup self rising flour
- ½ cup self-rising buttermilk cornmeal
- 2/3 cup buttermilk
- 1 beaten egg
- 1 cup fresh or frozen corn, cooked and drained
- 3 tablespoons sugar
- 1 teaspoon garlic salt
- 1 teaspoon black pepper
- 1 teaspoon ground red pepper
- Oil
Directions
- In a small skillet, melt butter and sauté onion, bell pepper, and celery until just tender. Set aside.
- In a large bowl, mix together flour and cornmeal. Slowly stir in buttermilk. Add egg and corn.
- Stir in sugar, garlic salt, black pepper, and red pepper. Add the vegetables and melted butter and mix.
- Ladle the batter in pancake-size rounds into a nonstick pan. Cook over medium heat until brown on both sides.

Low Country Peaches and Cream Pie
Ingredients
- 2 pounds fresh peaches
- 1 standard pie shell
- ½ cup flour
- ½ cup light brown sugar
- ¼ teaspoon salt
- 1 stick butter
- ½ cup sugar
- ½ teaspoon cinnamon
- 1 egg
- 2 tablespoons heavy cream
- 1 teaspoon vanilla
Directions
- Wash and peel peaches and slice thinly. Set aside.
- Make sure pie shell is completely thawed.
- Mix together flour, brown sugar, and salt. Use a pastry cutter or fork to blend in butter. Mixture should resemble coarse crumbs.
- Measure half of the flour mixture and sprinkle evenly over pie crust bottom.
- Place the peaches over the flour mixture. Sprinkle sugar and cinnamon over peaches.
- Whisk together egg, cream, and vanilla and pour over sliced peaches.
- Top with remaining flour mixture.
- Bake at 400 degrees for about 45 minutes.

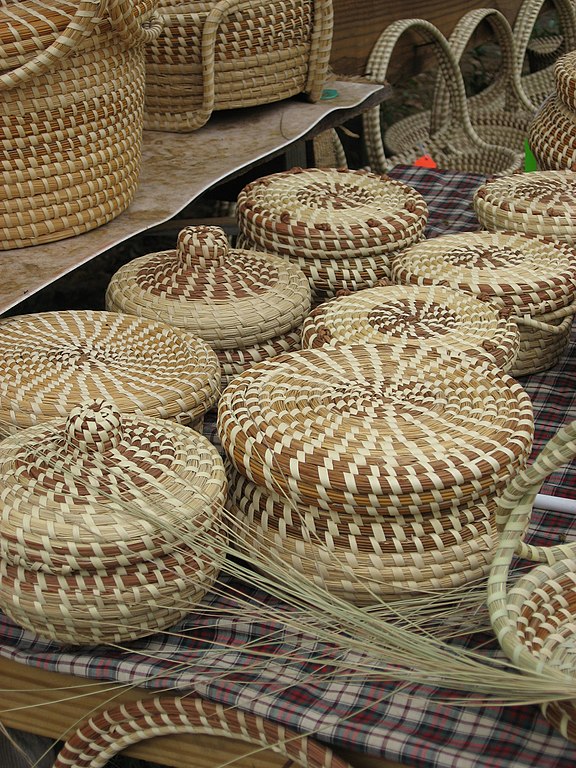
The predominant craft amongst the Gullah is sweetgrass basket weaving. This art form, arrived in South Carolina in the 17th century with the arrival of West African slaves who were brought to America to work on Southern plantations. The craft has been passed down through generations. The baskets were originally used to process rice, a common crop in both West Africa and South Carolina. The baskets are created by bundling dried sweetgrass, which tends to grow in the sandy soils found near the ocean, and coiling it into unique circular designs, a weaving technique unique to West Africa. Palmetto fronds secure the coils, and pine needles and bulrush are used to both fortify and decorate the baskets.

Again this year, I thought to take a class, but I really don’t need another hobby! I did however, make a few more pine needle baskets while I was on Hilton Head Island.
Basket #1
My design for this basket was to make something that looked like a sunflower to mount on my sewing room wall. The center of the basket was a wooden medallion that I purchased from Hobby Lobby. I removed the hanging loop and stained the wood black. The center of the flower was made with unstained pine needles and black sinew. There are three rows of Simple Stitch and four rows of Spiral Fern Stitch. Around this, I did one wrapped row with brown sinew, during which I switched over to yellow dyed needles. Unfortunately, the yellow color of the needles does not show very well. But, it still looks nice and made the transition to the petal part of the sunflower noticeable. For the petal part of the flower, I used yellow sinew and completed five rows of Indian Wrap Stitches. This was followed with five rows of alternating V Stitch and Wrapped sections with a yellow bead incorporated to create some shaping of the flower. I varied the position of the rows to create some dimension to the flower.


This basket looks really nice mounted on my wall.

Basket #2
When recently visiting my mother, she commented that she would like one of my baskets. So, my second basket is a birthday gift for her. The basket is made with undyed needles. The bottom of this basket is three wrapped rows followed by twelve rows of Wheat Stitch. I was able to keep the bottom really flat (something I have had trouble with in the past). Switching to Simple Stitch, I created the walls of the basket with seven rows. The last row of the walls was a wrapped row. To create the handle, I completed two more wrapped rows with the needle bundles looping upwards and beads incorporated into the weaving.
This basket is being shipped to my mother. I sure hope she likes it.