

Month: May 2020
Becoming a Mom.

Thirty years ago today, at 11:08 pm CDT, I became a mom.
That single day changed my life in so many ways.
Someone once told me that they felt sorry for the oldest child in a family. Being the first child in a family kinda means that you are the “trial child”, the child on whom each parent learns what it means to be a parent. Having no manual or rule book, we have to learn as we go. However, while my oldest may have taught me the most, I feel that I have learned from each of my boys.
Over the past thirty years, I have learned patience, perseverance, negotiation, and many other life skills. These skills have helped me in all aspects of my life.
Being the mom of four boys, I quickly learned that planning is very important to be able to accomplish everything that needs to be done in a day, all the while understanding that my plans may change at a moments notice. This gave me the incentive to learn to be organized but adaptable – something that has been necessary over these past couple of months.
Being the mom of four boys, I quickly learned how much energy they can have. This gave me the incentive to enroll them in sports and other activities and to help them to enjoy these endeavors.
Being the mom of four boys, I quickly learned that having them play outdoors helped to keep the house cleaner and the boys to sleep better. This gave me the desire to learn more about plants so that I could be gardening while supervising their outdoor activities.
Being the mom of four boys, I quickly learned how to build forts. This gave me confidence to build other things, like trellises and gazebos, and to tackle home remodeling projects.
Being the mom of four boys, I quickly learned how much they could eat, and how expensive feeding them would be. This gave me the desire to learn to bake, to cook, and to make my own preserves.
Being the mom of four boys, I quickly learned how busy life can be. This gave me the encouragement to daily find time for myself, something that is still important in my life.
Being the mom of four boys, I quickly learned that I could not do things alone. This has given me an appreciation for my husband and gratitude for his love.
Being the mom of four boys, I quickly realized that every life at every age is precious. This has given me a gratitude for the grace shown to us by our heavenly father each and every day.
Some days it feels like it was just yesterday that my oldest was a newborn baby. Other days, it feels like it was so very long ago. There are many ups and downs being a mom. But, I would not change it for anything. Happy Birthday, Tim! I love you.

My Happy Place

Today was in my “Happy Place” – my gardens.
After spending 38 hours over three days driving to Brooklyn NY and home again, I am happy to enjoy my day by flower shopping and then working in my gardens.
Truly a lovely day!


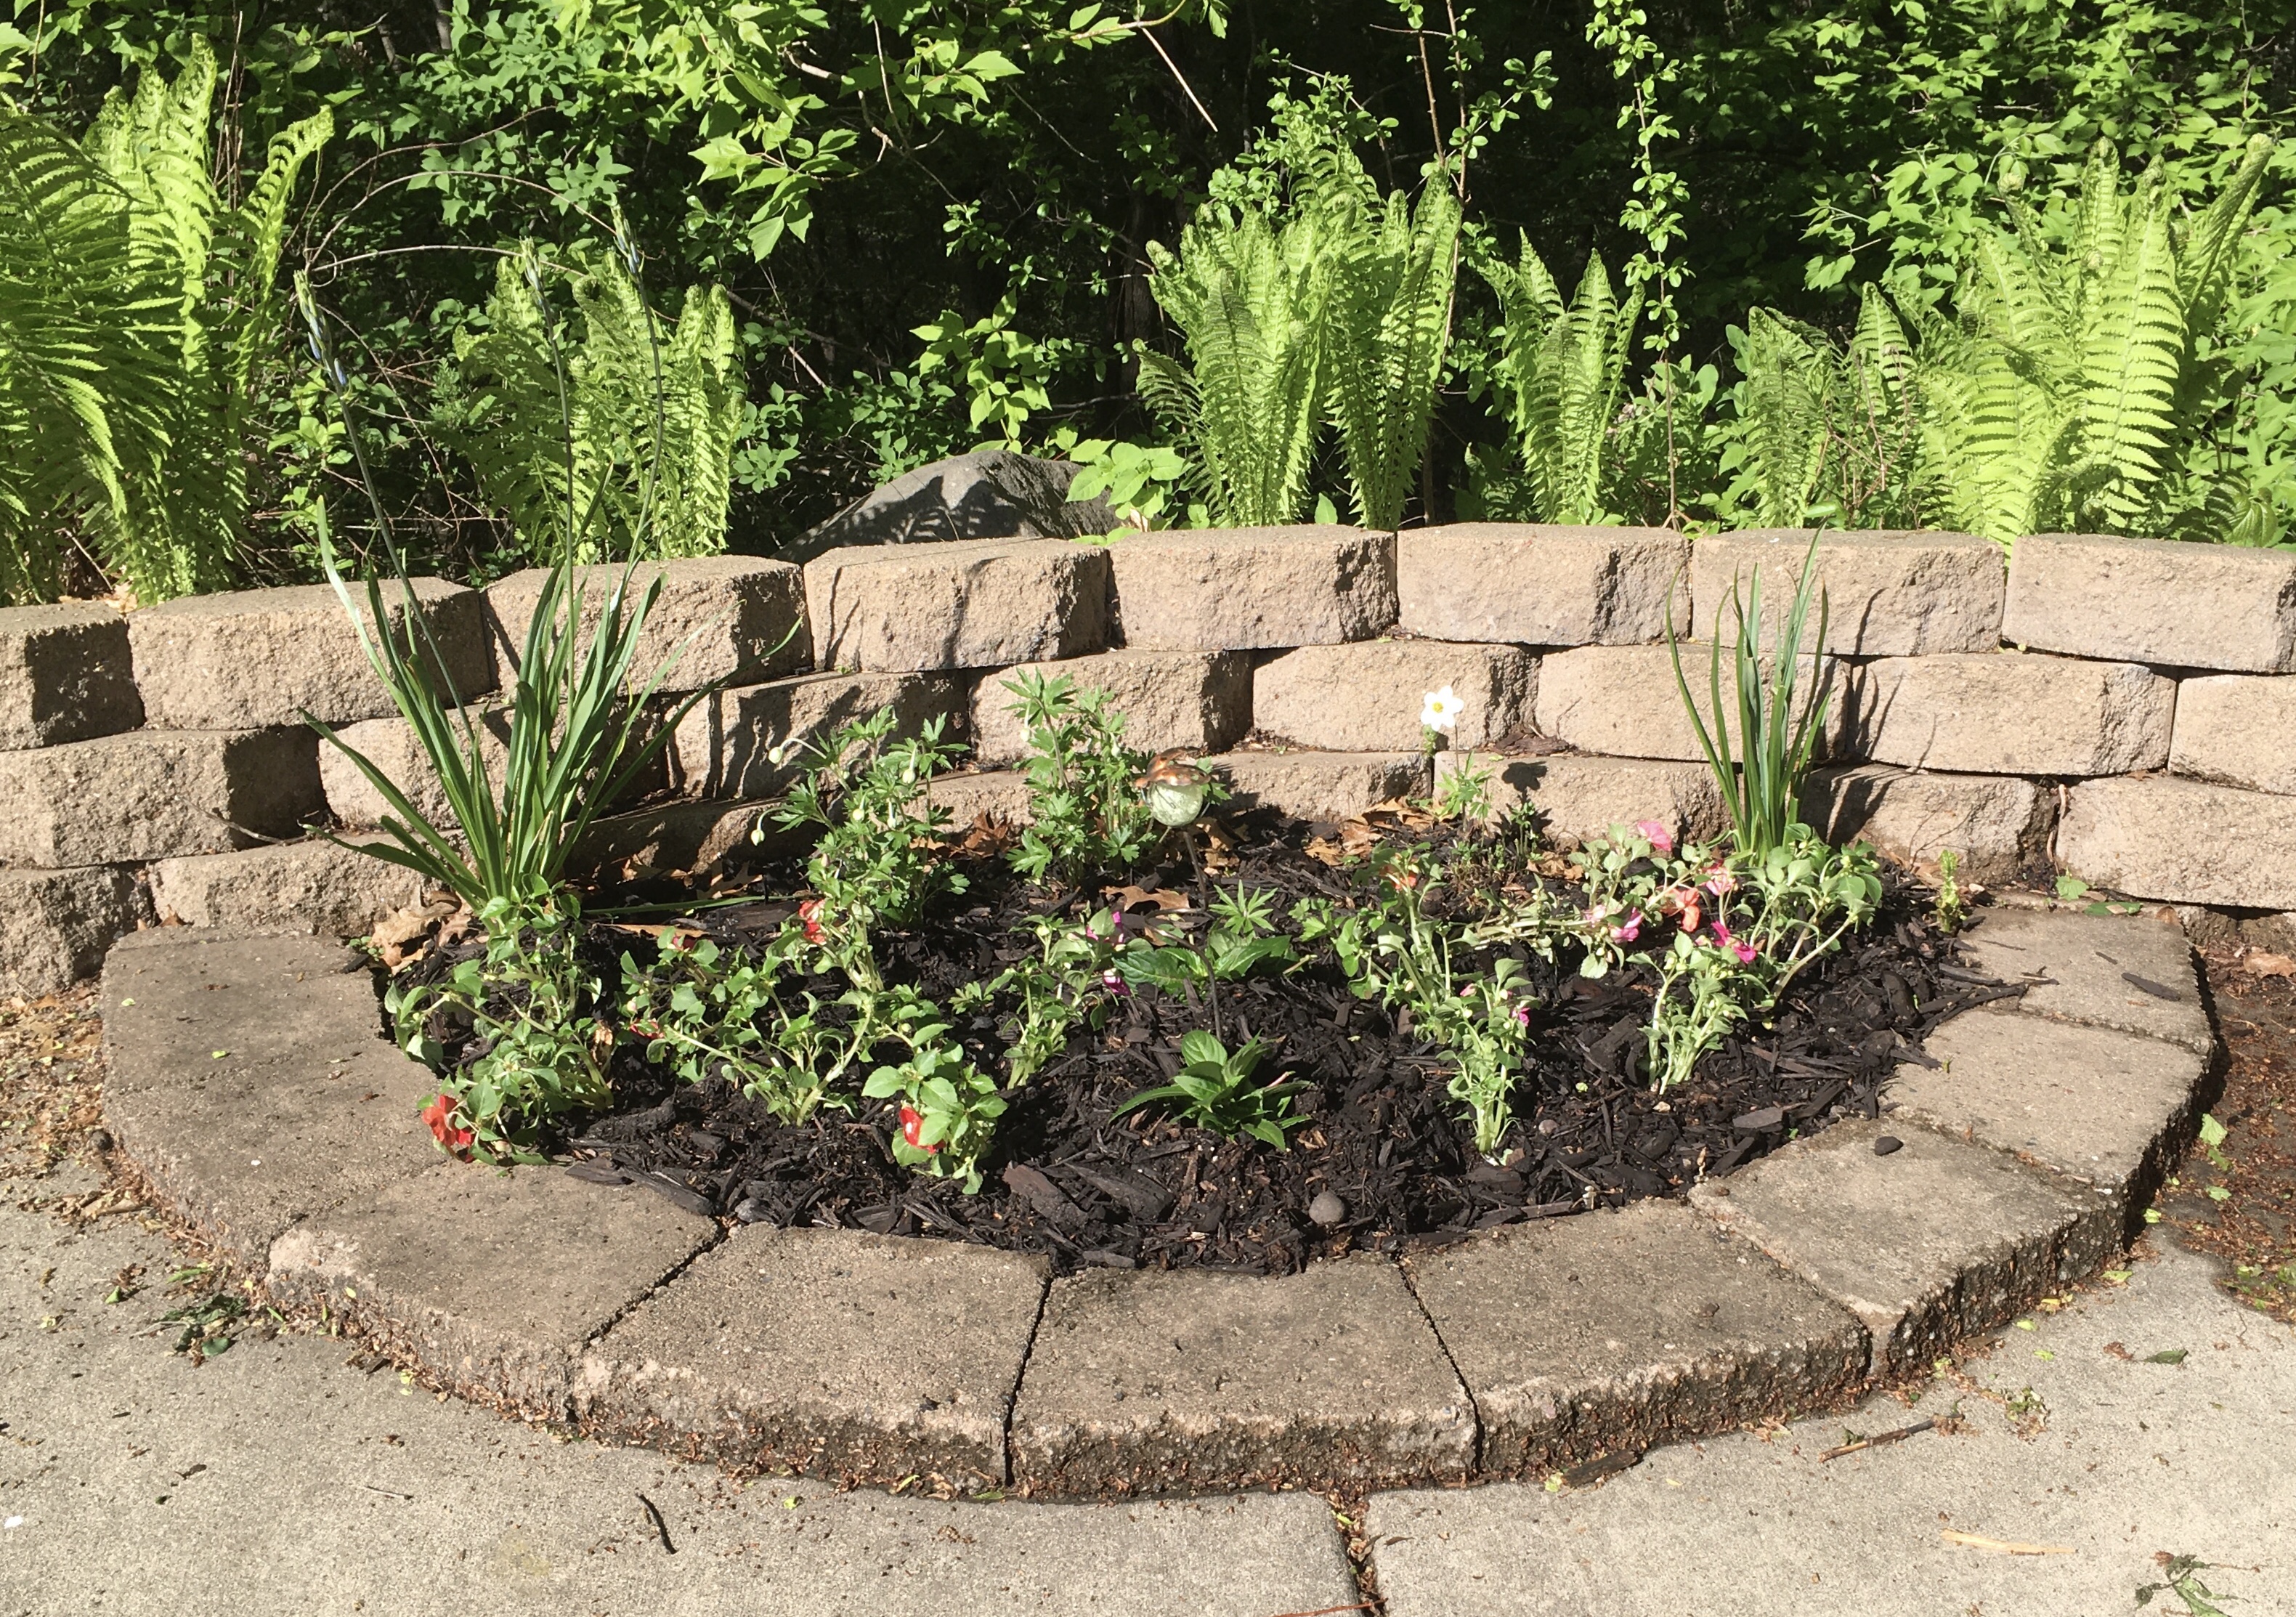
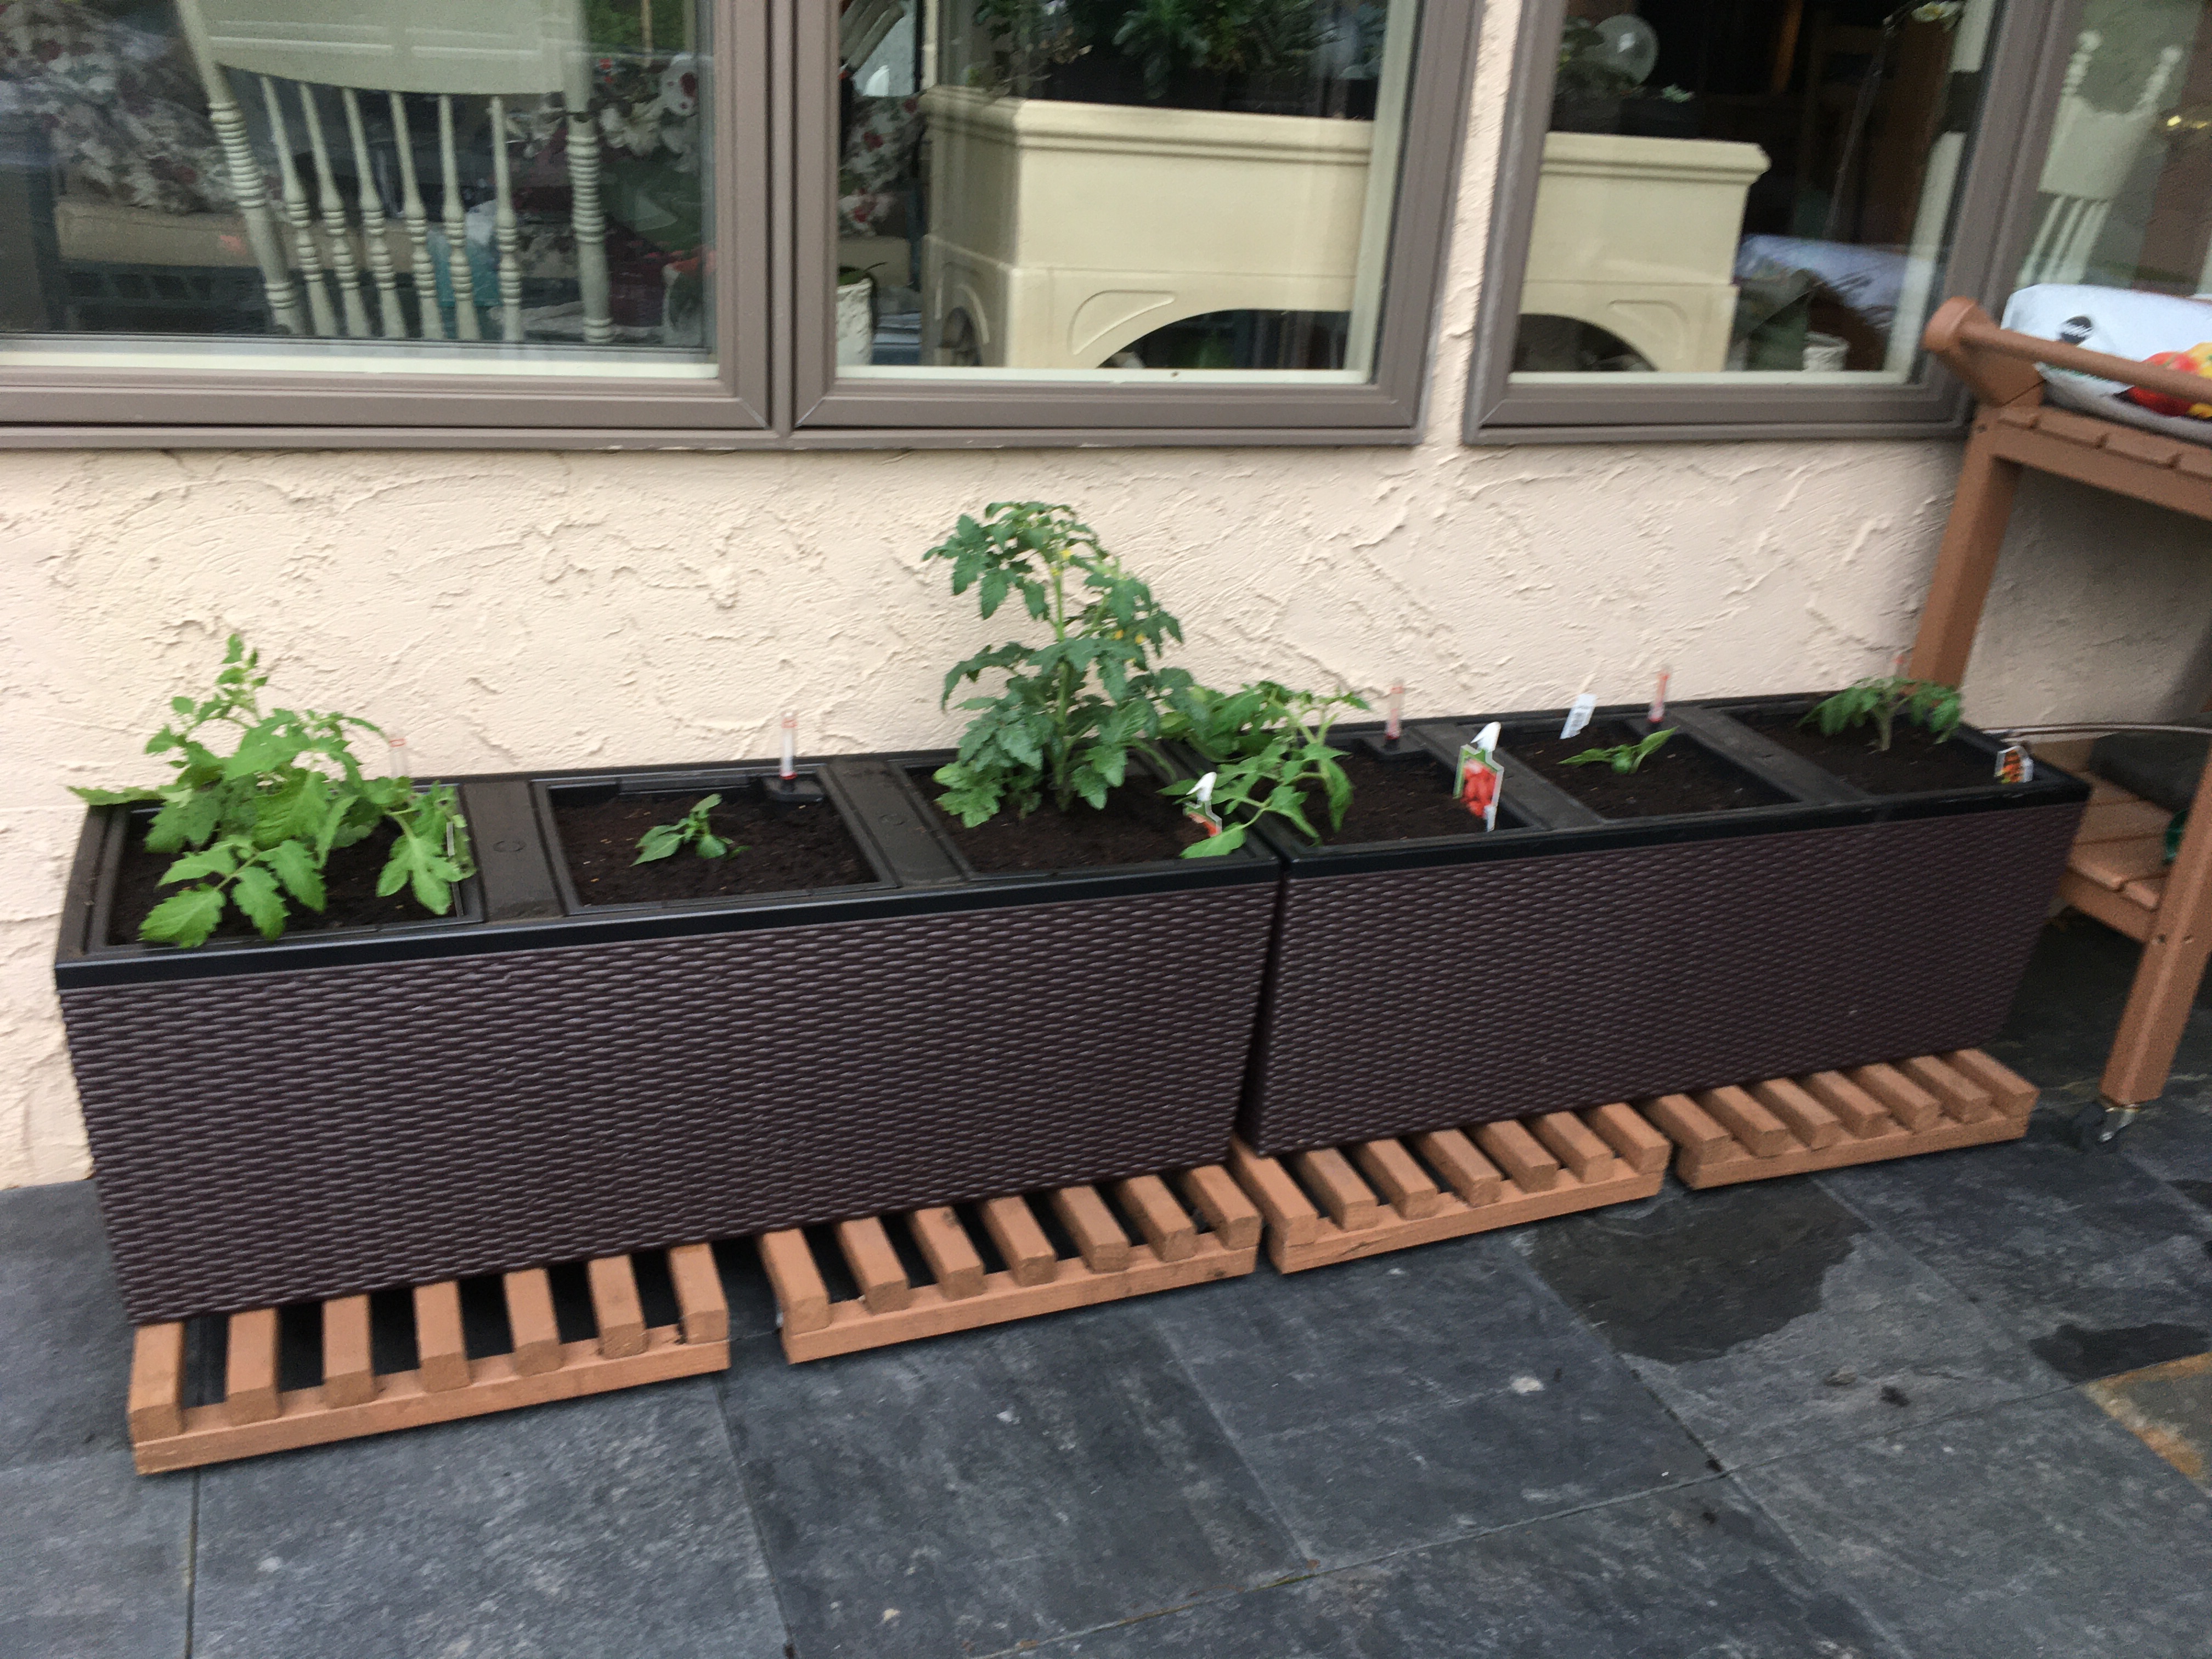
Looking forward to watching my plants grow over the next couple months.

Over Thinking

I am an over thinker. Anyone that know me will agree with this statement. I try not to worry, for I know God is in control. But I also try to think through things I am involved in to make sure everything goes smoothly.
When planning out a quilting project, a glass project, or a home improvement project, I spend lots of time thinking through each step. The supplies needed, the best place to purchase those supplies, and the order to do the project to optimize the outcome and my time spent. If there are pitfalls that might come up, I try to anticipate and have a solution before anything happens. Many things are considered even before I start working on the project. Most times this is very beneficial. By the time I get to actually doing the project, things usually go very smoothly. But, this does mean that my mind is kept busy (sometimes even at 3am).
Dealing with a pandemic while being a health care provider has truly put my brain into hyper focus. At first, my focus was on learning everything I could about the virus, recalling things I learned in my grad school classes, and updating my virology knowledge.
Early on, one of my other big concerns was dealing with shortages of supplies needed to run our dental clinic. Since February, we had been dealing with a severe shortage of surgical masks and gloves. Being a dentist, many of the procedures we perform create an aerosol. This meant that we now needed access to N95 masks and face shields – a nearly impossible task. Looking high and low, none were to be found when we first started looking mid-March.
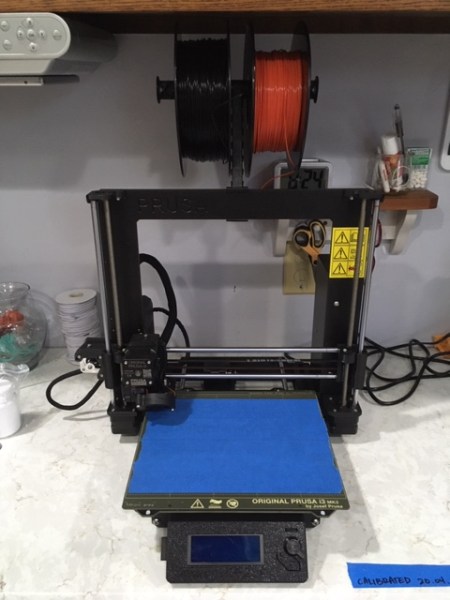
In my many on-line searches for sources for masks and face shields, I read various articles about 3D printed masks and face shields. Based upon this, as I mentioned in an early post (April 23, 2020), I ordered a Prusa 3D printer with the intent of printing things needed for my office.
While waiting for the printer to arrive, I spent time evaluating different designs to try. Once the printer did arrived, with my prioritized list, I started printing.
Knowing that N95 masks were going to be critical, that was where I started. Having evaluated several designs, I settled on printing one that looked the easiest to use.


This design incorporated a piece of HEPA filter cut out of a vacuum cleaner bag. The design printed well and fit my face fairly well. It did take nearly 14 hours to print and use a lot of filament. My main concern was with the seal along the face. Because the mask was rigid, it needed to be extremely tight to create a complete seal. I considered placing some type of foam along the edge to create a softer seal. But, ultimately decided that this design would be difficult to put into use. Every mask would need to be custom fitted to the user. This would have involved hours on the computer design and adapting the pattern to each face. And, the cost for printing the mask would be about $10 each. A lot of time and money spent.
I had also read an idea about using a vacuform machine to make more flexible mask using the 3D printed mask as a model. A vacuform machine is used to make custom fitted mouthguards, bleaching tray, etc out of a heat melted thermoplastic material. I decided to give this a try. I spent a day at my office pouring up models of the mask and trying several different approaches. Ultimately, I could not get any of the masks that I vacuformed to have enough detail to attach a HEPA filter to. So, this idea was also discarded.
Next, I went on to a third mask idea. This idea was to create some type of frame that could go over a surgical mask. We use surgical masks for every patient we treat, so we have these (although they are still in short supply and are now incredibly expensive). The difference between an N95 mask and a surgical mask is not in the filtration ability, but rather in the fit to the face. An N95 mask is rated at 95% efficiency for particles greater than 0.1 microns. These mask fit snugly against the face to keep aerosols from getting around the edge. A surgical mask is rated at 98% efficiency for particles greater than 0.1 microns, however they are not form fitted to the face. They are effective against droplets (which is much of what we deal with in dentistry). But, they are not effective against aerosols (which can leak around the edges of the mask). So, if there was a way to make a surgical mask fit snugly against the face, that would be an excellent alternative to an N95 mask.
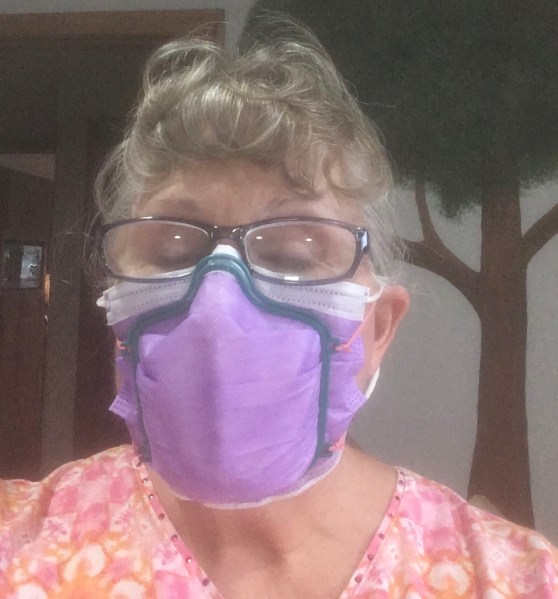
I search the internet and found a couple ideas. These “face frames” were usually referred to as exoskeleton (meaning a skeleton outside the body). I printed a couple ideas and tried them out. The one I thought might be the best, did not work well at all. But, one of the simpler designs worked well. The first time I printed one, the arch over the nose was too tall for my face. I minor adjustment on the design, a second printing and I had a face frame that fit snug but comfortable (except for the pull on my ears) and sealed the mask to my face extremely well. To test it, I pulled out several of my liquid flavorings for baking and I was unable to smell any of them through the mask. I would love to have an official mask fit test done on the face frame. But, unfortunately, since I am an “unauthorized manufacturer” the fit testers will not evaluate them. I have purchase a fit test kit for my office (it’s on backorder, like everything medical is), but when the test kit arrives, I will be testing this frame! We have received several official N95 masks that we will be using when creating aerosols. These face frames will be for general clinic staff use when no aerosol is involved.
 The next thing that I decided to print were visors for face shields. One of my partners had received a few 3D printed visors that he and one of our assistants used when treating an trauma patient. They both like the design, so I decided to print the same pattern. A couple hours on-line and I was able to located a source for the clear shield material. Problem solved – we now have a dozen shields at each of our office. More can be printed if needed.
Thanks to the Minnesota Board of Dentistry, we were able to obtain a few N95 masks. Because they are in extremely short supply, we will be reusing these. To protect the exterior surface from splatter contamination, we will wear a surgical mask as an over mask. This will allow us to reuse the mask perhaps up to 20 times (the mask will be stored for 5 day to allow the any pathogens to die).
With our protocol, all of the clinic staff will be wearing two mask – either an N95 covered by a surgical mask, or a surgical mask and face frame covered by another surgical mask. With two masks on, there is a lot of pressure placed on the ears. So, the final thing I printed were “Ear Savers”. There are a lot of designs available. I selected three that I though gave a broad range of uses for the different preferences the staff may have. One had a hole for a pony tail, one was longer for wear higher on the head, and one was a much shorter version for employees with smaller heads.


When combined as a set (visor, face frame and ear saver) the printing takes 3 hours 17 minutes for each. I have printed 12 sets for my husbands offices, 36 sets for my three offices and 10 sets for a few dentist friends. All together, that’s nearly 200 hours of printing.
A lot of thought, perhaps even overthinking, has gone into this endeavor. But, it has truly paid off. Today was staff training for my husband’s office and for small group of my staff. Everything went really well. Phase I of patient care also started this afternoon with two patients.
It was a successful day on many levels. Our staff were truly wonderful in training, understanding and embracing our new infection control protocol, including using these new pieces of PPE. Patient care has been resumed, albeit on a small scale, but today marked the return to helping at least a few kids who really needed it. Tomorrow is another day and each day we will be slowing getting used to our “New Normal” and continue to provide dental care to little kiddos.
I am blessed also to know that I do not need to over think things that are out of my control. I will sleep well tonight knowing that God is in control and all will be well.
Building Walls

I know that the topic of building a wall can lead to many different comments, points of view and political commentary. This post is not about building that type of wall.
In our backyard, we have a small retaining wall that was built about 19 years ago. Unfortunately, over the years, the east side of the wall was starting to sag significantly.

For the past couple of years, I had thought about how to go about fixing the wall. Having built other retaining wall in my yard (no, I did not build this one!), I knew what needed to be done. I was just concerned that I may not be able to handle all of the lifting. Each block weighs 60 pounds, and there were 75 blocks that would need to removed and then replaced.
Since my two sons at home were busy with finals, and I was unable to find anyone else to hire for my manual labor, I decided to tackle the project by myself.
At first I set up a ramp system to roll a furniture dolly up and use the dolly to roll each block down the ramp. This worked okay for the first couple of blocks. However, I needed to dismantle the ramp and move it over for each block I needed to move. So, instead I decided to see if I could just lift the blocks. While they were heavy, that turned out to be much easier than constantly having to set up and move a ramp system.
While taking down the blocks, I discovered two things that the contractor had done that were wrong. These two “shortcuts” probably contributed to the wall tipping.
First, the lowest layer of blocks was placed directly onto soil, no class V gravel nor rock base whatsoever. So, as a went along, I dug out dirt and then added and tamped down a 2″ layer of gravel below the bottom blocks to provide support for the blocks.
Second, the contractor did not place any landscape fabric behind the blocks. The landscape fabric is there to help keep the dirt behind the wall intact and less likely to wash away. Had they done this, it sure would have made restacking the wall a lot easier. Unfortunately, without the landscape fabric, when I removed the blocks, the wall of dirt behind would crumble. This made the project so much harder. I ended up having to work in small sections so that the support for the wall was not removed along the entire length.
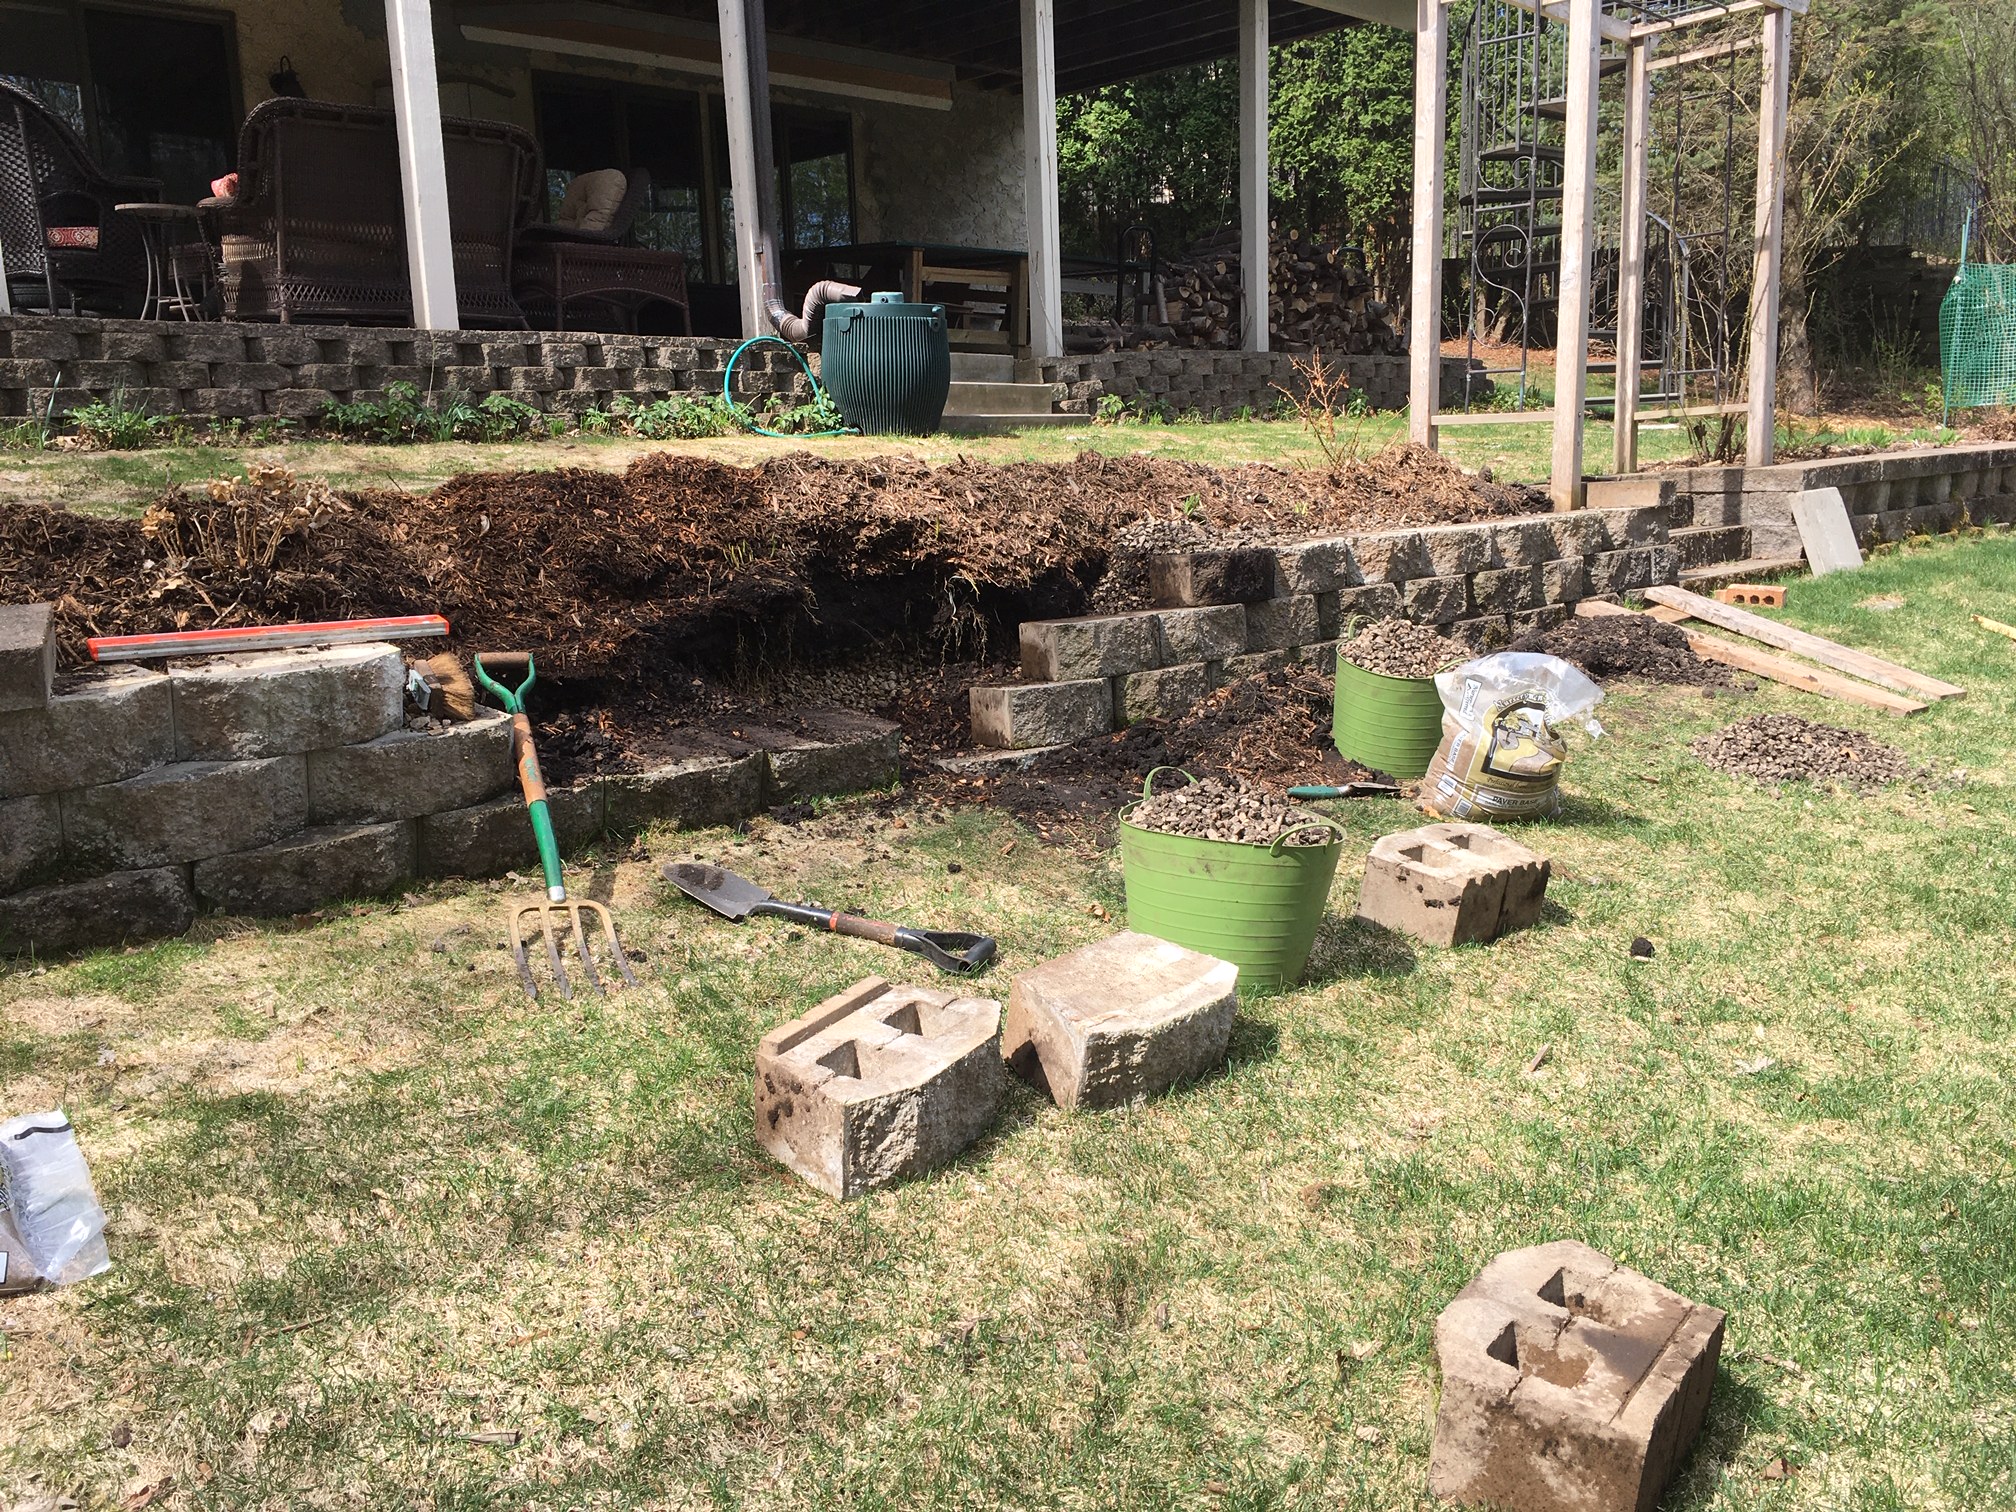
Starting by the small staircase and slowly worked my way down to the other end. Yesterday, I spent 12 hours removing the cap stones and blocks and rebuilding the wall. I did not put the capstone on yesterday. At the end of the day, I chiseled off the old block adhesive, power washed to top layer of the wall and the underside of the capstones, and left them to dry overnight.
Today, I spent about another 90 minutes securing the capstones in place with block adhesive , repairing the dirt in front of the wall and repositioning the mulch. What a change. The distance from the apple tree to the front of the retaining wall is 10″ less than when the wall was sagging.
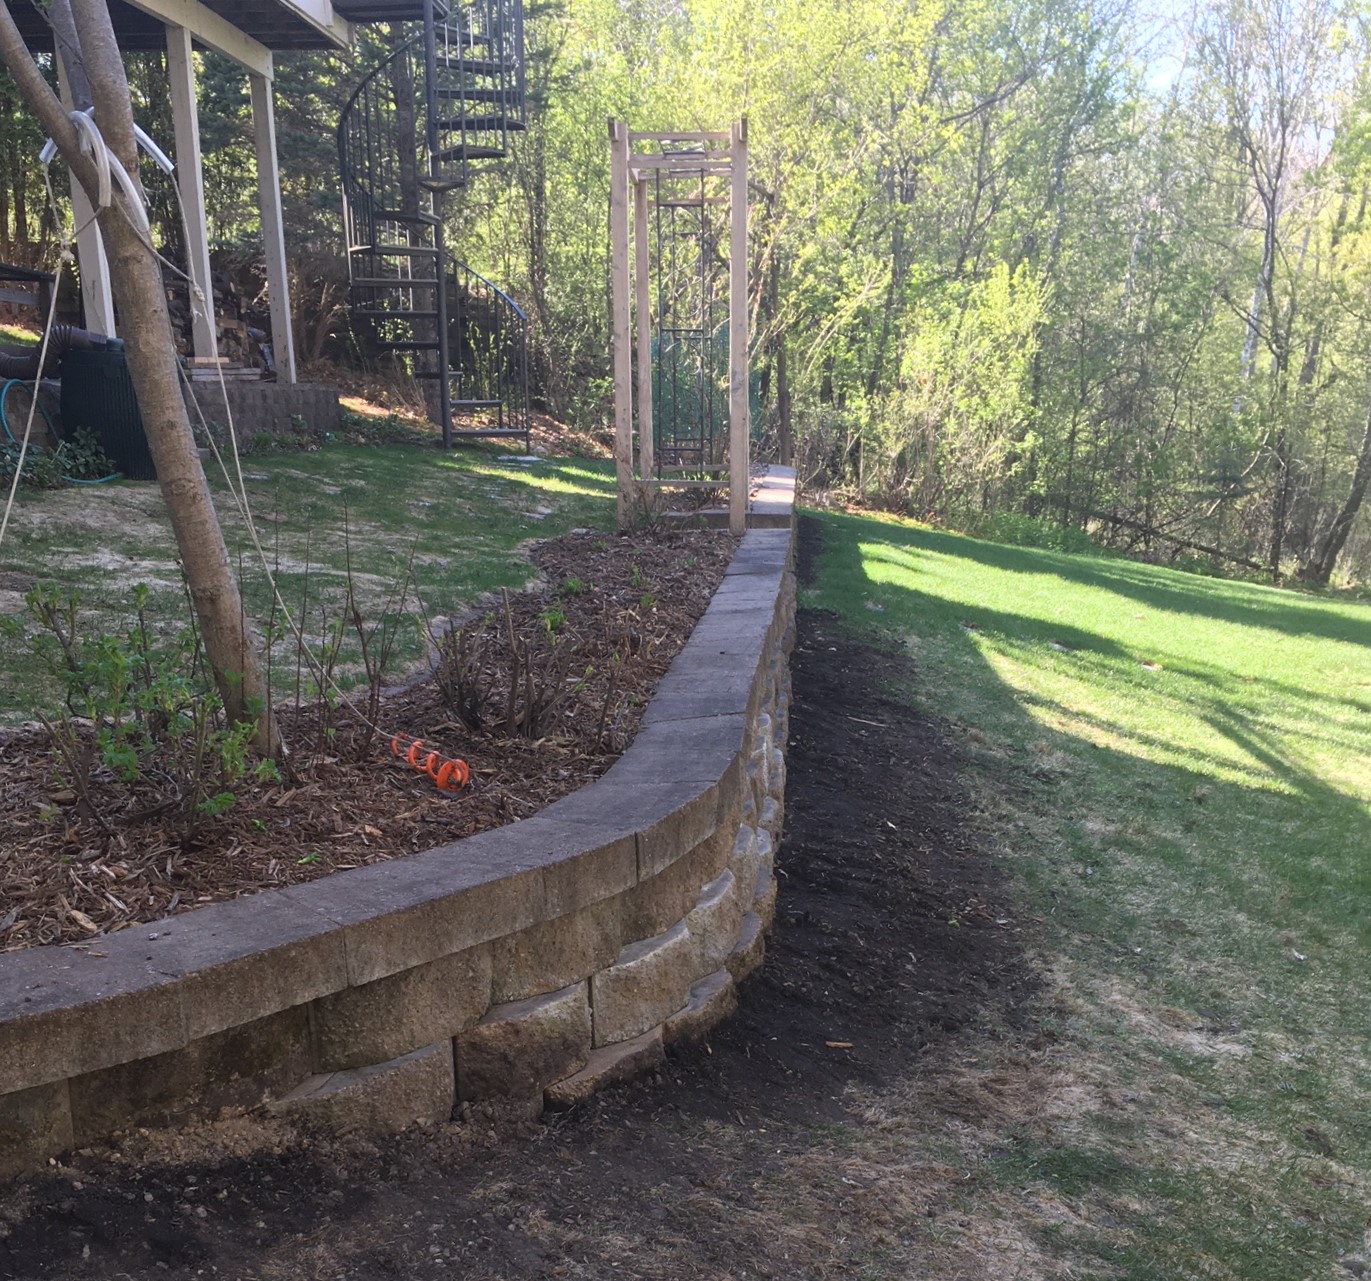
While I was building the wall, one of my sons came out and spent some time thinking about how much weight I had lifted. I removed 75 blocks that were 60# in weight. These same 75 blocks needed to be reset into the wall. So the grand total of weight lifted was 9000 pounds. Surprisingly my back does not hurt today, just a bit of an ache in my butt (yes, I know there is a not so nice way to state that same information that may also relate to how some people would feel about doing a project like this).
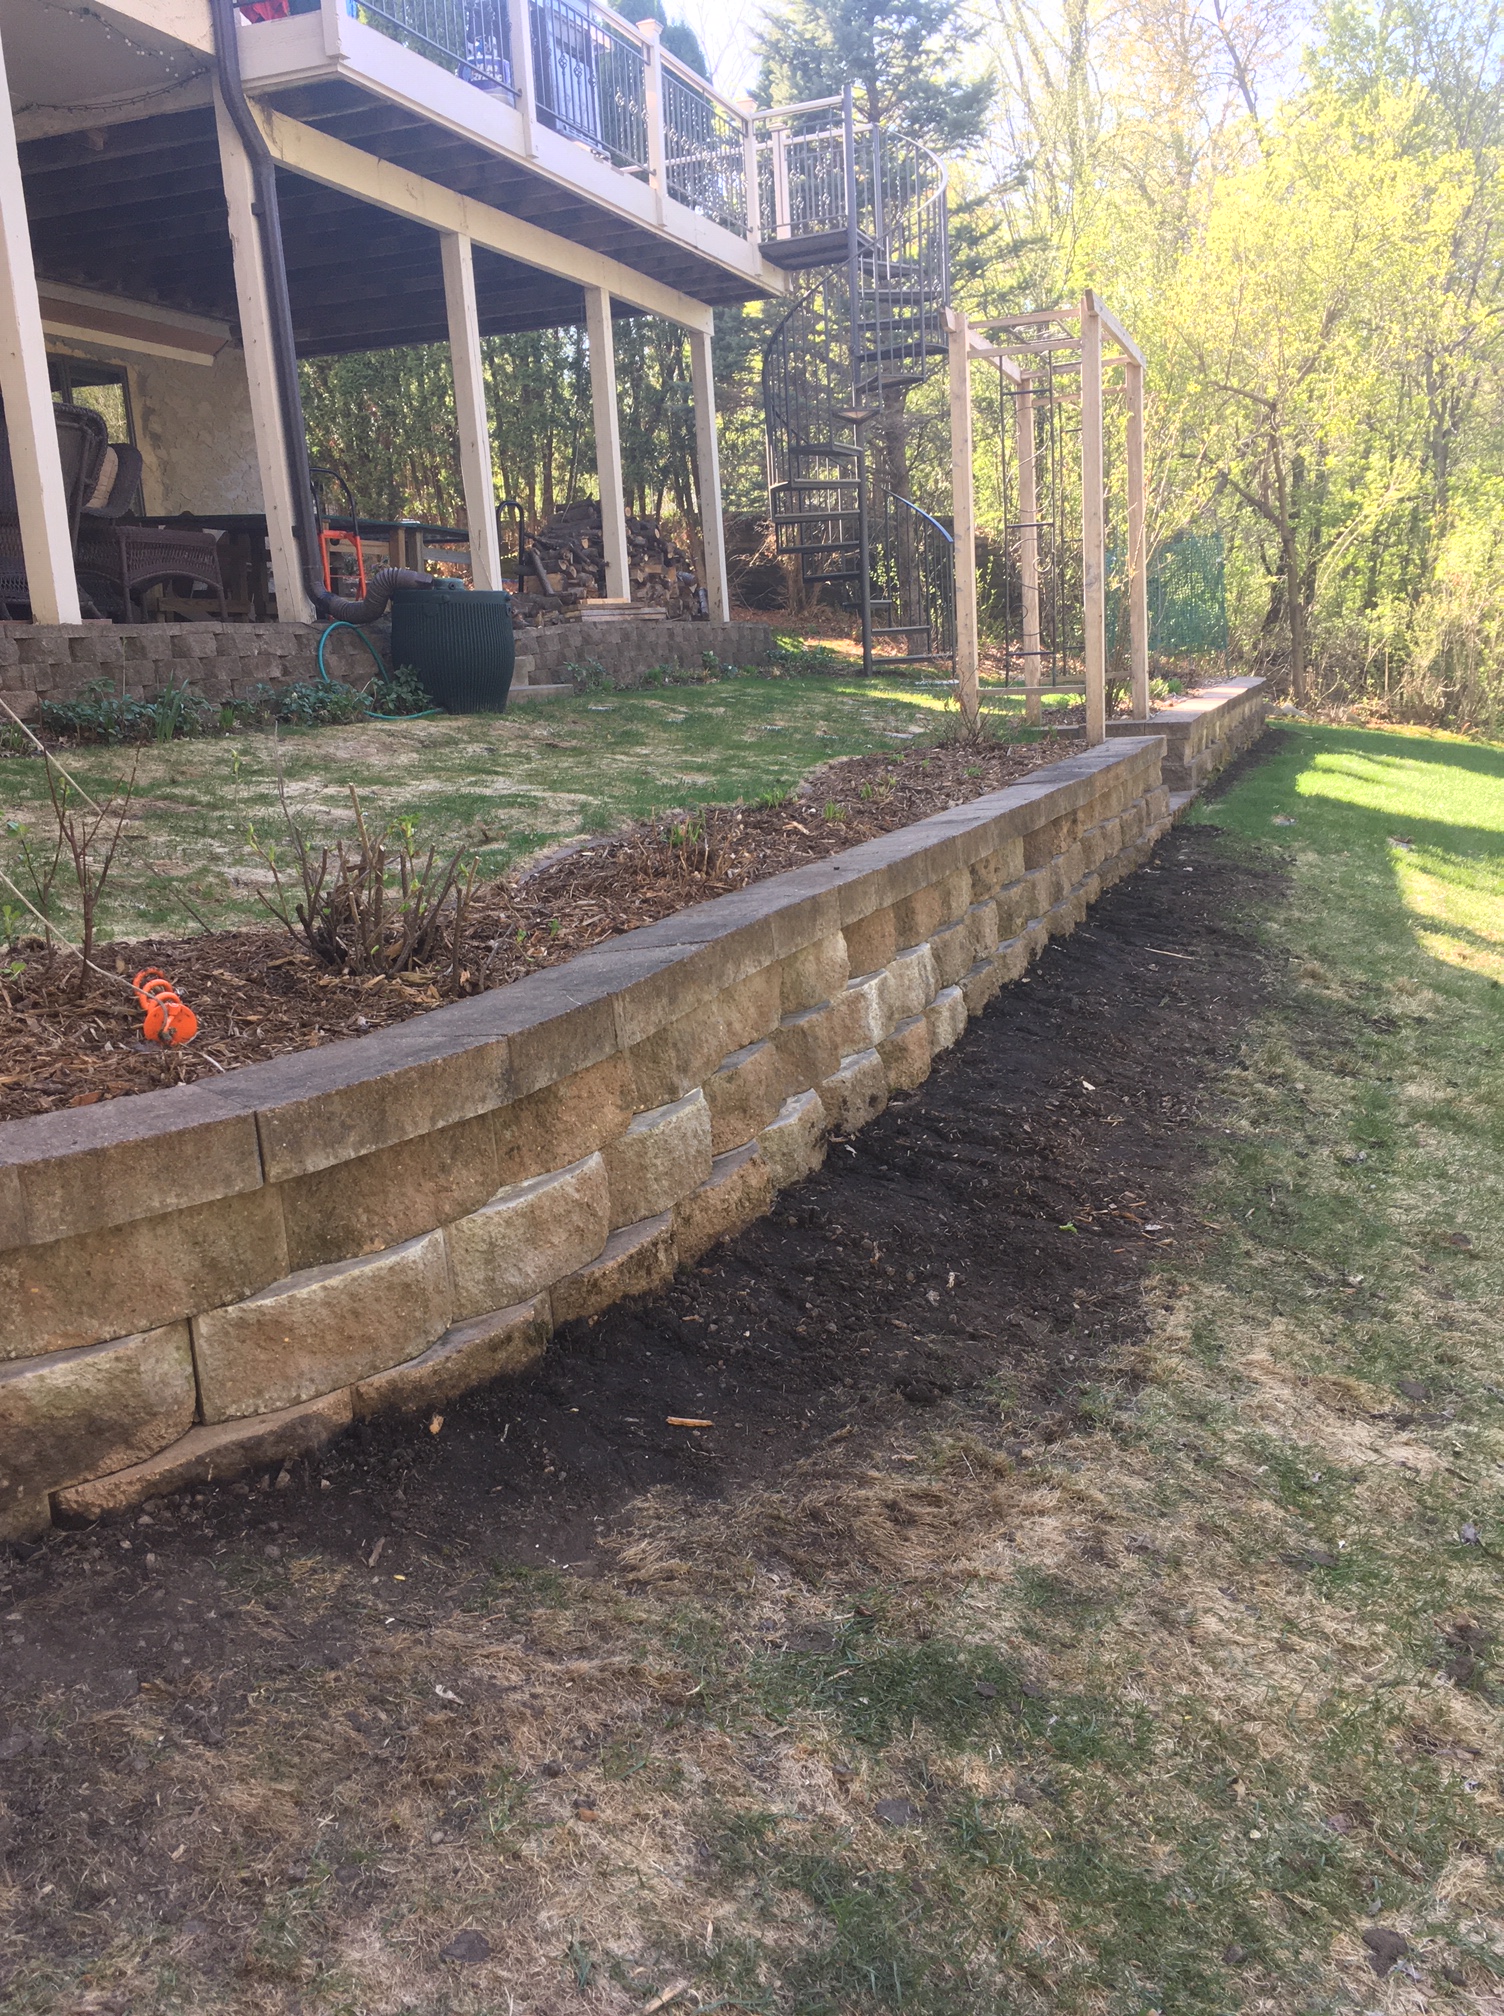
Big Improvement! And one major yard project done for the spring.
The weather this weekend was ideal Minnesota Spring weather. It’s past the time of spring that my allergies are really bad, the humidity was very low, the temperatures were perfect, and there are no bugs out yet!!
All-in-all it was a great weekend spent outdoors.
