


Okay, these were really fun to make!
A while ago, I saw an image of a pillow that looked like a family of dogs sleeping under a quilt. Using this image as inspiration, I put together a couple quilt ideas.
The main part of the quilt is a pieced design with a border to make 72″ square. The top part of the quilt is 16-18″ tall with a “family” appliqued on so that they look like they are sleeping under a quilt. For the applique pieces, I used clipart images found on-line. These images were drawn out onto fusible medium, ironed onto fabric and then stitched in place.
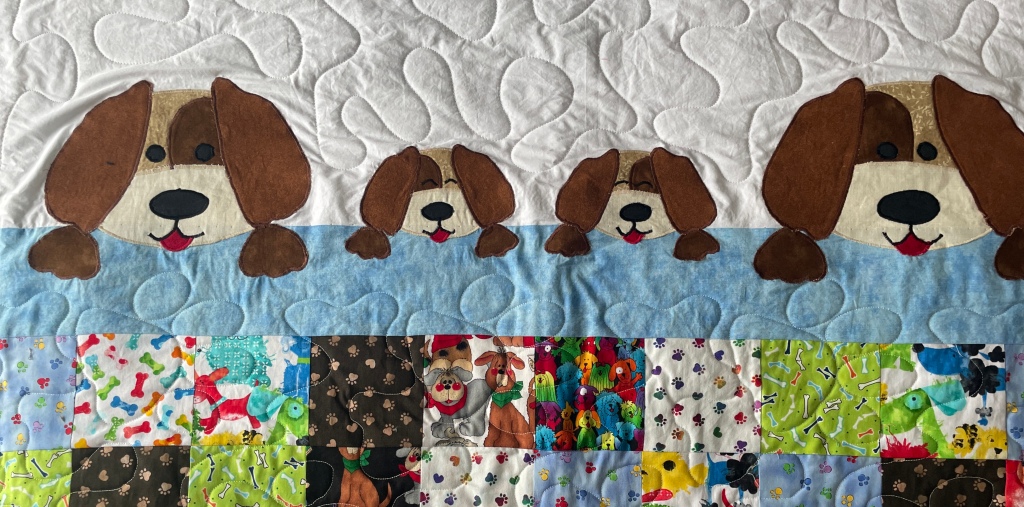
Dog Family
For this quilt, I used several pieces of scrap fabric that had dogs or dog-related themes (bones, etc), cut into 4″ squares randomly sewn together.

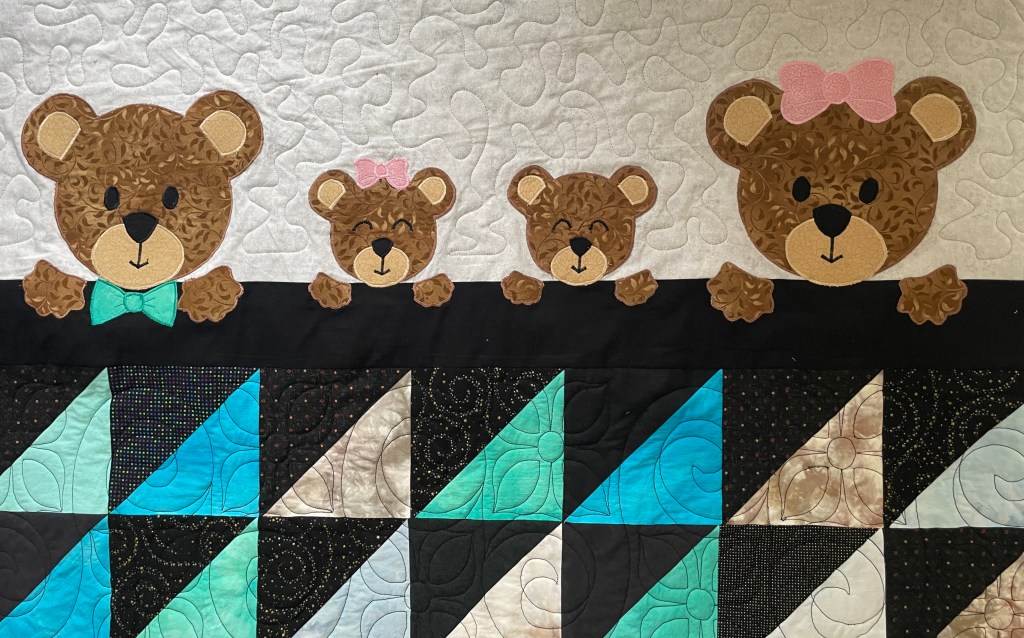
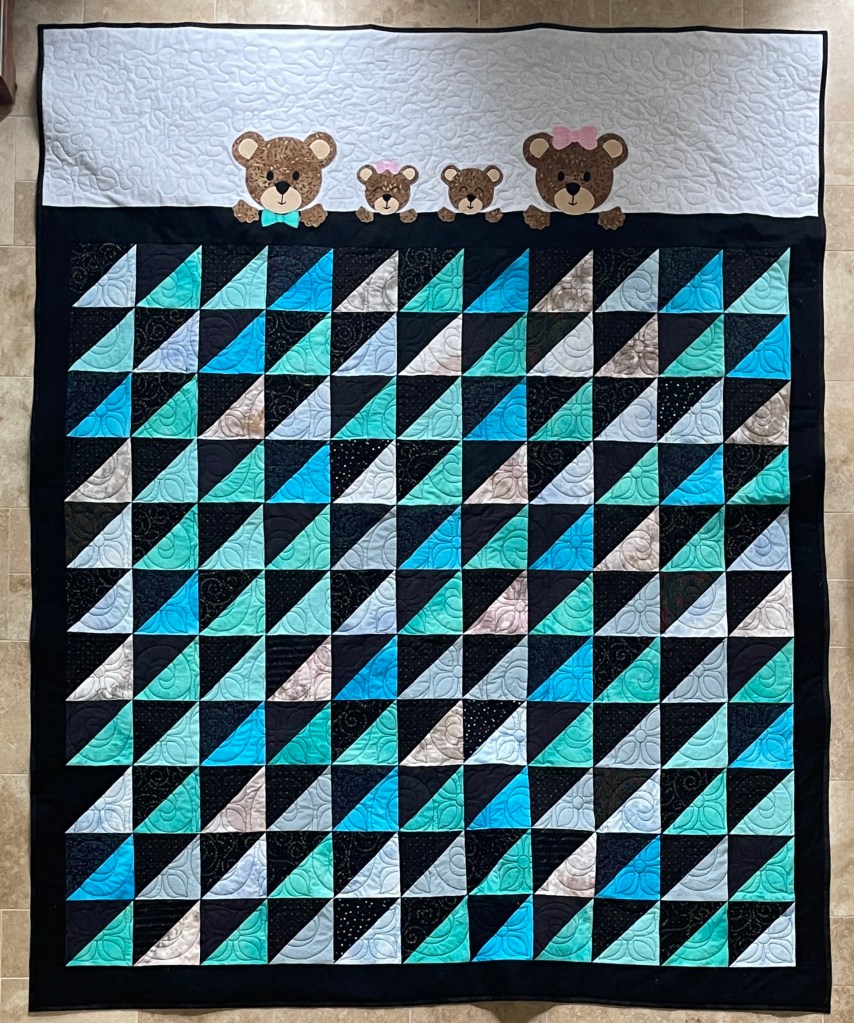
Teddy Bear Family
For this quilt, I used scraps of hand-dyed fabrics, paired with various black print fabric scraps. These 6″ Half Square Triangles randomly sewn together.
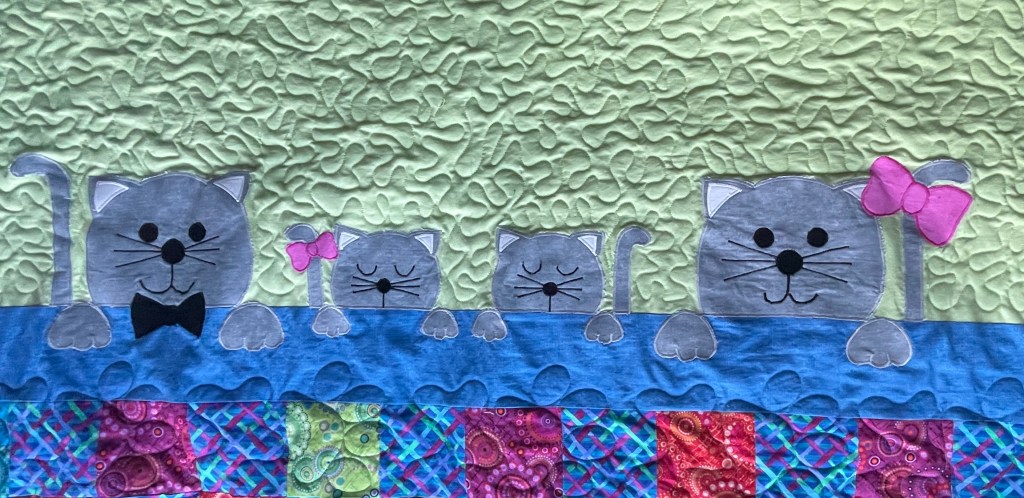
Cat Family
For this quilt, I used scrap fabric left over from making a bed runner for my bed (see Millefiori Garden), cut into 4″ squares randomly sewn together. Of these five quilts, this one is my favorite – I do like cats and the colors just pop!

Owl Family
When sorting through my fabric scraps, I had lots of fall colors in the mix. So, I thought a leaf block quilt would be nice. For the animal family, I had considered turkeys. However, I really dislike the ones that hang out in my yard and make a mess of my sidewalks and lawn. So, I settled on owls, and they turned out really cute.


Snowman Family
In my collection of quilt ideas, I had an image of a snowflake design that I had been wanting to make. But, I kept putting it off because I couldn’t settle on a way to make the design fit the rectangular shape of a twin sized quilt. The sleeping family quilt idea gave me an opportunity to make this quilt. Adding snow people sleeping makes this a really fun quilt as well.


These five quilts were really fun to make and will be donated to Sleep In Heavenly Peace. Hopefully a few kids will enjoy sleeping under these quilts


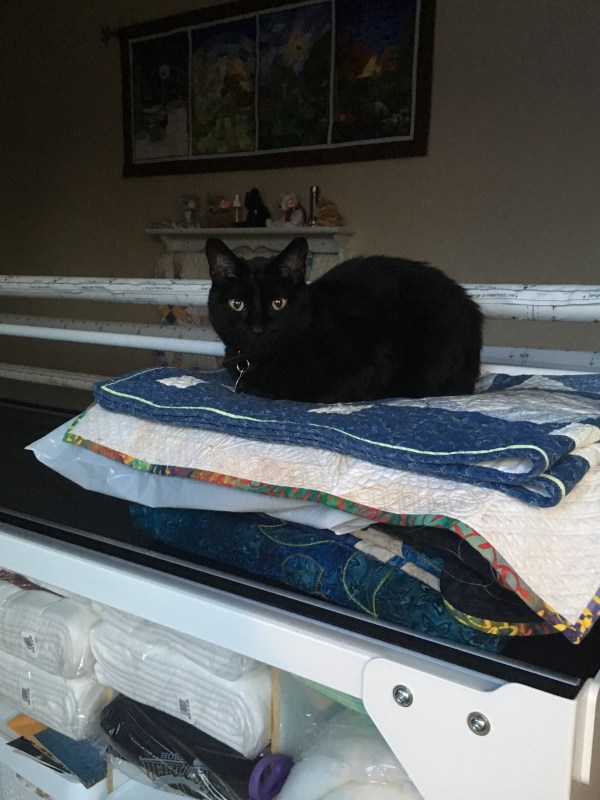
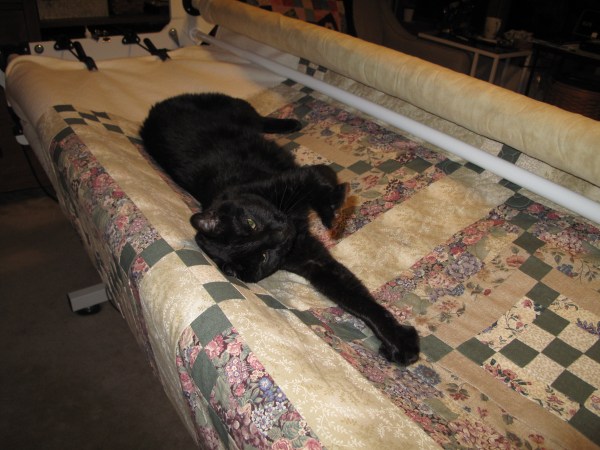

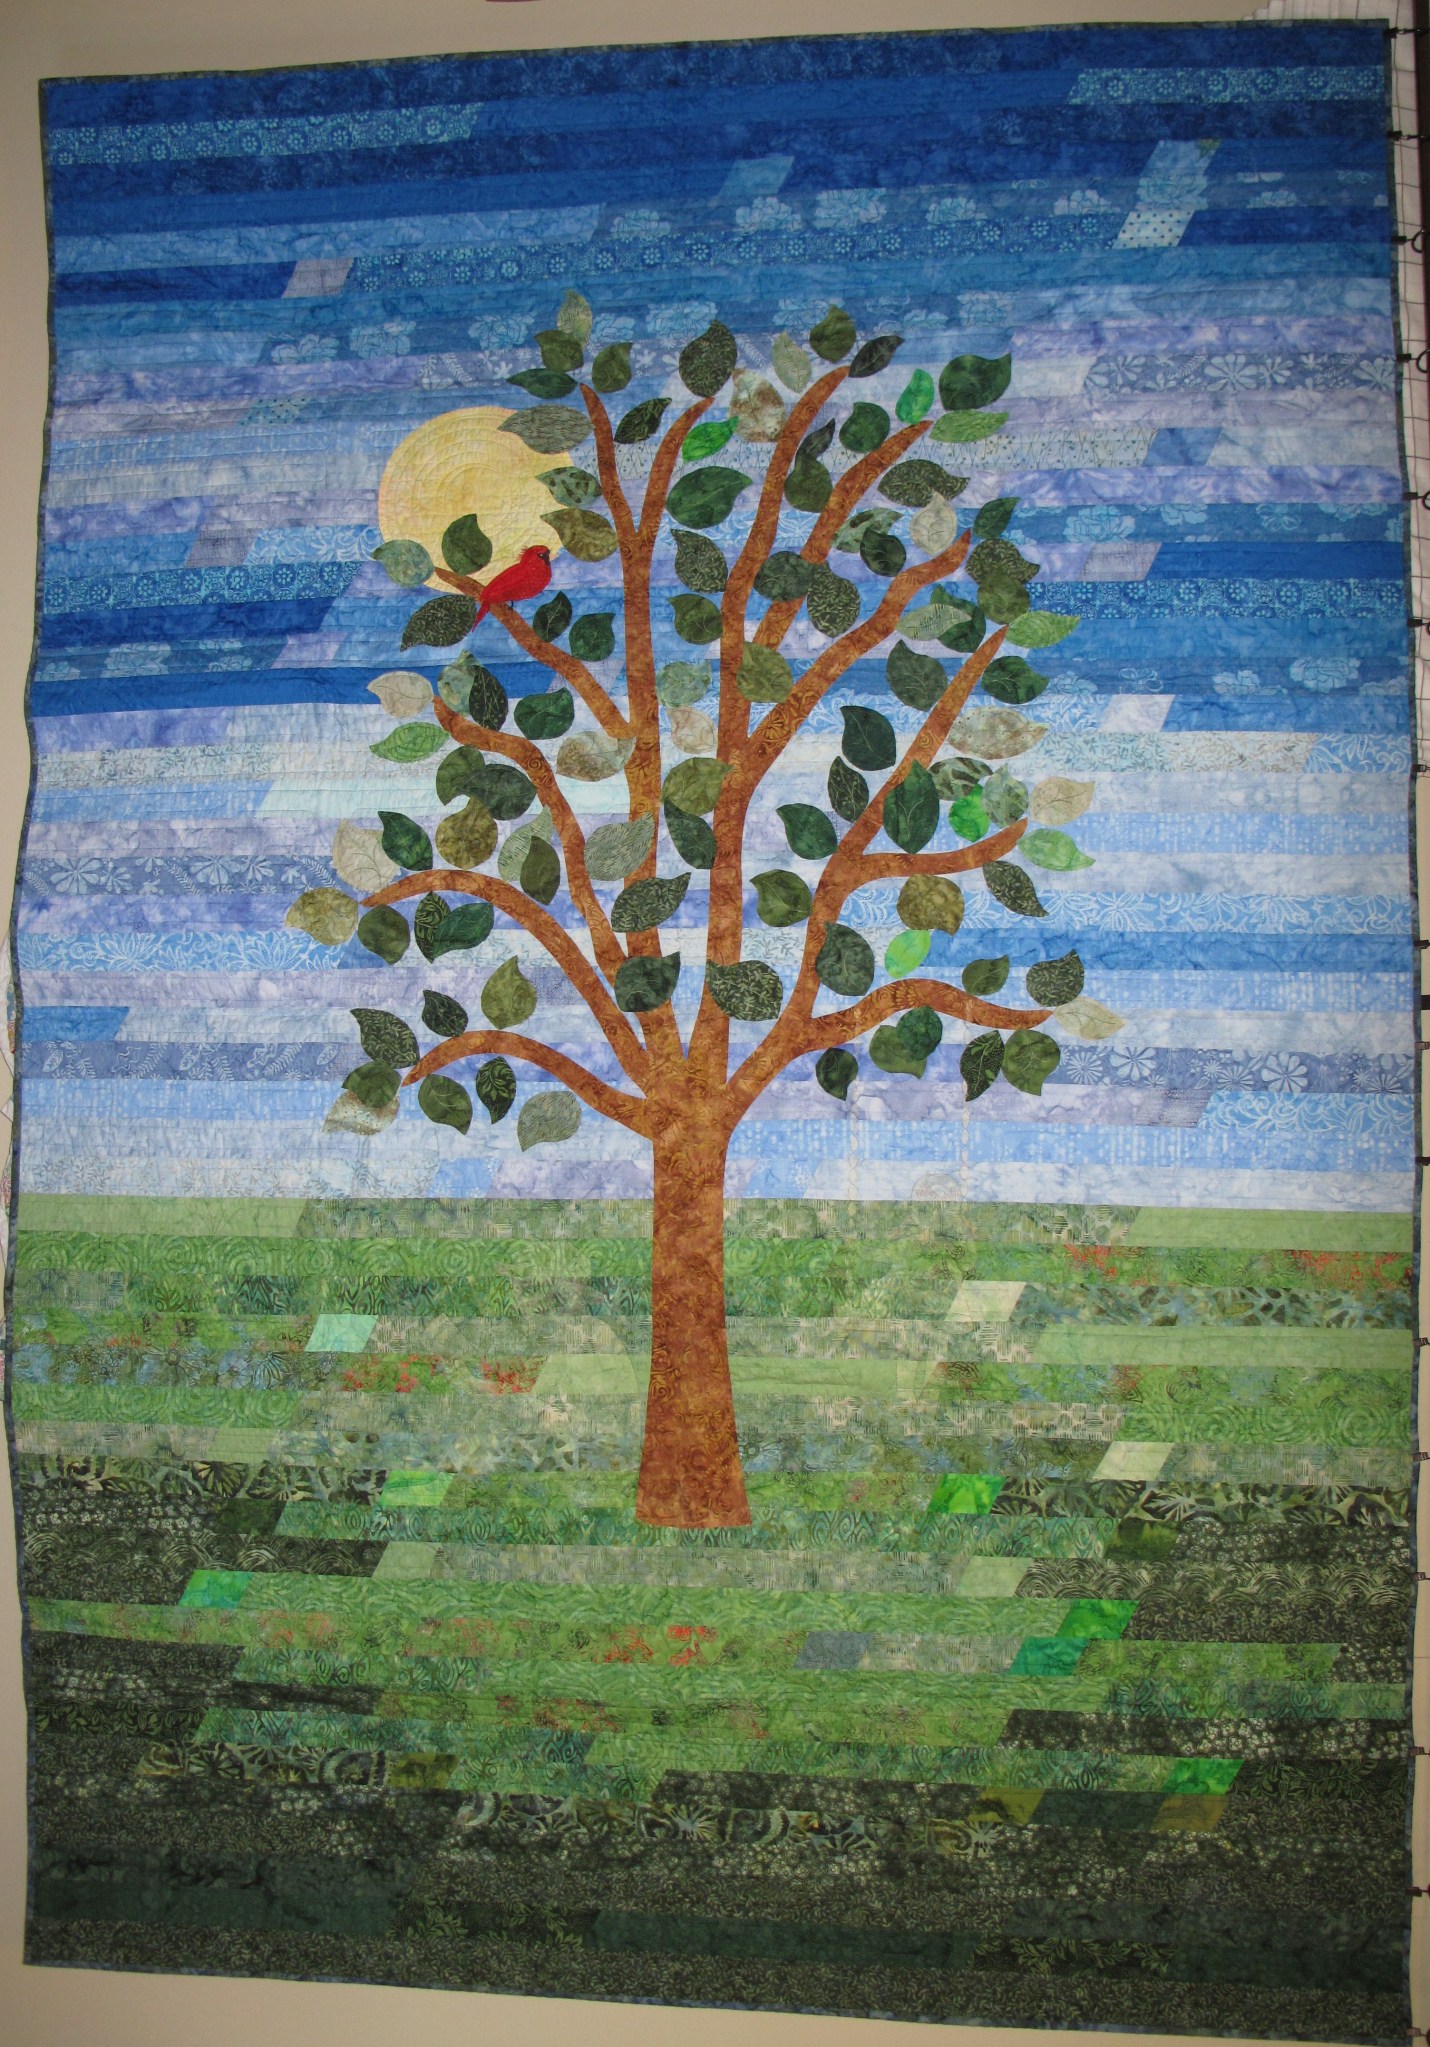
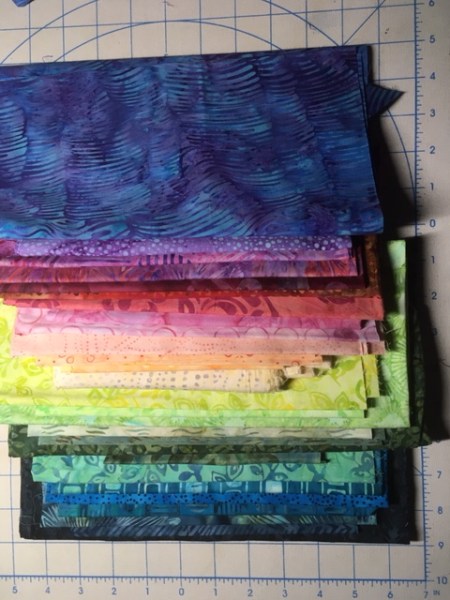 Taking this pile of fabric out of the closet and placing it on my sewing desk was “heaven” to my cat. She kept wanting to lay down on top of the fabrics. To make the rug, instead of using a Jelly Roll, I sorted my fabrics into a rainbow gradient and cut my own 2.5″ strips. I used a total of 22 different fabrics. Rather than doing a standard jelly roll rug pattern, I wanted each fabric to make one complete circle around the quilt. This meant I needed to complete each round before added the fabric for the next round to the project. I also pieced my fabric with straight seams rather than cutting at an angle (I hate to waste fabric).
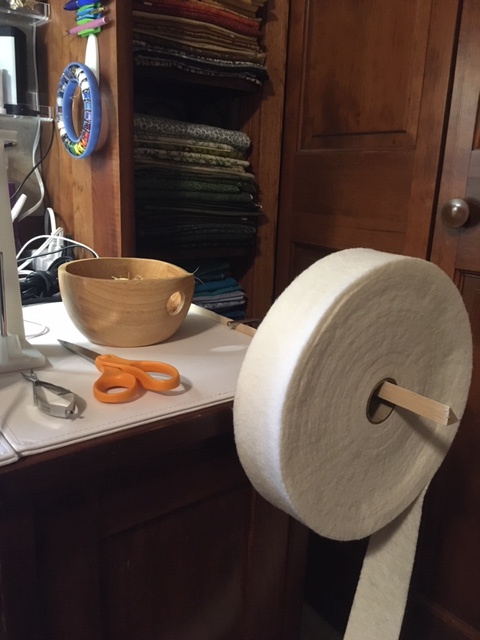
 I found a handy folding tool that I used to make the project go faster.


")


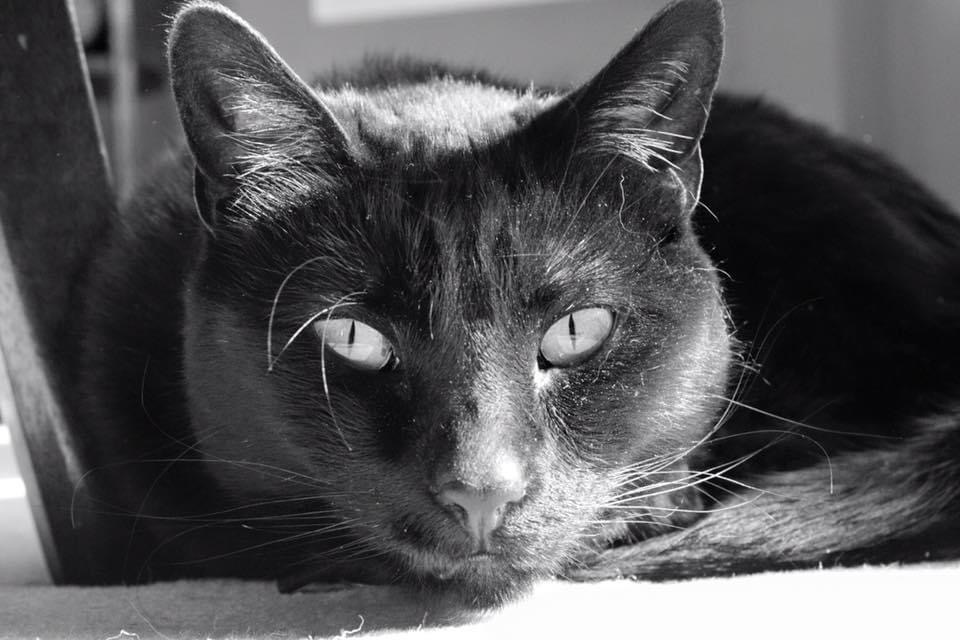
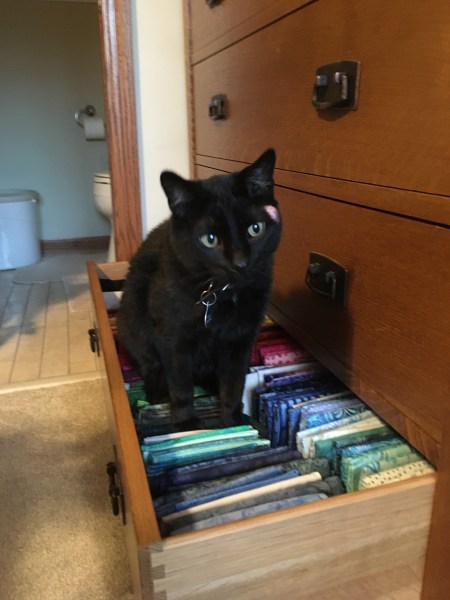
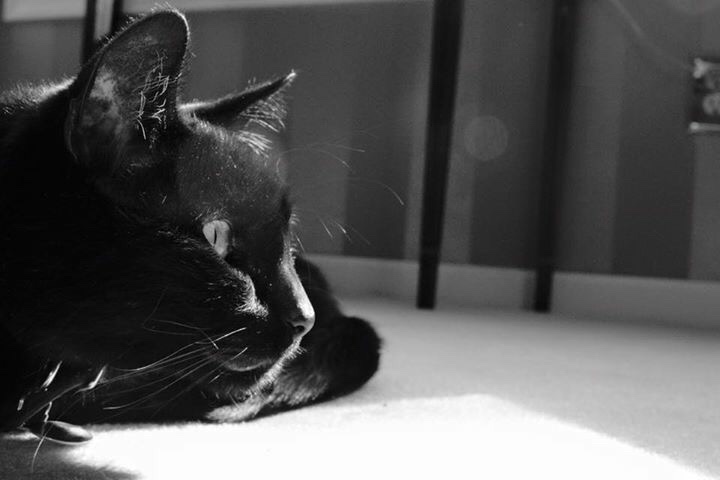 Each time I stopped at the Humane Society, I would spend some time in the cat room playing with the kittens. After six weeks, I had fallen for one of the kittens that was really affectionate. I decided I would adopt her. However, this was early October and I was told that the Humane Society policy was not to adopt out black cats the weeks before Halloween (apparently there are some people that have done evil and cruel things to black cats at that time of the year). Sadly, I left without her but I would return and visit her several times a week. My plan was to adopt her after Halloween to take her home. Luckily about a week before Halloween, the staff decided that I was not going to harm her and allowed me to adopt her earlier than I had anticipated.


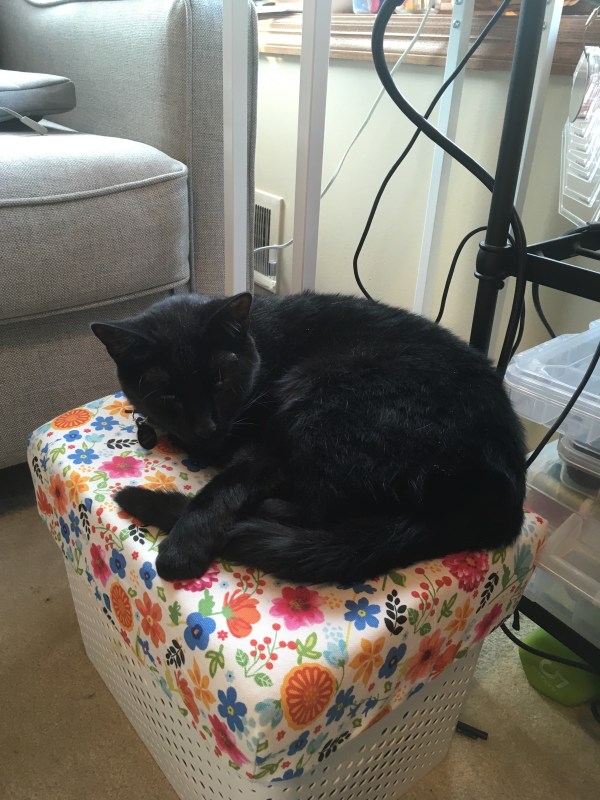
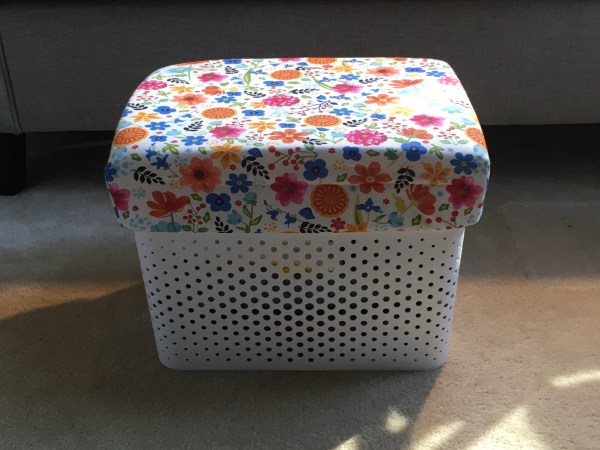 Lately, I have been doing a lot of hand stitching – applique, embroidery and quilt binding. When hand stitching, I like to have a place to rest my your feet higher than the floor in order to make myself more comfortable. Unfortunately this was something that I did not have in my new craft room.
 Wanting to add one, I starting looking around the room to see where I could store the footrest when it was not being used. The size of a place to stash the footrest would be the limiting factor for the size of the footrest itself. With the room maximized for storage, I was not finding a good spot to keep one. So, I put off purchasing one.
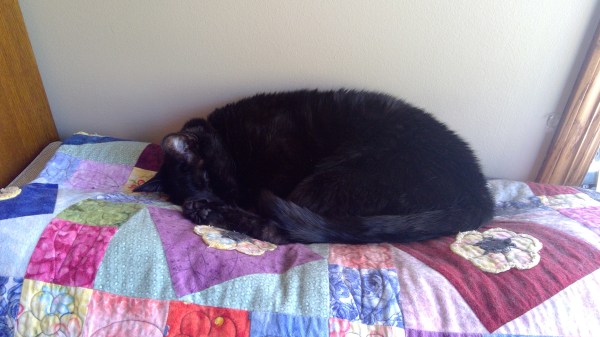


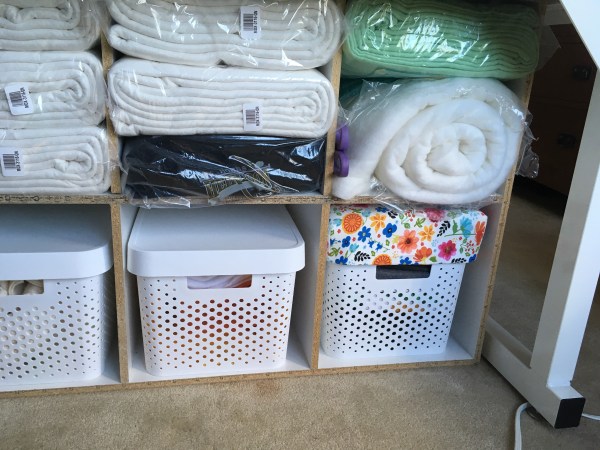 Now I have a colorful and comfortable foot rest. When not in use it fits nicely into the original storage spot without taking up any space in my room.


