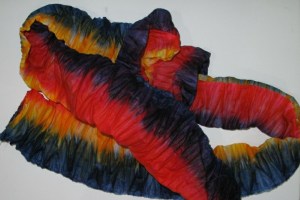
Experimenting with Sun Resist Dyeing

When writing about my latest Shibori project, I alluded to some sun dyeing I had attempted.  After that first attempt, I decided to do some experimenting to determine the best protocol to use for sun resist dyeing.

The idea behind sun resist dyeing is that objects placed on the wet soy-treated fabric will block the suns rays from activating the soy binding of the dye to the fabric.

Having read several different articles about dyeing with soymilk, I first wanted to compare the different ways of prepping the fabric and dyeing the fabric. Some textile artists use just soy milk, some use powder from soybeans and other use soda ash as a pretreatment. So I set up to test several different combinations of pretreatment and dyeing.

For pretreatment, I used used three old pieces of partially dyed fabric (browns and khaki dyes). Each piece was pretreated with either soy milk (1 cup diluted with 3 cups water), soy powder (1/4 cup powder diluted with 4 cups hot water), or soda ash (4 tsp each of soda ash and salt, diluted in 4 cups hot water).
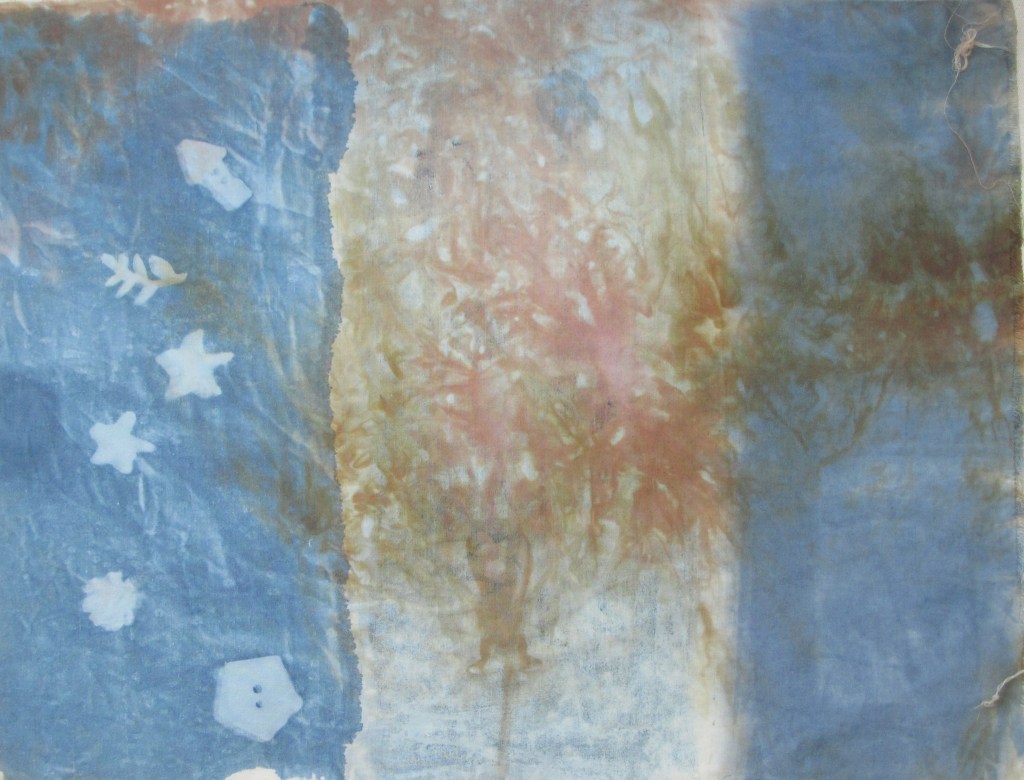
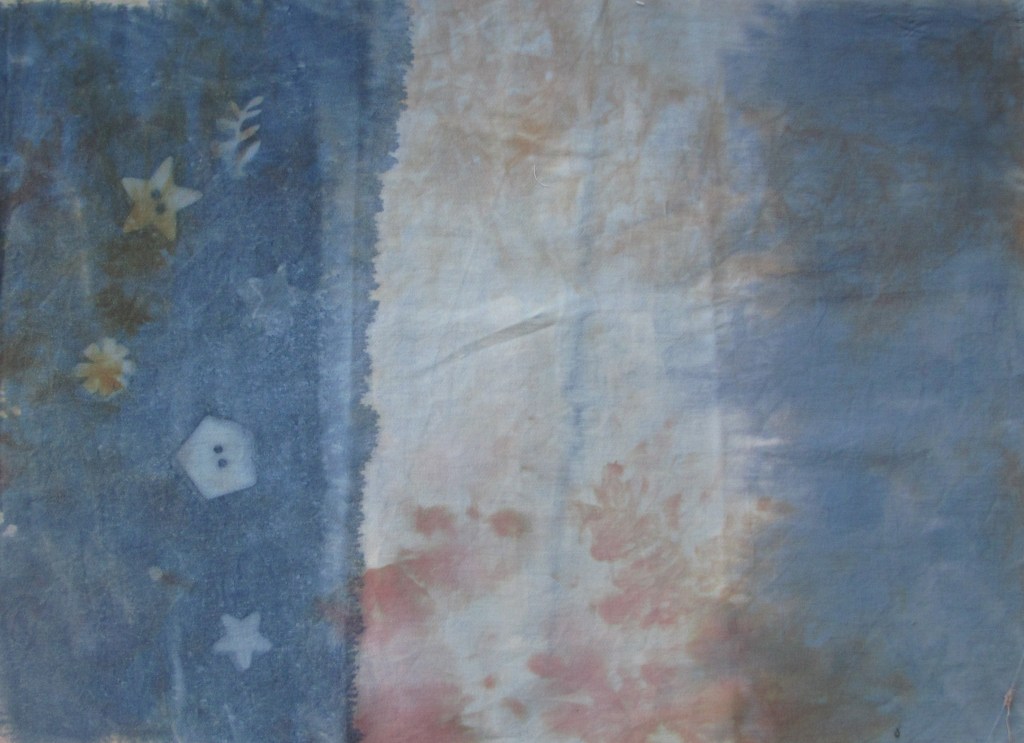
Fabric was pretreated with soymilk.
Fabric was pretreated with soda ash.
Fabric was pretreated with soy powder.

Based upon these test samples, pretreatment of the fabric with soy powder did not result in very strong binding of the blue dye to the fabric. Furthermore, mixing the dye with soy powder did not result in any binding of the blue dye to the fabric. Pretreatment with either soy milk or soda ash was successful in dye binding. However, only the mixing the dye with soy milk cause the sun resist to be visible.

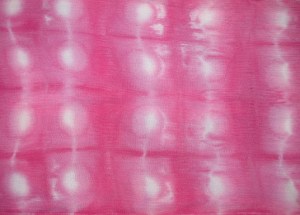
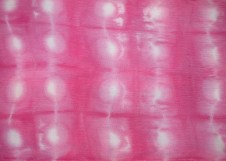
I did a second round of experimenting to verify my findings. In this experiment, the fabric was pretreated with soy milk (left side) or soda ash (right side) and dyed with three different colors of dye (Golden Yellow, Fuschia and Mixing Red) mixed with soymilk.
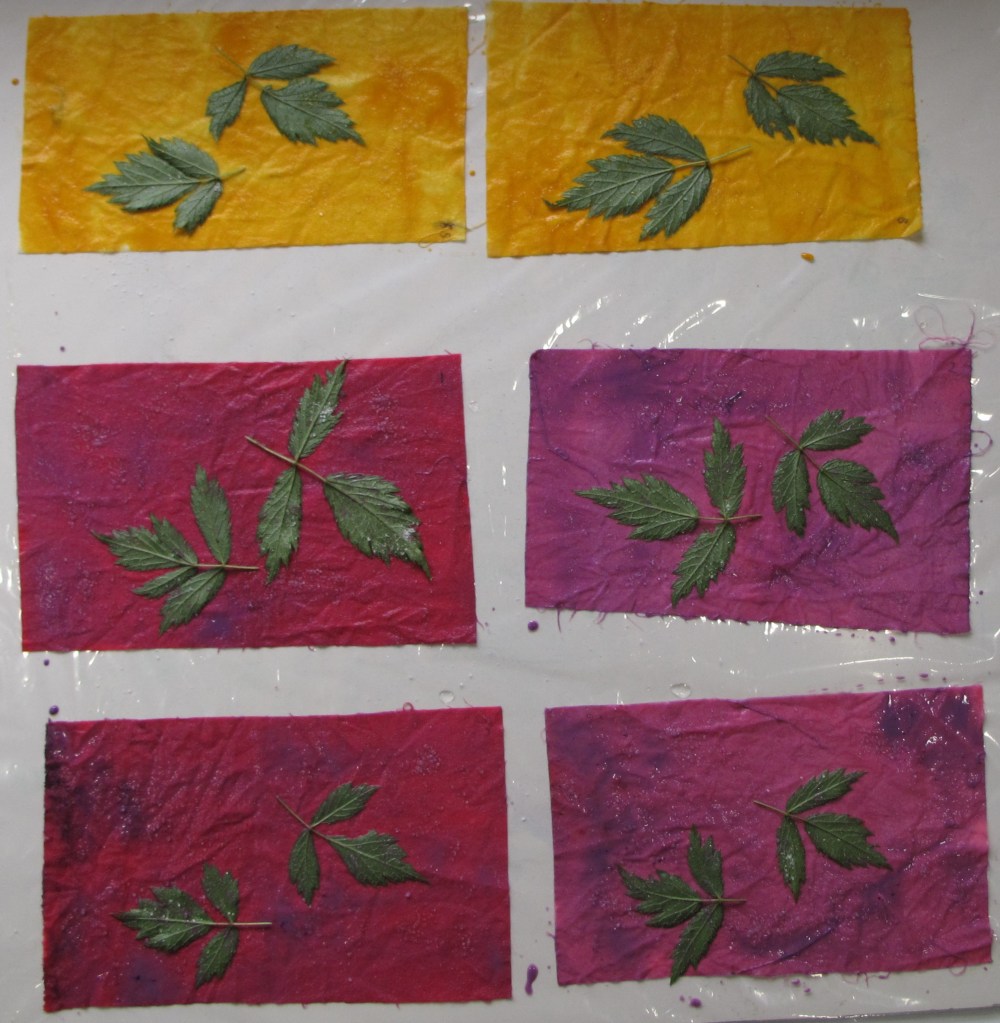
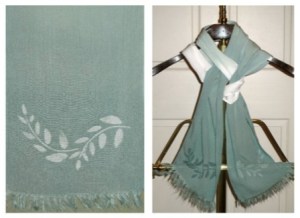
Wet dye painted, leaves placed to block sun.
Samples after drying in sun
Samples after washing with Retayne.

I love the results! I can’t wait to do more sun resist dyeing.
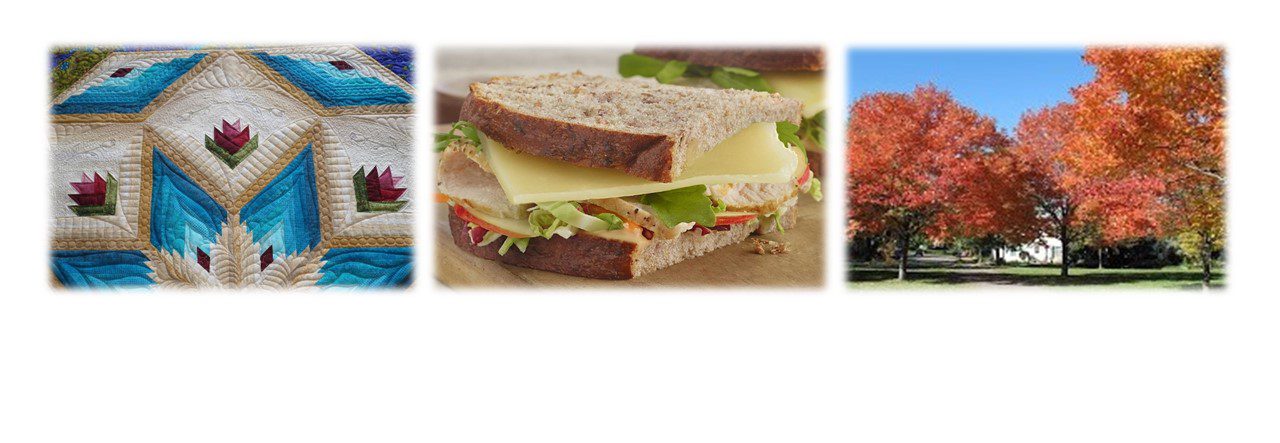
Nui Shibori Table Quilt

Fabric Dyeing has been a fun, creative way to make unique fabrics for my quilting.  This spring, I spent some time playing around with stitched shibori.  I wanted to figure out how to create drawings in the dye.  I also wanted to try hand painting before and after dyeing the fabric.

So, I set out to do a few experiments.

Experiment #1. Nui Shibori flower and over-dyeing painted fabric

  • Draw pattern on the fabric with a water soluble fabric marker
  • Stitch the drawn lines  with polyester thread
  • Dissolve Dye in 1 ml Urea Water, Add 2 T Print Paste, 14 ml Urea Water, 1/8 tsp Mixed Alkali, Mix well
  1.               Dark Pink = ¼ tsp Mixing Red
  2.               Light Pink = 1/16 tsp Mixing Red
  3.               Dark Blue = ¼ tsp Mixing Blue
  4.               Light Blue = 1/16 tsp Mixing Blue
  5.               Green = 1/8 tsp Evergreen
  • Paint dye on fabric areas within the shibori stitching

IMG_2592

  • Paint dye in sections for over-dyeing

Dye Paint


  • Allow to dry for 4 hours
  • Pull center threads and tie off

IMG_2589

  • Place in 1000 ml of 0.15 mg/ml Mixing Blue Dye (with Soda Ash)
  • Batch for 5 hours
  • Wash with Blue Dawn, Dry and Iron

IMG_2593

Dye Paint Overdye

Lessons Learned:

  • Shibori pattern turned out well
  • Dye painting turned out well, but the the color edges were too crisp – use less Print Paste next time
  • Over-dyeing does not change the underlying painted color very much

Experiment #2.  Whole Cloth Pattern:

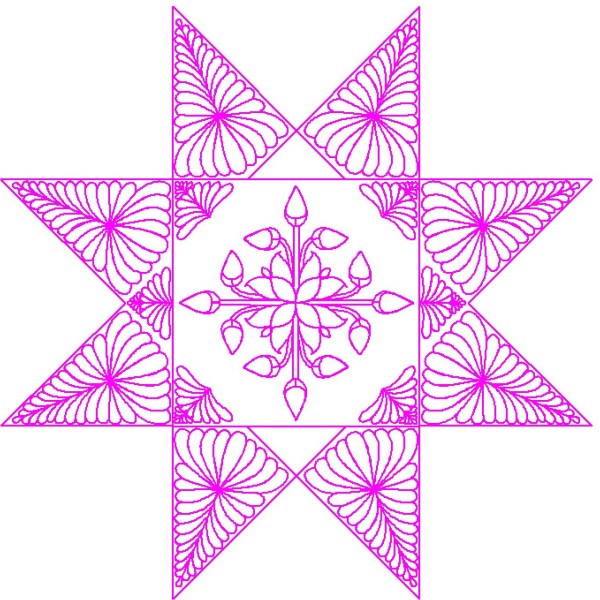
  • Design quilting using QuiltCAD program

Capture

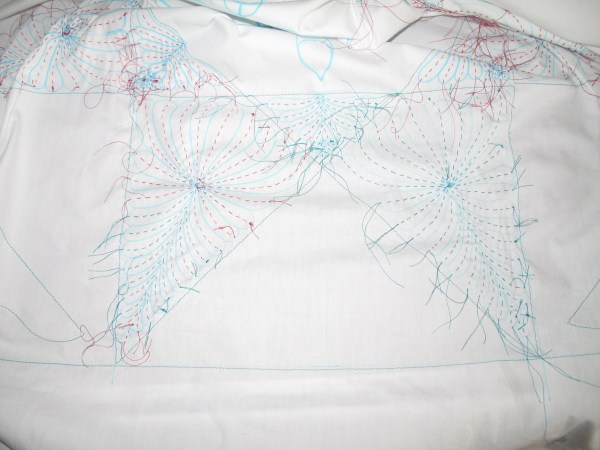
  • Stitch section outlines on long arm with polyester thread for pattern placement when quilting
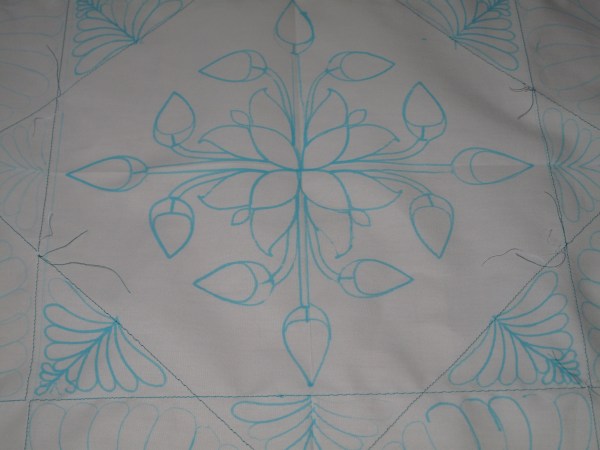
  • Draw shibori pattern by holding water soluble marker in the needle position and running pattern on trace

IMG_2636IMG_2638

  • Hand stitch shibori sections

IMG_2642


  • Dye Paint:
  1. Mixed Alkali: ½ tsp mixed with 8 ml Urea water
  2. Yellow: 1/8 tsp Golden Yellow in 10 ml Urea water; Combine 1 ml concentrate with 6 ml Print Paste, 3 ml Urea water and 0.6 ml Mixed Alkali
  3. Green: 1/8 tsp Evergreen in 15 ml Urea Water. Combine 7.5 ml concentrate with 15 ml PP and 1.5 ml MA
  4. Dark Pink: 1/8 tsp MR in 15 ml Urea water.  Combine 7.5 ml concentrate with 15 ml PP and 1.5 ml MA
  5. Light Pink: Combine 3 ml MR concentrate with 15 ml PP and 1.5 ml MA
  • Paint on Fabric sections of shibori stitching

IMG_2697

  • Allow to dry for 4 hours
  • Pull center threads and tie off
  • Stitch Floss “Ties” to center of fabric to help with lifting in/out of water
  • Make Dye Concentrate: Mixing Blue 10 gm in 100 ml Urea Water (100 mg/ml)
  • Place in 4000 ml Soda Ash solution in bucket
  • Add dye concentrate at 5 minute intervals (10 ml, 10 ml, 10 ml, 10ml, 40 ml) = 0.25, 0.5, 0.75, 1.0, 2.0 mg/ml to create an ombre effect
  • Lift fabric a small amount after each dye increment
  • Prop fabric up on support dripping into empty bucket, cover with plastic bag

IMG_2699

  • Batch for 4 hours

IMG_2701

  • Clip and remove all sewing lines
  • Wash with Blue Dawn, Dry and Iron

IMG_2852

  • Quilt as planned

IMG_2942

Lessons Learned:

  • Paint center dye before pulling tight the outer threads – easier than having to paint on a bubble
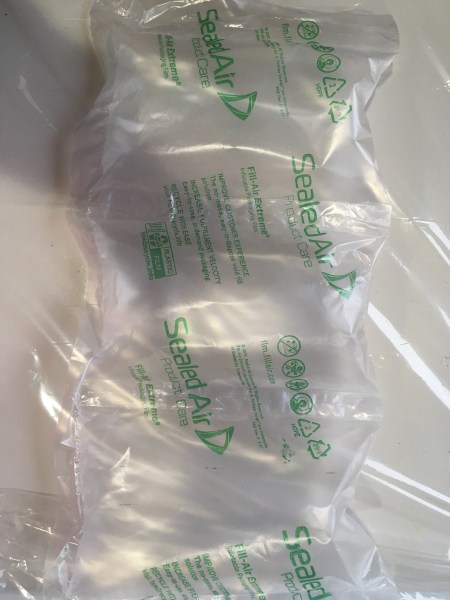
  • If you forget the first step – sealed air packs work well to fill the bubble for painting

IMG_2700

  • Fabric will trap air, creating a bubble, in the middle – easy to keep the center section out of the dye bath.
  • Use a color of thread different from the color of dye – makes it easier to remove the threads.
  • The fabric dye paint did not turn out as well as I had hoped.  So, after quilting, I repainted the fabric dye without Print Paste for a smoother look


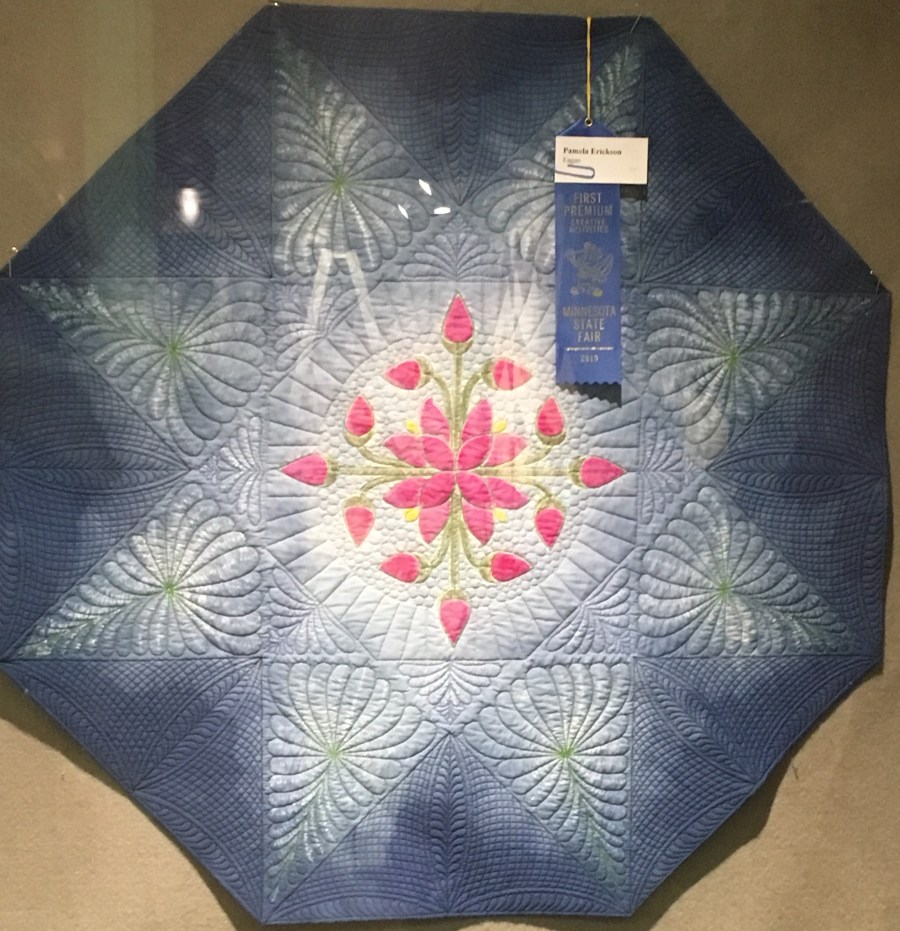
I entered this quilt in the Minnesota State Fair on a whim to see what the judges comments would be regarding the shibori  and hand painting technique.  Boy was I surprised that it was awarding a blue ribbon!


Dyed Fabric Strip Quilt

IMG_3010

One of my original posts on this blog was about fabric dyeing (Sept 22, 2015).   At that time, I mentioned that I had watched a Craftsy class about dyeing fabric.  Before jumping in and buying numerous colors of dye and supplies, I decided to try a sample kit.
The purchased a gradation dyeing kit which was a smart decision.  This kit gave me the opportunity to try my hand at mixing dyes to get different colors, as well as working with low volumes and how to best handle the fabrics.
The first color kit I purchased was “STONES & SHELLS”. Stones&Shells
Colors included were: Camel 5181, Old Rose 5220 & Stormy Grey 6160
Following the directions, I created thirty fat eights in a gradation of earth tones.  While the samples were fun to make, I had no idea what to use them for.  So,  these pieces of fabric have been sitting on my shelf waiting for some inspiration.  Earlier this year when I was doing some strip quilting, I decided that a strip quilt might be a good use of these fabric as well.
To add some pops of color, I dyed three fat quarters of cotton fabric using a variety of techniques – marbling, sun dyeing and batch dyeing.  For the sides and the backing, I dyed a three yard piece of 108″ wide cotton with a evergreen dye.
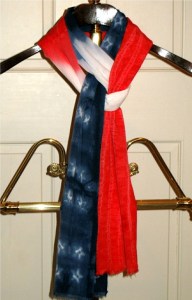
The gradation fabrics were cut into 2.5″ x 20″ strips.  These were then sorted by color and then   The green pops of color were cut into 2 1/2″ x 5 1/2″ pieces.  The strips were then sewn together with dark green on each side.  After sorting the gradation fabrics, I split them into three groups and pieced starting with the first color of each group.  This allowed for the fabrics to be distinct rather than blending from one gradient to the next.
The quilt top was then put together using my long-arm machine just like a did with the black strip quilt earlier this year (May 8, 2019).
Another fun quilt to donate.  And, more fabric used from my stash!

Katazome – Stencil dyeing

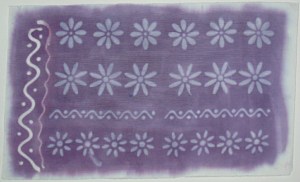
Katazome, is a Japanese method of dyeing fabrics using a resist paste applied through a stencil. With this kind of resist dyeing, a rice flour mixture is applied using a brush or spatula.  Pigment, or dye, is then applied by hand-painting, immersion or both.  Where the paste mixture covers and permeates the cloth, dye will not penetrate. One of the biggest attractions of katazome was that it provides and inexpensive way for an over-all pattern.
Traditional katazome is quite labour intensive.

Traditional Katazome Stencil cutting

Stencil:
In traditional Katazome, the stencil is made by bonding multiple layers of mulberry paper together and waterproofing with persimmon tannin, resulting in a strong, flexible brown colored paper.  The intricate designs are then cut by hand with a knife. The resulting stencil is stabilized by overlaying with a fine net of silk.
This seemed way too complicated and time consuming.  So, I decided to use an existing plastic stencil for my first trial. For additional stencils, I used my Cameo to cut custom designs.

Nori Paste applied through a plastic stencil.
Far left shows Elmer’s School Glue drawn on.

Paste Resist:
Traditional Katazome paste is made using a complicated process (John Marshall has a very good description at http://www.johnmarshall.to/H-Resist.htm). While checking on-line for easier methods of making the paste resist, I found that Amazon carries a type of glue called Nori Glue that is made from rice and is water soluble.  I purchase some and found that it was an inexpensive, easy and satisfactory paste resist.
I also tried Elmer’s school glue.  This works well as a resist for drawing but was not a good stencil resist.

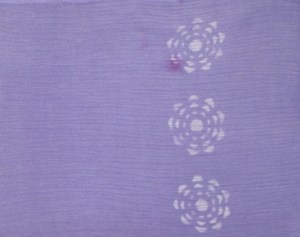
Resulting fabric after dyeing with Purple Procion dye.

I liked this technique.  So, I decided to try making some scarves.

Custom Stencil cut with Cameo


Technique:

  • Rayon gauze  12″ x 90″.
  • Tape stencil and apply Nori Paste
  • Dry overnight.
  • Dip in dye (Lilac) to create Ombre effect.
  • Rinse, wash with Blue Dawn and dry.
Dyed Fabric


Resulting Scarf
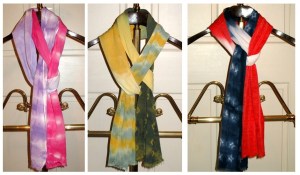
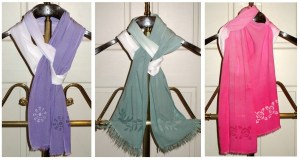
Green Scarf


Magenta Scarf

Nui Shibori

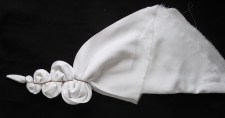
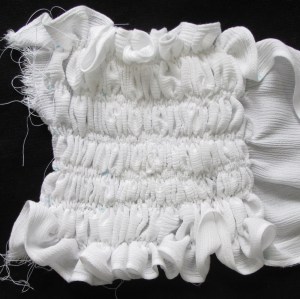
Nui (Japanese for sewing) involves using a simple running stitch to pull the fabric tightly together. The thread is secured with a knot before dyeing. The technique allows for greater control of the pattern but is much more time consuming.
Trial #1
1. Fabric cut 12″ x 90″.

2. Sew six sets of lines (each set includes two lines 1/4″ apart) each 1″ apart.

3. Pull the threads tight and tie knots.

4. Place the bound fabric in the bottom of a flat container.  Add Mixing Red dye (500 ml at 5 mg/ml).

4. Batch for 2 hours.

5. Rinse out excess dye with cold water. Wash with Blue Dawn in hot water.  Resulting scarf is shown above.

Trial #2
1. Fabric cut 12″ x 90″.

2. Sew zig-zag lines lines each 2″ apart.

3. Pull the threads tight and tie knots.

4. On each side of the pulled and bound fabric, paint on Golden Yellow and Green (4 mg/ml, 100 ml total).

5. Batch for 2 hours.

6. Rinse out excess dye with cold water. Wash with Blue Dawn in hot water.

Kumo and Kanoko Shibori

Today’s shibori techniques – Kumo and Kanoko.

Kumo (Japanese for spider) is a twist and bind resist technique. It involves binding fabric around objects or by pleating sections of the fabric very finely and evenly. The result is a very specific spider-like design.

Trial #1
1. Fabric cut 12″ x 90″.

2. Place a small pony bead on the fabric and bind with a 1/4″ rubber band (Orthodontic elastic). Continue binding beads to create the pattern that you would like.


3. Place the bound fabric in the bottom of a flat container.  Add Royal Blue dye (500 ml at 5 mg/ml).

4. Batch for 2 hours.

5. Rinse out excess dye with cold water. Wash with Blue Dawn in hot water.

Trial #2
1. Fabric cut 12″ x 90″.

2. Pull up sections of the fabric at one end of the piece and bind tightly with synthetic sinew. Fold and bind a larger section of fabric at the other end of the piece.


3. Place the bound fabric in the bottom of a container.  Add Lilac dye (500 ml at 3 mg/ml).

4. Batch for 2 hours.

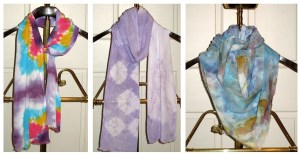
5. Rinse out excess dye with cold water. Wash with Blue Dawn in hot water.  Resulting scarf is shown above.

Kanoko is what is commonly thought of as tie-dye. It involves binding certain sections of the cloth to achieve the desired pattern. The pattern achieved depends upon how tightly the fabric is bound and where the fabric is bound. If the cloth is first folded and then bound, the resulting circles will be a pattern created by the folds, creating a cross between a mandala and tie-dye.


Trial #3
1. Fabric cut 12″ x 90″.

2. Fold in triangles up the length of the fabric.

3. Bind the fabric in sections with synthetic sinew.

4. Soak in soda ash solution for 30 minutes.


5. Drip dye solution (25 mg/ml) on each section to form a color pattern.

6. Batch for 2 hours.


7. Rinse out excess dye with cold water. Wash with Blue Dawn in hot water.

 Trial #4
1. Fabric cut 36″ x 36″.

2. Fold the fabric as described for mandalas.

3. Pull fabric together in sections and bind with sinew.

4. Soak fabric in warmed soda ash solution for 30 minutes.

5. Place fabric in tray over bucket.

6. Cover with scrap fabric to collect undissolved dye particles.

7. Cover with 4″ of snow and sprinkle with 1 teaspoon of mixed dye powder (Mixing Blue, Royal Blue, Turquoise  and Green).

8. Place lid over the bucket and allow to sit at room temperature until snow is melted.

9. Pour 250 ml of warm soda ash solution over the fabric to help set the dye.

10. Rinse fabric in cold water. Wash in hot water with blue Dawn soap. Rinse, dry and iron.

Arashi Scarf and the Technique for Itajimi Shibori

Before I describe another Shibori technique, I thought I would show a photo of the Arashi Shibori Scarf from my last posting.

Very fun colors!

To refresh your memory, there are five major forms of Shibori –
Arashi
Itajimi
Kanoko
Kuno
Nui.


Itajimi is a shape-resist technique. The cloth is folded like an accordion and sandwiched between flat shapes which are held in place with string or clamps. The shapes prevent the dye from penetrating the fabric that they cover.

Trial #1
1. Fabric cut 9″ x 18″, folded in fourths lengthwise. Then folded in triangles.

2. Bind the triangle together with string or a rubber band.

3. Dip the corners into different colors
Turquoise: 20 ml at 4 mg/ml
Mixing Red: 20 ml at 3 mg/ml
Lilac: 20 ml at 1 mg/ml

4. Batch for 12 hours.

5. Rinse out excess dye with cold water. Wash with Blue Dawn in hot water.

Trial #2
1. Fabric cut 12″ x 90″.

2. Ends folded in fourths lengthwise. Then folded in accordion style with wooden discs inserted between each secondary fold.

2. Bind the bundles together with string or a rubber band.

3. Dip each end in a dye bath
(250 ml at 1 mg/ml)
Lilac
Fuchsia

4. Batch for 12 hours

5. Rinse out excess dye with cold water. Wash with Blue Dawn in hot water.

Resulting Scarf

 Trial #3
1. Fabric cut 12″ x 90″.

2. One end folded in fourths lengthwise. Then folded in accordion style with plastic stars inserted between each secondary fold, making sure that the star points match between the layers.

3. Clamp the fabric bundle together with a utility clamp.

 3. Dip the fabric bundle in a dye bath
250 ml at 5 mg/ml Mixing Blue

4. Batch for 12 hours

5. Rinse out excess dye with cold water. Wash with Blue Dawn in hot water.

My plan is to use another Shibori technique to dye stripes on the other end of this scarf.

That will be a project for another day.

Arashi Shibori – another wrapping technique

The previous posting described a technique for Arashi pole-wrapping that involved sewing the fabric to help scrunch it onto the pole.  Today, the pole wrapping technique will require no sewing.


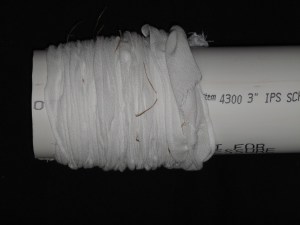
1.  Fabric (12″ x 90″) is placed at an angle onto the PVC pipe (4″diameter), securing the beginning of the fabric with a rubber band.

2. The fabric is wrapped around the pipe and secured with string or floss wrapped every inch.

3. Scrunched the fabric down on the pipe as you continue to wrap the rest of the fabric up the length of the pipe.

4. Secure the opposite end of the fabric with another rubber band.

5. Soak in soda ash solution for 15 minute.

6. Squirt dye concentrate (25mg/ml) onto fabric, using about 20 ml per color.

7. Batch for 12 hours.
8. Rinse out excess dye with cold water. Wash with Blue Dawn in hot water.

Shibori Dye Resist

Shibori is a Japanese term for methods of dyeing fabric that include binding, stitching or folding the fabric prior to dyeing. The earliest known example of cloth dyed with shibori technique dates back to the 8th century when indigo was the main dye used. Tie-dye is a commonly used form of shibori.
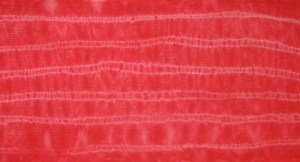
There are an infinite number of ways one can bind, stitch, fold, twist or compress cloth for shibori and each way results in very different patterns. The results are also dependent upon the type of fabric used. Different techniques can be used in conjunction with one another to achieve even more elaborate results.
Types of shibori – Arashi, Itajimi, Kanoko, Kuno, and Nui.

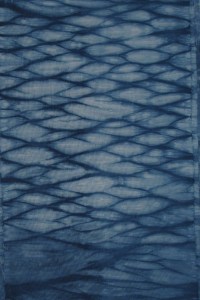
Arashi (Japanese for “storm”) involved pole-wrapping. The fabric is wrapped around a pole or cylinder, then tightly bound and scrunched down on the pole prior to dyeing.
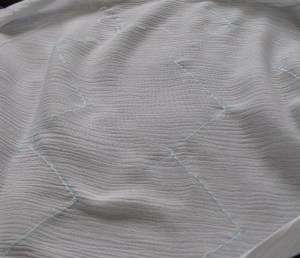


Technique:

1. PVC pipes with caps (to reduce the amount of dye needed)

2. Fabric cut 9″ x 90″, stitched together using a long stitch length to form a tube of fabric, and scrunched tightly on pipe.

Pole-wrapped fabric placed in dye bath for 10 minutes for each color
2 mg/ml, 350 ml

3. Mixing Blue
4. Mixing Red
5. Golden Yellow

6. Dyed fabric
7. Batch 4 hours on a heating plate.


Remove fabric from pole and remove stitching.
Rinse out excess dye with cold water.
Wash with Blue Dawn in hot water.

Resulting fabric!