Field Trip to a Pine Tree Farm and a Second Basket

Discovering a new craft is always fun. And, learning more about the craft is even better. So, after making my first pine needle basket, I spent some time learning more about the craft. I was also curious to see if needles that were handled gently and harvested specifically for weaving were different than those harvested for landscape mulch. A quick on-line search yielded no results for places to purchase pine needles near Hilton Head Island. Etsy, however, proved more useful. Looking over the listing of shops that sold pine needles, I discovered a seller that lived in Lyons, GA (a two hour drive away). I sent the seller a message asking if I could visit their farm to purchase needles directly rather than ordering them. I was happy when I received a reply saying yes I could visit.

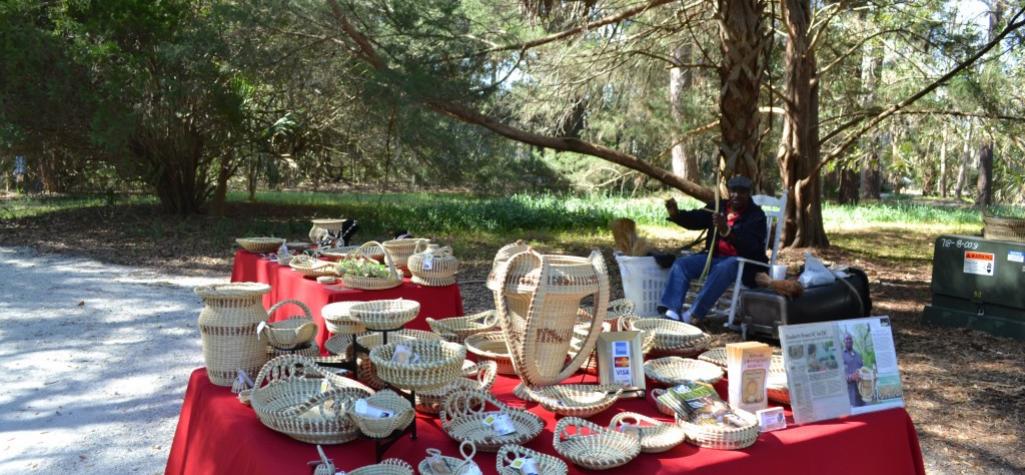
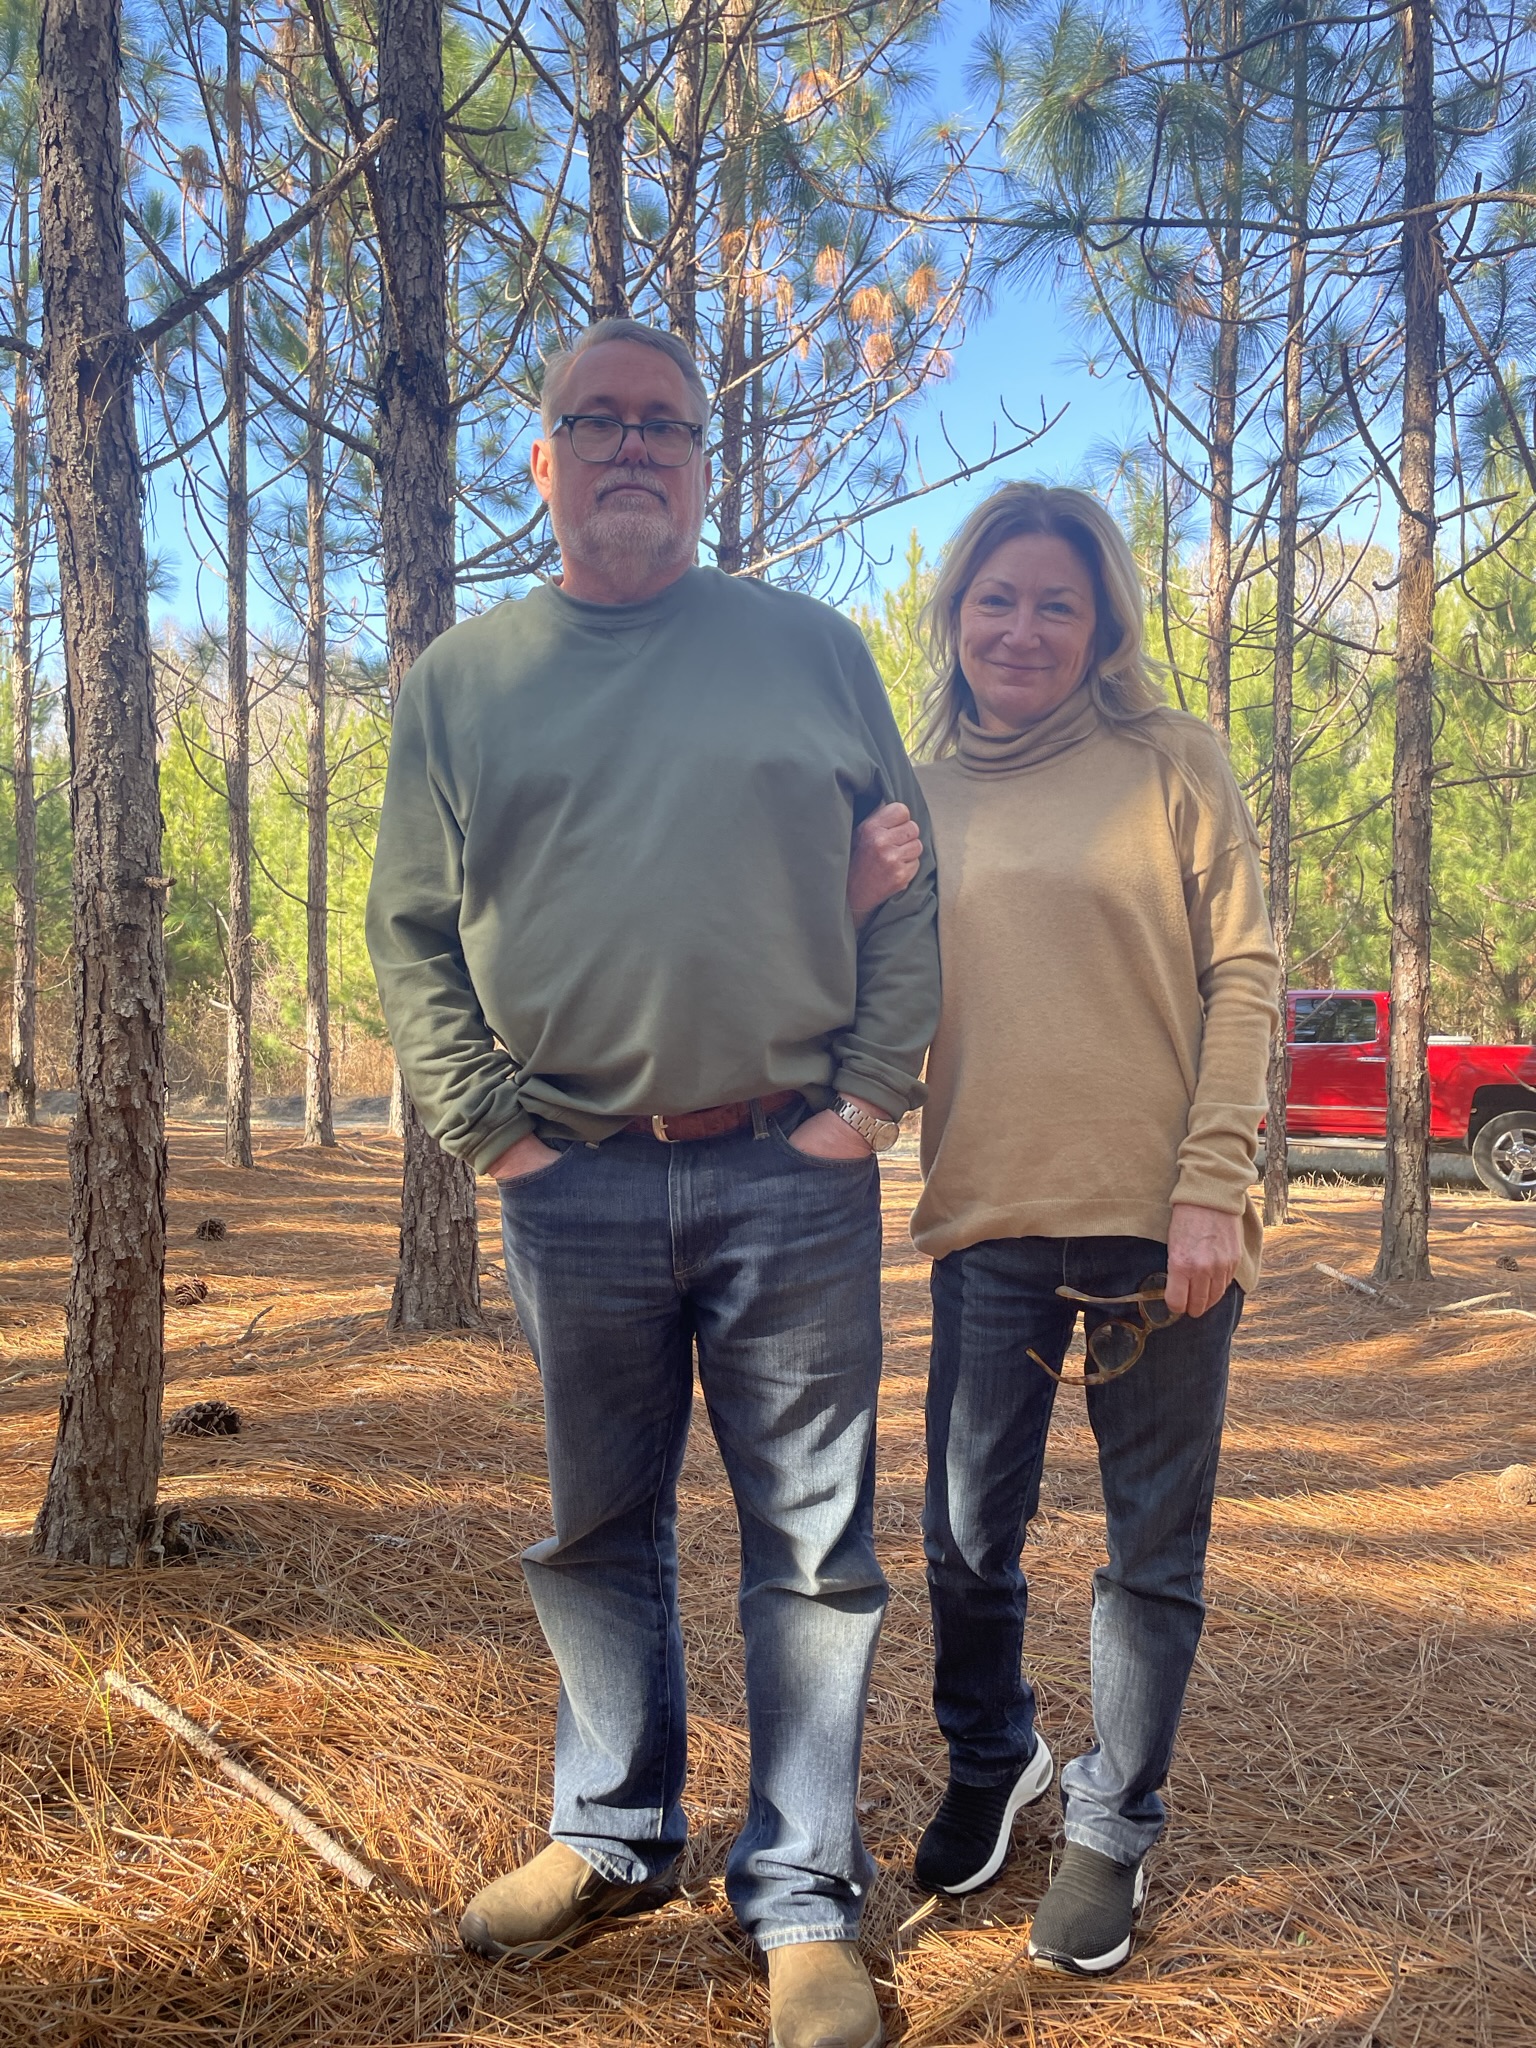
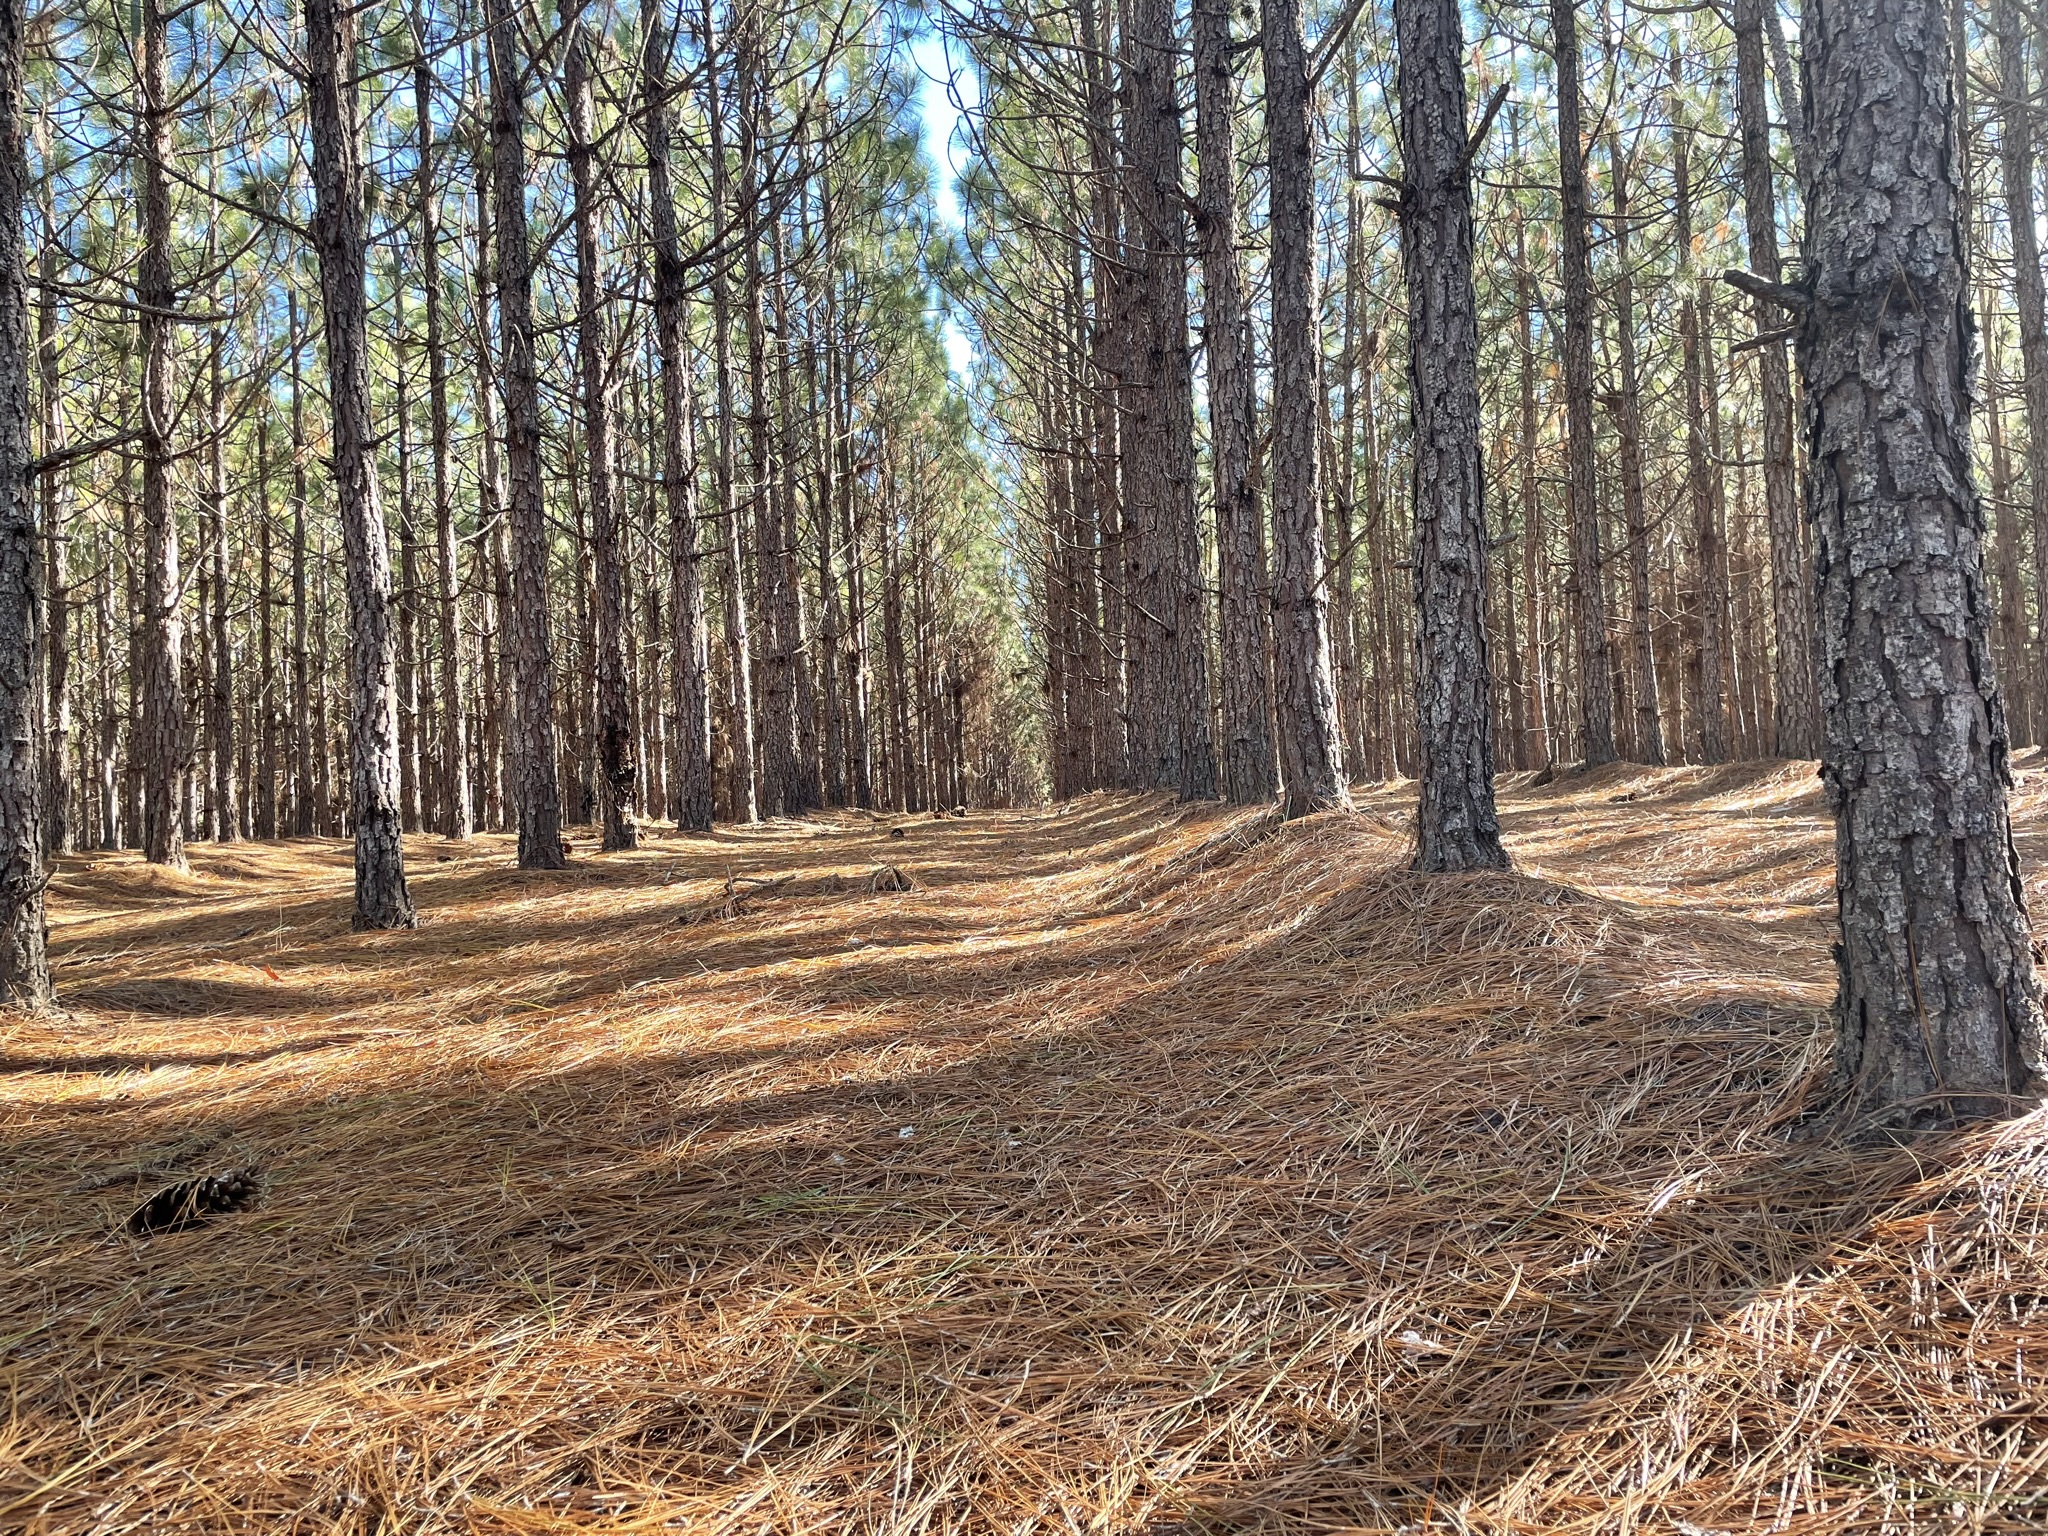
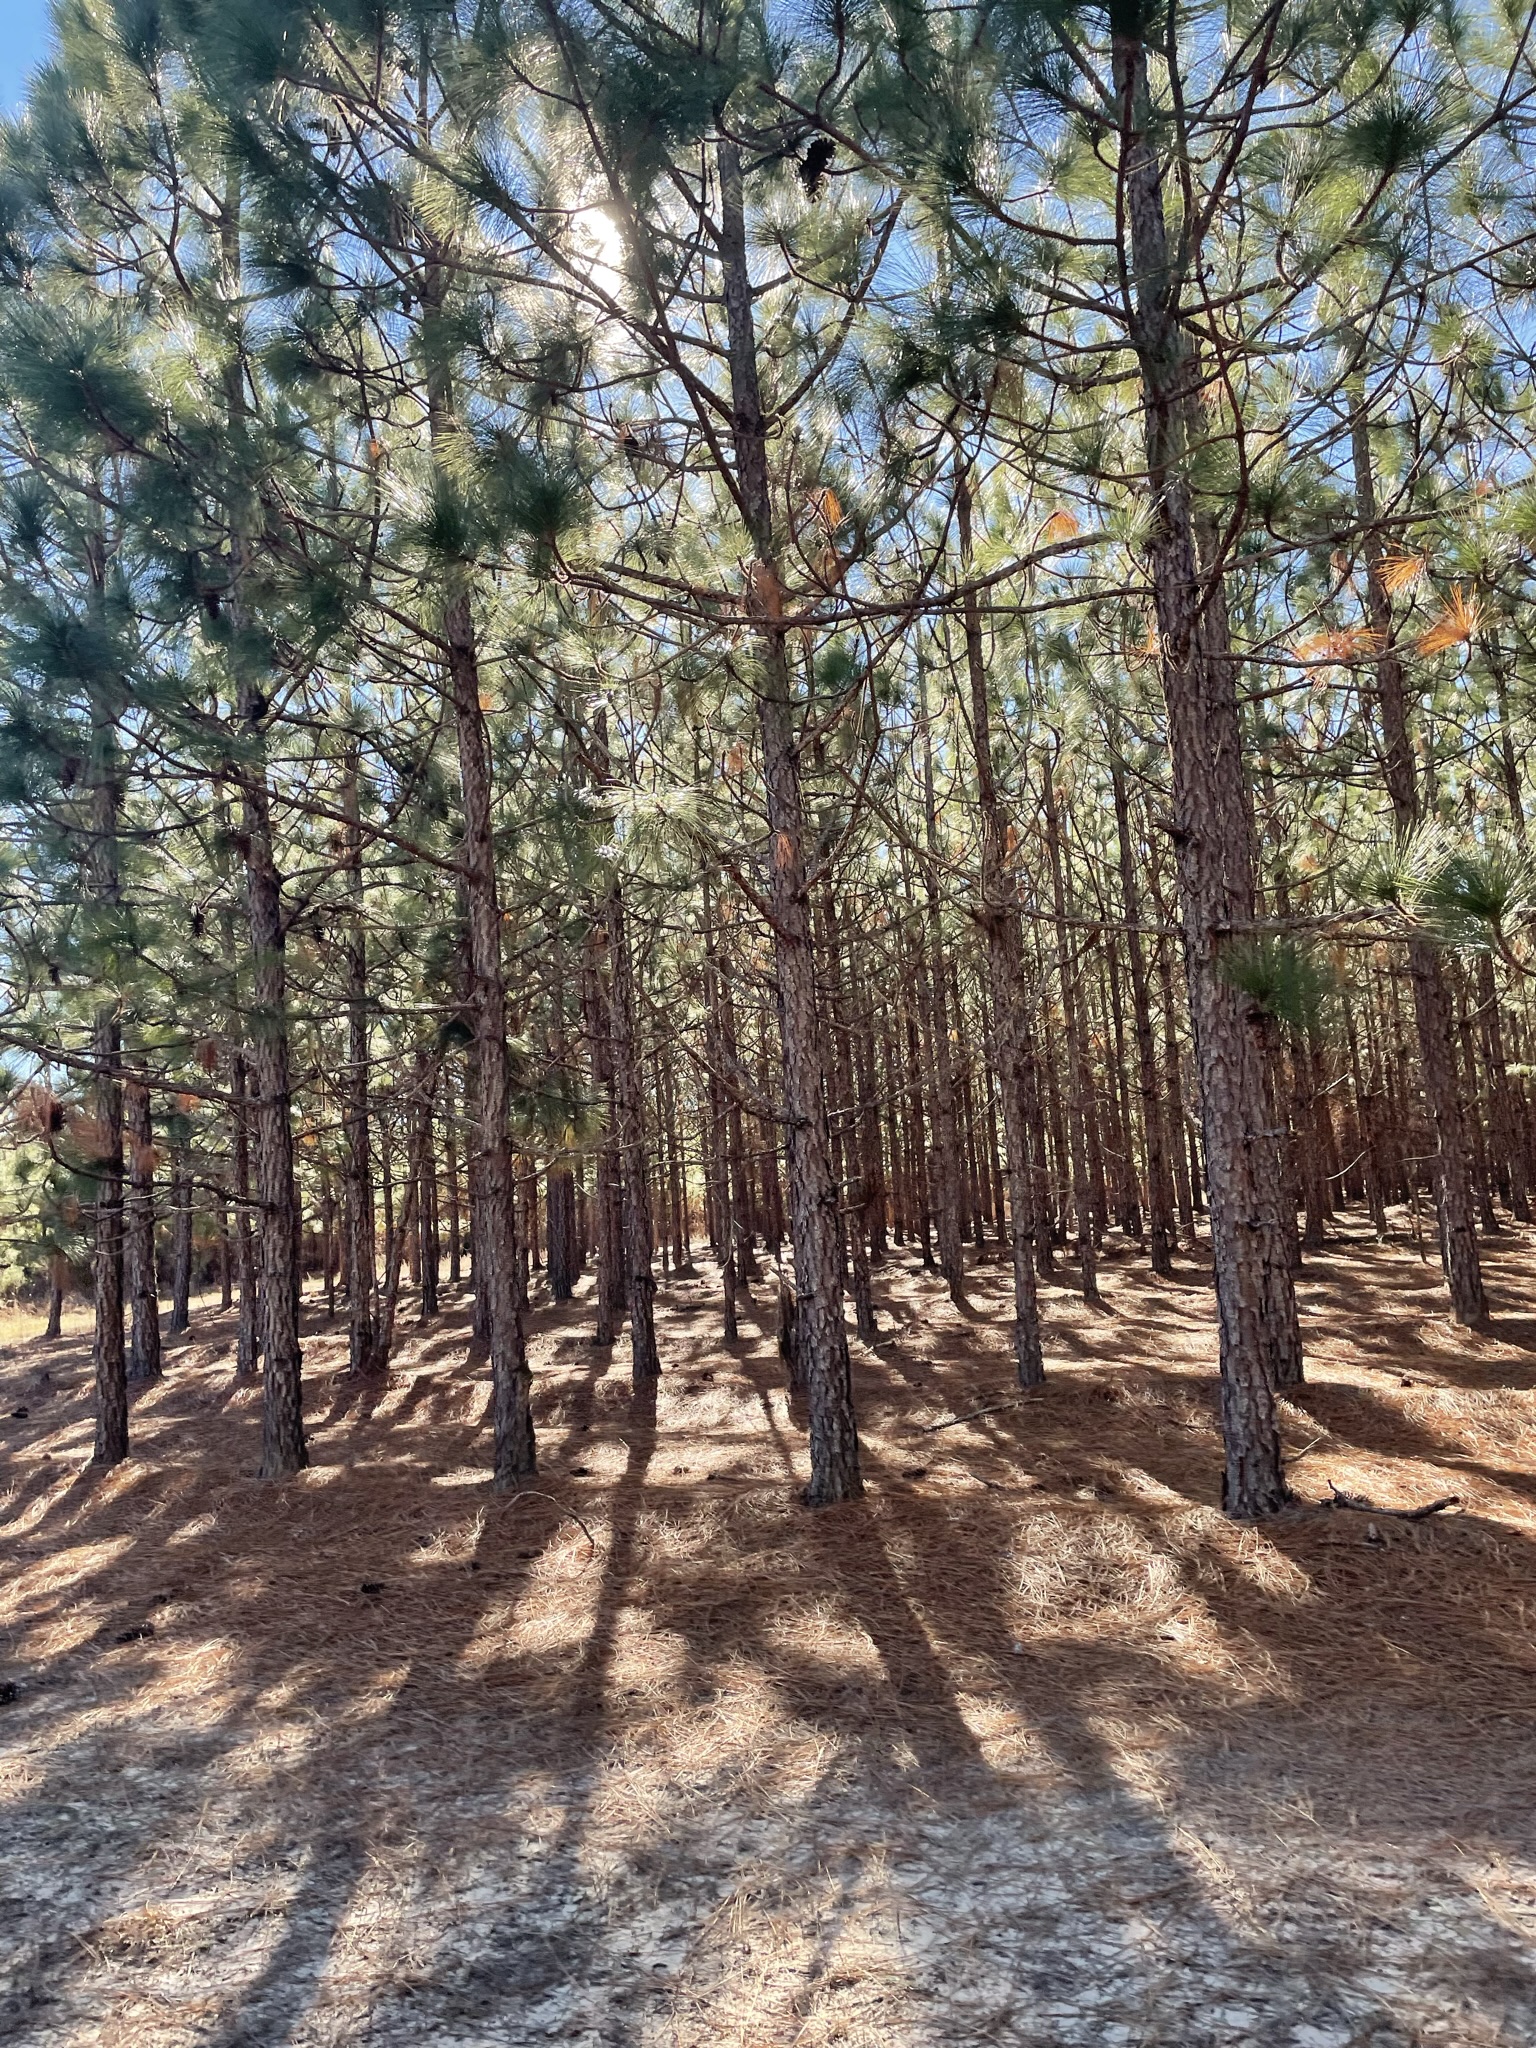
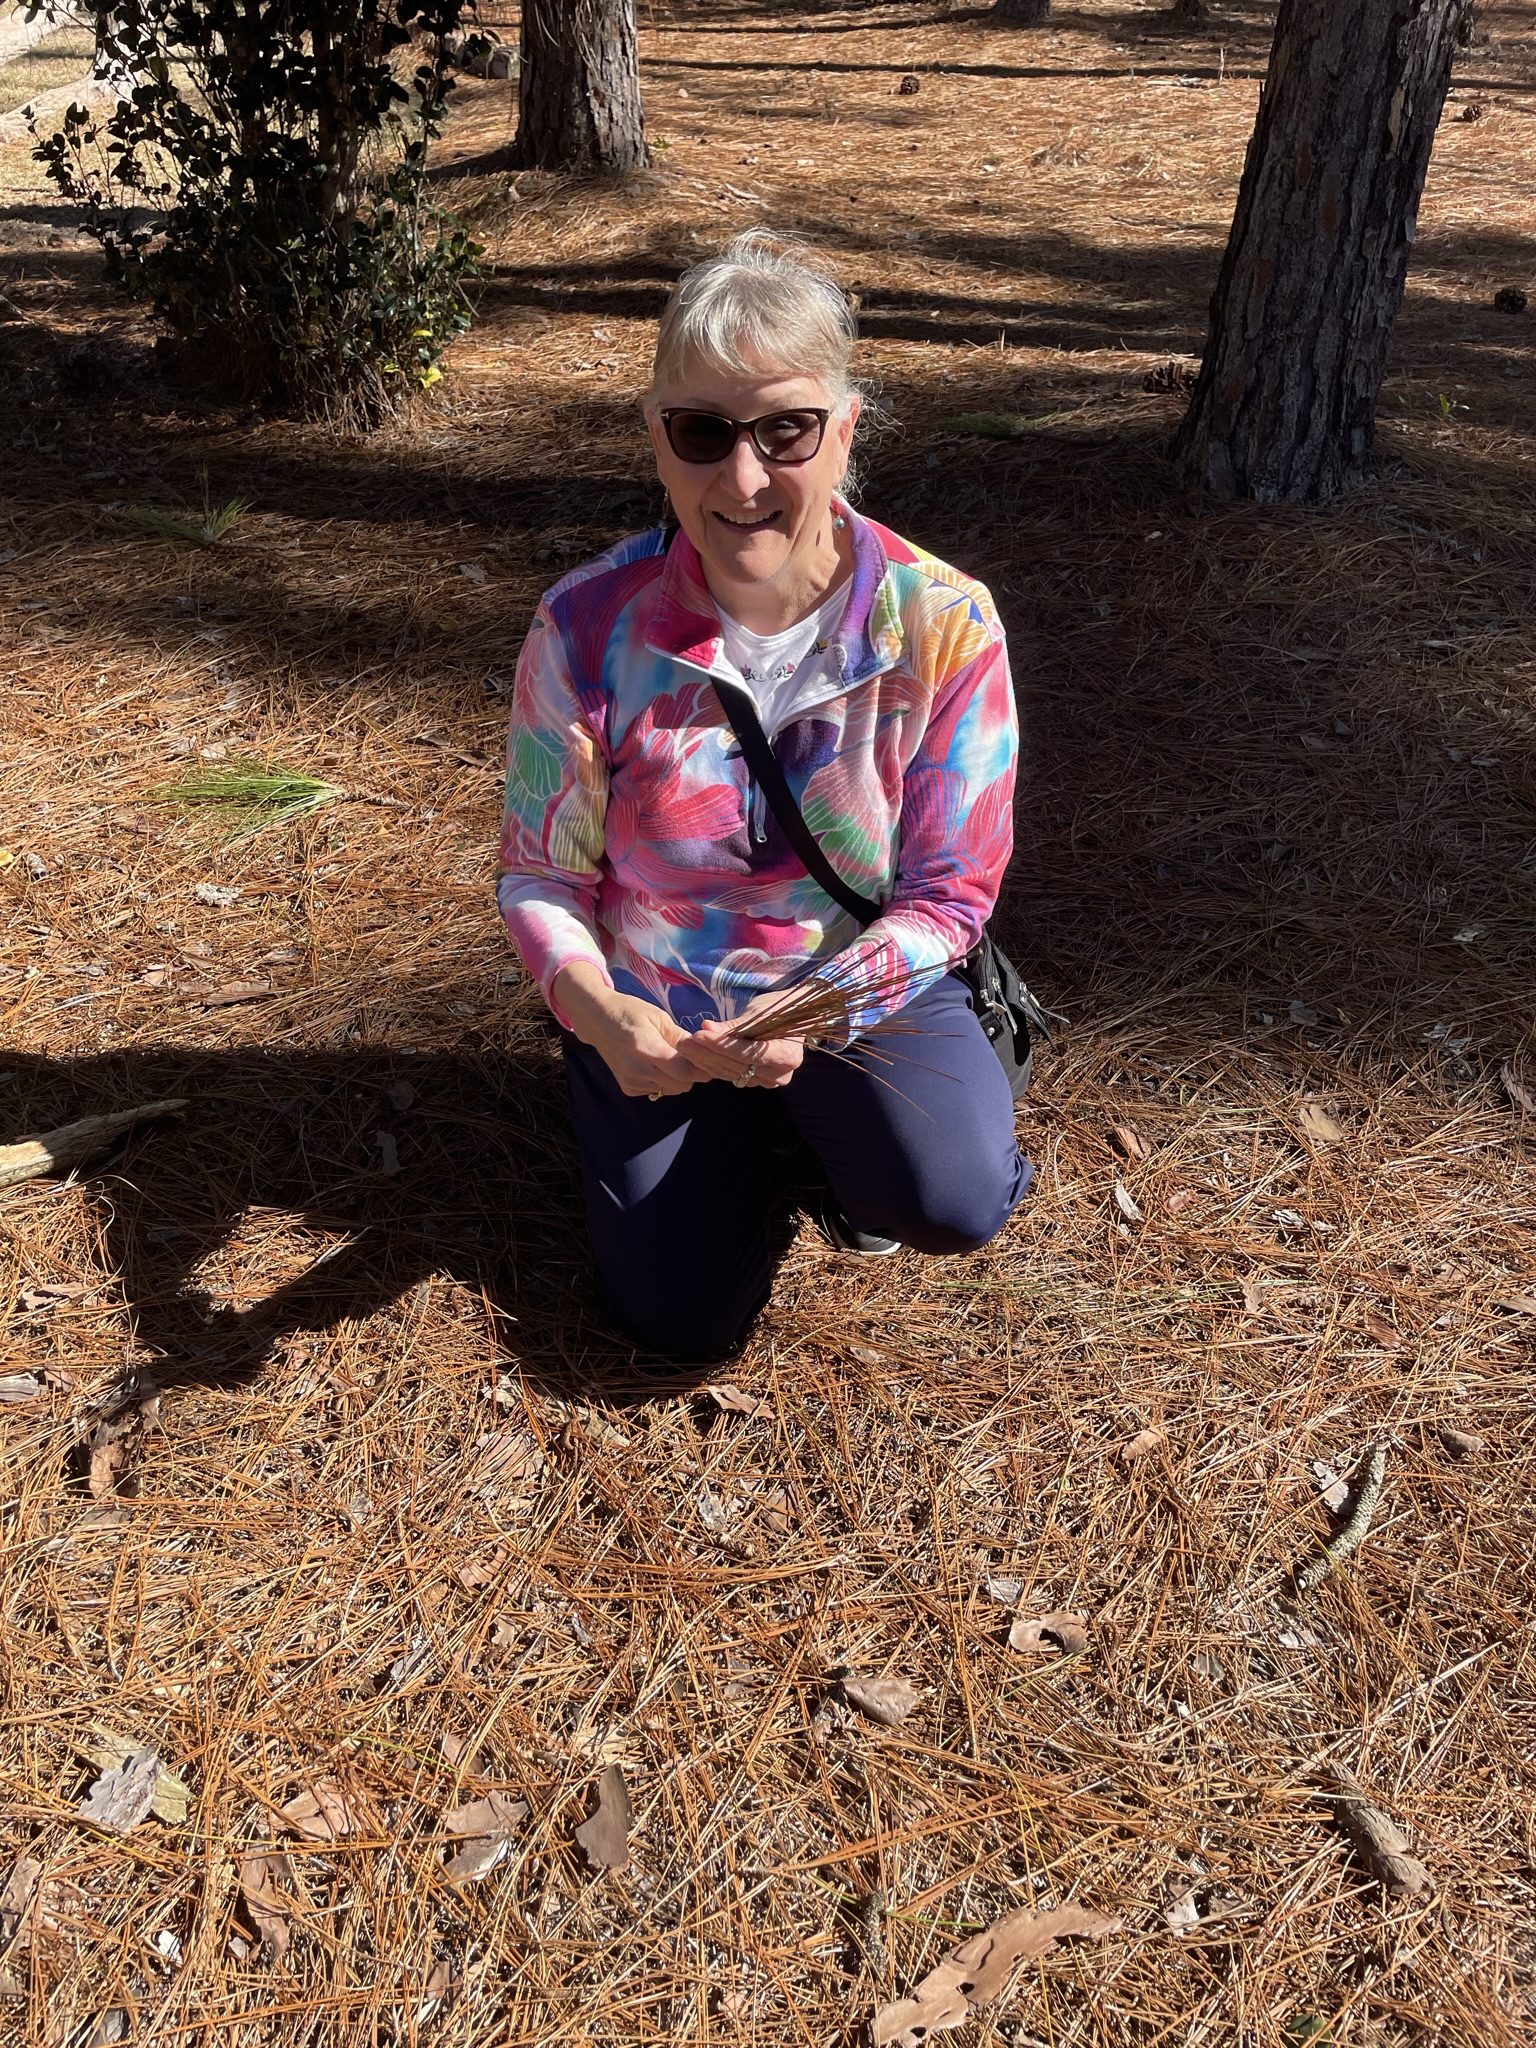
My visit turned out better than I could have imagined. I met the most delightful couple. Tash and Darrien kindly welcomed me to their home and showed me around their property. They then took me for a tour of their farm (over 300 acres of long needle pine trees grown for pine mulch) and allowed me to harvest pine needles for myself. I went to their farm intending to purchase needles, and instead I was able to take three garbage bags full of needles for free! Tash’s Etsy shop is called pineneedlesbyramsey.

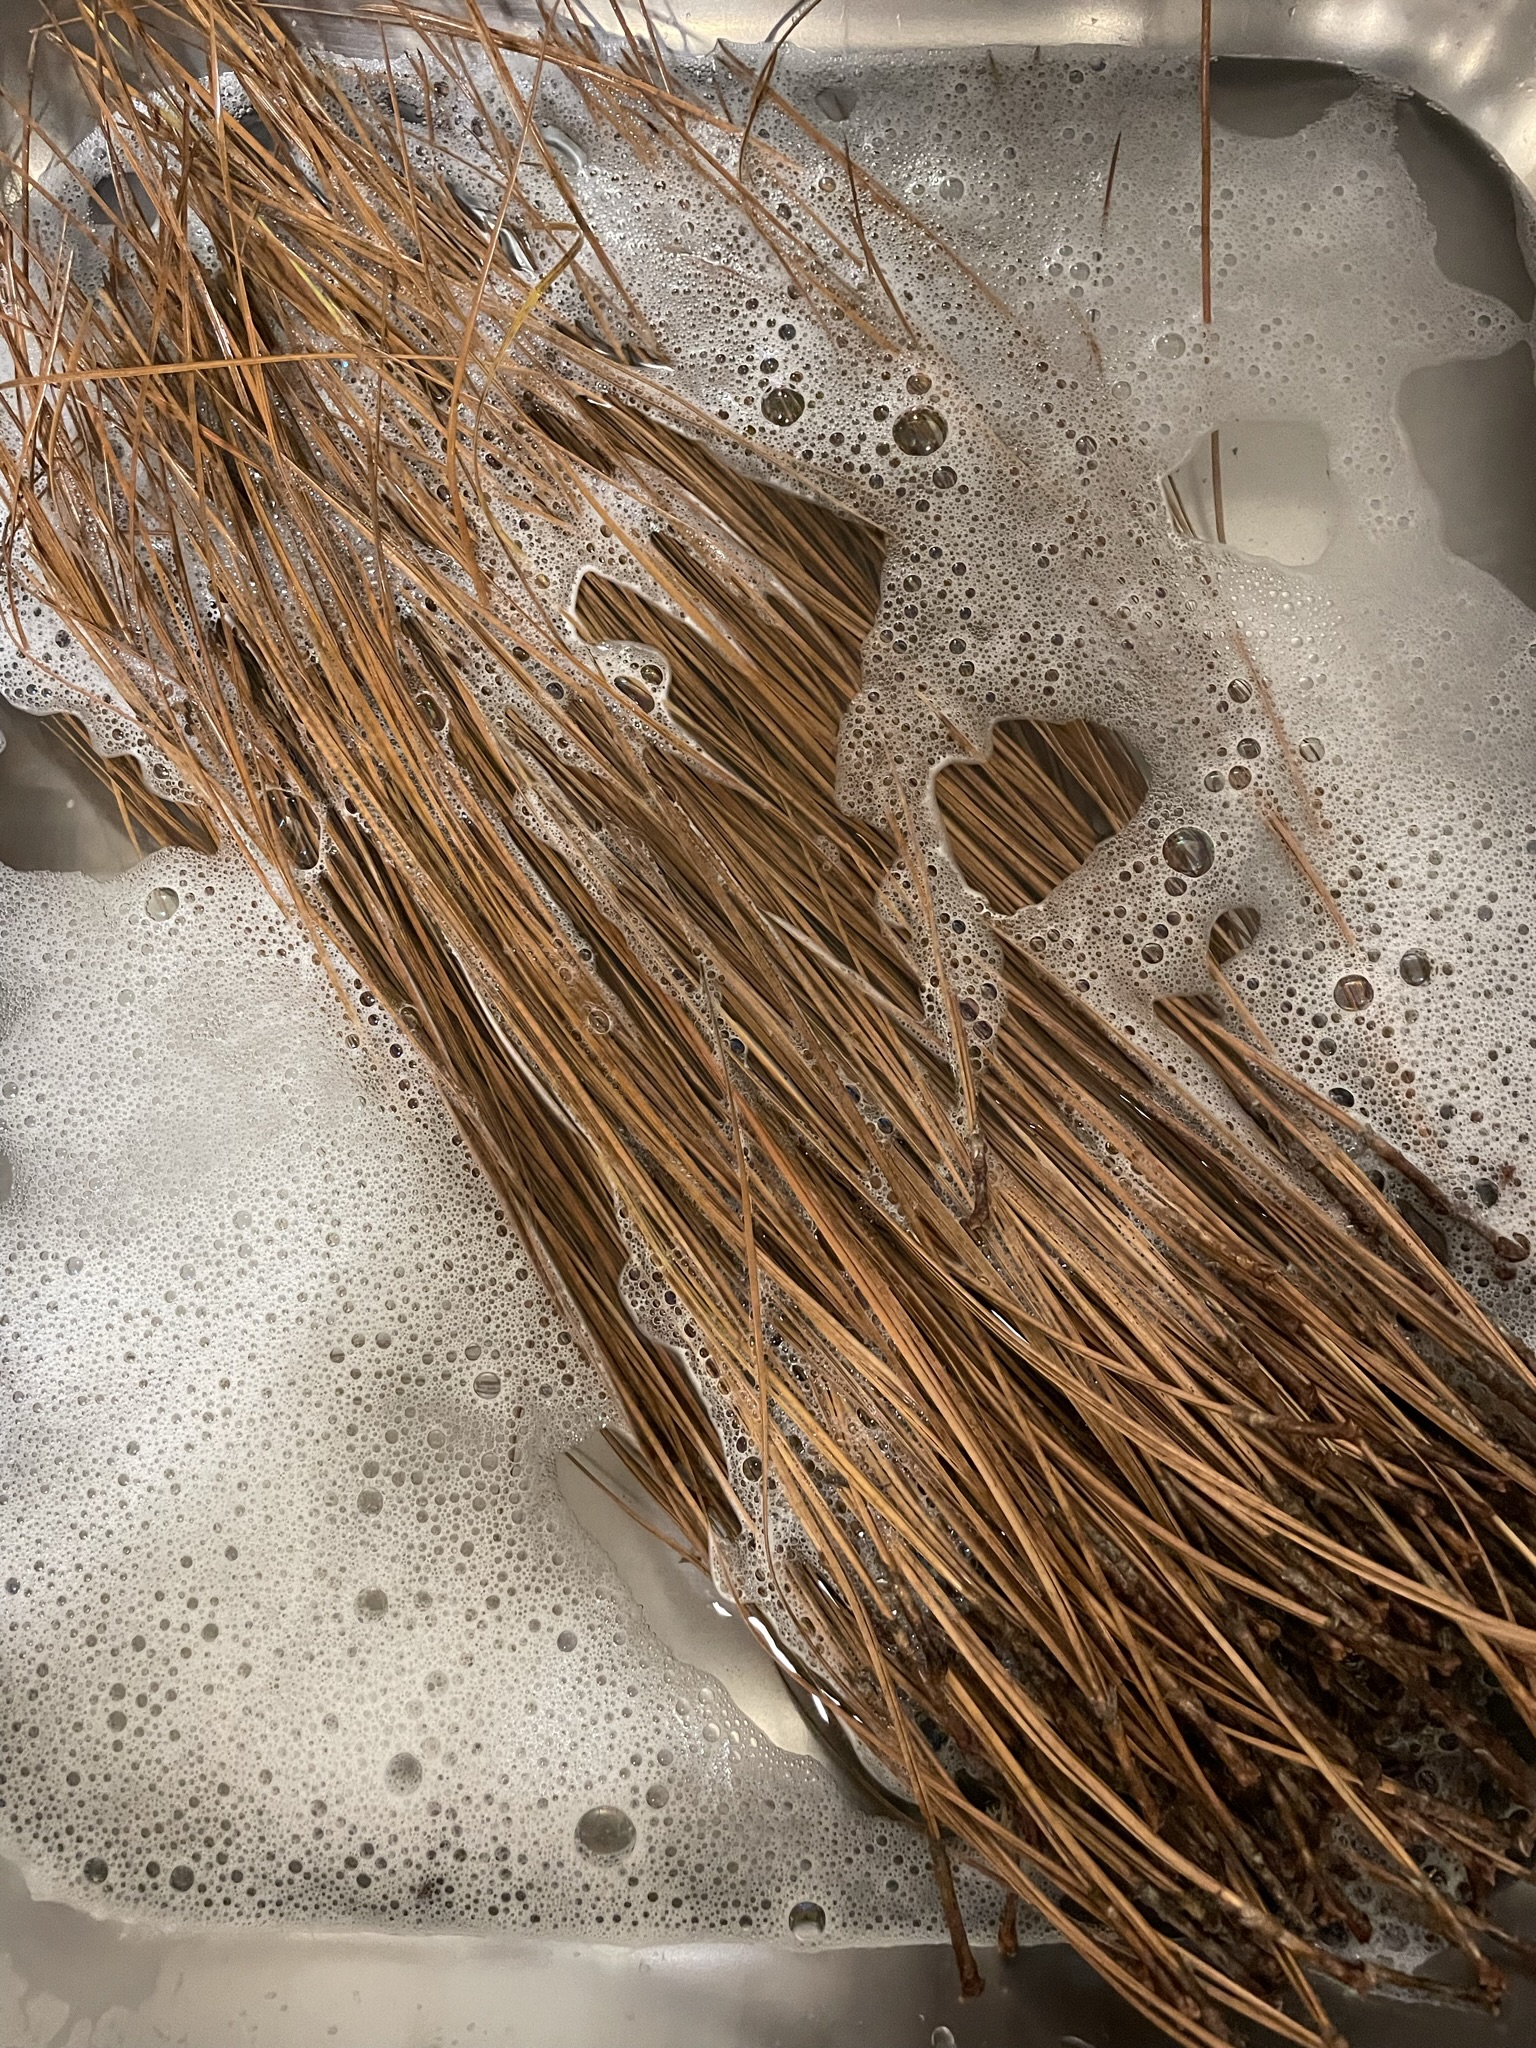
After returning to my villa, I set about the task of preparing the needles for use. First, I sorted them, discarding broken or short needles. Then, I washed the needles and soaked them in hot water for 30 minutes.

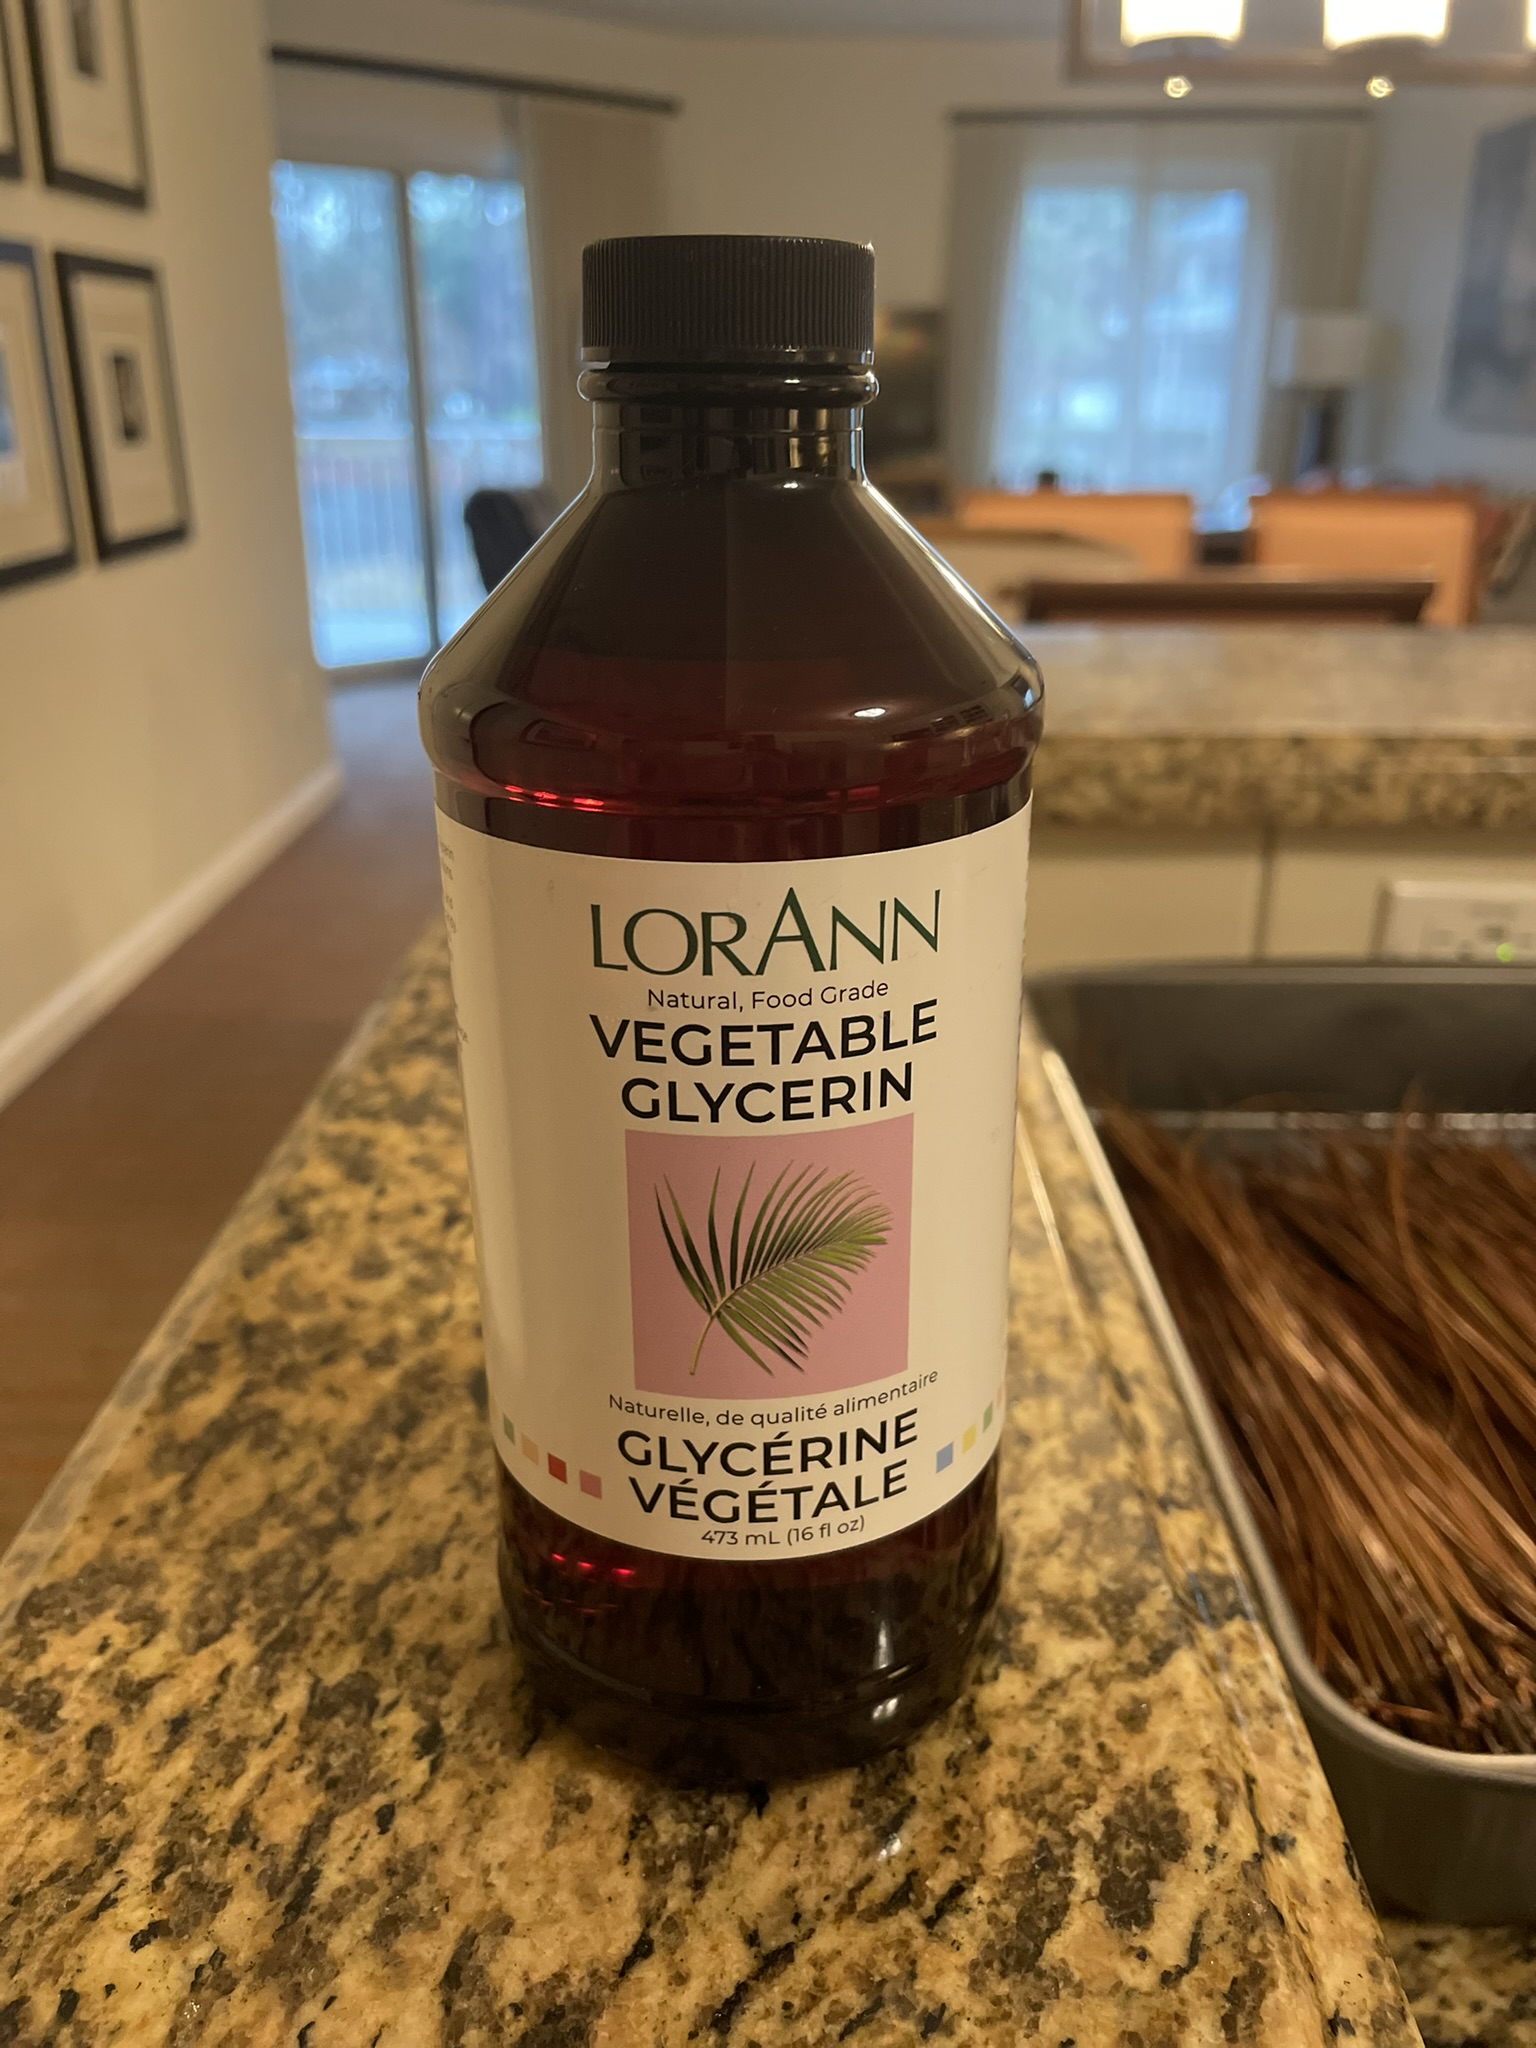
Having read that glycerin helps to make the needles flexible and more durable, I decided to try that. The on-line videos I had watched described using an electric roasting pan or a foil roasting pan for the glycerin treatment. Being away from home (and not wanting to too much), I originally planned to purchase a couple foil pans. However, when shopping I discovered some metal roasting pans that were the right size and only a dollar more than the foil pans. Being metal, they would last longer than foil pans and I could use them for other crafting activities.

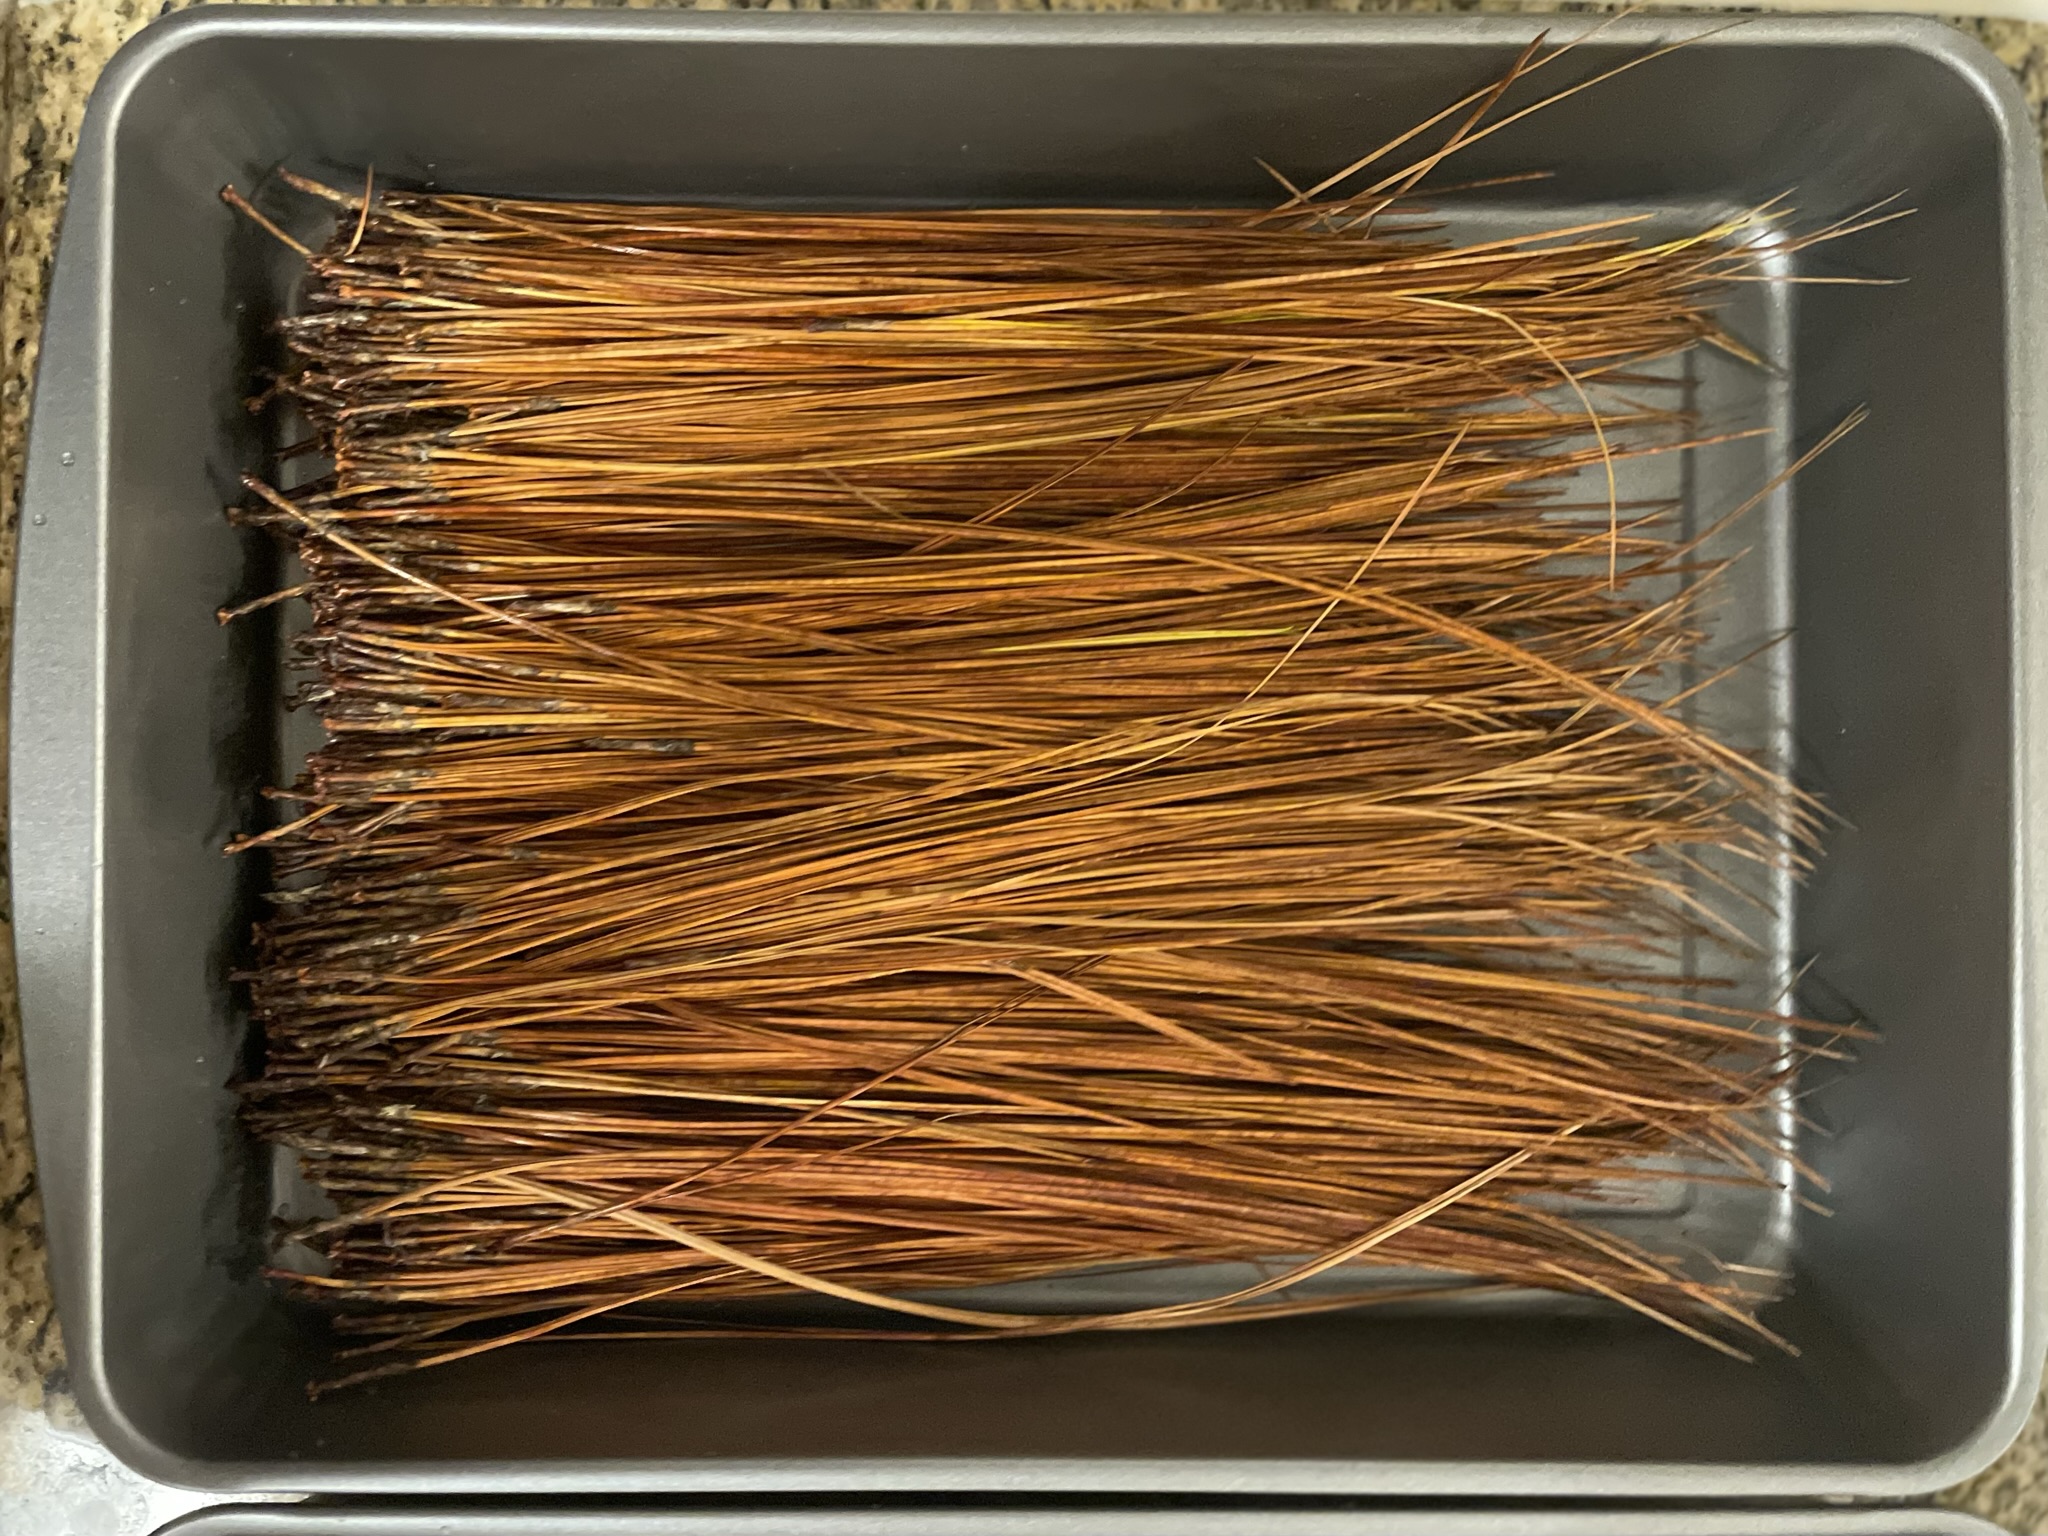
The needles were layered into these pans, covered with a dilute solution of glycerin (1:4 with water), placed in the oven at 250 degrees for three hours, rinsed well with warm water and placed on a towel to air dry.

After drying, I wrapped the needles into 4 ounce bundles to be able to take them back to Minnesota. I plan to try dyeing some needles with my Procion fabric dyes when I return home.

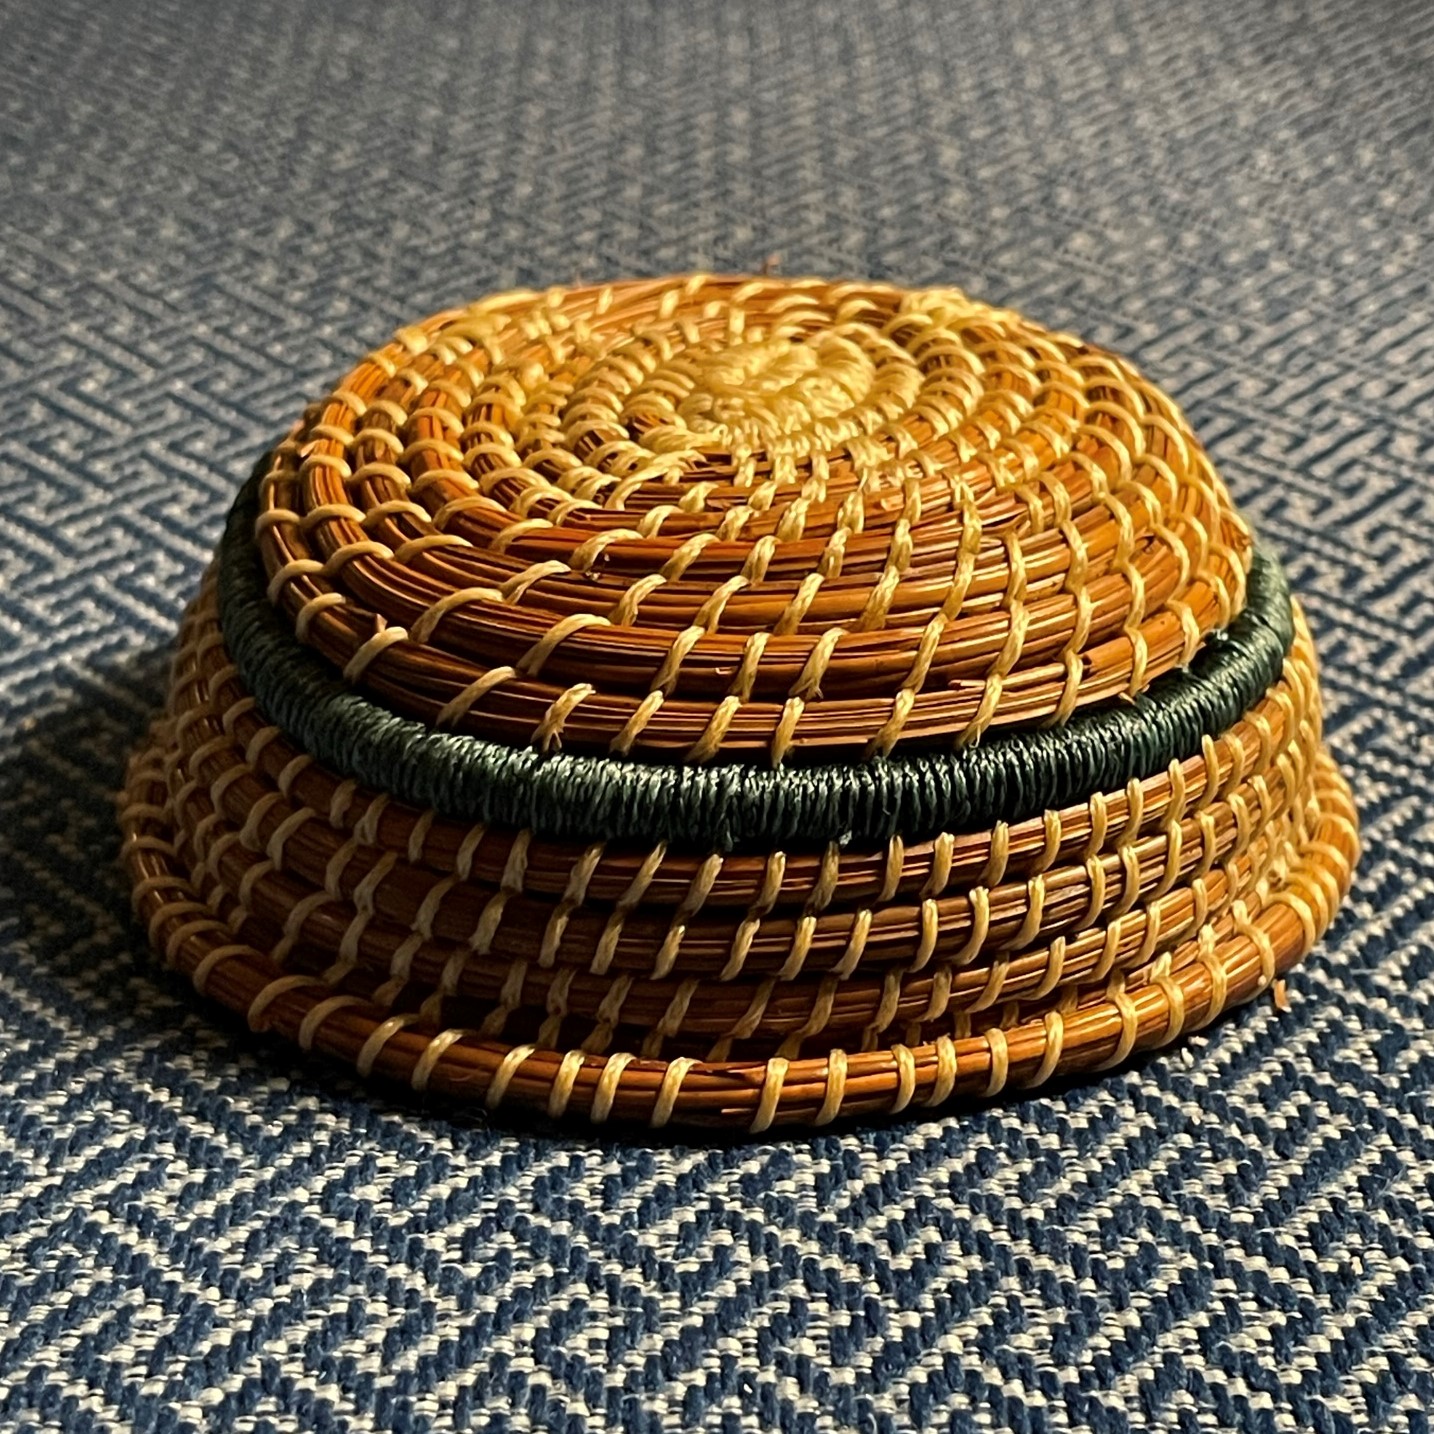
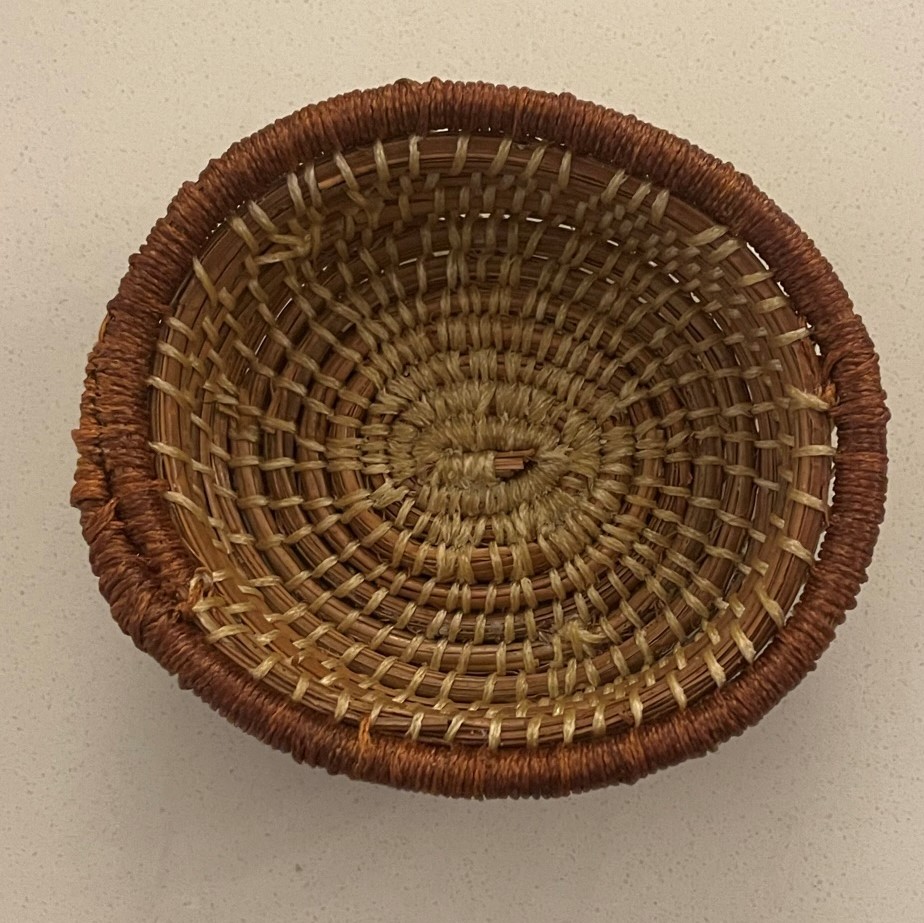
With my glycerin treated needles, I then made another basket. The glycerin really does make the needles more pliable. And, these weaving was quicker because the needles from the farm were about 15 inches long rather than 8 inches that I had used on my previous basket. When finished, this basket feels much stronger than my sample basket did. Because of this, I treated my little basket in a glycerin bath and it too feels stronger.

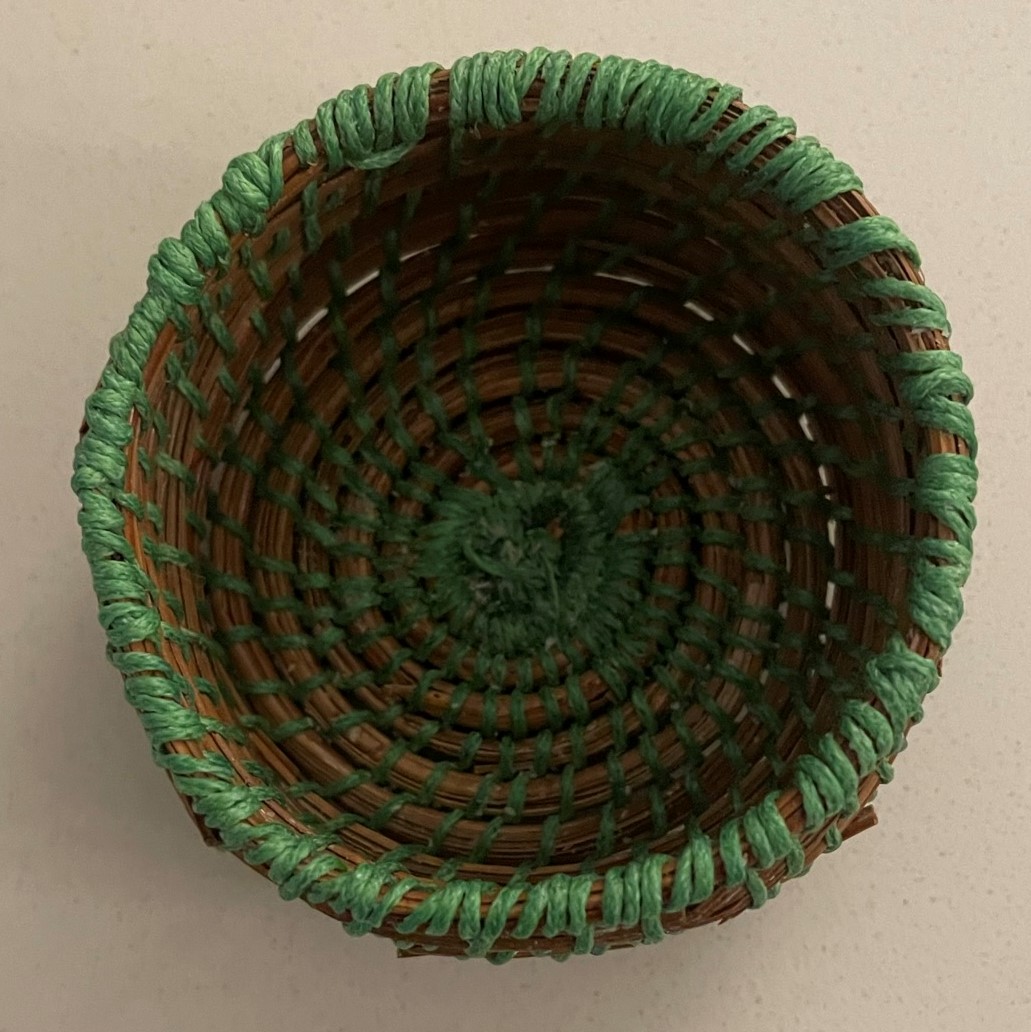
For my second basket, I used the traditional slanted stitch for the bottom of the basket. After doing a wrapped row, I transitioned to the Ti stitch. I really like this stitch much better – its more decorative and stronger. And, instead of having to split the waxed thread with each stitch, the thread is carried over two rows and the needle is inserted between the rows rather than in the stitching. This was much more “finger friendly” and require less force to do the stitching.

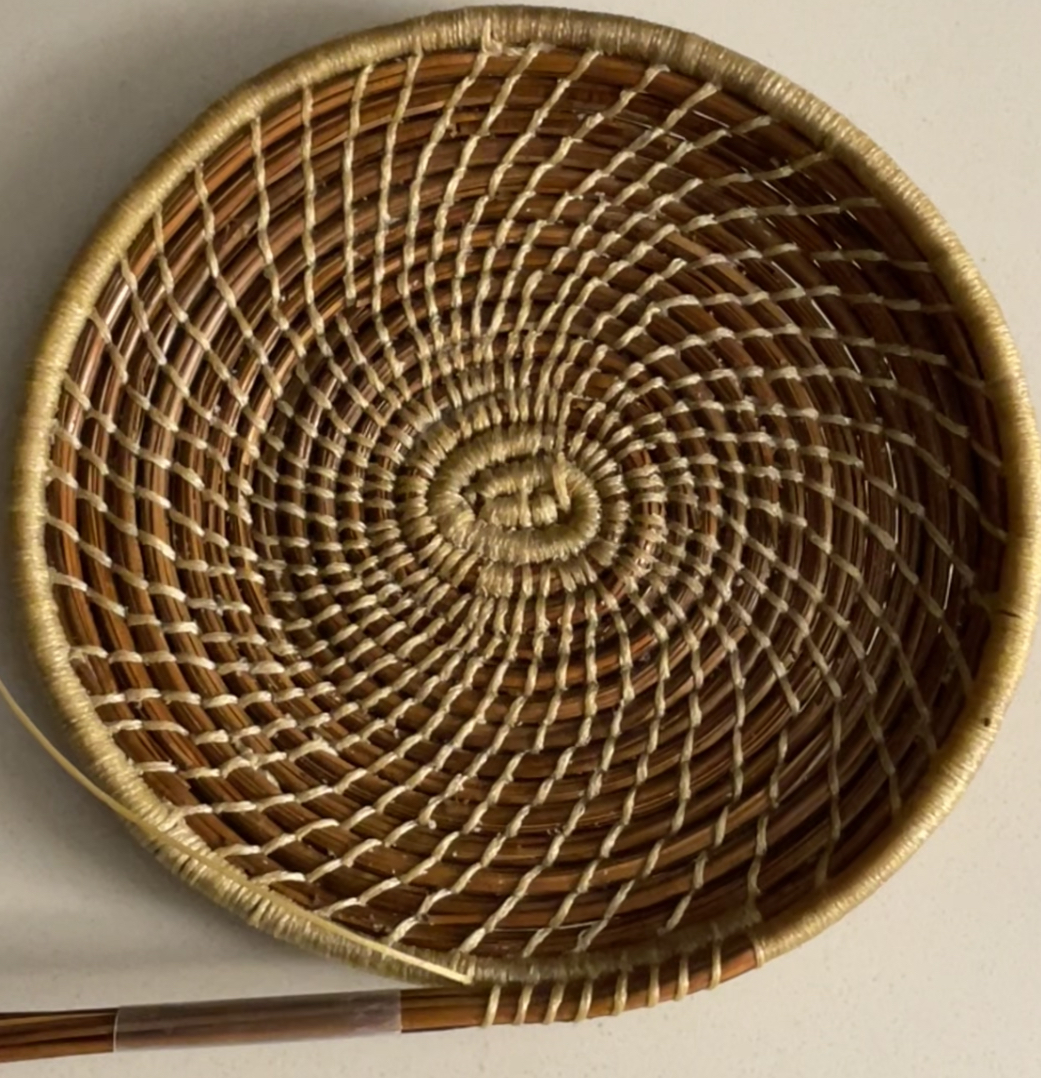
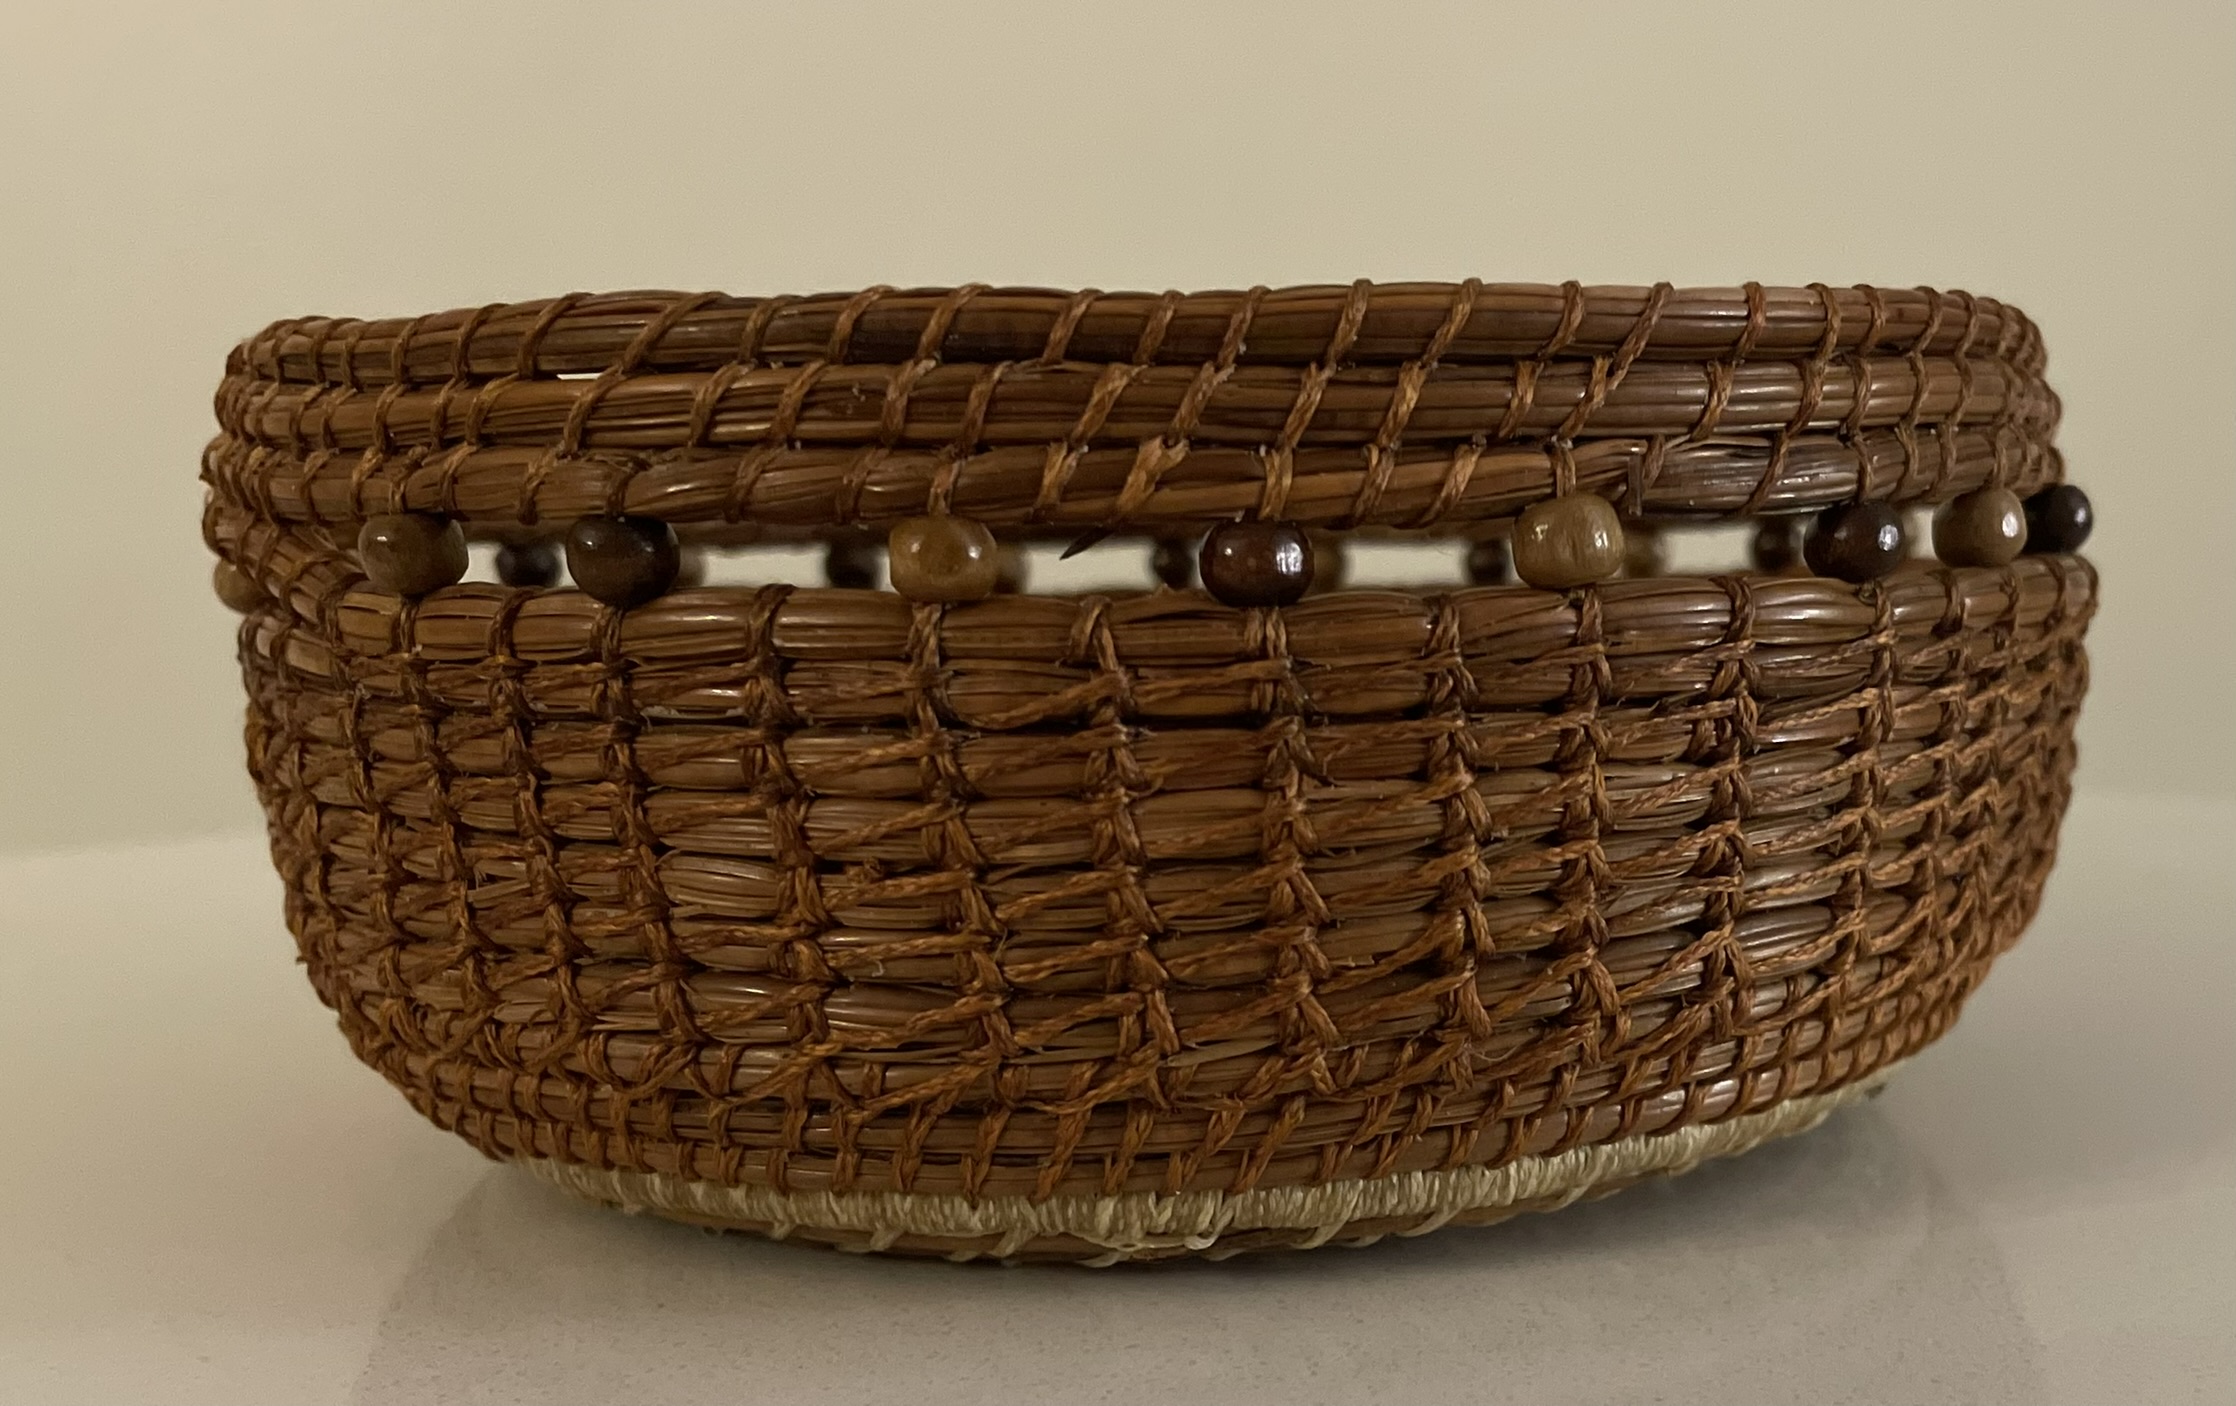
A row with beads, three rows of traditional stitch and my new basket was completed. I am really enjoying this new craft and look forward to making more baskets in the coming months.

Basket Weaving 101

Fall of 2020, I took a much needed break from work and spent ten days in South Carolina. While on Hilton Head Island, I visited the Coastal Discovery Museum to learn more about the South Carolina Lowcountry. The museum was very interesting. However, even more interesting was watching some local craftsmen making baskets with sweetgrass. Their craftsmanship was amazing.

Now that I am retired, I made plans several months ago to escape the snow and cold of January in Minnesota. So, I am currently back on Hilton Head Island. When making plans for my travels, I looked into taking a class to learn how to weave baskets. Unfortunately, the only classes that I could find were extremely expensive. Not knowing if I would enjoy basket weaving, I didn’t want to spend a lot of money and decided to look for on-line videos instead. In my search, I came across videos on weaving baskets using pine needles rather than sweet grass. Remembering the abundance of pine needles near where I was planning to stay, I thought that this was a better type of weaving to try. After all, the materials would be nearly free.

Planning for my trip, I watched a few videos and packed supplies that I would need (waxed sinew, needles and a small plyers). Upon arrival in South Carolina, I collected a couple handfuls of pine needles. After washing them, I started my first basket.

After cleaning, the needles are stored in a damp towel to keep them pliable for weaving.

To weave pine needle baskets, long-leaf pine needles are needed. Unfortunately, the needles found in my home state of Minnesota would not work well because they are less than six inches in length. But, in South Carolina, the needles found in the landscaping mulch are about 10 inches long.

To begin weaving, the needles caps (dark end of bark that holds clusters of needles together) are removed and the individual needles (about 20) are held together in a bundle using a small piece of a plastic straw. There are metal coiling gauges available on-line. However, I like the clear straw pieces because I can see how the needle bundle looks inside the straw and verify that the ends are buried inside the bundle. So, I will stick with using straws for now.

Waxed sinew is wrapped around about two inches of pine needles. The wrapped bundle is then bent to create the center folds of the coil and a couple large stitches are taken through the fold to hold the two sections together. Needles are added to the bundle inside the straw continuously as you weave. More needles are wrapped and then tacked together with stitches. Once the beginning coil is made, the stitches are then spread out slightly so that some of the needles show through.

As the size of the weaving increases, the spacing of the stitches also increases.

To add some interest, I included a wrapped row in a dark green sinew.

A few more rows of basic stitch, and my basket was done. While small, this was not too bad for my first attempt.

I had a couple friends visit for a long weekend and they wanted to try pine needle basket weaving as well. So, I gave them some lessons. Their baskets turned our very nice as well.

While I really did not need a new craft, this was a very relaxing hobby to learn. I plan to make more baskets with some creative stitches and beading.

Tangram Quilts

A tangram is a Chinese puzzle that consists of seven polygons, which are put together to form shapes. Found in puzzle books, the objective is to replicate a pattern, given only an outline, using the seven pieces without overlap. There are countless possibilities of combinations.

Tangrams are believed to have originated from China during the Song Dynasty (960-1279) and were not introduced to the Western world until the 19th century when they were brought to Europe by trading ships. They are used when teaching spatial visualization/spatial reasoning. And, they are a great way to exercise your brain.

Earlier this year, I saw an image of a tangram cats quilt and thought it would be nice to try to make one myself. Using my Powerpoint program, I designed a quilt with 20 cats. Originally, I thought these would be easy blocks to sew – they are just different sized triangles, a square, and a parallelogram. However, once I started sewing, I realized that the designs involved a lot of Y-seams. To help with the piecing accuracy, I printed out each design and used a modified paper piecing approach to making the blocks. Each of the blocks are 14″ square and pieced with a 2″ sashing. (Photo has some streaks of sun from the light shining through the window when I was taking the photos).

While I was piecing the cats quilt, I was looking up information on other tangram puzzles. I saw some boats that I thought would be fun to make. So, of course, another quilt needed to be made.

These quilts were really fun to make. And, the fabrics were already in my stash, so I did not need to purchase any additional.

Looking Back, Looking Forward

At this time of year, many people will be putting together resolutions for the new year. I have always thought that this was a crazy idea. If change needs to be made, why wait until New Years Day. Make the changes when they are necessary.

At this time of year, I do, however, tend to look back at the past year and focus on the good things from the previous year. While 2021 was not the best of years (I think we all relate to this sentiment), there are several things that stand out for the year.

The Bible in a Year podcast.

One of the best things that I did this year was to subscribe to receive these daily readings. I will admit that I have tried to read through the Bible in the past. However, I would get hung up on the long lists of names, the disjointed storyline when reading through book by book, and when events were repeated or out of sequence.

In this podcast, Fr. Mike Schmitz uses The Great Adventure Bible Timeline (developed by Jeff Cavins) to tie together the Bible thematically. The podcast highlights how all the pieces of the Bible fit together to tell the amazing story of salvation. If you are interested in the listening to the podcast in 2022, there are many ways to subscribe (YouTube, Hallow, Podcast app, etc).

Retirement.

According to Wikipedia, “retirement is the withdrawal from one’s position or occupation or from one’s active working life”. According to me, “retirement is the best part of a career”. Not having to set an alarm, being able to complete more of my crafting ideas, gardening without having to fit in into my work schedule, and spending more time with family have all been the highlights of retirement for me.

Daily Journaling.

I have always keep myself very busy doing various projects or crafts. However, I would often end my day wondering what I actually accomplished that day. So, on my first day of retirement I started keeping a journal of what I did each day, along with some thoughts of my day. Having things written down, I am able to look back and see that I was productive each day.

As we start 2022, I am looking forward to what this new year will bring – another trip through the Bible, more time with family and friends, and more crafts and gardening.

I pray that you will have a happy, healthy year, and that you will find the glory in God’s creation and the joy of his marvelous love.