Clasped Weft Weaving

This morning, while starting a new weaving project on my rigid heddle loom, I realized that I have neglected to write about some of my earlier projects. Over the past two years, I have woven dozens of scarves, most of which I have given as gifts or donated to various charities. For these scarves I generally used the plain weave technique. This is the technique that we all learned in school , the over one / under one weaving style. Made with fun yarns, this technique can make for a lovely scarf.

About a year ago, I tried out a new weaving technique that is really fun to do. Looking more complicated than it really is, clasped weft weaving utilizes the interlocking technique commonly used in tapestry weaving.

For those that do not weave, a brief description of terms. When weaving, there are two components to creating the cloth – warp and weft. The warp threads run lengthwise through the project and are held on the loom under tension during weaving. When woven on a loom, the weft threads run side to side and are inserted, or “thrown”, by the weaver. The resulting cloth is created by the interlacing of the warp and weft where both directions of threads are visible. When doing picture or landscape tapestry weaving the weft threads may change mid shed, the threads are wrapped around one another, or clasped, to avoid having a hole in the cloth.

On a loom, clasped weft technique involves two weft threads that are visually different. This can be two different colors, or shiny vs matte, etc. The basic idea is that one weft goes through the shed, wraps around the second weft and then pulls the second weft into the shed. This results in a weft that is doubled in each shed. The pattern created by the interlocking of the weft can be either planned out or random.

The picture above shows a wall hanging that I made for our guest room. This project was planned out to give an very even design in the clasped weft fabric.

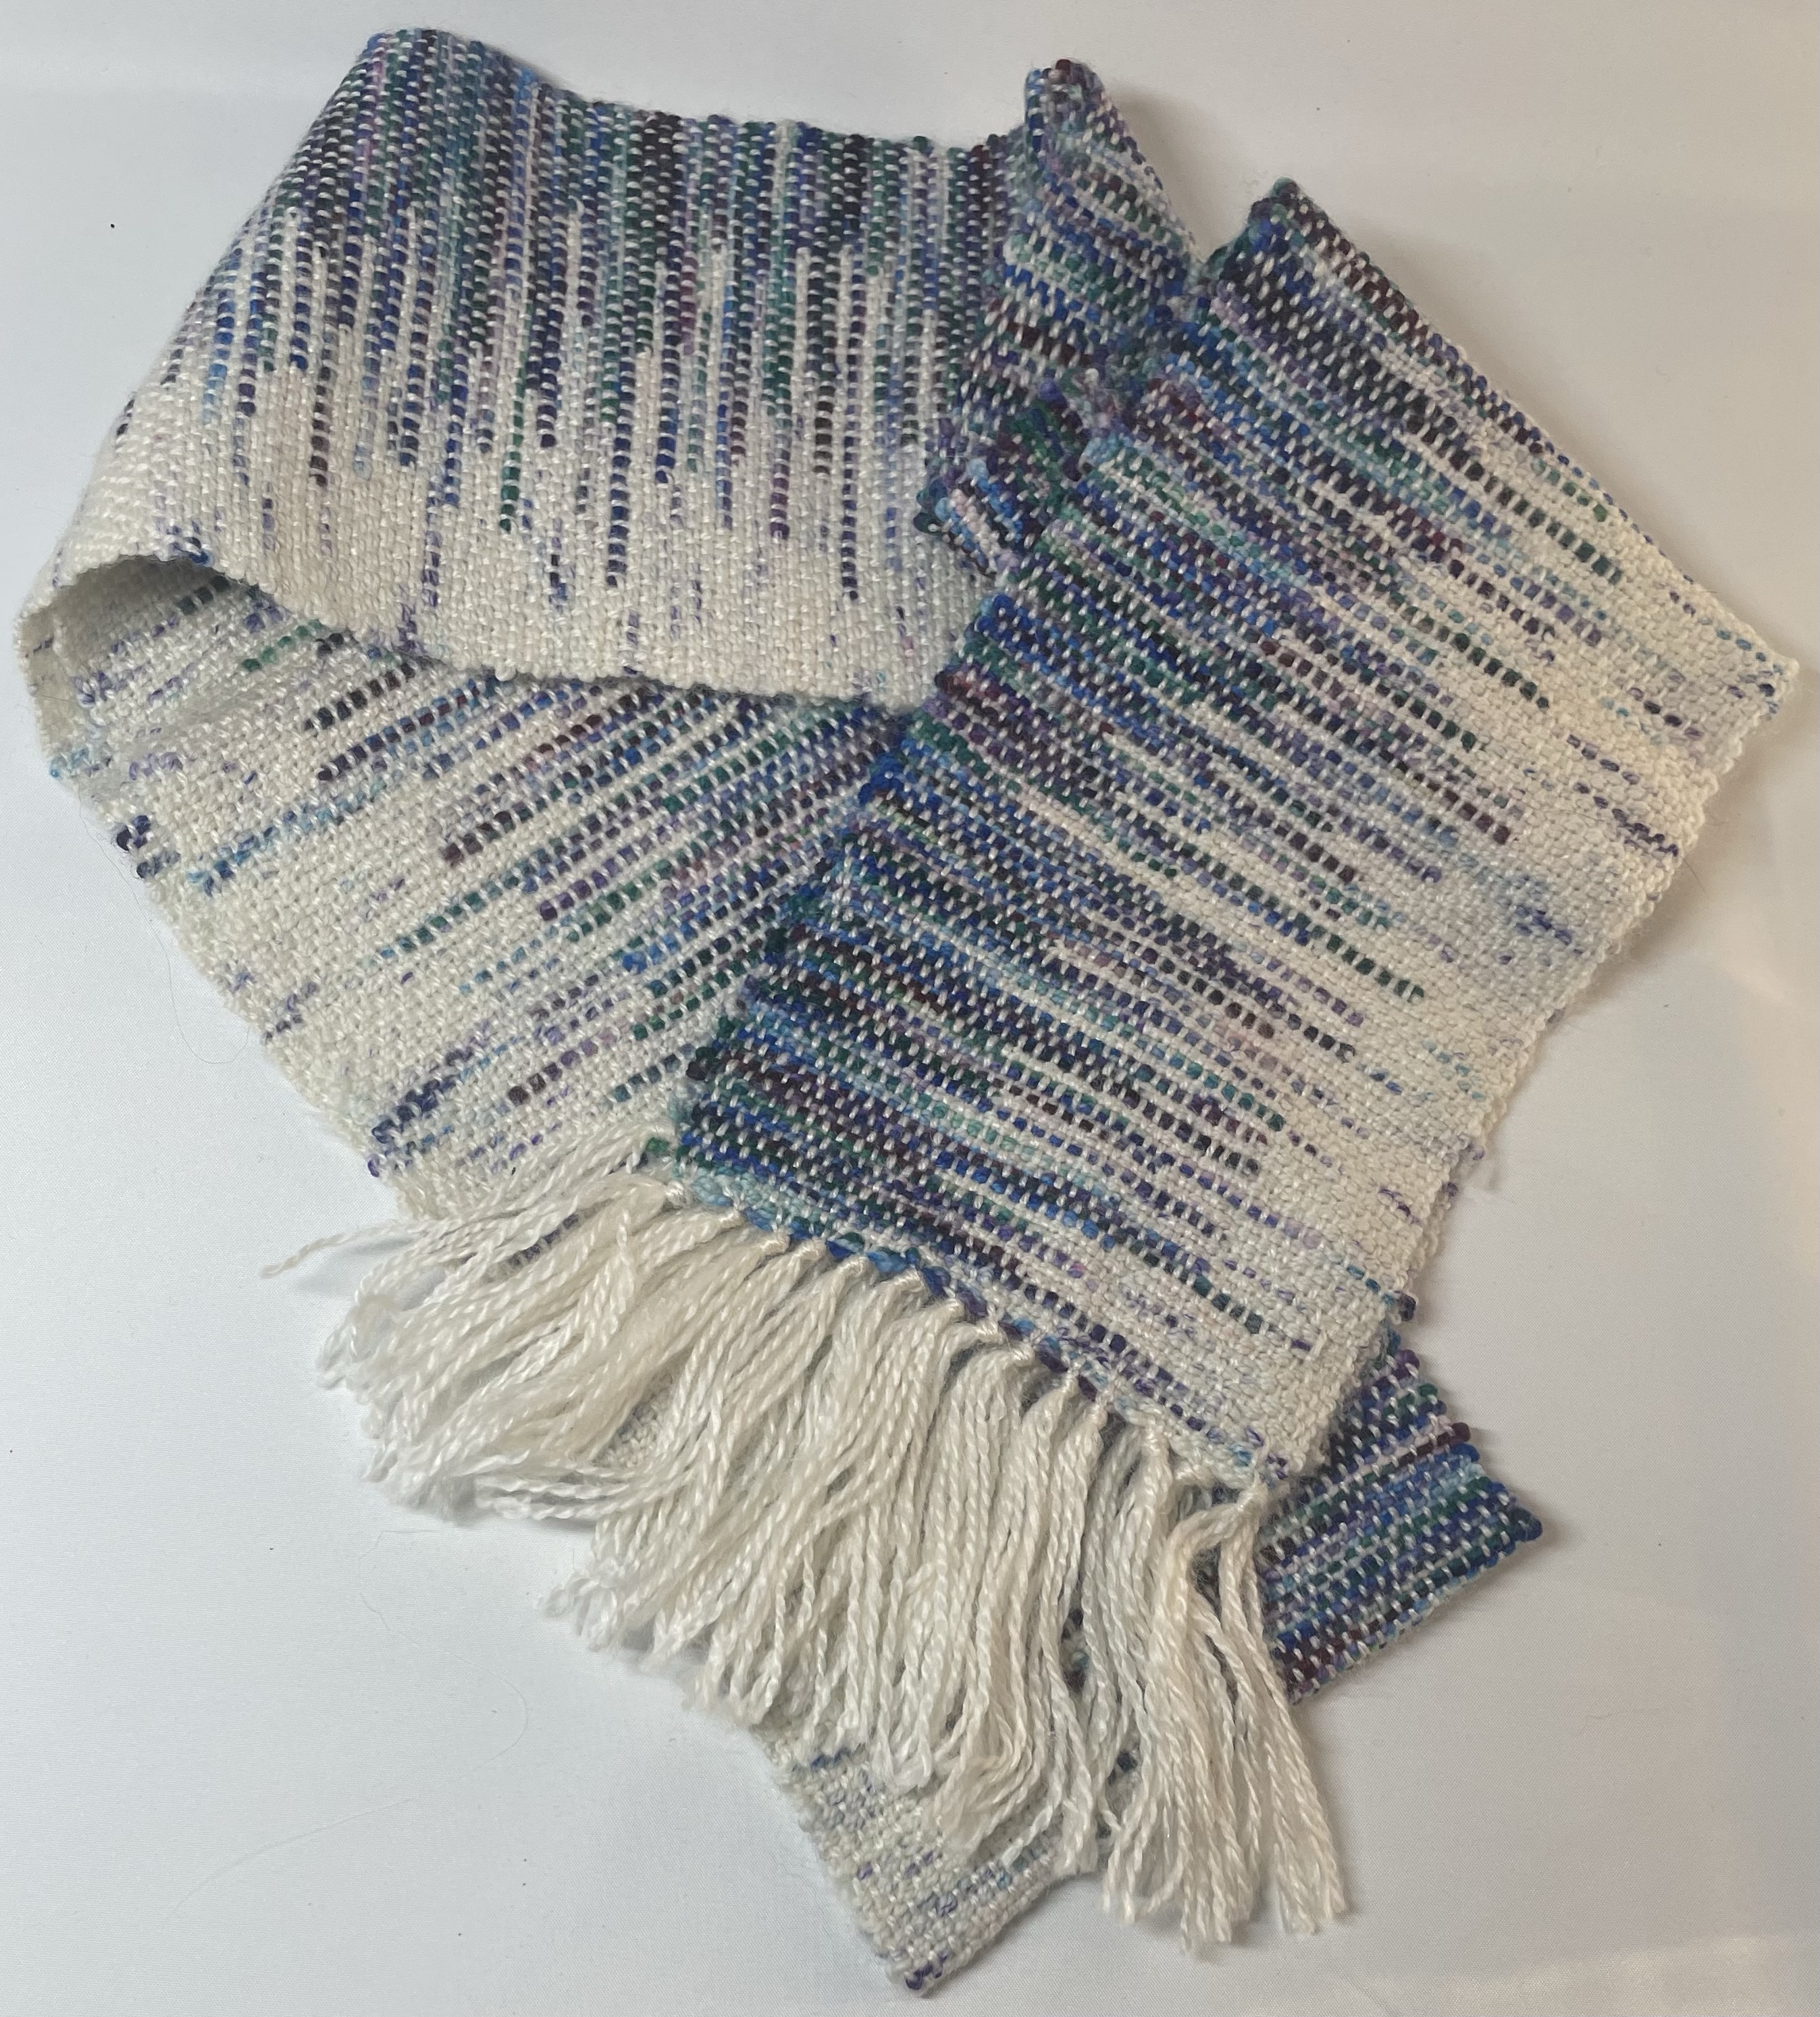
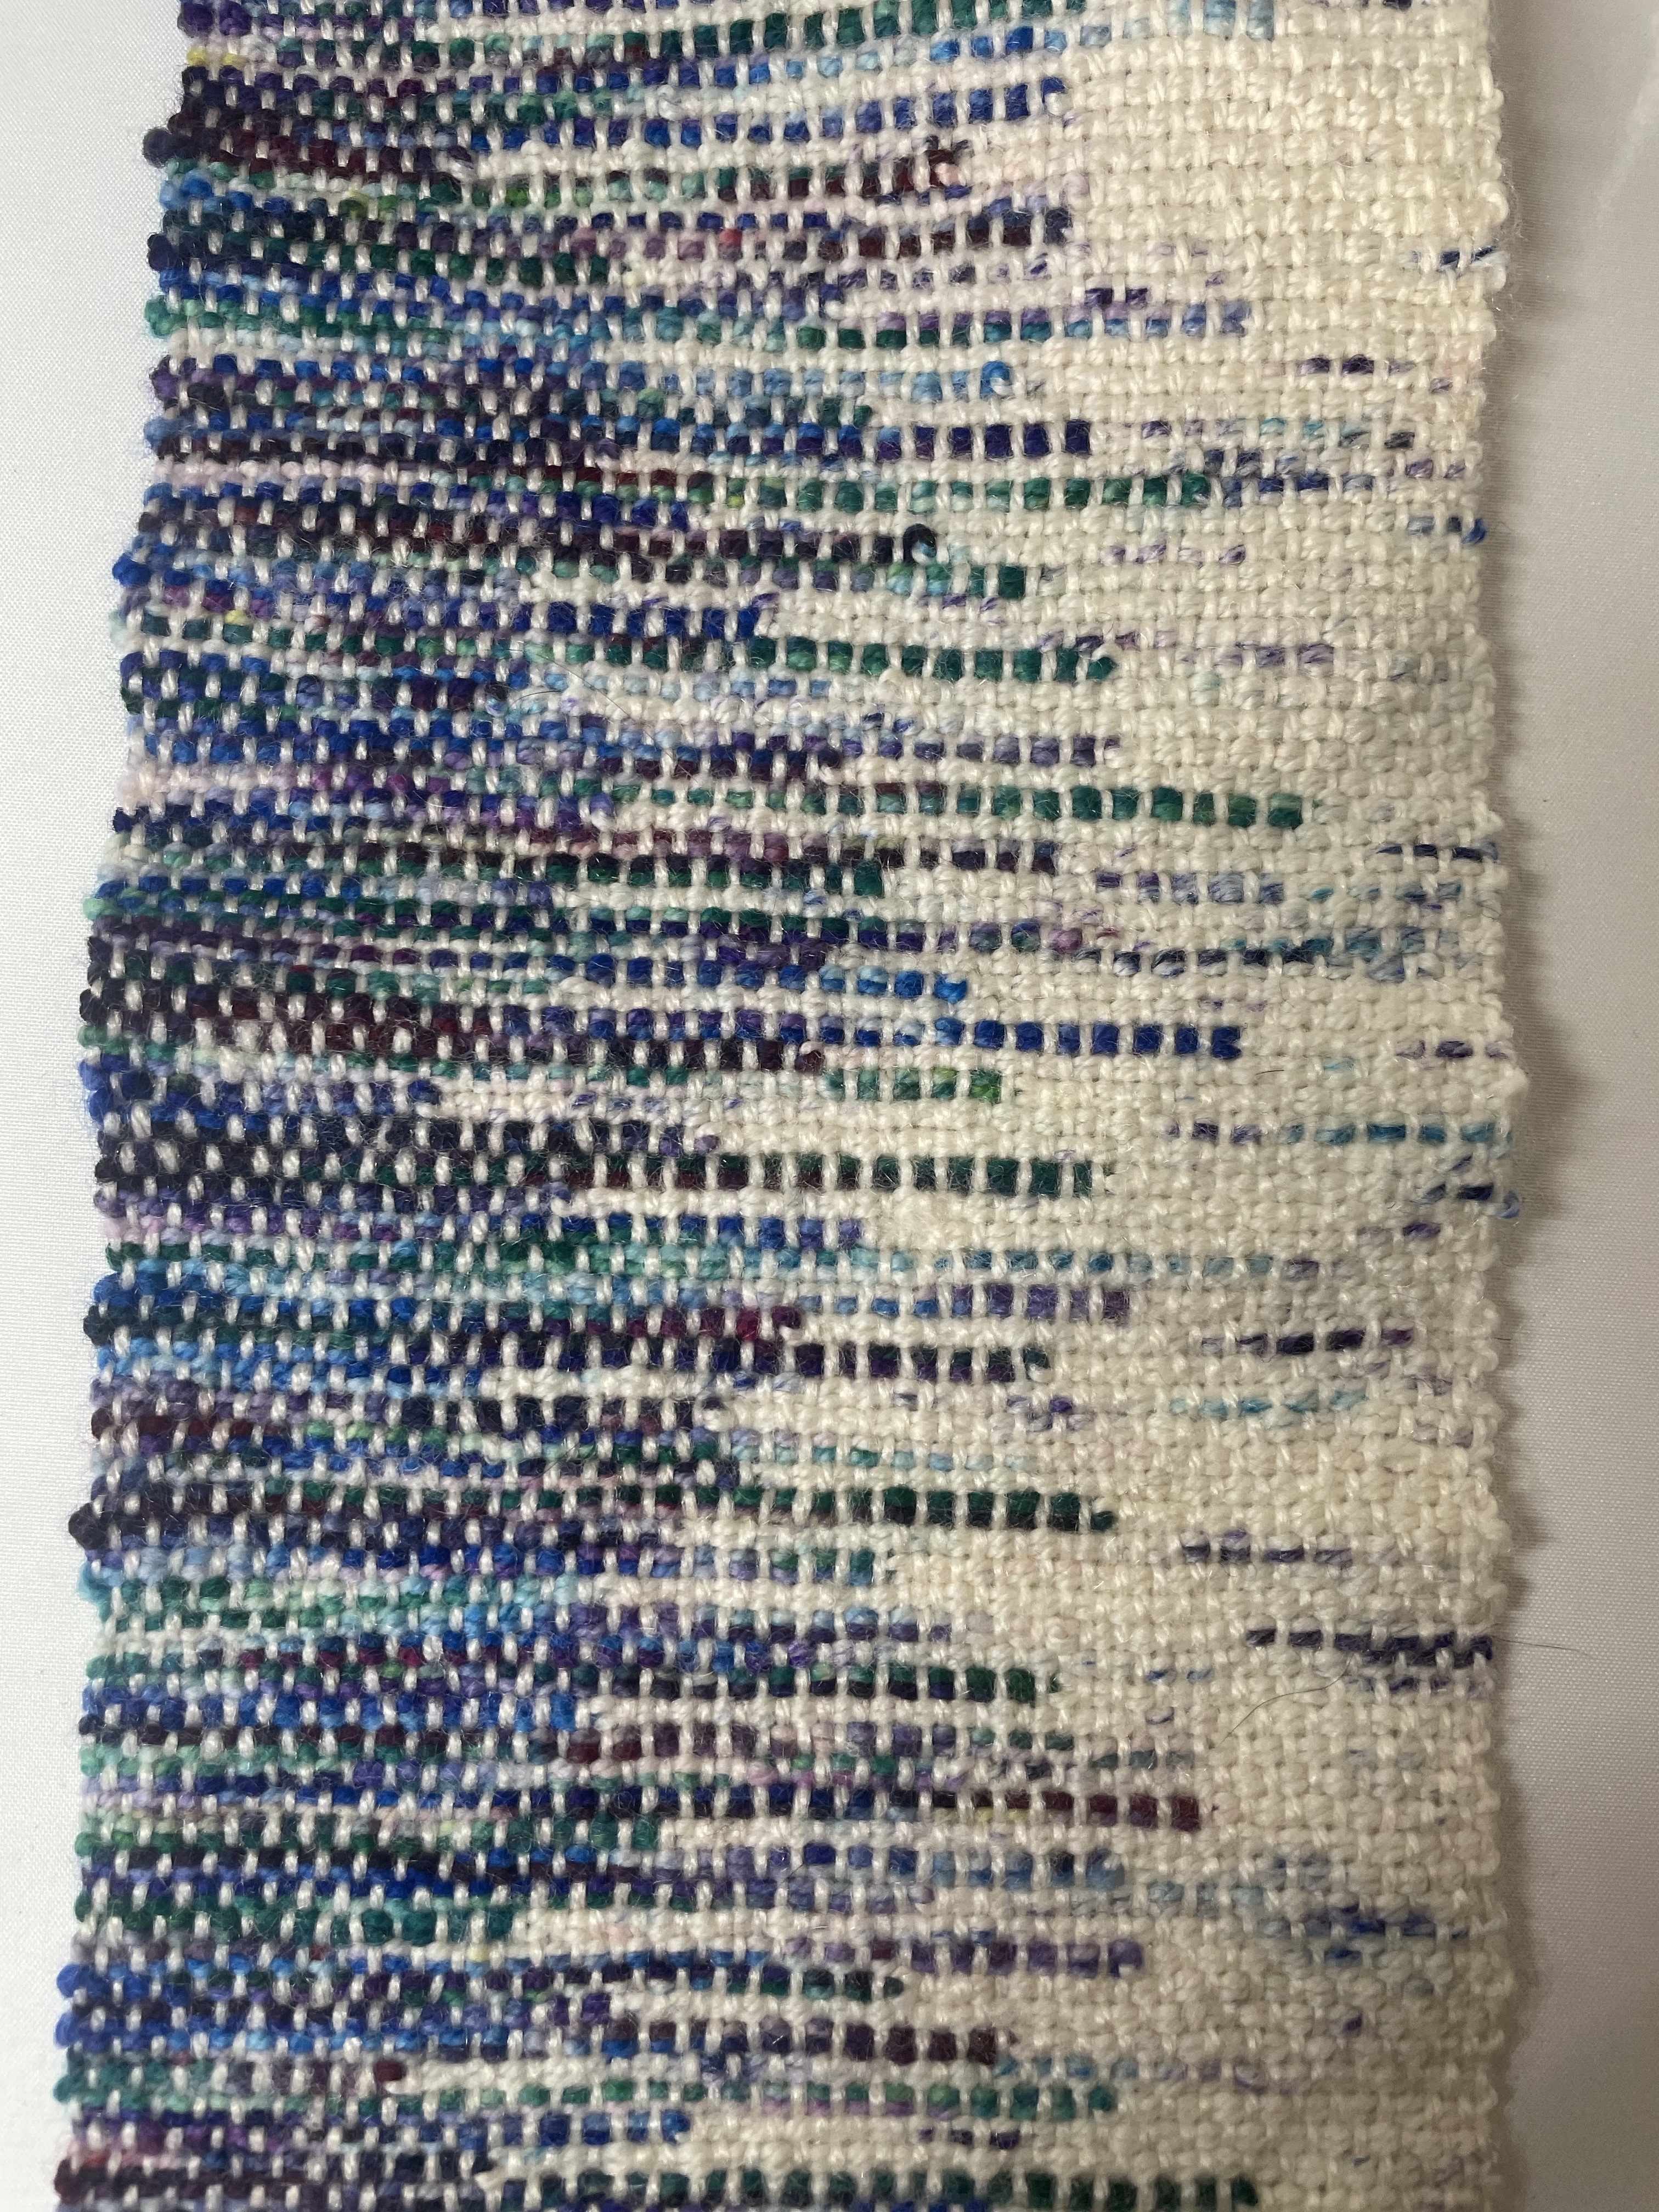
This picture shows a scarf that I made that was a random interlock of the clasp weft. Combined with the variegated yarns, that complemented each other well, the result was a much more organic design.

This morning I started playing with an idea I had that involved a planned out pattern similar to the wall hanging. However, instead of just doing two colors, I opted to do alternating shed from either side to create an argyle looking design. Each shed included one weft yarn that was the same. I really like how it looks so far and look forward to finishing this scarf. After I finish this scarf, I think I will try another scarf where the colors of the sheds are all different to see what other fun designs will result.

Optical Illusions in Glass

When purchasing supplies for my crafts, I try to support my local stores. However, that is not always possible. When I first started fusing, one of the on-line sites I purchased from was Delphi Glass in Lansing, MI. This company has numerous free patterns and project ideas on their website.

One of the projects that I tried a few years ago is the “Woven Stripes” square plate (Delphi Project Guide found here). To make the plate, I purchased some Vienna Stripe glass. The glass is a semi opaque white with lines of color on the surface.

This project was made with a clear base layer and squares of the striped glass placed in an alternating “woven” pattern. Over every other striped square (those going in only one direction) a square of clear glass was placed.

Fusing glass is normally sold in sheets that are 3mm thick. Thus, the design involved some areas with two layers of glass (making these areas 6 mm thick), and some areas of three layers of glass (9mm thick).

However, glass has a natural tendency to want to be 6mm thick. When fired at a full fuse temperature, the areas of clear glass spread outward to create the 6 mm thickness. This project created a bit of an optical illusion. In the areas where the clear glass spread, the lines appear slightly curved.

Recently, I tried another variation of this optical illusion. I though that if one piece of glass caused the stripes to curve, then maybe two pieces of glass would create a greater curve effect. Because I was stacking more glass, I opted not to use a clear base layer, to avoid the project spreading out too much. Rather, I used the my excess Vienna Stripe glass as a single base layer. To accentuate the extent of curve, I kept the strip going only one direction. Over the striped glass, I stacked two pieces of clear glass in an alternating fashion, leaving an uncovered area of the base glass between each double stack of clear glass.

The optical illusion I was hoping for worked our really well. Unfortunately, the base layer was not a solid piece of Vienna Stripe, but rather four pieces placed side by side. At the full fuse temperature, the glass naturally tried to settle to 6mm in thickness. This caused contraction in the areas of a single layer of glass and a couple of holes to open up.

I will admit that I was a bit disappointed with these holes because I had originally planned to slump the project into a square plate mold. I pondered some ideas for how to cover the holes, but was not really happy with any of my ideas. When I showed the project to my husband, he suggested that I run some ribbon through the holes as a way to make the project a piece of wall art. I like that idea. And, since the top holes were very symmetrical, it worked well. For the hole at the bottom of the project, I cut some flower petals out of the last bits of Vienna Strip, contour fused them together and hung the flower from the bottom. I think this would make a lovely piece of wall art. If anyone is interested in the piece, please contact me and I will make arrangements for it to be sent to you.

I really like how this optical illusion project turned out and decided to try another idea – a round approach to the same illusion. Unfortunately, Vienna glass is no longer sold, so I needed a different source for my stripes. To do this, I placed stringer pieces around the perimeter of a circle of clear glass in an alternating pattern of two color sets each with eight sections. Two pieces of clear glass was stacked over one set of colors around the perimeter. And, two pieces were stacked over the other color sections but at a position more towards the center of the circle.

I really like how this project turned out! It resulted in an octagon shape that I then slumped into a shallow plate form.

I have some more optical illusion ideas that I will be trying in the future.

Basket Weaving 202

Having returned to Minnesota with a good supply of long leaf pine needles, I have been trying out some new techniques. In prior posts, I showed the baskets I made with the Simple Stitch, Wrapped Rows, Ti stitch and incorporating beads. So, here are a few more techniques I have been working on.

Back stitch and vase shaping. I started this project not really knowing what I was actually going to make, I just wanted to try some new stitches. The basket started out with a base of the basic stitch, followed by a row of wrapped needles. I then switched to the Ti stitch. I prefer this stitch because it is faster, easier, and stronger than the basic stitch. After completing the first half of the basket, I decided to make it into a vase shape. This would give me the opportunity to try some contour shaping of the basket. I also decided I would switch to a different stitch. I reasoned that using the Back Stitch would allow me better flexibility in the placement of each row of needles, thus making the shaping easier. The Back Stitch involves doing row of Simple Stitch. Then, once an entire row is completed, the sinew is wrapped the reverse direction around the circle using the same location of the original stitches. This results in what looks like diamonds on the outside of the basket. To finish the basket vase, I did two Wrapped Rows and added a couple metal charms and beads that I had in my craft supplies. I do need more practice in keeping my rows and stitches more evenly placed.

Leather Base and Twisted Rows. This project started with a circle of leather rather than initial rows of wrapped needles. Two matching circles of leather were cut, positioned wrong sides together and holes punched using a leather hole punch. A wrapped row of needles was then stitched to the outer edge of the leather. The weaving then included rows of basic stitch, alternating wrapped stitch sections and a couple rows of Ti stitch. To finish off the basket, I tried out making interlocking rows of wrapped stitches. The first row of an interlocking finish was similar to when beads are place and involved leaving long sections of wrapped needles not connected to the lower row. The second row, however was trickier than I expected. The wrapped needles tended to want to break when I was trying to push the bundle into the gaps of the previous row. I found that if I wrapped the needles in a wet (not just damp) towel over night, then the needles did not break. In this basket, my stitches were more evenly place, but I still need more practice.

V stitch. My final project, I had only one real goal – making the rows and stitches more uniform and even. This project again started with a wrapped row center and a Simple Stitch base. The body of the basket was completed with the V stitch. The V stitch is made by placing two stitches in the same location. One stitch goes diagonal like the simple stitch. The second stitch goes straight up. To finish off the basket, I added some leaf charms and beads. When making this basket, I was successful in creating even rows. I do, however, need more practice on this new stitch.

I am still enjoying this new hobby!

Aeroplane Mode

A couple years ago, I was asked to proof read and test out a quilting pattern for another designer. The pattern was a fun, playful design – paper airplanes – great for a child.

The pattern is available from Blueseum Quilting out of Australia.

When testing out the pattern, I used the colors as described in her design, a bright palette of primary and secondary colors.

My test quilt was one of the quilts that I have donated to Sleep in Heavenly Peace. So, hopefully there is a young child enjoying his/her quilt.

After making the test quilt, I really wanted to make one with sky colors. For the center section, I snow dyed white cotton fabric with dyes in various shades of blue.

For the quilting, I used PatternCAD to create a couple paper airplanes with jet streams surrounding these planes.

For the side color, I sorted through my fabric stash and selected four blue and four green fabrics for the design. This quilt was really fun to make, and was sold prior to Christmas to someone whose business logo includes paper airplanes.