I love this time of year! Well, not the severe storms that blew through last night. But, I do enjoy:
The warmer days. No snow and no need for boots, sweaters, hats, mittens, etc.
Spending time outside without freezing or being overly hot. Yes, even the numerous hours spent cleaning up leaves and debris in preparation for spring planting is relaxing.
The sound of birds singing. I marvel at God’s wonderful creation. I even enjoy watching the rabbits and deer wander through the yard (well at least until they start eating my flowers).
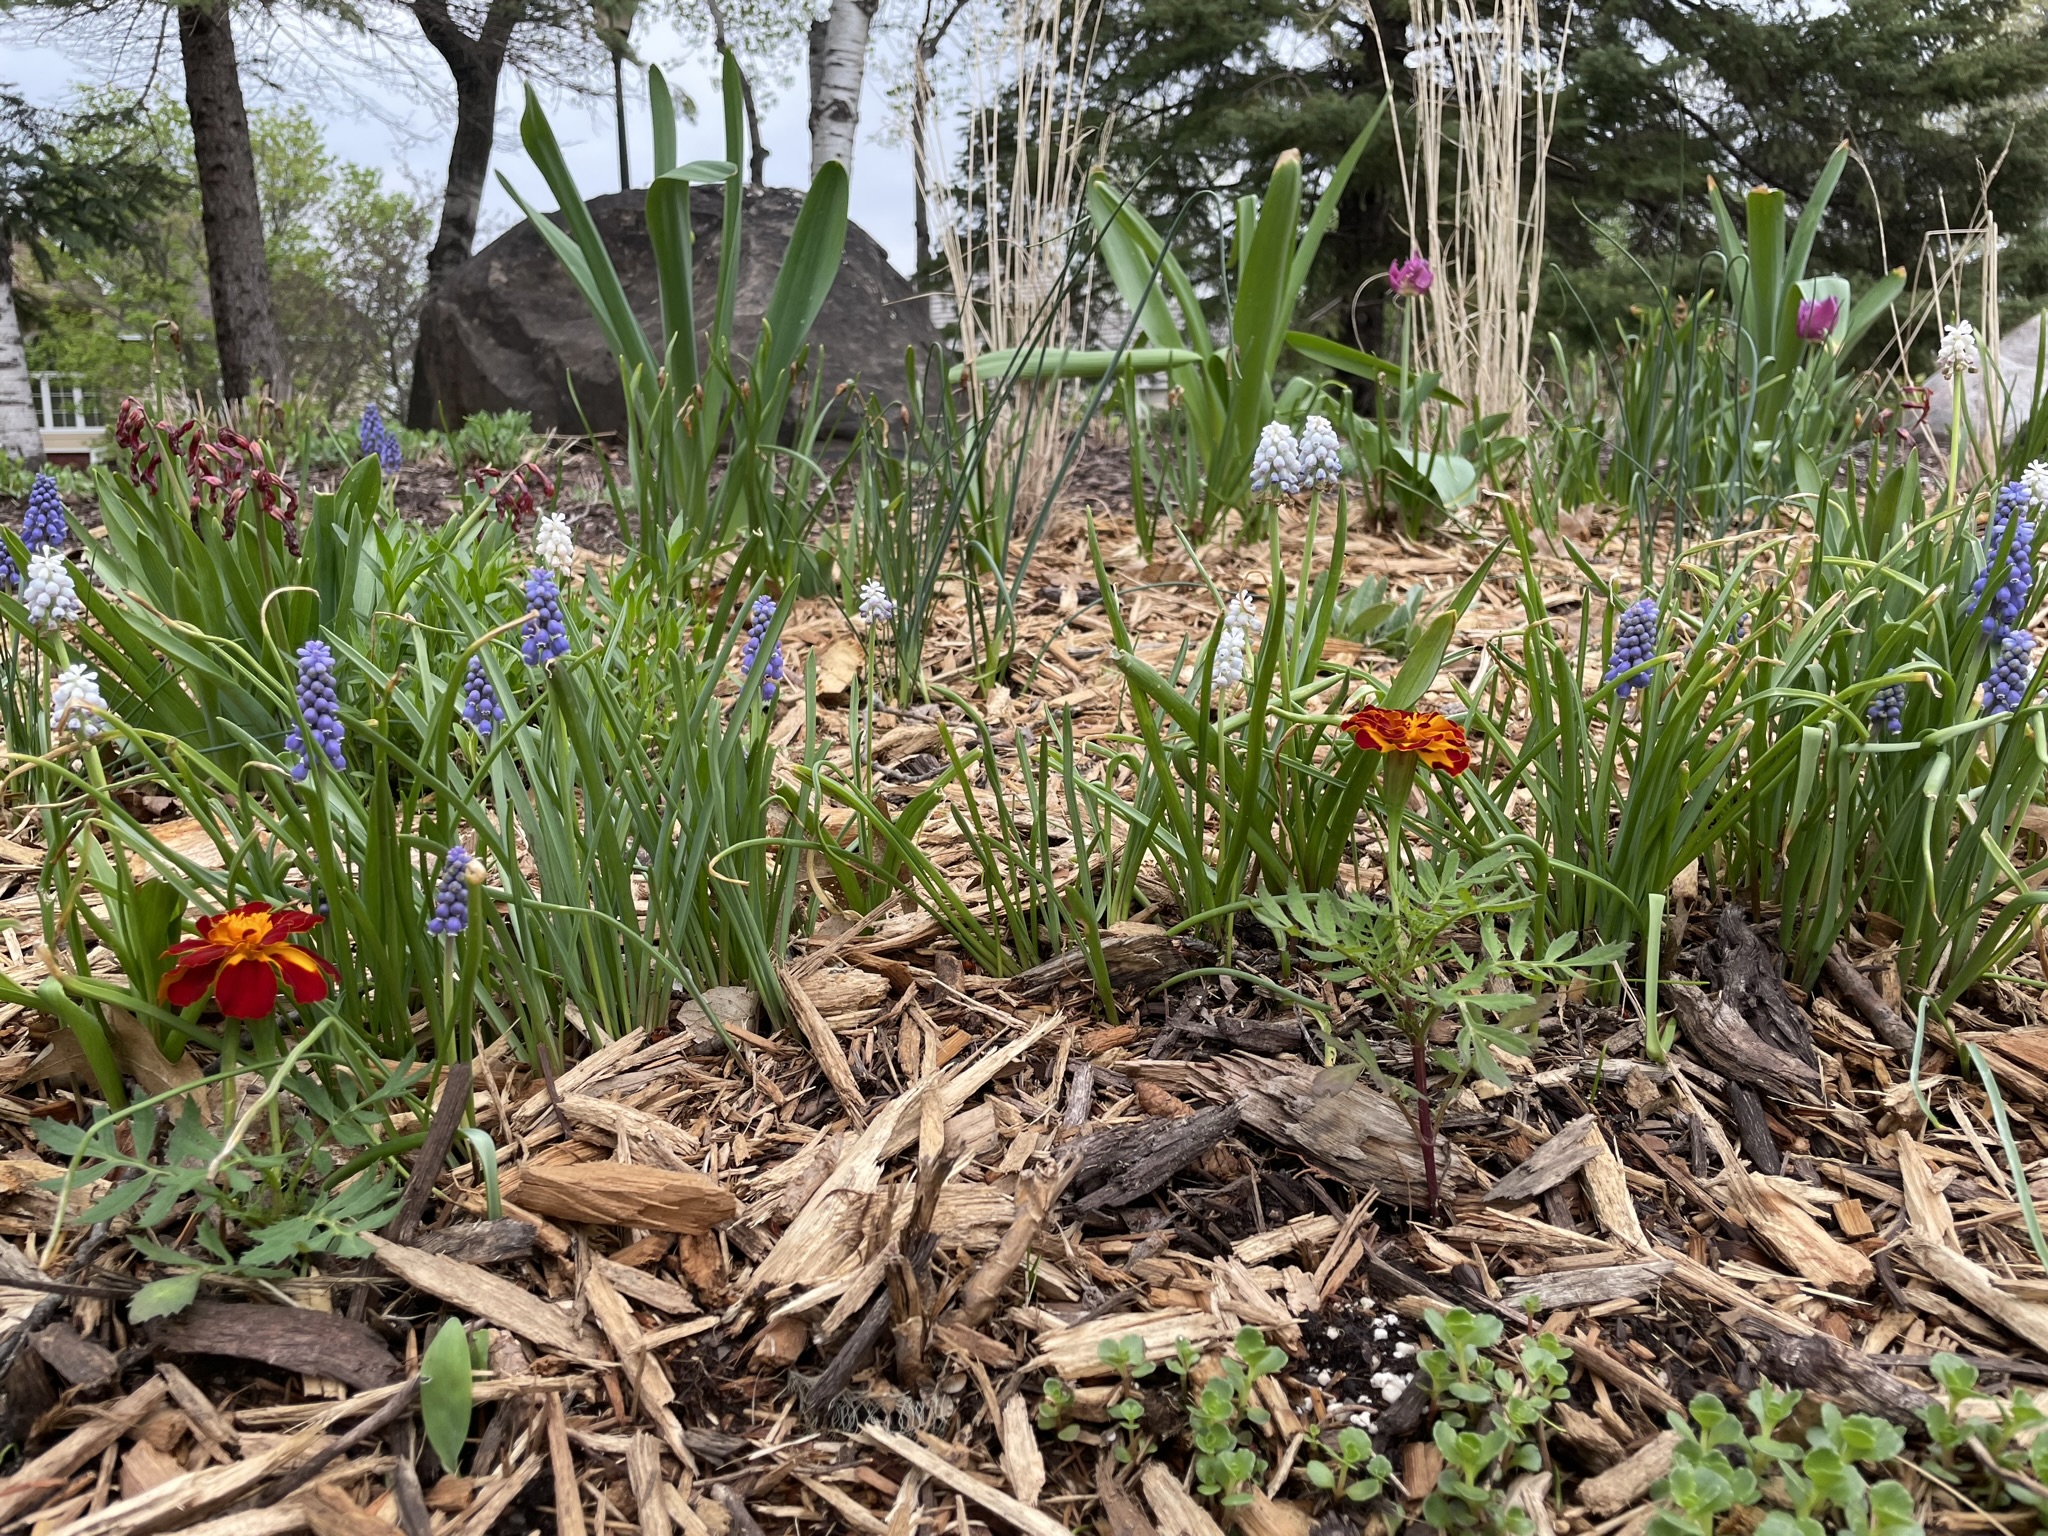
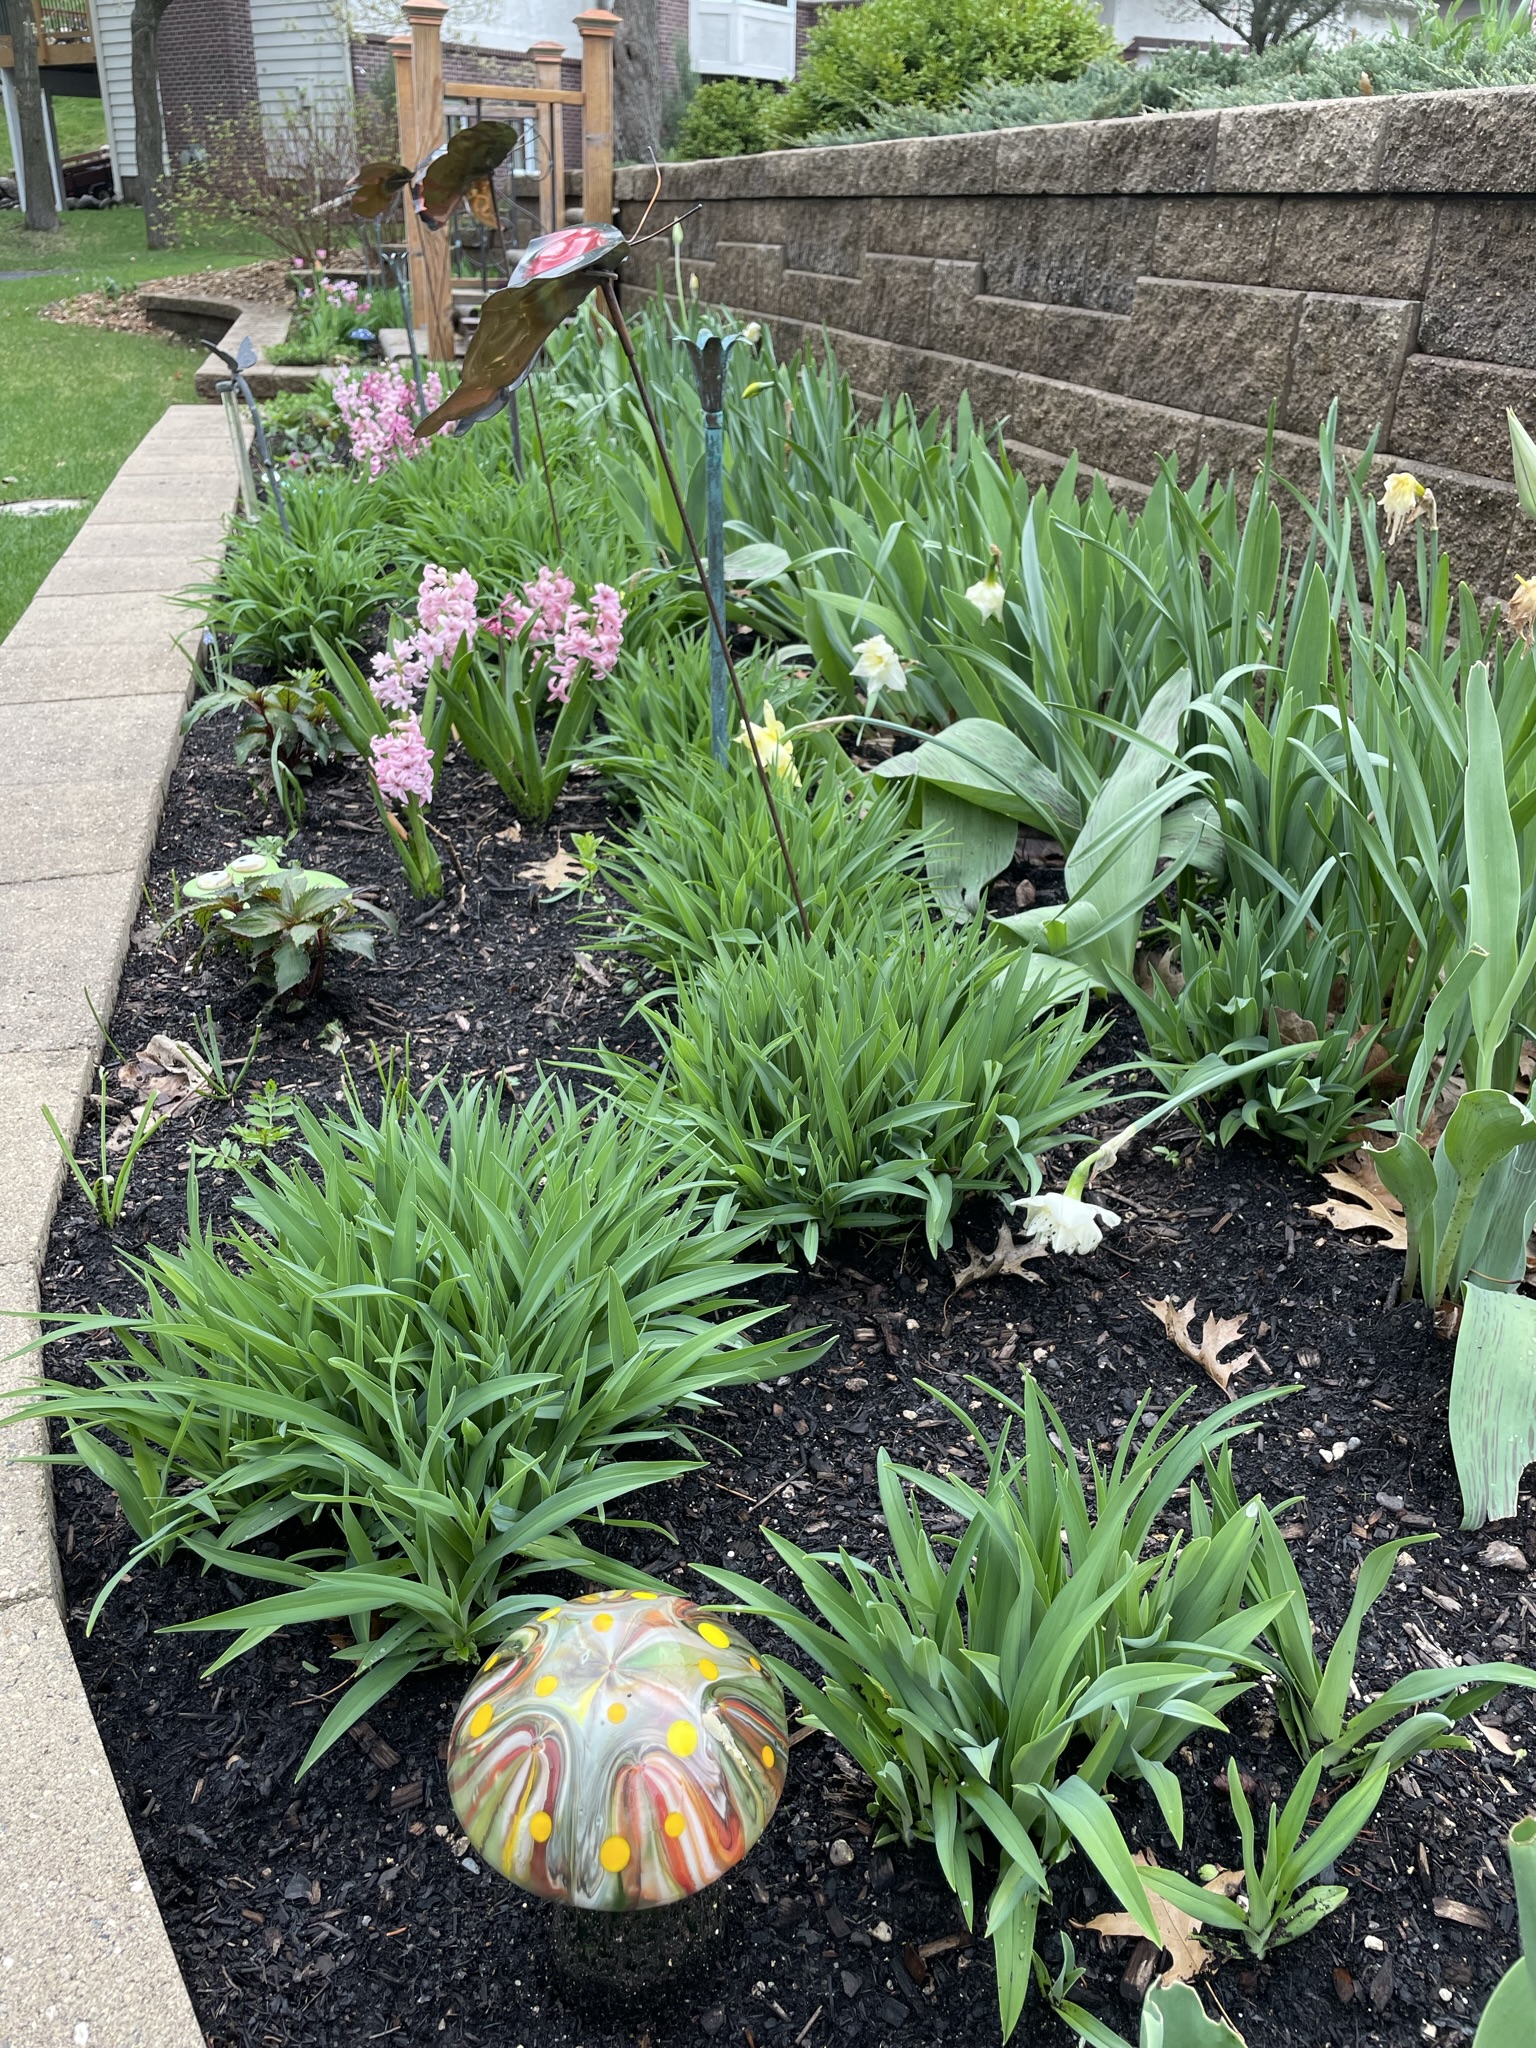
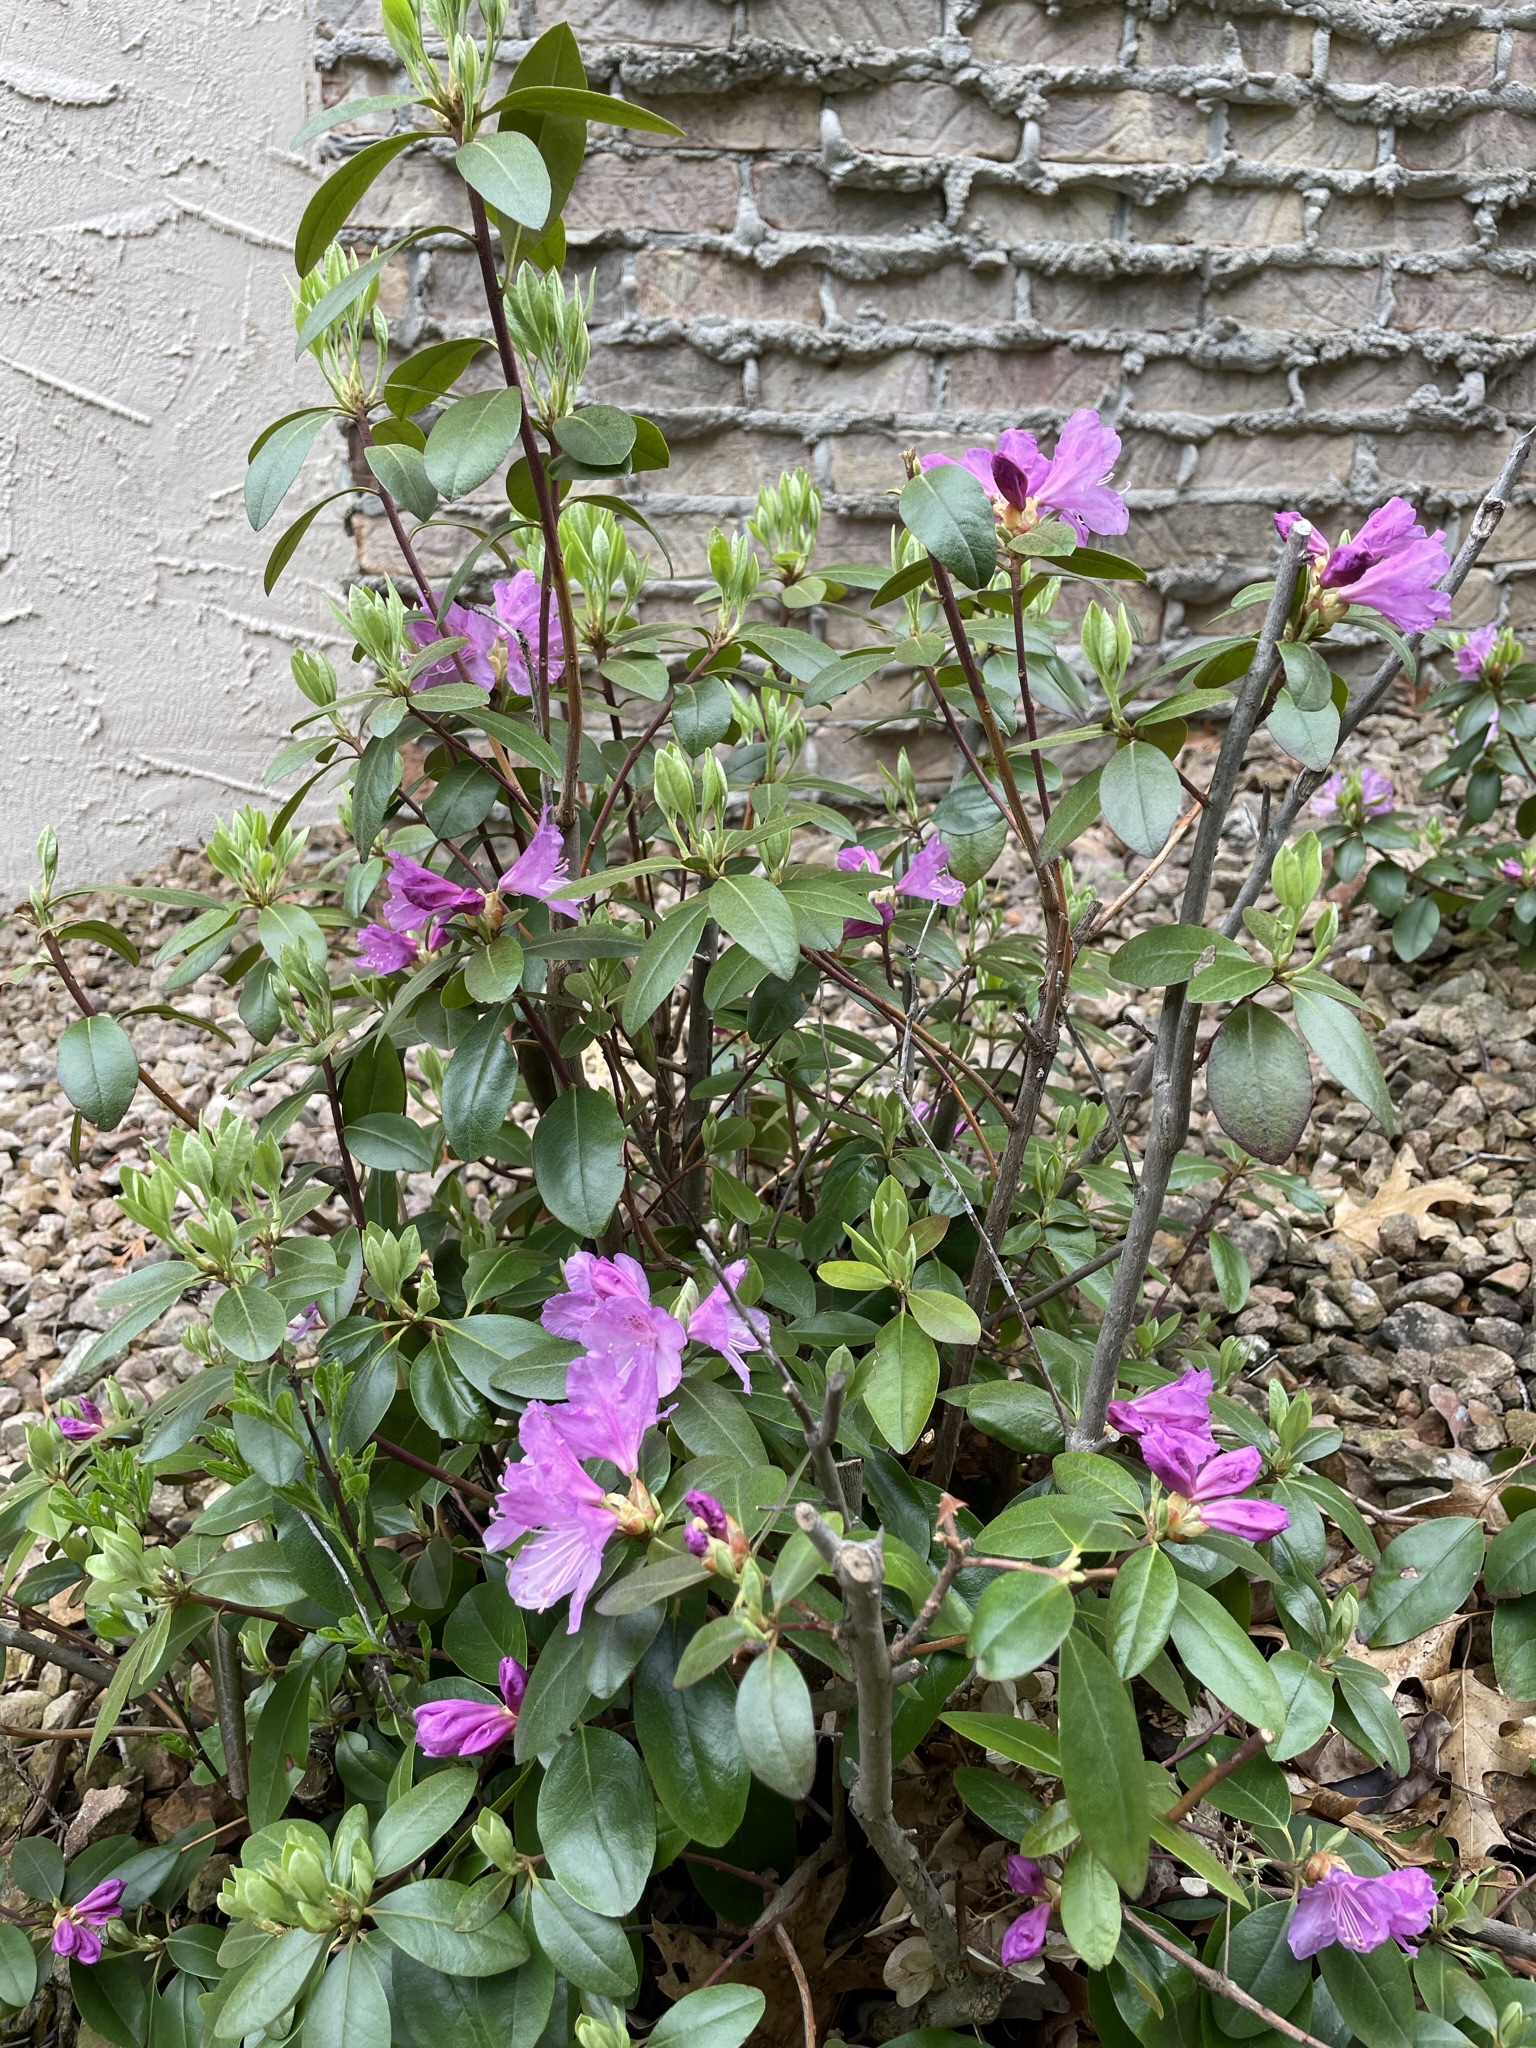
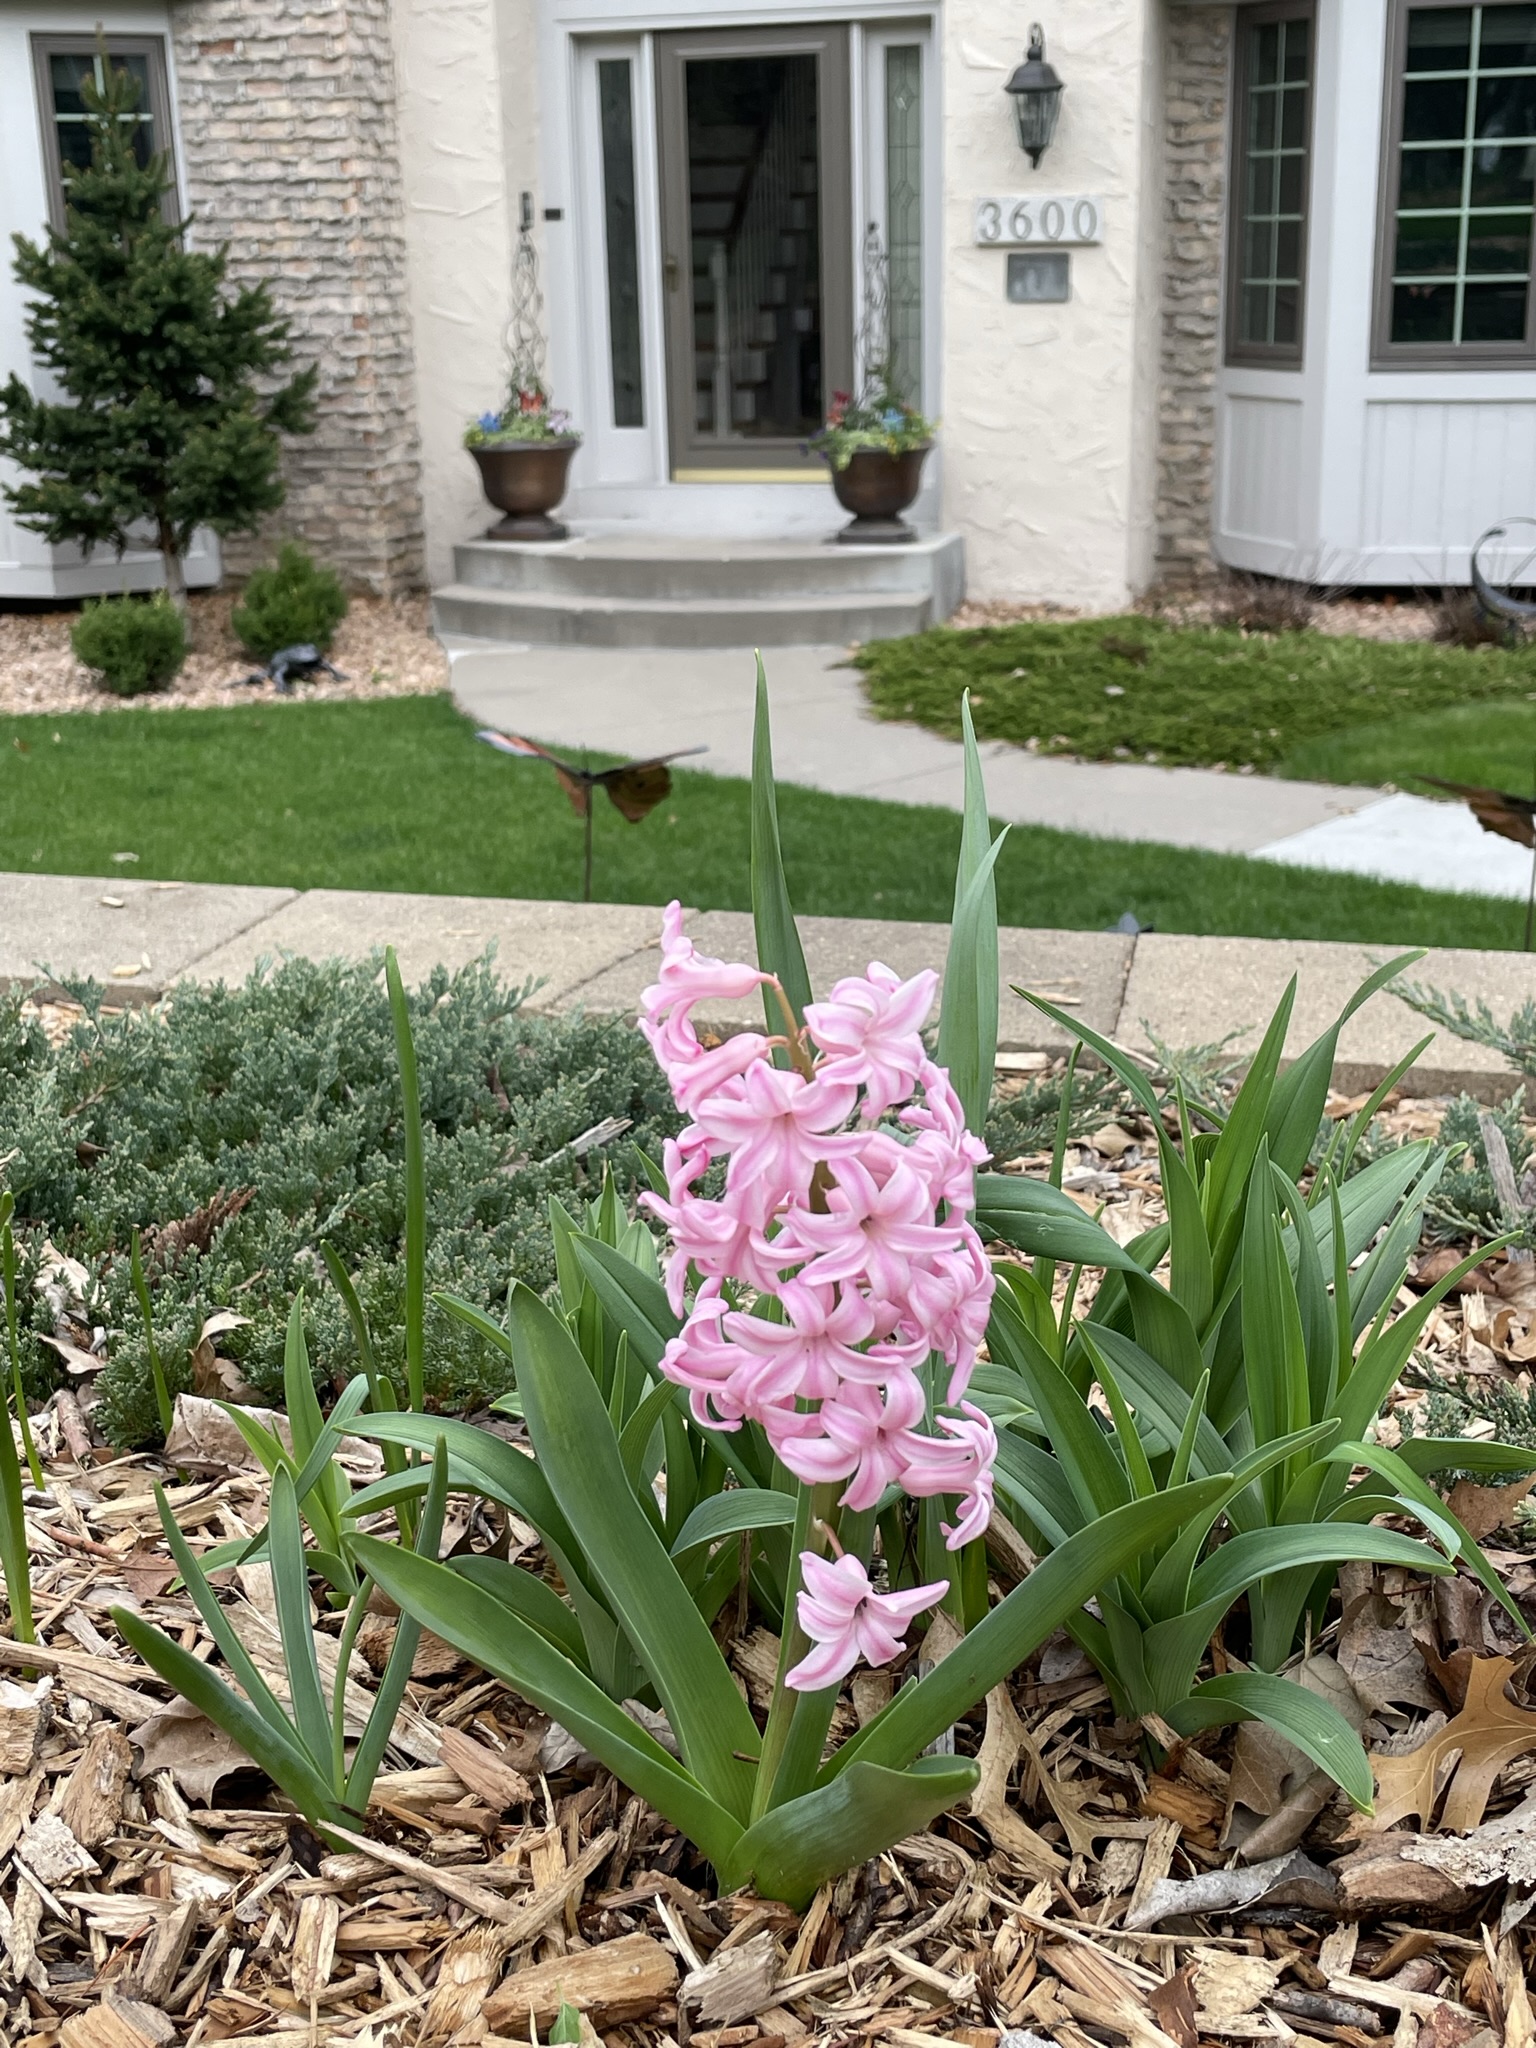
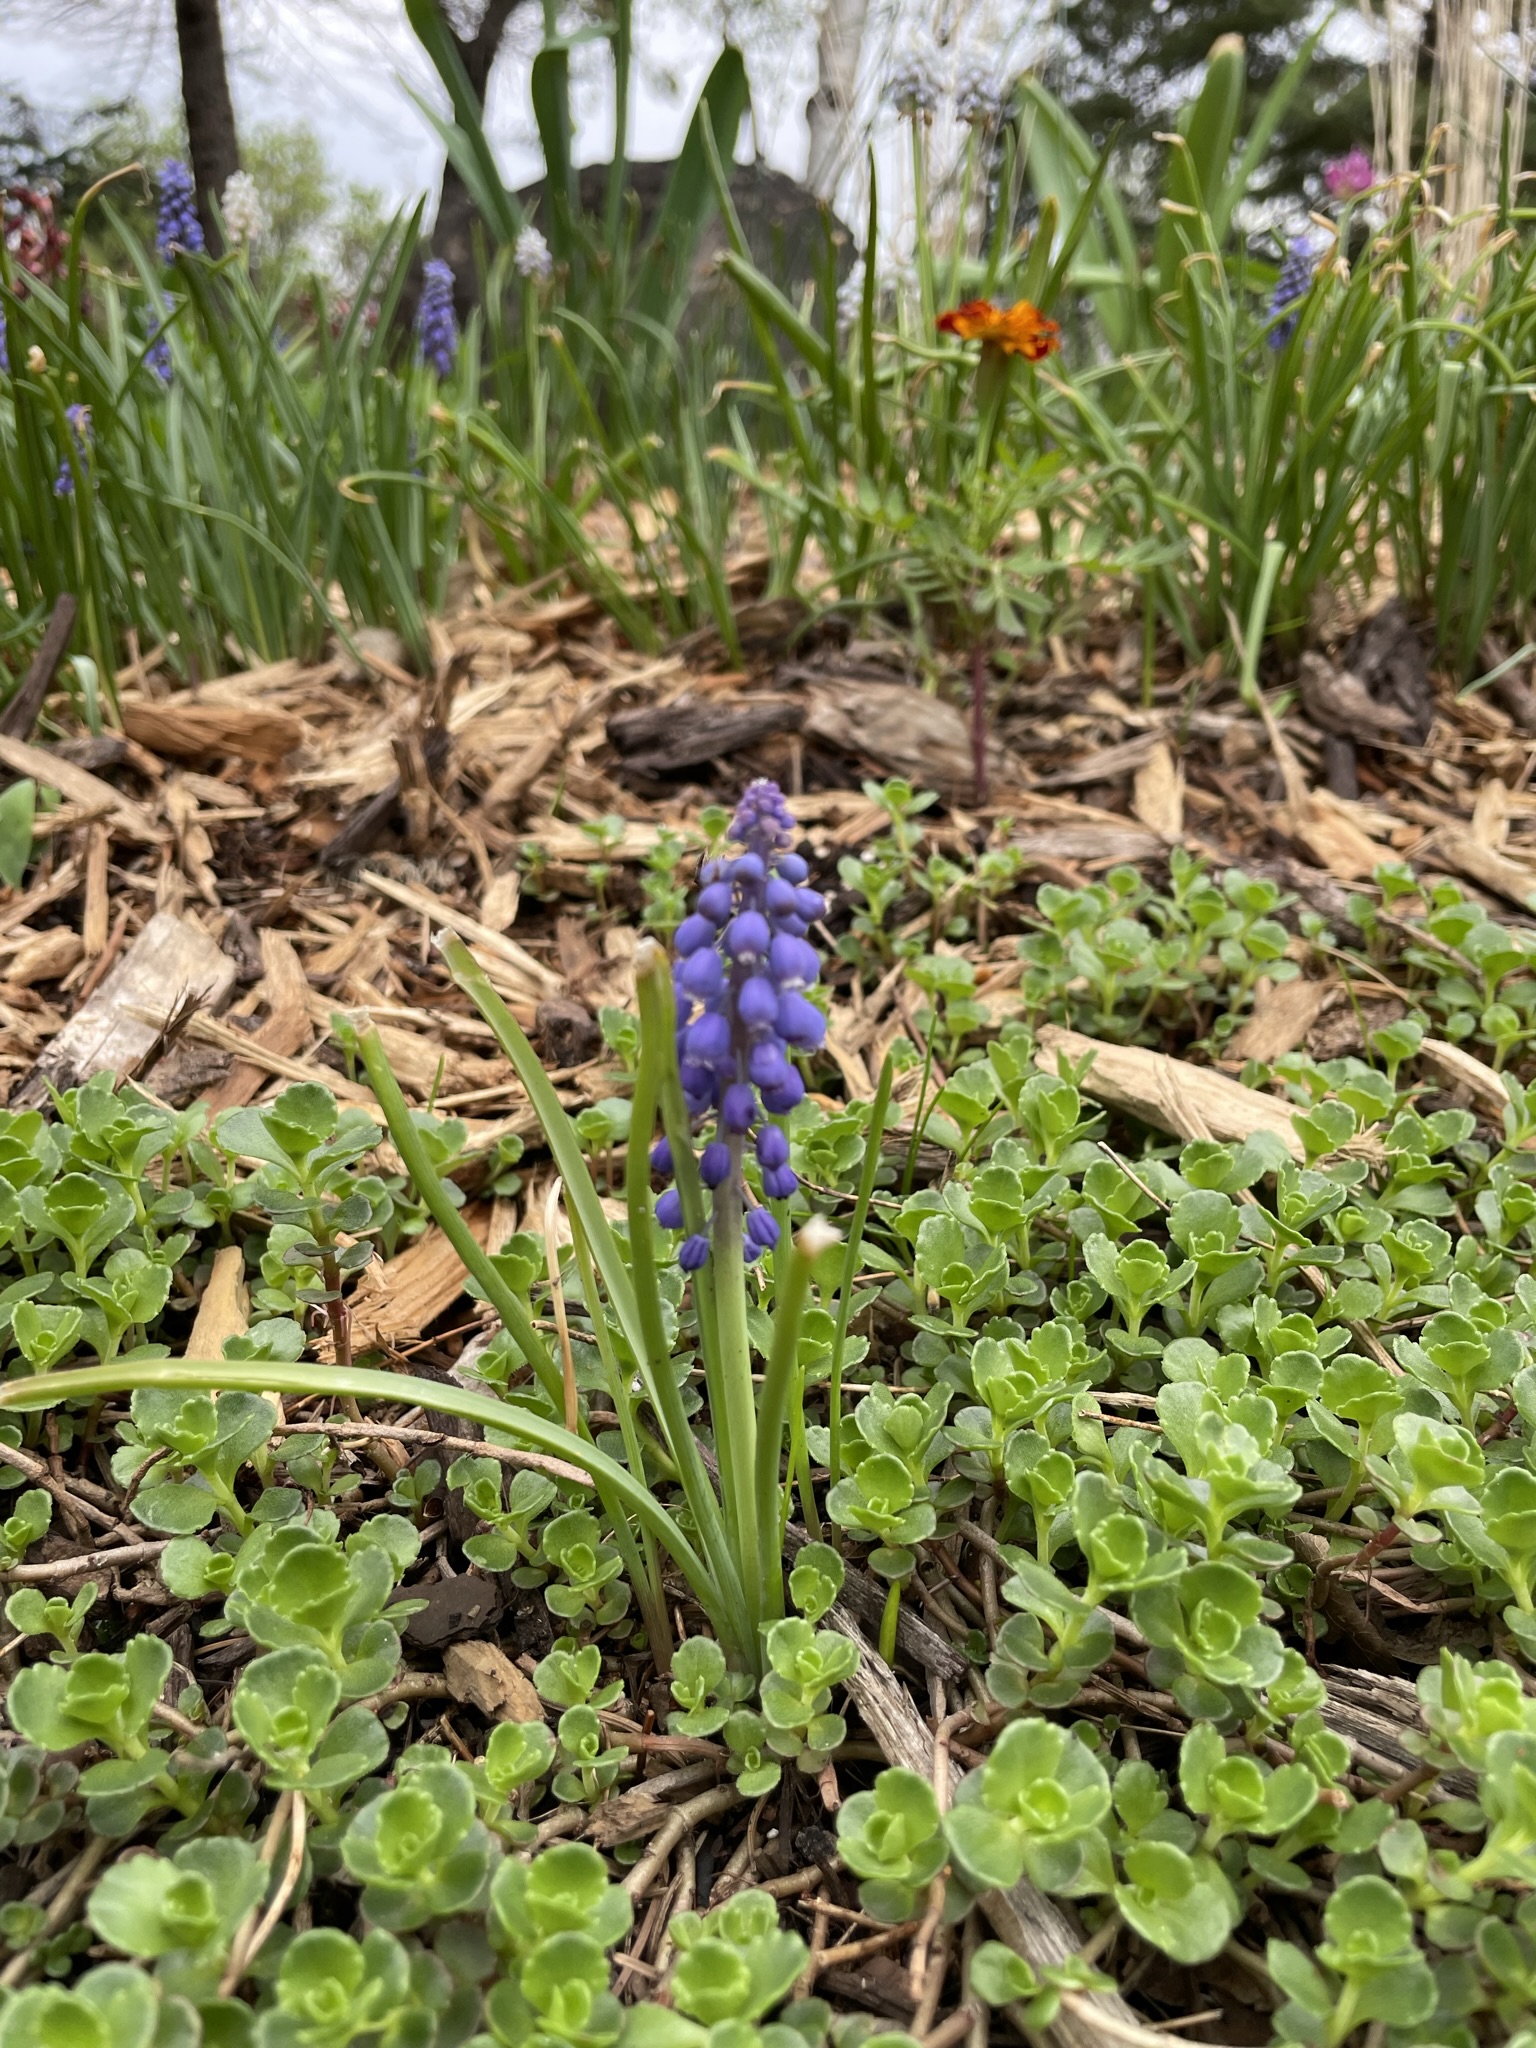
Watching the spring flowers pop into color.


Planting seeds and plants in anticipation of the flowers and vegetables that will be growing over the next couple of months.
On Monday, I took a trip to the local greenhouse to purchase plants. Seeing the prices (yes inflation is impacting every aspect of our lives), I was happy that I had started some plants from seed. Having read that seeds can be saved from year to year, last fall I purchased seeds at the end of the season at 95% off. In March, and then every few weeks thereafter, I started various plants from seed (Ageratum, Beebalm, Broccoli, Cauliflower, Celery, Coleus, Marigolds, Melon, Peppers, Tomatoes and Zinnia). For the most part, I was successful and thus saved a significant amount of money. I was even successful in over-wintering my Mandevilla in my sunroom, which saved me having to purchase those for my large front step planters this year.

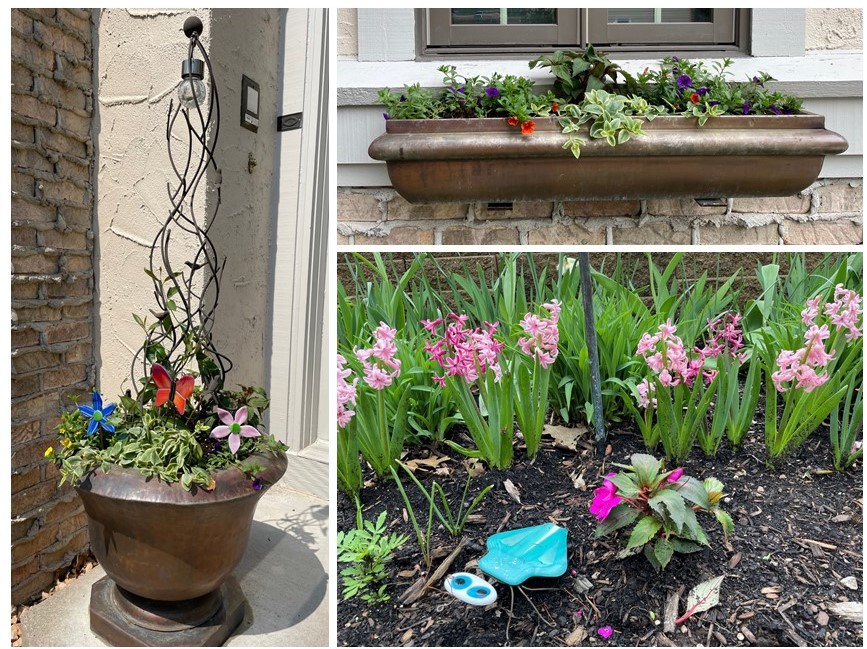
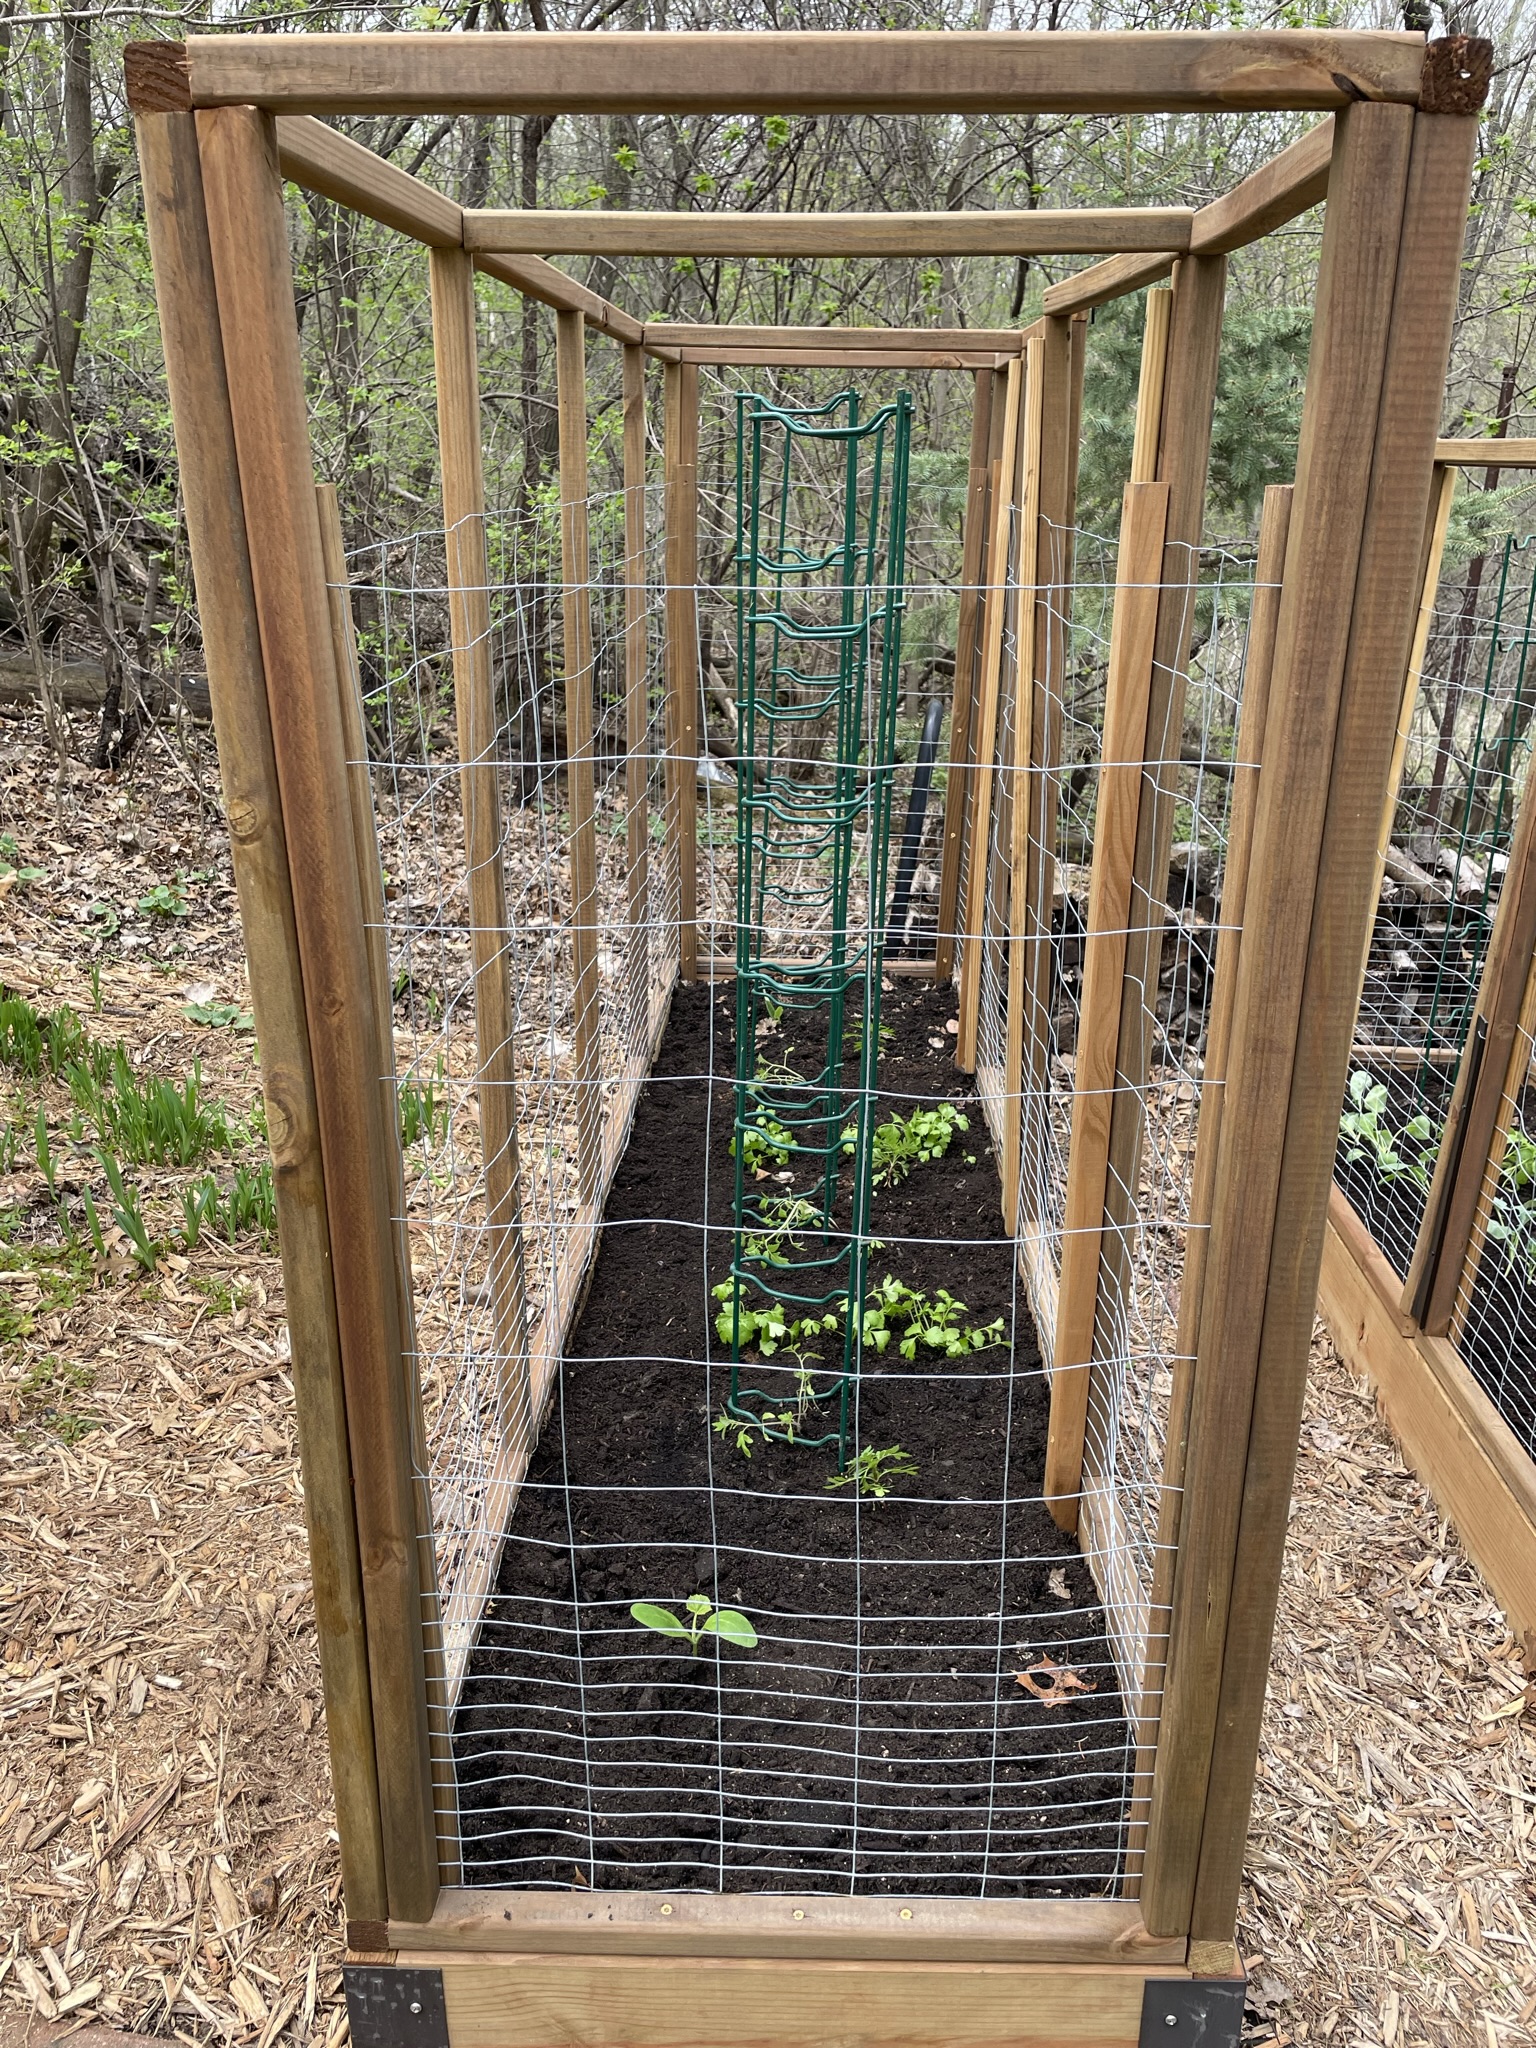
After I returned home, I got busy planting the flowers in my front yard and vegetables in the raised beds I built last fall.
For my vegetable garden, I am trying French Intensive Gardening. French intensive gardening dates back to the market gardens in 16th-century France. Located in the area around Paris and other French cities, this gardening method allows for produce to be grown in less space than in traditional gardening yet with still produce high yields. Many principles of French intensive gardening are standard gardening practices today, especially for small urban spaces. Since the wildlife like to eat anything I plant in my backyard, I am limited to the two 2′ x 8′ raised beds I built last fall (and a few planters for salad greens on my deck).
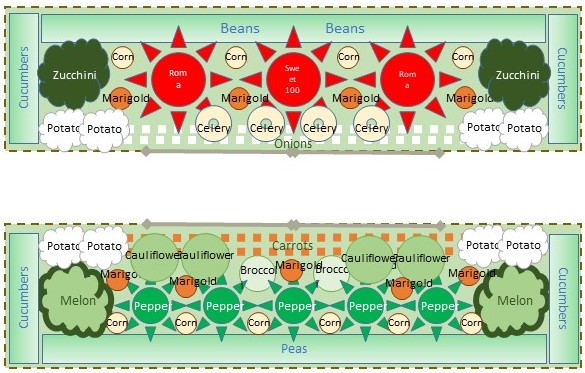
Soil improvement is the most important aspect of this type of gardening. My raised beds are 12″ deep and are filled with a mixture of topsoil, sand and compost. The enriched soil and depth allows for the plant roots to grow vertically rather than competing with neighboring plants for nutrients. Because the gardens are in raised beds, there is no need for walking paths within the beds, thus no valuable space is wasted. Being two feet wide, I can easily access all areas of the beds for weeding and eventual harvesting. Having reviewed numerous on-line sites about this type of gardening, I planned my planting design with combinations that have been shown to be successful for companion planting and used both seedling plants and seeds.

Because crop rotation is important with this type of gardening, next year I will switch the plants to the opposite bed. I have faith that all those little seeds I planted will sprout and the resulting seedlings will become vegetables in my little garden in my backyard.