Earlier this spring, I spent some time learning how to dye some of the pine needles that I brought home from South Carolina.
Not wanting to purchase more crafting supplies, I thought I would first try using the Procion MX dyes that I have used for dyeing fabrics. Because I wanted an intense color, I mixed MX Deep Purple dye with soda ash solution warmed to 200 degrees. To this, I added one bundle of pine needles and allowed them to batch for 4 hours. After rinsing, I was very disappointed to find very little (if any) color uptake.
Most of the on-line information about dyeing recommends basic dyes. So, I then tried the vinegar technique that worked well for dyeing silk fabrics. For this, the MX dye was dissolved in vinegar, the pine needles added and then microwaved the same as for dyeing silk. Unfortunately, this was also disappointing.
Next, I tried Rit dye because I found several on-line tutorials for using this dye with pine needles. While the Rit dye worked for creating color in the pine needles, the color was not what I was wanting and definitely not the color on the dye bottle.


Lastly, I purchased a set of Basic Dye from Jacquard. The dye (7 grams) was dissolved in a vinegar bath (2 liters water with 30 ml vinegar). The needles were added, weighted down with a baking rack and baked in a 350 degree oven for 30 minutes. The rack was removed and allowed to cool. The dye was removed and the needles were soaked in another vinegar solution (this time with no dye) for an additional 30 minutes. The needles were then rinsed well and allowed to dry overnight.


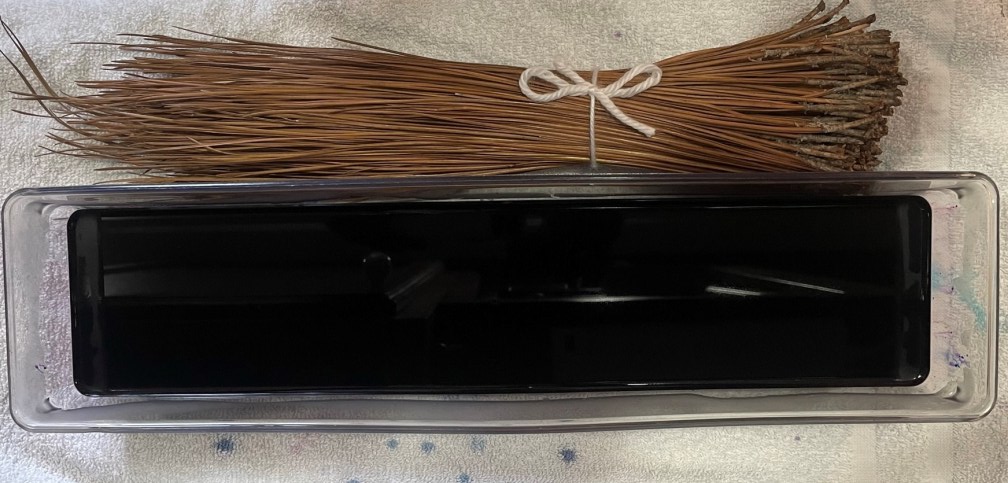
I was extremely pleased with how well the needles took up the dye using this technique. The purple color was very intense. In the picture, you can see the results of the dye attempts. While the Rit dye did create color, it was more of a green color rather than purple.

The basic dye worked so well, that I decided to dye more colors. I achieved some really lovely colors!

A few weeks later, I pulled out some of the needles and started working on a basket idea I had. After getting a short start to my weaving, I set it aside (wrapped in a damp towel to keep the needles flexible) because it was spring planting and I was drawn outside to work in my gardens.
Last week, I had time to work on my project again. Unfortunately, when I opened the bag with the damp towel and pine needles I found that the moisture had cause mold to form on the pine needles. So, the start of the project was tossed into the garbage. Lesson learned – store all pine needle dry and only moisten the ones that will be used within a short amount of time!
After starting over, I continued to work on the basket for several days to avoid the problem of mold growing on the second attempt.


My design idea was to make a basket that (sort of) looked like a flower. The center was three rows of plain needles wrapped in yellow surrounded by three rows of the Ti stitch to make the center of the flower.
For the colors designating the flower, I started with a single row of needles wrapped in red. By wrapping the needles, I could transition to red dyed needles for the next section. The next row was the Ti stitch on red needles with radiating points filled with the Faggot stitch. The next three rows were red needles and the Ti stitch in purple. The last section of the flower was a row of radiating purple wrapped needles that allowed me to transition to green needles.
The outer section of the basket was to look like the plant of the flower and the air/sky surrounding it. To achieve this, I did three rows of simple stitch in green on green needles and then a row of wrapped needles to transition back to plain needles. Five rows of plain needles with the V stitch and a final row was a wrapped row. I plan to hang this on the wall in my craft room
I really like how this basket turned out.