A friend recently asked me whether I had stopped making quilts since I haven’t posted about any new quilting projects for several months. This is definitely not the case. In fact, last year I gave away nineteen quilts to various organizations. Most of these nothing fancy, just easy scrap quilts to use up fabric I have been given over the past couple of years. I still have a lot of fabric yet to use, so I will continue to make quilts to give away.
In talking with her, I realized that I have made a couple interesting quilts that I forgot to post about.
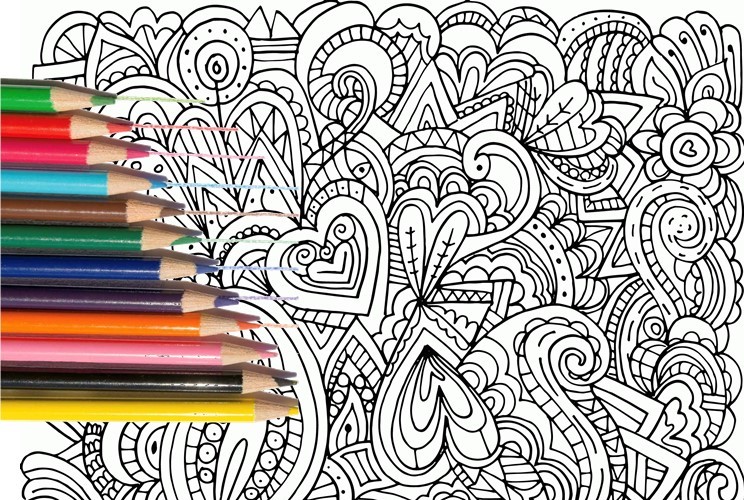
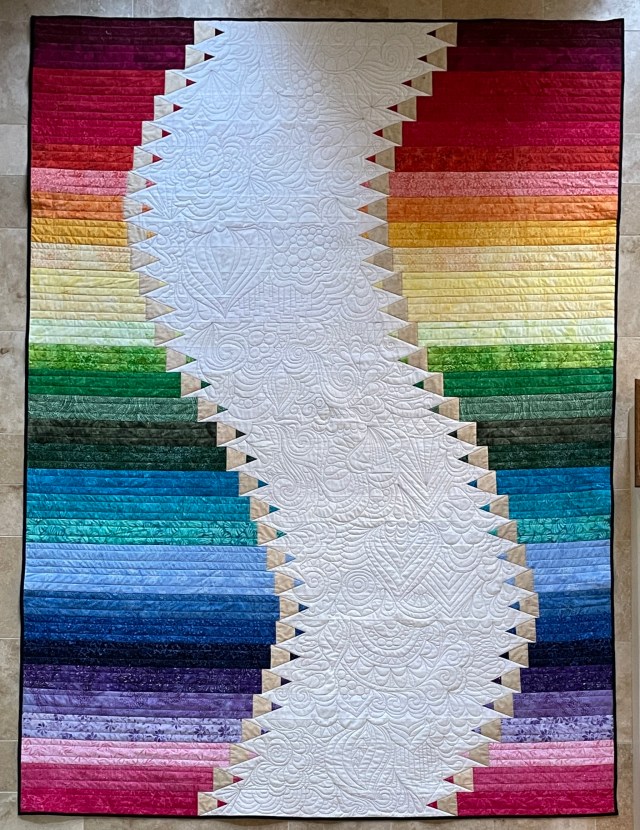
Pencil Quilt. The idea for this quilt came after seeing an advertisement for an adult coloring book with pencils. These books were sold a a way to reduce stress. Not needing any more crafts, I did not purchase a book. But, I did make my idea become reality.
To make the pencil tips as precise as possible, I used a variation of a technique called Paper Piecing. However, to avoid having to remove the paper, used dryer sheets were a better alternative. When ironed and taped to a blank piece of paper, these sheets of thin unwoven polyester can be used in any regular printer. But, since the softener sheets are lightweight, the sheets do not need to be removed.

After sorting through my batik fabrics, the quilt top was pieced in a color gradient order. For the quilting, I pulled different doodle designs into a graphics program and settled on how I wanted the quilting to look.
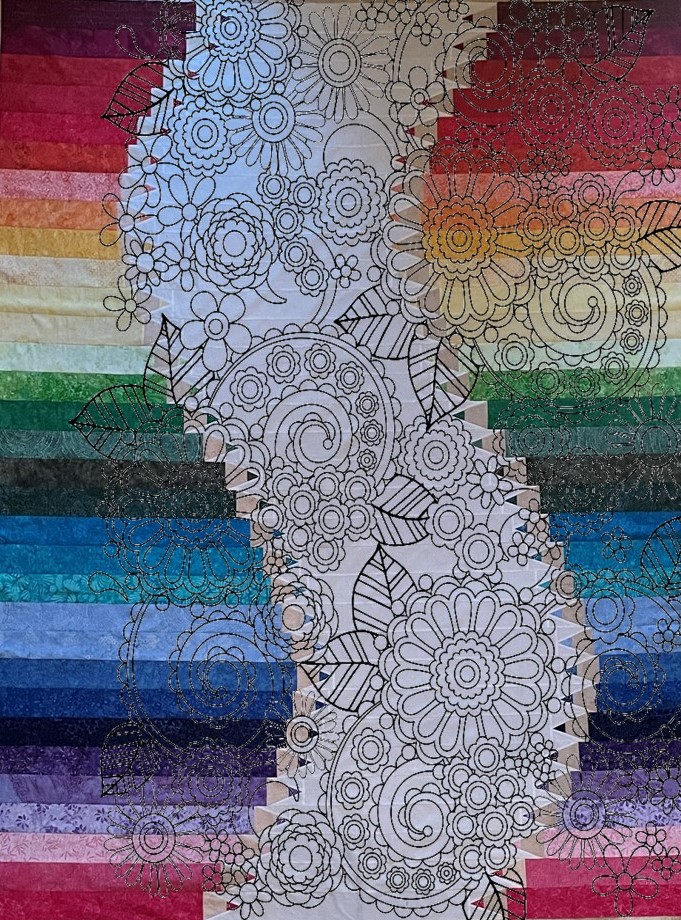
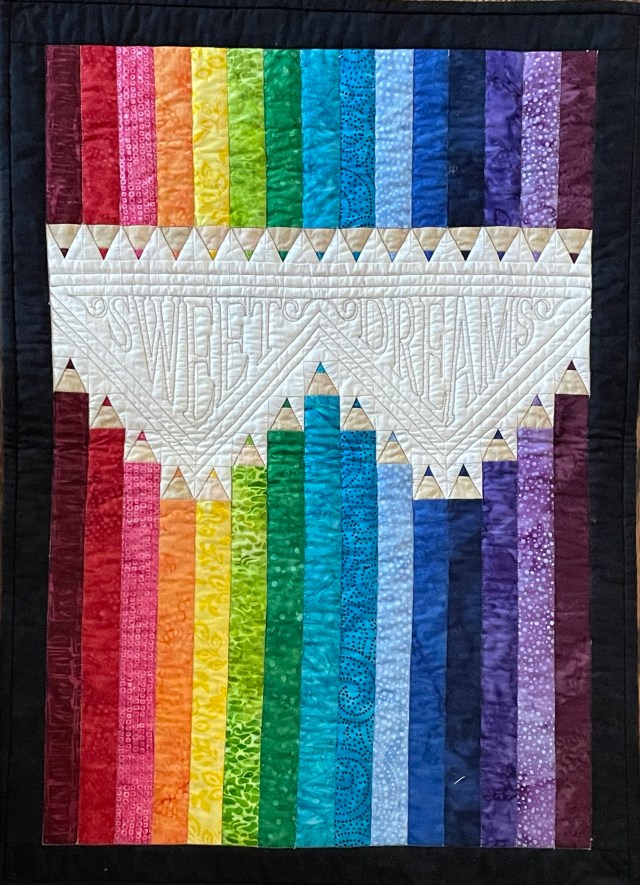
The end product was very close to the idea I originally had in my mind – a fun, colorful quilt.
I also made a matching doll quilt.
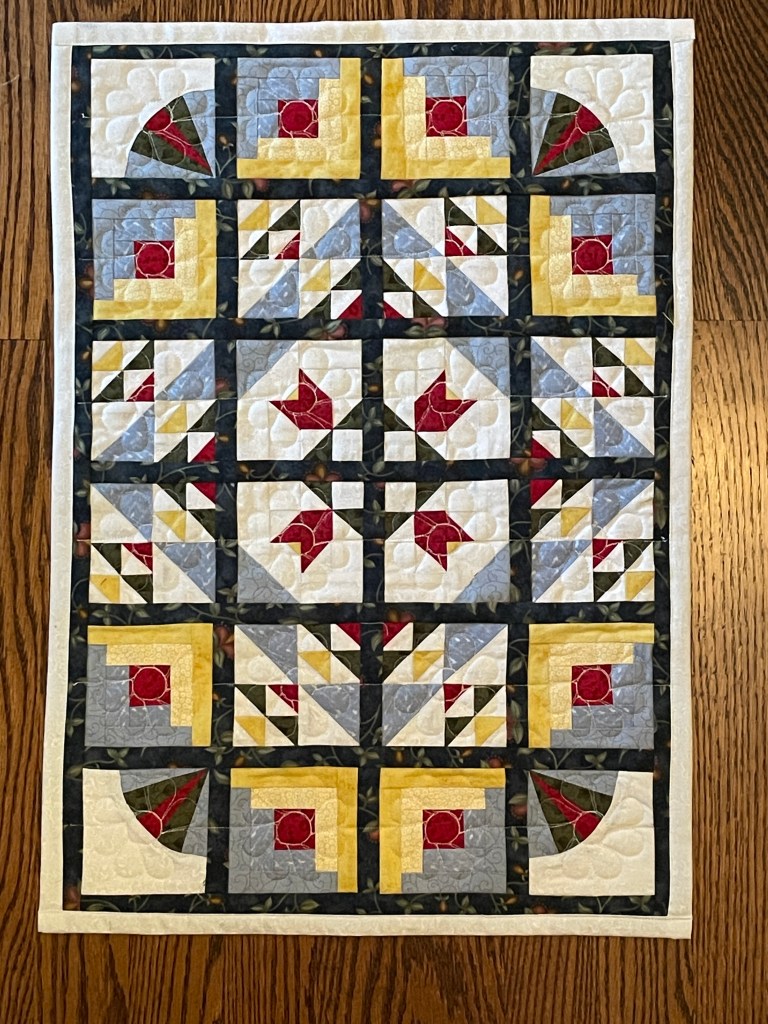
Another Doll Quilt. When my niece graduated from high school, I made her a quilt as a gift. She now has a two year old daughter that is using this quilt.
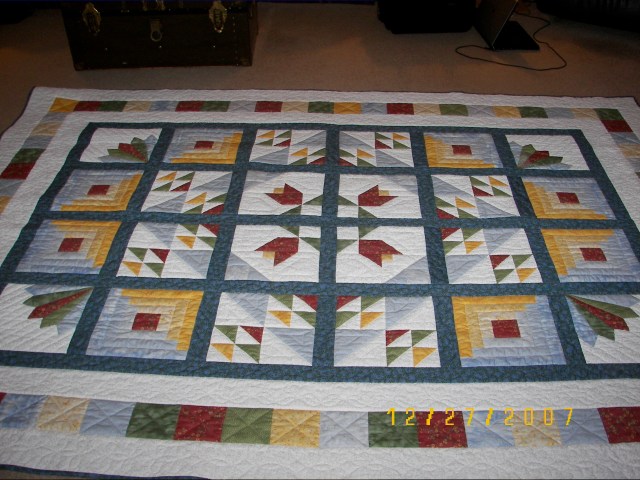
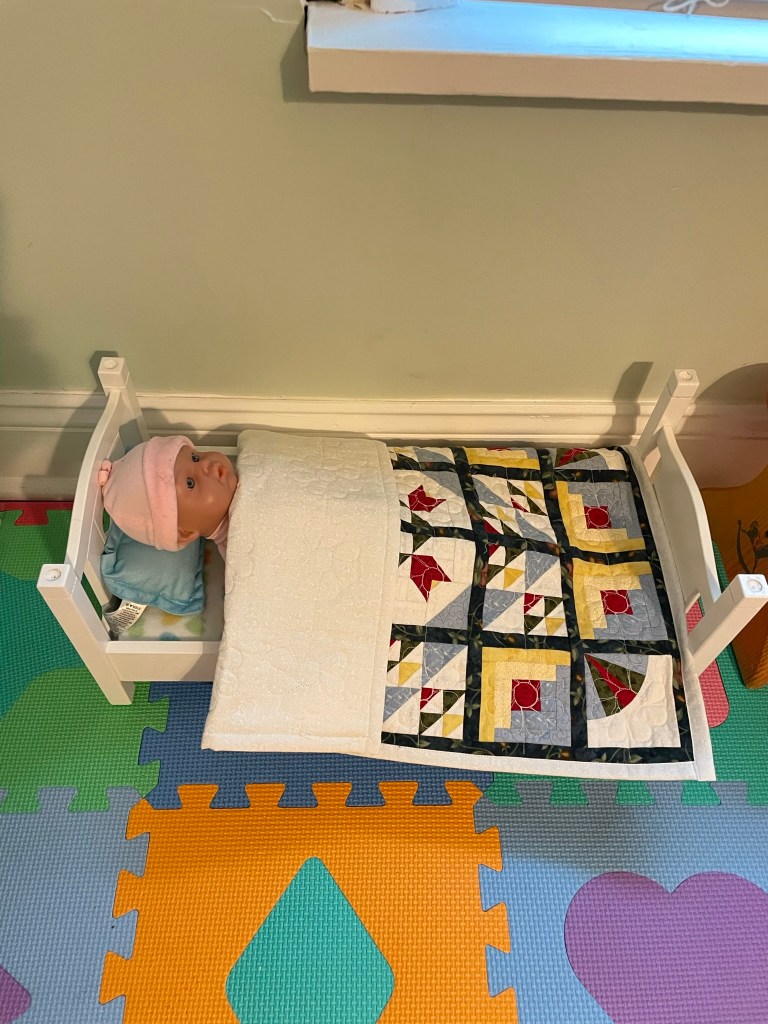
For Christmas, I made a doll quilt to match the original quilt. So, my niece’s daughter and her Baby Lissi doll have matching quilts.