Noel

One of the first Christmases after I was married, my father-in-law gave me a pin for my coat. It was a rather creative way to say Noel. I still have the pin and wear it each year. This pin is a great conversation starter because people often ask what the pin means and usually figure it out quickly when the start verbalizing what the image shows.

While trying to recreate the image in fused glass (more on that below), I looked up the history of Noel as a Christmas greeting.

“Noel” comes from the Latin root word “natus”, meaning birth. Early Christians used the phrase “dies natalis”, meaning day of birth, to refer to the birth of Christ. Over time the phrase became synonymous with the celebration of Christmas. As the term spread throughout the different languages, it evolved into the Old French word “noel” which was used as a joyous way of proclaiming the good news of Christ’s birth.

The word itself is all about celebrating the miraculous birth of Jesus Christ. It captures the joy, hope and promise of Christ’s redemption for our sins that we remember at Christmas. It’s a small word with a really big meaning!

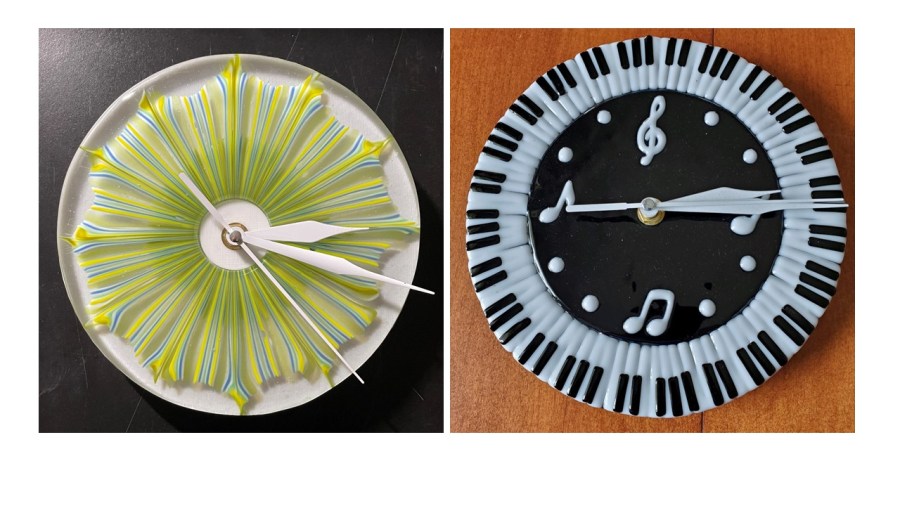
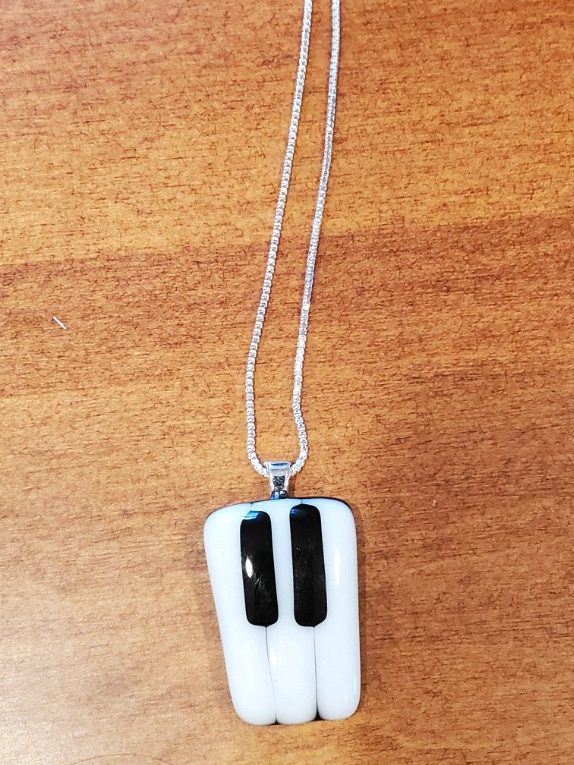
Fused Glass Noel ornament

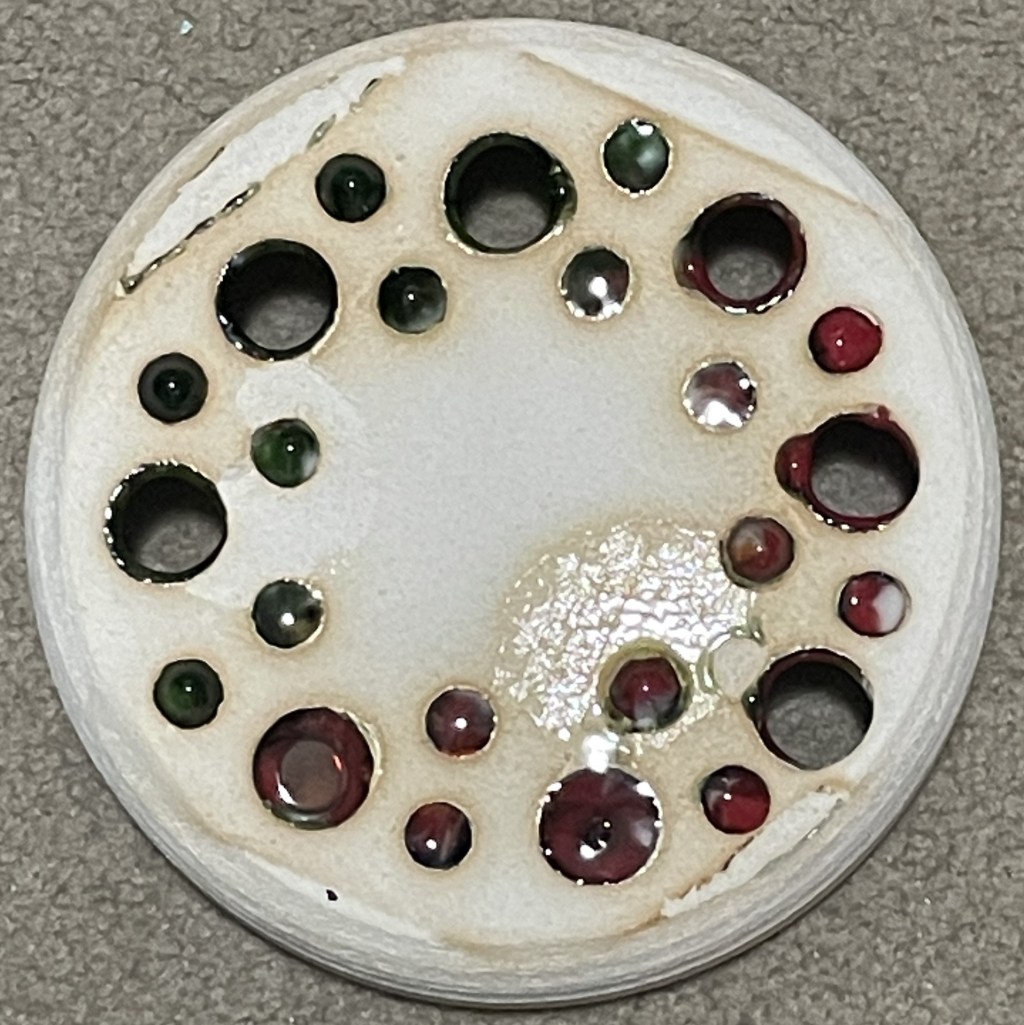
To try to replicate the pin in the form of an ornament, I first tried using high temperature enamels to paint the details on a white circle of glass. This did not turn out well at all and the glass was repurposed unto a pot melt project. The second attempt involved making a silicone mold for the No symbol and a silicone mold for the L, and then using the Freeze and Fuse technique that I have used before for other small projects. Unfortunately, the glass cracked while firing. After a few attempts, I gave up on this approach. Lastly, I contacted a friend who has a Wazer WaterJet glass cutter and had her cut out the No symbol and the letter L. I placed these on a 2.5″ circle of opaque white glass and added details to the ornament with some murini. Kinda Fun!

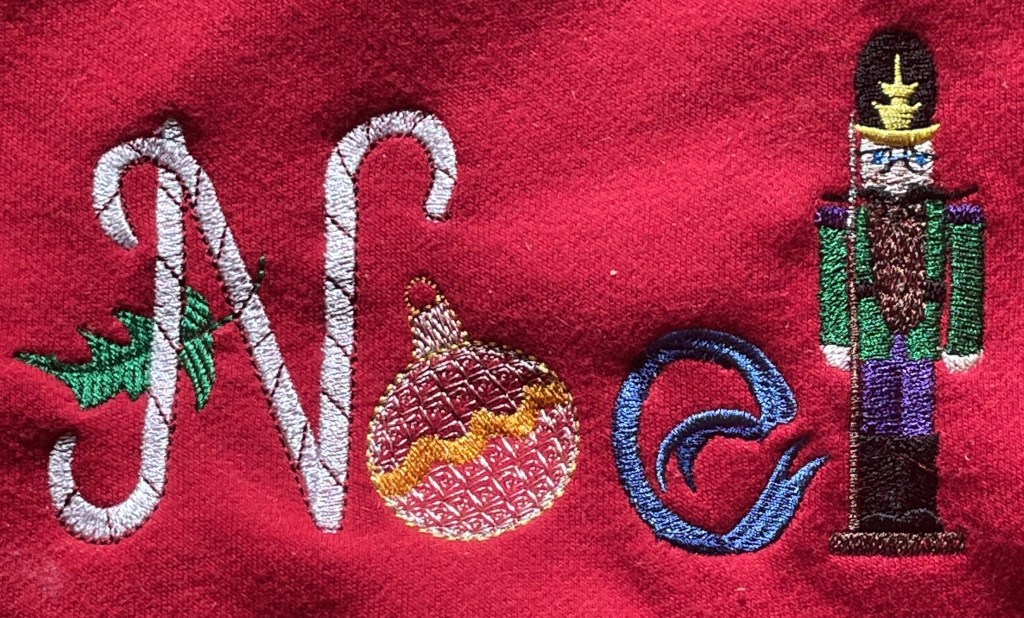
Noel Embroidery on Sweatshirt

While moving my mother a few months ago, we sorted through her craft supplies that she was no longer able to use. She had several sweatshirts that she wanted me to embroider for her to wear. One of the sweatshirts was red, which was perfect for Christmas. So, I used the embroidery module on my sewing machine and embroidered Noel for her. After making it, I realized that I would like a similar long sleeve t-shirt of my own. Perhaps next year I will make myself one.

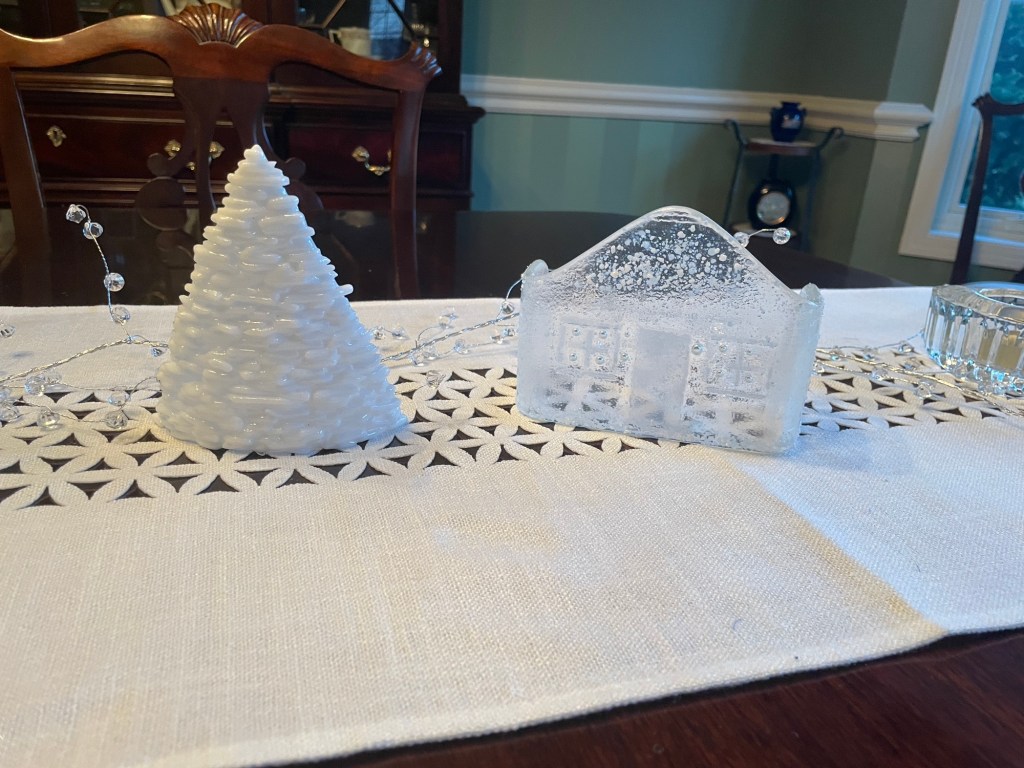
Christmas Table Decorations

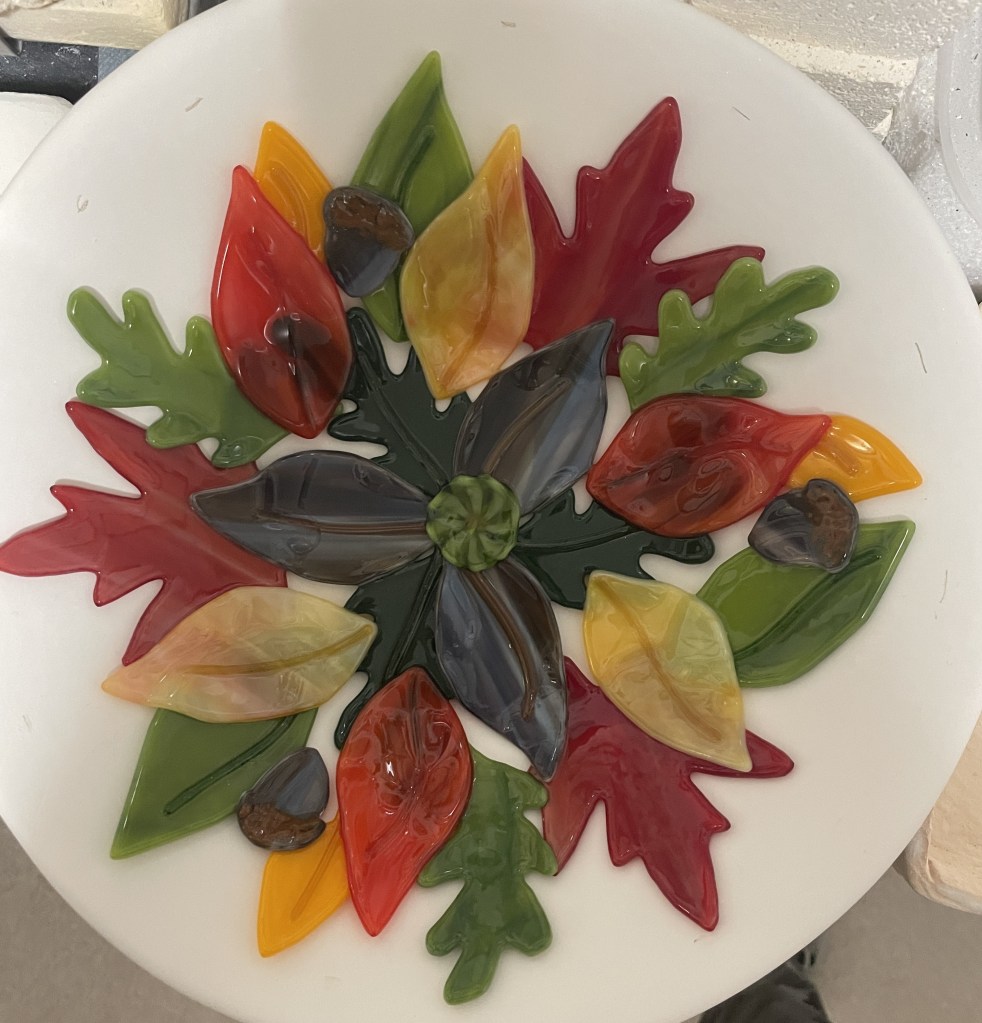
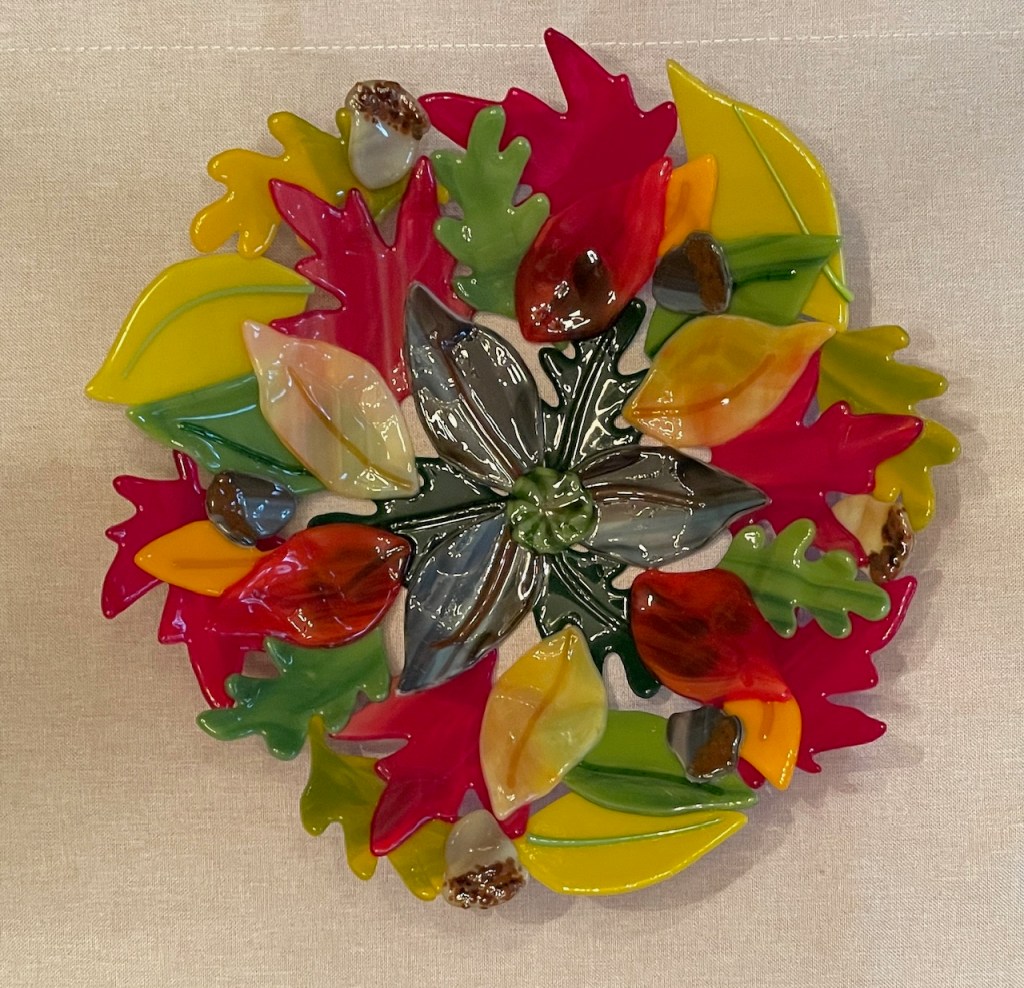
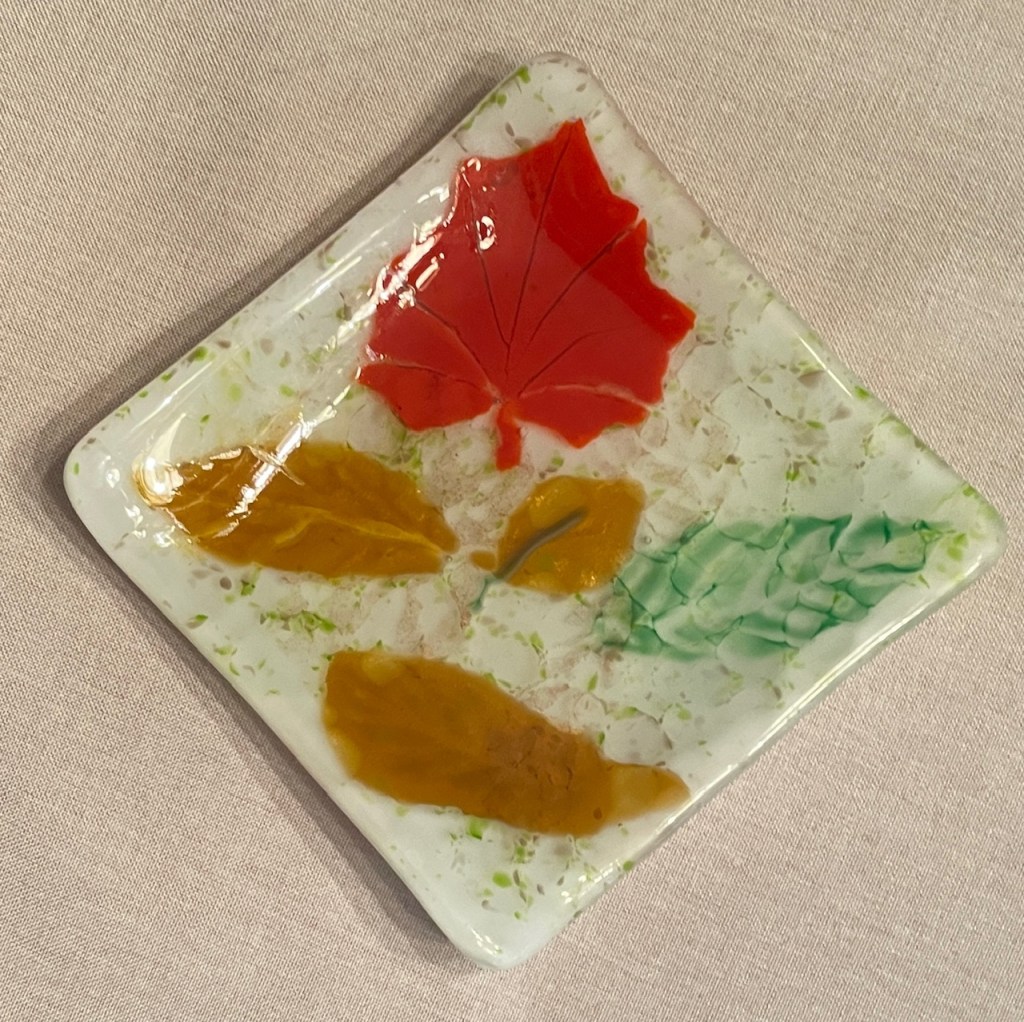
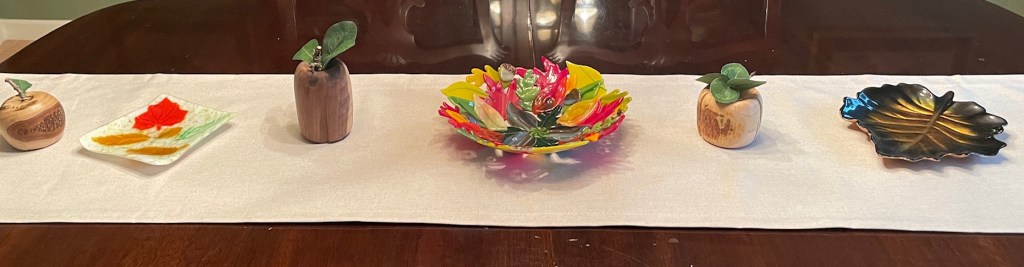
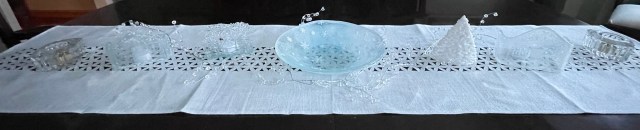
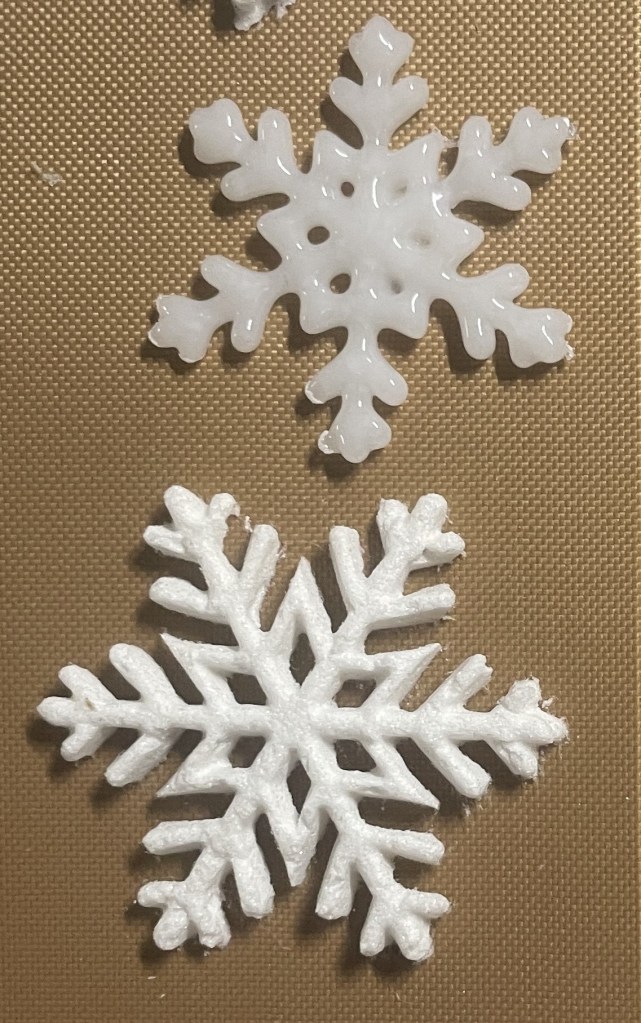
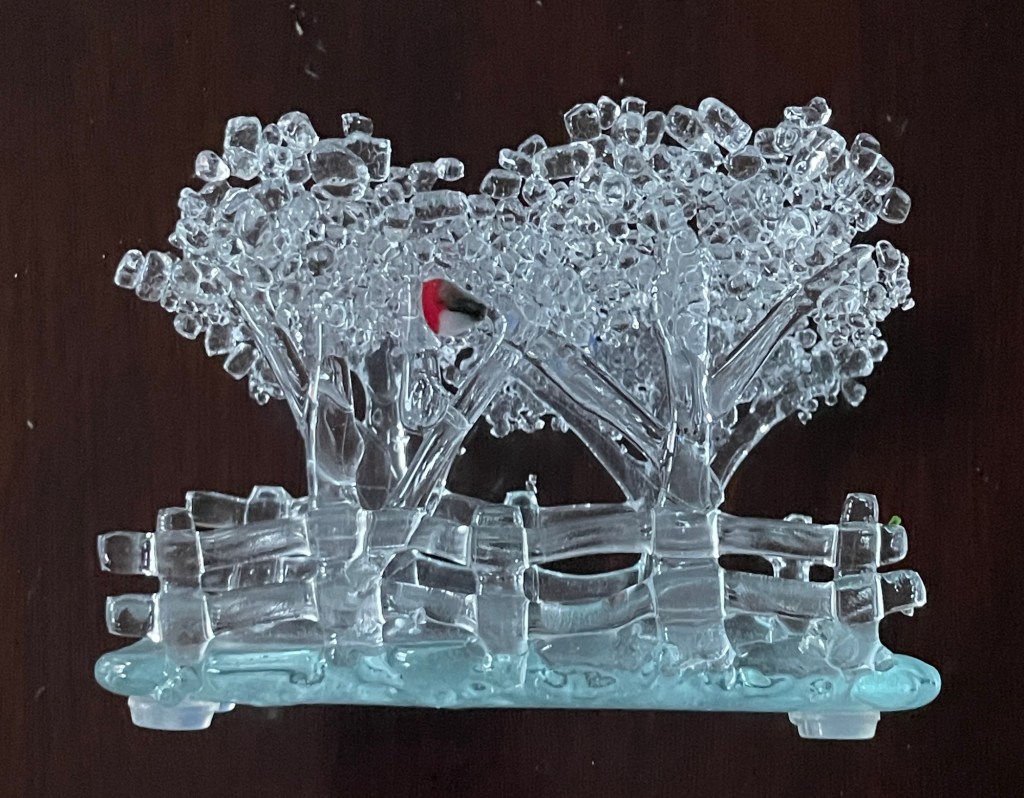
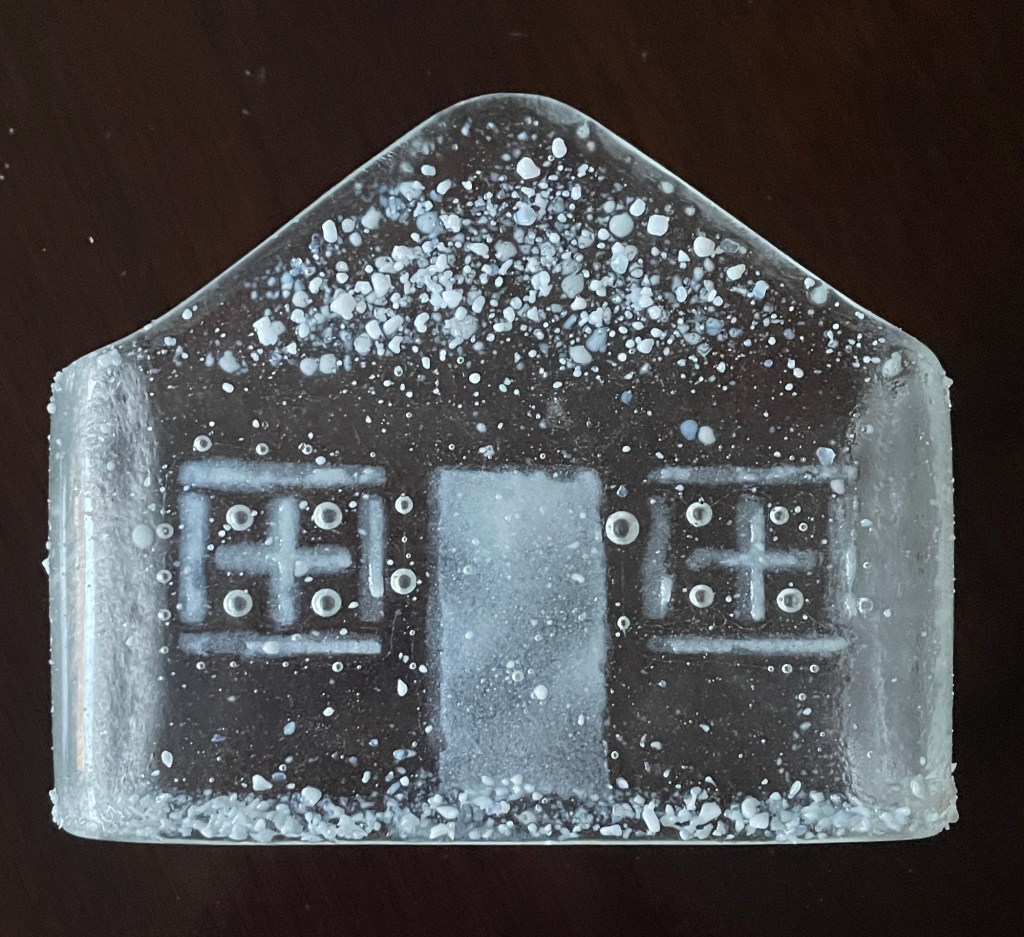
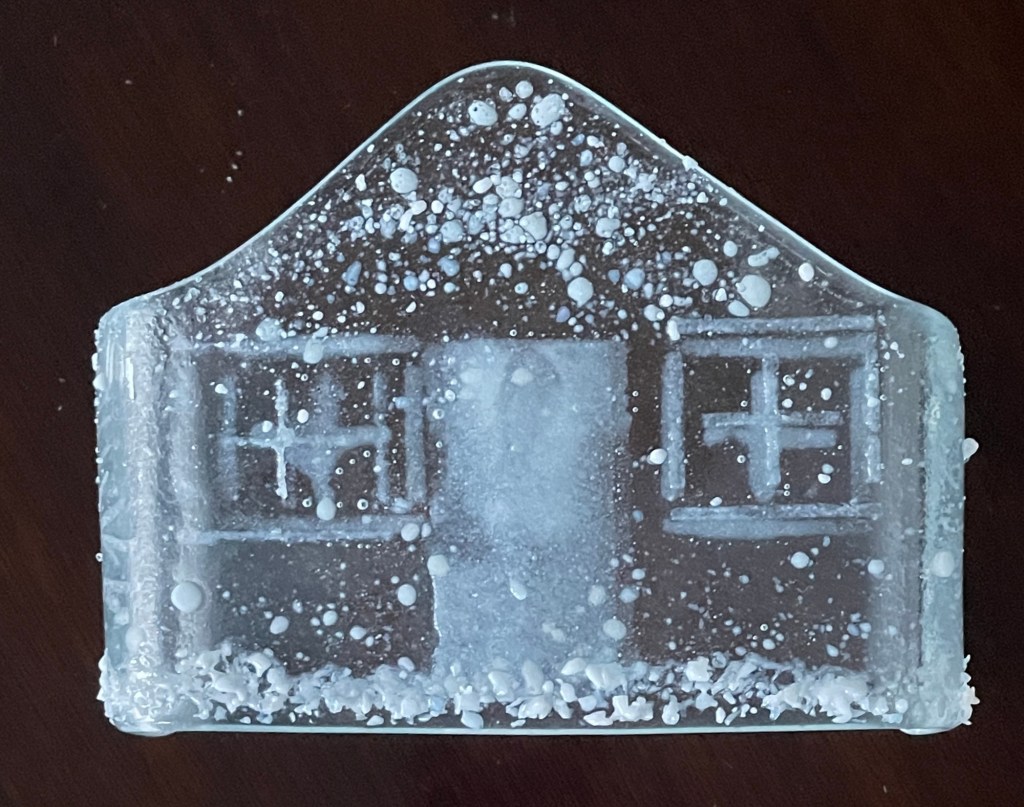
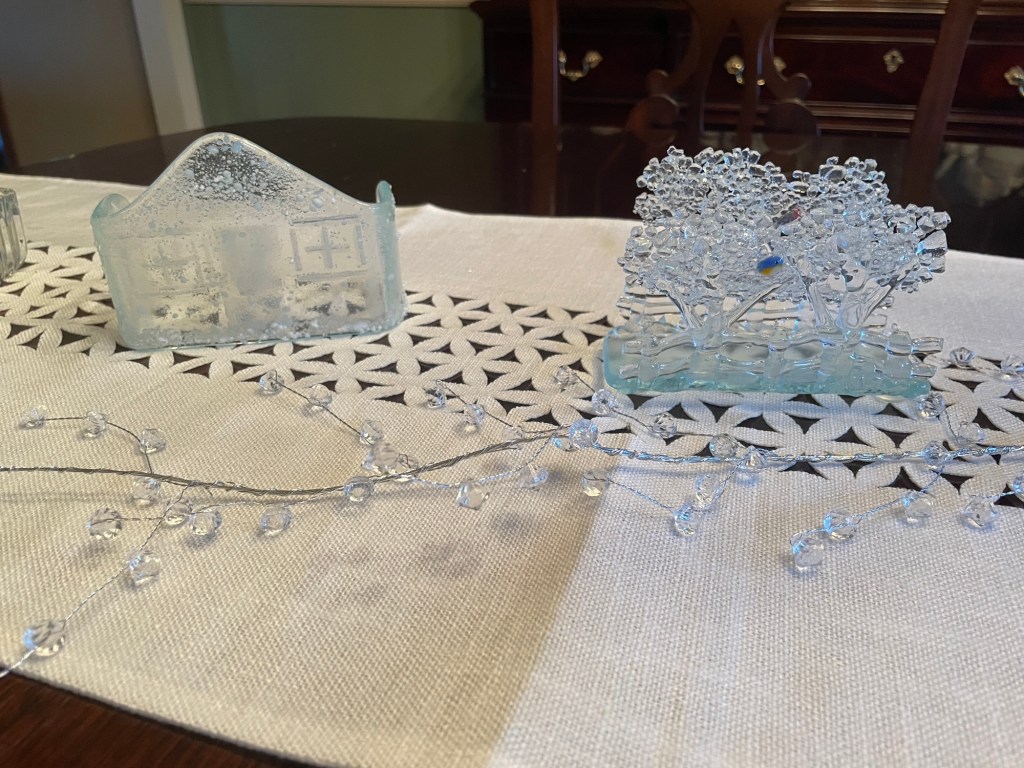
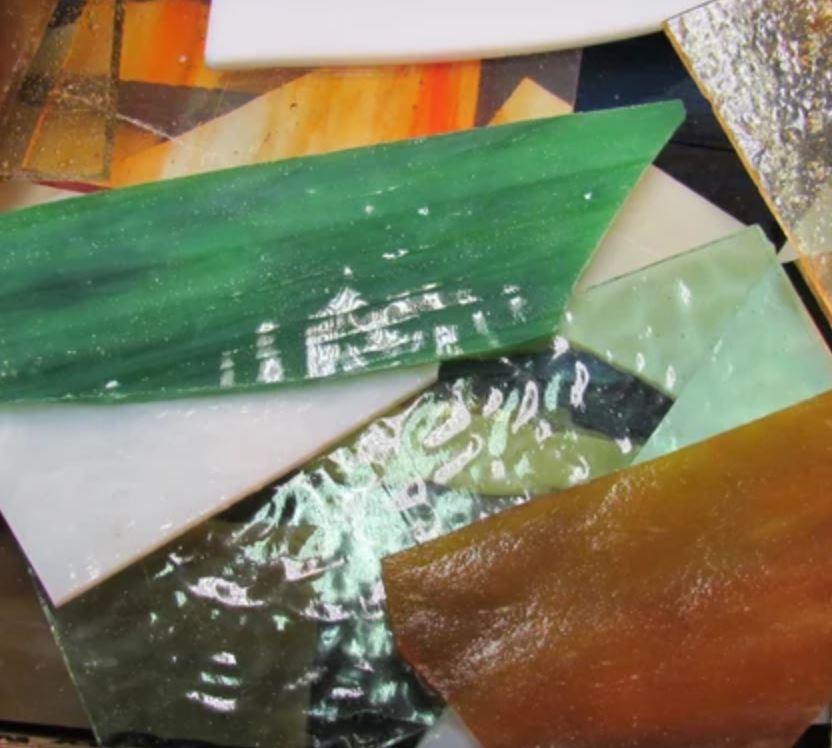
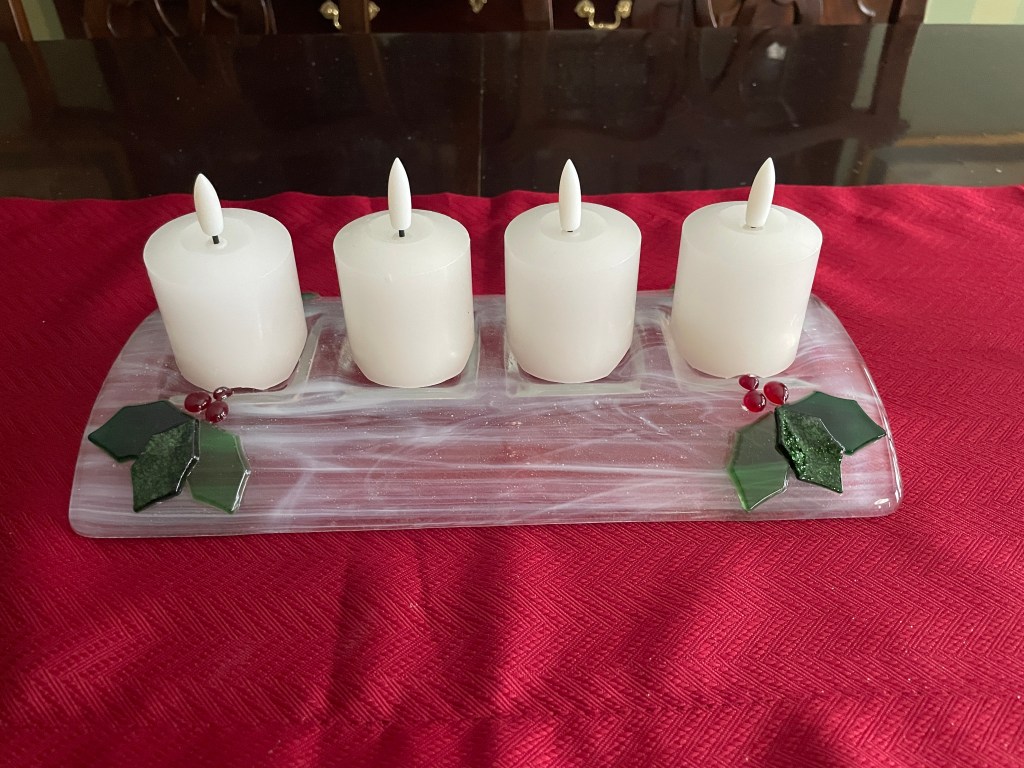
A few of my posts over the past year have shown the fused glass table decorations that I have made to update the décor in my dining room. The final set of glass items are the ones that I recently made for Christmas. This included an Advent Candle Bridge, made with wispy white glass, leaves cut out of various pieces of green glass, and red “berry” dots. The components of the bridge were contour fused together and then slumped into a mold with four candle spots.

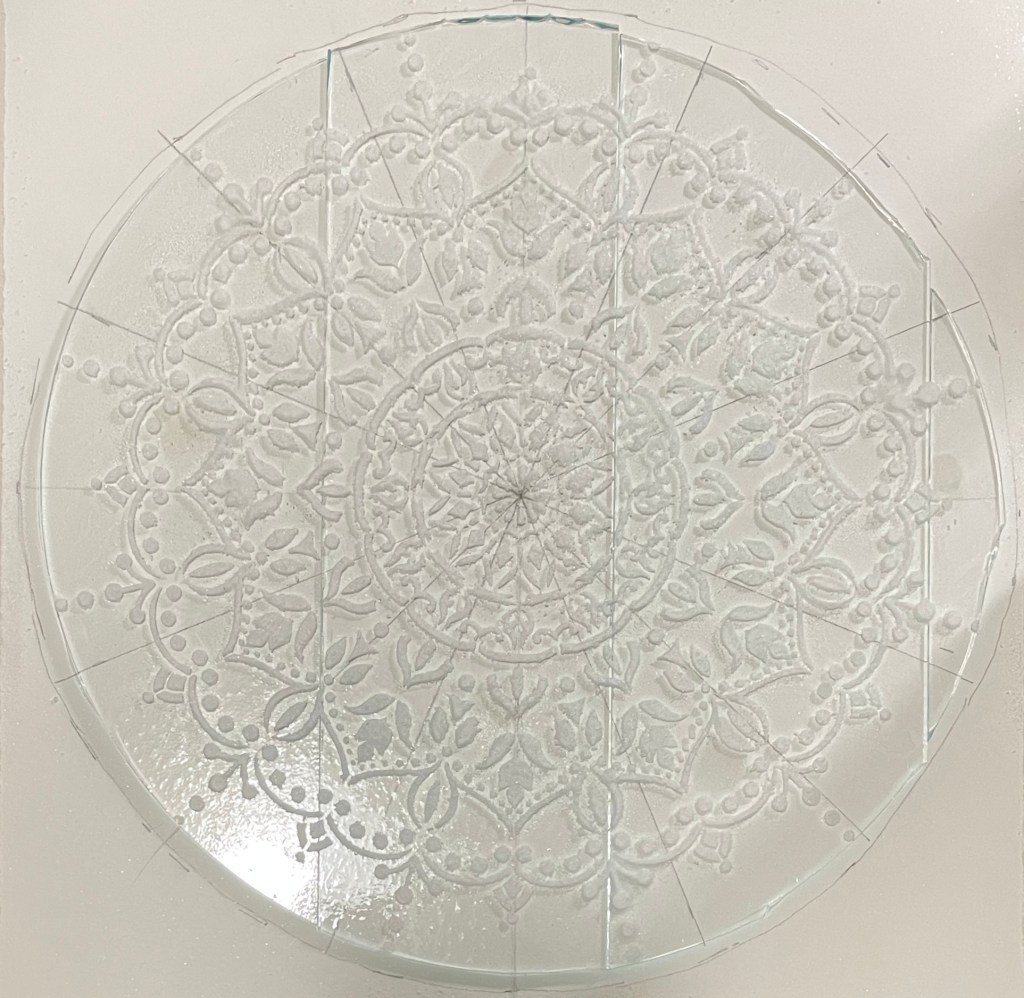
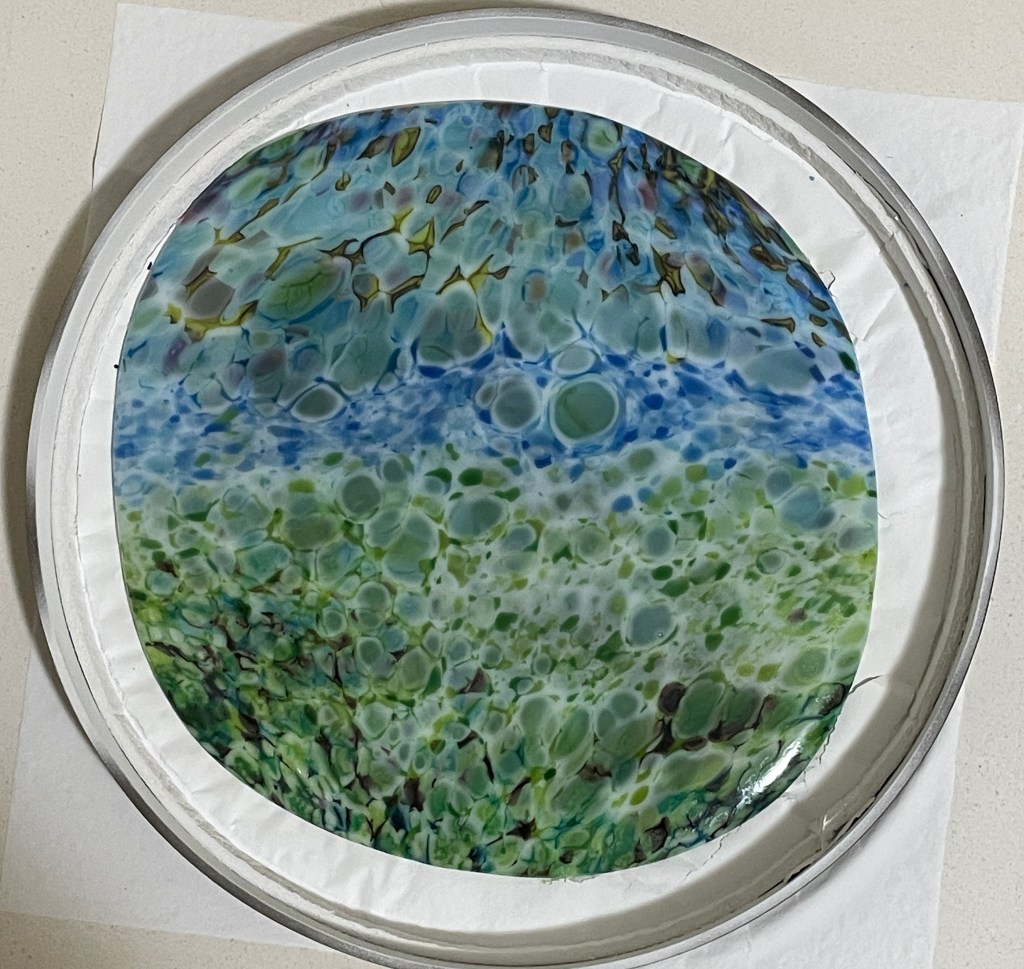
I also made a couple evergreen tree plates, using Aventurine Glass, White Opaque glass and frit made from bits of these two glasses. Aventurine glass, with the sparkle, is one of my favorite glasses to use. However, it is extremely expensive. So, I am careful to think through my designs before starting so I do not waste the glass.

These new glass pieces make for a lovely Christmas table.

Fused Glass Fall Decor’

Yes, its been a while since I posted. I’ve been busy making things, but always find something else to do besides writing about my projects. And, since the person I started this blog for, my mother, is no longer able to read the blog, I have less incentive to post things.

For those that follow my blog, I apologize. Hopefully, I will get better at posting. But, I’m not making any promises.

This morning as I walked past my dining room, I felt a twinge of guilt for not posting about the fall glass art that I made over a year ago. If you recall, last winter I posted about some snow themed pieces I made for my dining room table. And, on May Day, I posted about some spring flower pieces. So, here is the update about the fall decor’ that I have made.

Leaf Bowl:

I started out by cutting and contour fusing several shapes of leaves in a variety of colors. I also made a few acorns. Please disregard the sweater and jewelry sets. At the time, I had space on the kiln shelf and so I added a few other items to this run of the kiln.

The leaves were then positioned to form a plate and tack fused together. When I placed the project in my slumping mold, I realized that the size was going to be smaller than I wanted.

So, I contour fused a few more leaves and tack fused them together.

And then slumped into the mold.

Leaf Plates and Wood Turned Apples:

For additional decorations on the table, I pulled out one of the fall dessert plates I made a few years ago. Unfortunately, at the time, I did not take any pictures of how I made the set of four plates. In summary, leaves were cut out of different colors of glass or frit stenciled onto the base. Clear coarse frit and fine frit in a mix of greens was placed around the leaves and full fused. The plates were then trimmed to a square shape and capped with 2 mm clear glass (to make them food safe) and slumped into a dish shape.

I also added a leaf plate made with irridized glass and some wood turned apples that I purchased from a local artist at a craft fair I participated in last winter.

The combination of art pieces make for a lovely table display.

Spring Has Sprung

Spring is my favorite time of year. And, while my main planting will need to wait a few more weeks, I have been enjoying the color of the spring flowers in my gardens.

To bring the spring colors inside, I made some glass table art.

Floral Bowl:

A base of green flower stems was created with cut pieces of glass and vitregraph contour fused together.

To add details, a variety of flowers were made using cut glass with frit details, murrini, freeze and fuse flowers and flamework flowers. The butterfly was dichroic glass that was etched to create the details, white enamel paint was added to create the dots and a handmade butterfly body was made with fused dots and stringer. These design features were contour fused to soften the edges, then placed on the stem base and tack fused together.

The resulting 12″ piece of art was slumped into a bowl shape.

Eden Flower Bowls:

Eden is an innovative fused glass technique by Cristina Grumezescu Schnellboegl (tutorial available on Etsy). I will not describe the details of this technique because it is a paid tutorial, but I used this technique to create really lovely custom glass. The resulting glass was squashed to make it 3mm thick, cut into the shape of a flower, contour fused with added details and slumped into a bowl shape.

Deep Slumped Tulips:

Glass petals were cut and contour fused with frit and flower centers, then slumped over a deep ceramic form and epoxied to a green base.

I am enjoying the lovely spring flowers now in my dining room while waiting a few more weeks to do my spring planting.

Fused Glass Winter Wonderland

Winter has finally decided to show up in Minnesota. No, I’m not complaining about the previous lack of snow. I have really been enjoying the snow-free days that we have had. But, now that we now have snow outside, I am sharing pictures of some fused glass projects I have recently made.

To update the winter table decorations for my dining room, I created a mini winter scene.

Snowflake Bowl. 12″ circles with frit, mica and glass clay, full fused and slumped.

Scrap Glass Evergreen Tree. 6″ equilateral triangle of opal white glass, topped with bits of scrap white, contour fused and slumped over an arch.

Winter Trees and Fence. Scraps of clear glass and coarse frit, with a bird added to either side for some interest. This can actually double as a napkin holder.

Snow Houses. Pieces of clear glass, cut to shape and full fused. White frit powder was stenciled on to make the door and windows and coarse white frit was used to add “snow”.

On the table. A cutwork table runner and a garland of crystal beads, completes the decor.

At night I can add some tealights behind the houses for some more sparkle in the room!

Fused Glass Christmas Ornaments and other Holiday Gift Ideas

A few weeks ago, I participated as a vendor at a Holiday Market hosted by a local church. The market was a fund raiser for local missions. I was pleased to be part of that effort. 

To sell at the market, I brought several of the fused glass bowls and art pieces that I have made. Having participated last year, I knew that tree ornaments would also be popular. So, I spent a couple weeks this fall creating several variety of ornaments.

Bells:

Christmas Sweaters:

Santas, Snowmen and Gnomes:

Penguins, Mittens and Dala Horses:

Nativity:

Assorted other designs:

And even Pickle Ball Paddles:

I also made some jewelry (pendants and earrings):

And Garden Flowers:

The Holiday Market was very successful raising a nice sum of money for south metro mission outreach programs. And, I had lots of fun making the items to sell. 

I know it is too late for this Christmas. But, if you see anything in this post that you would like me to make for you for next year, please send me a message and we can make arrangements for me to get the item(s) to you. Half of what I make from selling these items will be donated to the missions outreach.

I am also hoping to participate in a Spring Market this year and am looking forward to making more garden art and Easter items. If I do participate, I will post pictures of the items that I make.

Merry Christmas, everyone!

Garden Poppies-Frit Flow and Pot Melt Combination.

I really like when a new project turns out close to what I envisioned.

I’ve previously only done one frit flow project, with homemade frit, and was pleased with the result. With this technique, frit and/or glass shards are placed on top of a stack of glass and allowed to spread out at full fuse temperature. The result creates a wonderful optical effect.

This weekend, when organizing my supplies, I came across a ceramic pot melt mold I had custom made several years ago. This mold has holes only around the perimeter of the pot.

When I saw it I thought I would try putting just small amount of glass in the pot, hoping to get the flow to look like flowers (ie: poppies). And, wanting to try another frit flow, I decided to use that technique for the background.

I tried a two sided frit flow, but didn’t like how it looked. So, not wanting to waste glass, I broke it into four pieces and stacked them. The weight of these pieces was 680 gm. On top I added a piece of white glass with frit divided into two areas. Top half was a combination of blues. The bottom half was a combination of shades of green. The weight of the white glass and frit was 115 grams.

This is how the frit flow turned out.

On top of this, I placed some green vitregraph for the flower stems.

Then I setup my pot melt with red glass (90grams) and orange frit (25 grams) above the holes in the top half of the pot. Above the holes in the bottom half, I put pieces if green glass (70 grams).

I am really pleased how this turned out and can’t wait until next summer when I can display it in a glass stand in my garden.

Glass Landscapes

Having several glass landscape design ideas, my latest glass projects were made for a bathroom in our house.

My first landscape was designed to use some of the beautiful Opal Art glass that I had purchased on my trip back from South Carolina in February. This type of glass is absolutely lovely with its rich colors swirled together.

To design the landscape, I took photos of the sheets of glass, printed them, cut out some of the curves to depict mountains and taped the pieces together to figure out what worked best. I was really excited about my first design.

Each of the sections of glass were carefully cut and then full fused to create the background.

Unfortunately, when I opened the kiln the next day, I was extremely disappointed – the glass had large bubbles in the surface. Further testing of the kiln shelf that I had recently purchased showed that the shelf had micro defects in the surface that caused air to be trapped thus creating these large bubbles. Subsequent tests of the kiln shelf resulted in bubbles in the exact same spots. I’m still working with the manufacturer to try to get the shelf replace. I salvaged the bubbled glass for some pot melts and drip melts that I will share in a later blog post.

Using an older shelf, I designed and fused another landscape. I did simplify the design when cutting the glass. Luckily no bubbles developed this time!!

After full fusing the background, I added details, murrini, frit, etc and contour fused the project. The result turned out really well.

The second landscape I made was more of a floral scene rather than a landscape. For this piece of wall art, I used scrap strips of green glass full fused to create an interesting background. Onto this, I tacked some murrini and several practice pieces of lamp work glass (leaves and flowers) from a class I had taken a few years ago. I also included some freeze and fuse leaves and butterflies and some custom cut flowers.

The result in a playful, colorful bunch of glass flowers.

The third piece of glass art was a trial at making a pattern bar. For this trial, I layered glass frit and scraps in a pattern trying to replicate a tree. After full fusing at 1475 degrees, I sliced the resulting bar into 1/4″ sections. Two sections placed opposite one another gave somewhat of a tree appearance. While not great, this was a successful trial run and I will be trying more pattern bars in the future.

To enhance the look of the tree, I added some additional green frit and full fused again.

My final landscape was actually two panels. While visiting my mother in the spring, I saw a wall quilt which depicted farm fields with a city skyline in the background. At the time, I thought the idea would work well for a glass art project. To create the background, I cut and full fused several different pieces of glass to make the “patchwork” fields.

To embellish my idea, I thought it might be fun to include some buildings of the Minneapolis and St. Paul skylines. Hopefully, if you know the Twin Cities, you can recognize the buildings that I have included. These were contour fused to each panel.

The new art is mounted on the wall in one of my bathrooms and adds a bright pop of color to the room.

Oceans of Glass (and some fabric)

I really enjoy my many hobbies. However, to keep making new items, I need to have a reason to do so. With most of crafts, I have found organizations to donate items to. This allows me to keep trying new techniques and ideas. The quilts I make are donated to Sleep in Heavenly Peace. The hats and scarves are donated to Hats and Mittens MN. Some of my glass art has been donated to charity auctions.

Unfortunately, I have not identified an organization that I can regularly donate glass art to.

This spring, while wanting a reason to work in my glass studio, I walked around my house looking for places that could use some new art. One of the areas I identified was our upstairs bathroom. About 15 years ago, I remodeled this bathroom and decorated with inexpensive coastal themed wall art. Since the pictures were starting to fade, it was time to redecorate again.

Keeping with the coastal theme, I made a couple underwater scenes for the tub room.

The background was made by contour fusing turquoise/clear steaky glass for the water and beige glass with medium frit of various shades of brown for the bottom of the under water scene.

I made coral with strips of beige glass and with fine frit shaped and then coated with frit powder.

Various types of sea life murrini and vitregraph stringers were added to create bottom of the sea the scene.

A second scene was made to create the top of the sea. White and blue frit was used to designate the top of the ocean. Clear and blue dichroic frit was formed into the body of a large jellyfish and clear dichroic stringers were shaped and placed for the tentacles. More murrini fish were added. Each of these pieces were contour fused and mounted in white frames.

To update the art to the sink room, I incorporated a couple of my hobbies – glass and quilting.

Glass “waves” have been a very popular by other glass artists, and something that I really wanted to try to make. After cutting an 8″ circle of clear glass, I used scraps of blue and turquoise glass along with coarse and medium frit. After placing the pieces of glass, the project was contour fused. The result was amazing and fit the intended area really well.

For one of the other walls in the bathroom, a couple of sailboats seemed like a good idea. And, after seeing several glass sailboats designs on-line, I really wanted to try to make one. I did, however, take a slightly different approach than those that I had previously seen. I purchased an inexpensive wooden boat ($9) from Amazon.

After removing the linen sails, I used a bench saw to cut the boat in half lengthwise, and added new masts to each boat.

The wood was painted with copper colored “Hammered Metal” spray paint. The glass sails were made with blue, green and white sheet glass and glass noodles, full fused. And, the sails were rigged with waxed sinew.

To enhance the look of the boats on the wall, I created a couple small “waves” (2″ in height) to match the larger wave that I had already made.

These pieces of glass art created another nice scene for the bathroom.

Lastly, I had one more wall to decorate in the bathroom. And, while thinking about this redecorating project, a small quilt that I had previously made matched the theme of the bathroom.

In 2018, I entered the Quilt On A Stick competition at the MN State Fair. The theme that year was “Up North” and I had made a sailboat with a mariners compass design. Unfortunately, the quilt did not receive a ribbon at the fair. And, since being made, I had been using it as a mug rug in my sewing room. But, now I had a much better use for this little quilt.

Because the quilt was small, I created a couple paper pieced lighthouse quilts from some photos. These quilts depict Split Rock Lighthouse in MN and the lighthouse at Harbour Town in Hilton Head Island.

These were all really fun projects to make, and a nice update to the décor of the rooms.

Lines and Notes – A couple Fused Glass Clocks

Over the winter, I tried out a new fused glass technique call Frit Stretch. This technique takes advantage of the way molten glass will flow to create a uniform thickness. By stacking the glass to the sides of a shape, the glass will flow inward. When frit is placed on top of the glass, these small pieces of broken glass will stretch as the glass flows.

For my first attempt, I used several colors of coarse frit that I had in my supply. The teal, green and orange colors looked nice together. Unfortunately the pink frit was too light and did not show very well.

The hole in the center of the casting closed up after a second fusing to level out the glass. I added some green vitregraph and white pebbles to create a plate with a Lily of the Valley design.

After this initial project, I realized that coarse frit was too big for this technique. I have since tried other frit stretches with medium frit. The smaller pieces of glass look much nicer. I will post more about these other projects at a later date.

After seeing how my first attempts at frit stretching turned out, I recently tried stringer stretching. Stringers are thin, approximately 1mm, round strands of glass. I thought if I used twelve sections, it might create a nice background for a clock. For this project I used ridged clear glass with bits of stringer placed in the ridges in a pattern.

I really like how this stretch turned out. The hole was bigger than I expected and did not close when I did a second full fusing. To remedy this, I printed a backing of white PLA on my 3D printer. My attempt at making a clock turned out nice. Even without numbers, it is easy to tell what time it is.

After making this clock, I tried out another clock idea that I had seen on-line. This was a piano clock originally made out of printed plastic, but I wanted to try making it with glass.

First, I made a test tile to if cut pieces of white glass and black glass noodles (thin glass strips measuring 1mm x approx 4 mm) would make the pattern that I needed for the piano keys. This test tile turned out really nice. Not wanting to waste the glass, I added a jewelry bail and made a pendant out of it.

For the keyboard clock, I cut 84 pieces of white glass and 60 pieces of black noodle. These were contour fused to an 8″ circular piece of black glass. Another 5″ circular piece of black glass was placed in the center of the larger circle and the cut glass was carefully positioned around the perimeter of the black backing glass. A couple white pebbles and some waterjet cut musical notes were added for details and to designate each of the hour markings. After the project was contour fused, a hole was drilled in the center using a diamond drill bit and clock workings were added. Voila, a wonderful music themed clock! I have more music themed glass ideas that I hope to make sometime soon.

Fused Glass Wind Chimes

A few years ago, when helping my mother organize her craft supplies, I found a rock tumbler that had been my grandfather’s. My mother was not planning to use it, so I took it home thinking that I would put it to some use. When I returned from that trip, I stored the tumbler in my glass studio. Unfortunately, I then forgot all about it.

After I retired, when organizing my glass studio, I ran across the storage box. Instead of leaving the tumbler in the box, I took it out and put it to use. In another storage container, I had some stained glass scrap glass that I was given several years ago. I decided it would be nice to try to make some Sea glass out of these scraps.

Fall of 2021, I was able to make several pieces of sea glass. Each batch took about a month to sequentially go through the abrasive grits. Unfortunately, the motor in the tumbler burned out during the third batch of glass that I was tumbling. I’m sure that my grandfather’s tumbler had been sitting and not used for a really long time. So, I was not too surprised that it didn’t last very long. I am glad that I had it to try out. Knowing that it was a useful craft tool, I purchased a replacement.

Last January, while on a walk on the beach in South Carolina, I had an idea for a way to shorten the time needed to create the sea glass. Sea glass is made naturally when broken bottles tumble in sea water which has sand in it. So, I collected a container of white beach sand and packed the container in my car. When I returned to Minnesota, I did a test by tumbling glass with the sand. I was extremely pleased with the results. After only three days, the effect was similar to a month of tumbling with commercial grits.

After making the sea glass, I used some of the glass to make a wind chime for my mother’s birthday. For the top of the windchime, I made a fused glass flower. I drilled holes in the sea glass and then connected each piece onto sections of chain attached to a piece of a wood branch.

After making this windchime, I designed a couple more to give as Christmas gifts. For the first one, I cut leaf shapes from the scrap glass, tumbled the glass for three days and then strung the chime to look like a tree. I really like how this one turned out and may actually make one for myself.

The rest of the sea glass that I have made are small pieces and not useful for windchimes.

To make a windchime for my other sibling, did not include any of the sea glass. Instead, I designed and fused pieces of glass to make a cat themed windchime.