Fall Colors, Fall Fun and a few Fall Glass Projects

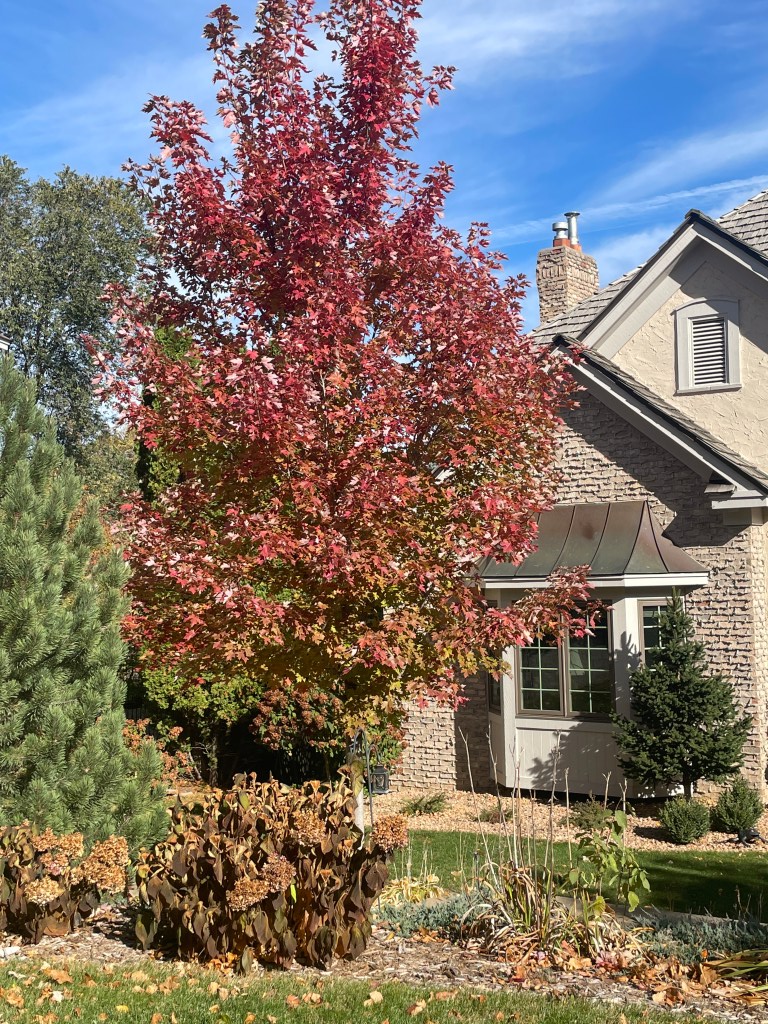
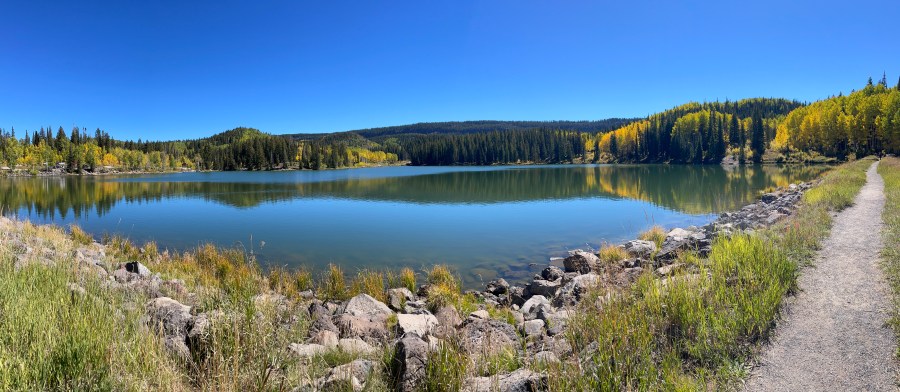
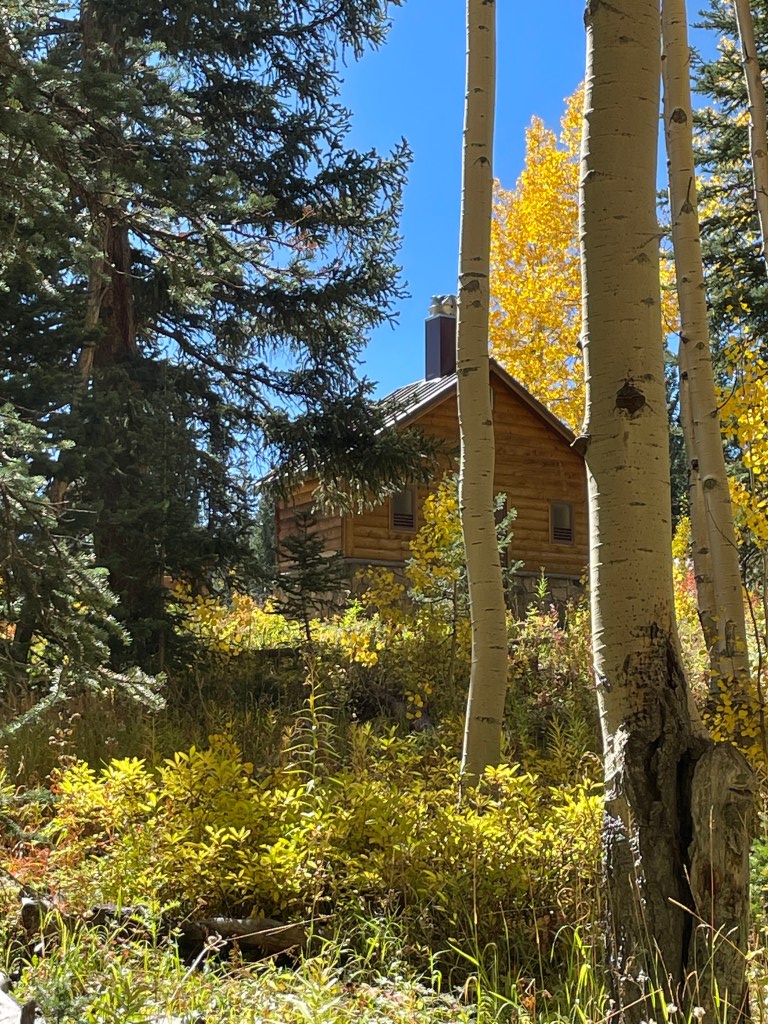
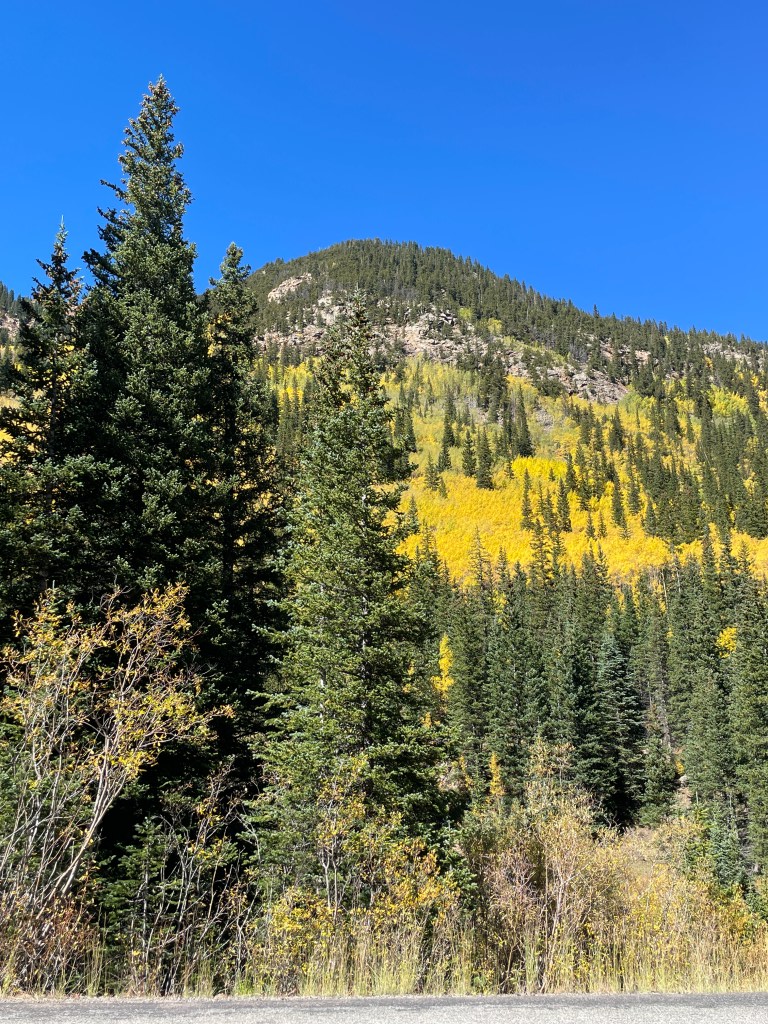
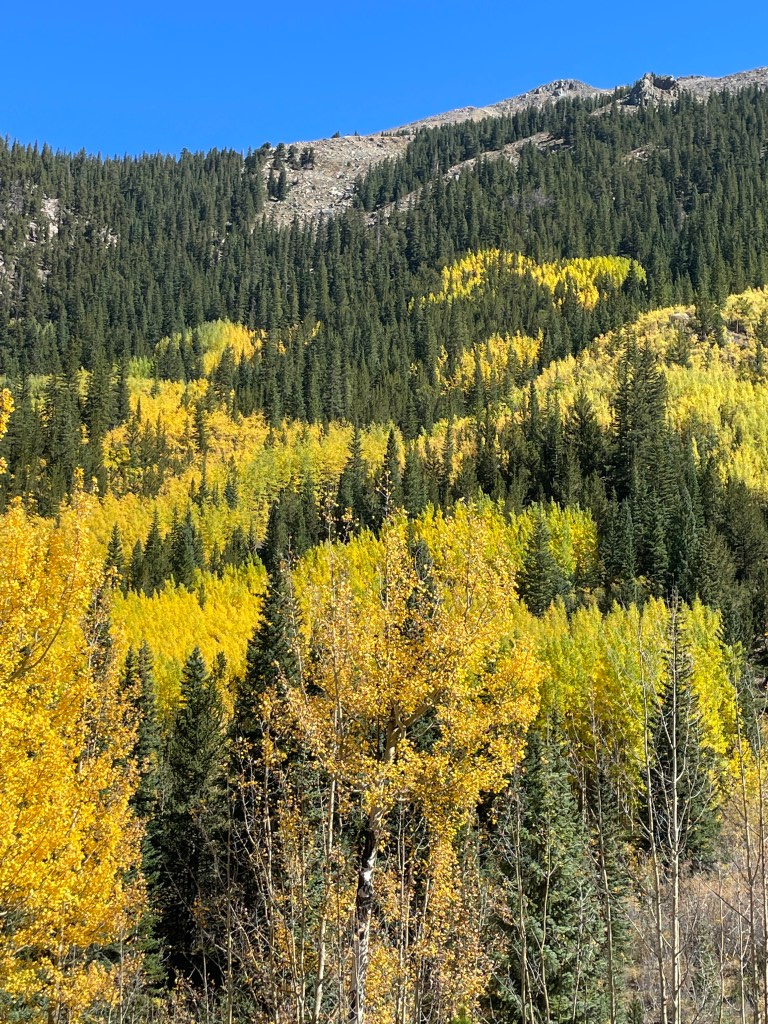
Last year, I took a trip to Colorado to see the fall colors in the Rocky Mountains with one of my sons. Unfortunately, we were about a week too late – while the scenery was still beautiful, we dealt with snow and cold.

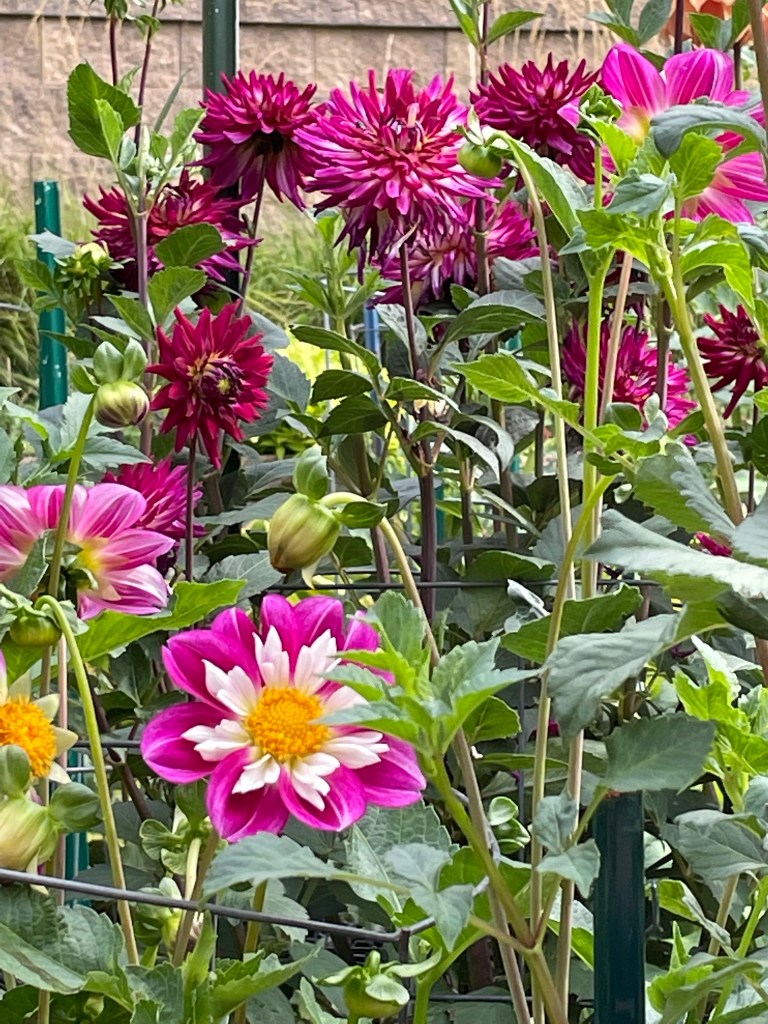
This year we decided to do our fall color drive about ten days earlier. The fall colors were lovely, as was the weather. The day that I arrived in CO was cold and rainy, so after having a tasty dinner at Sauce on the Blue in Silverthorne, we drove to our villa in Vail. The next day, after waiting for the weather to clear, we left around noon and drove Buffalo Pass through the Medicine Bow and Routt National Forests. On day two, we drove the Top of the Rockies National Scenic Byway. This drive took us from Leadville, over Independence Pass to Aspen for a late lunch. On our third day, we drove the Grand Mesa Scenic Byway and continued south to Ouray, CO. Here we found the Box Canon Park, a mineral hot springs that is tapped and piped to the city pool. On our last day, leaving the mountains, we drove Guanella Pass before I needed to head to the airport and return home to MN. It was a lovely trip enjoying time with my son and God’s wonderful creation.

Last Friday, October 14th, we awoke to snow falling in MN. While it was lovely to see, I was not quite ready for “winter” weather.

Later that day, I left for a weekend getaway to Gull Lake with a few friends. What a wonderful time of conversation (and CE) we had.

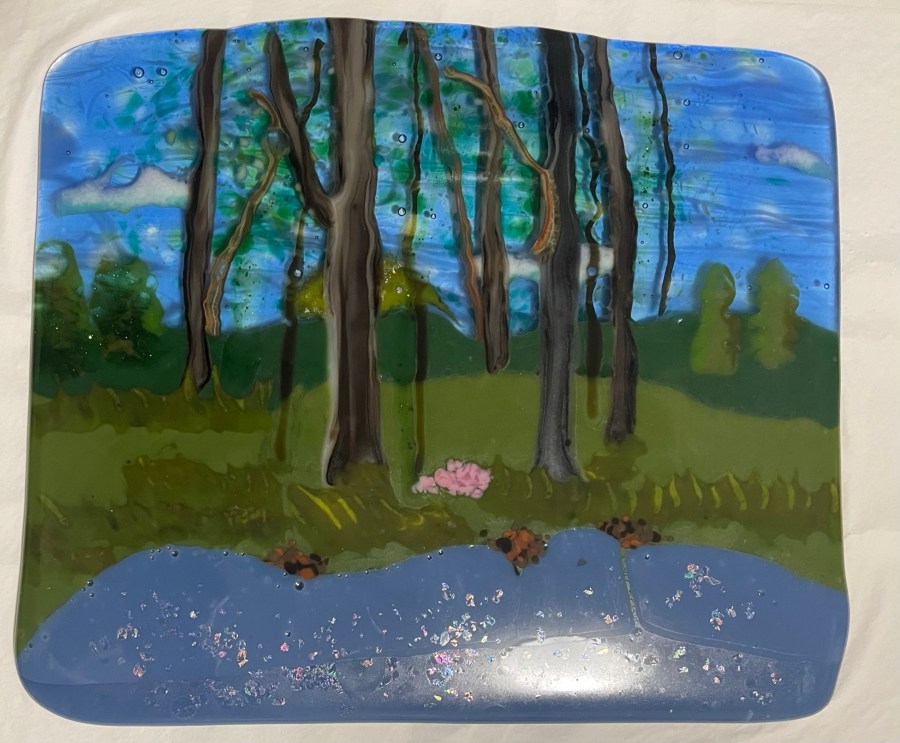
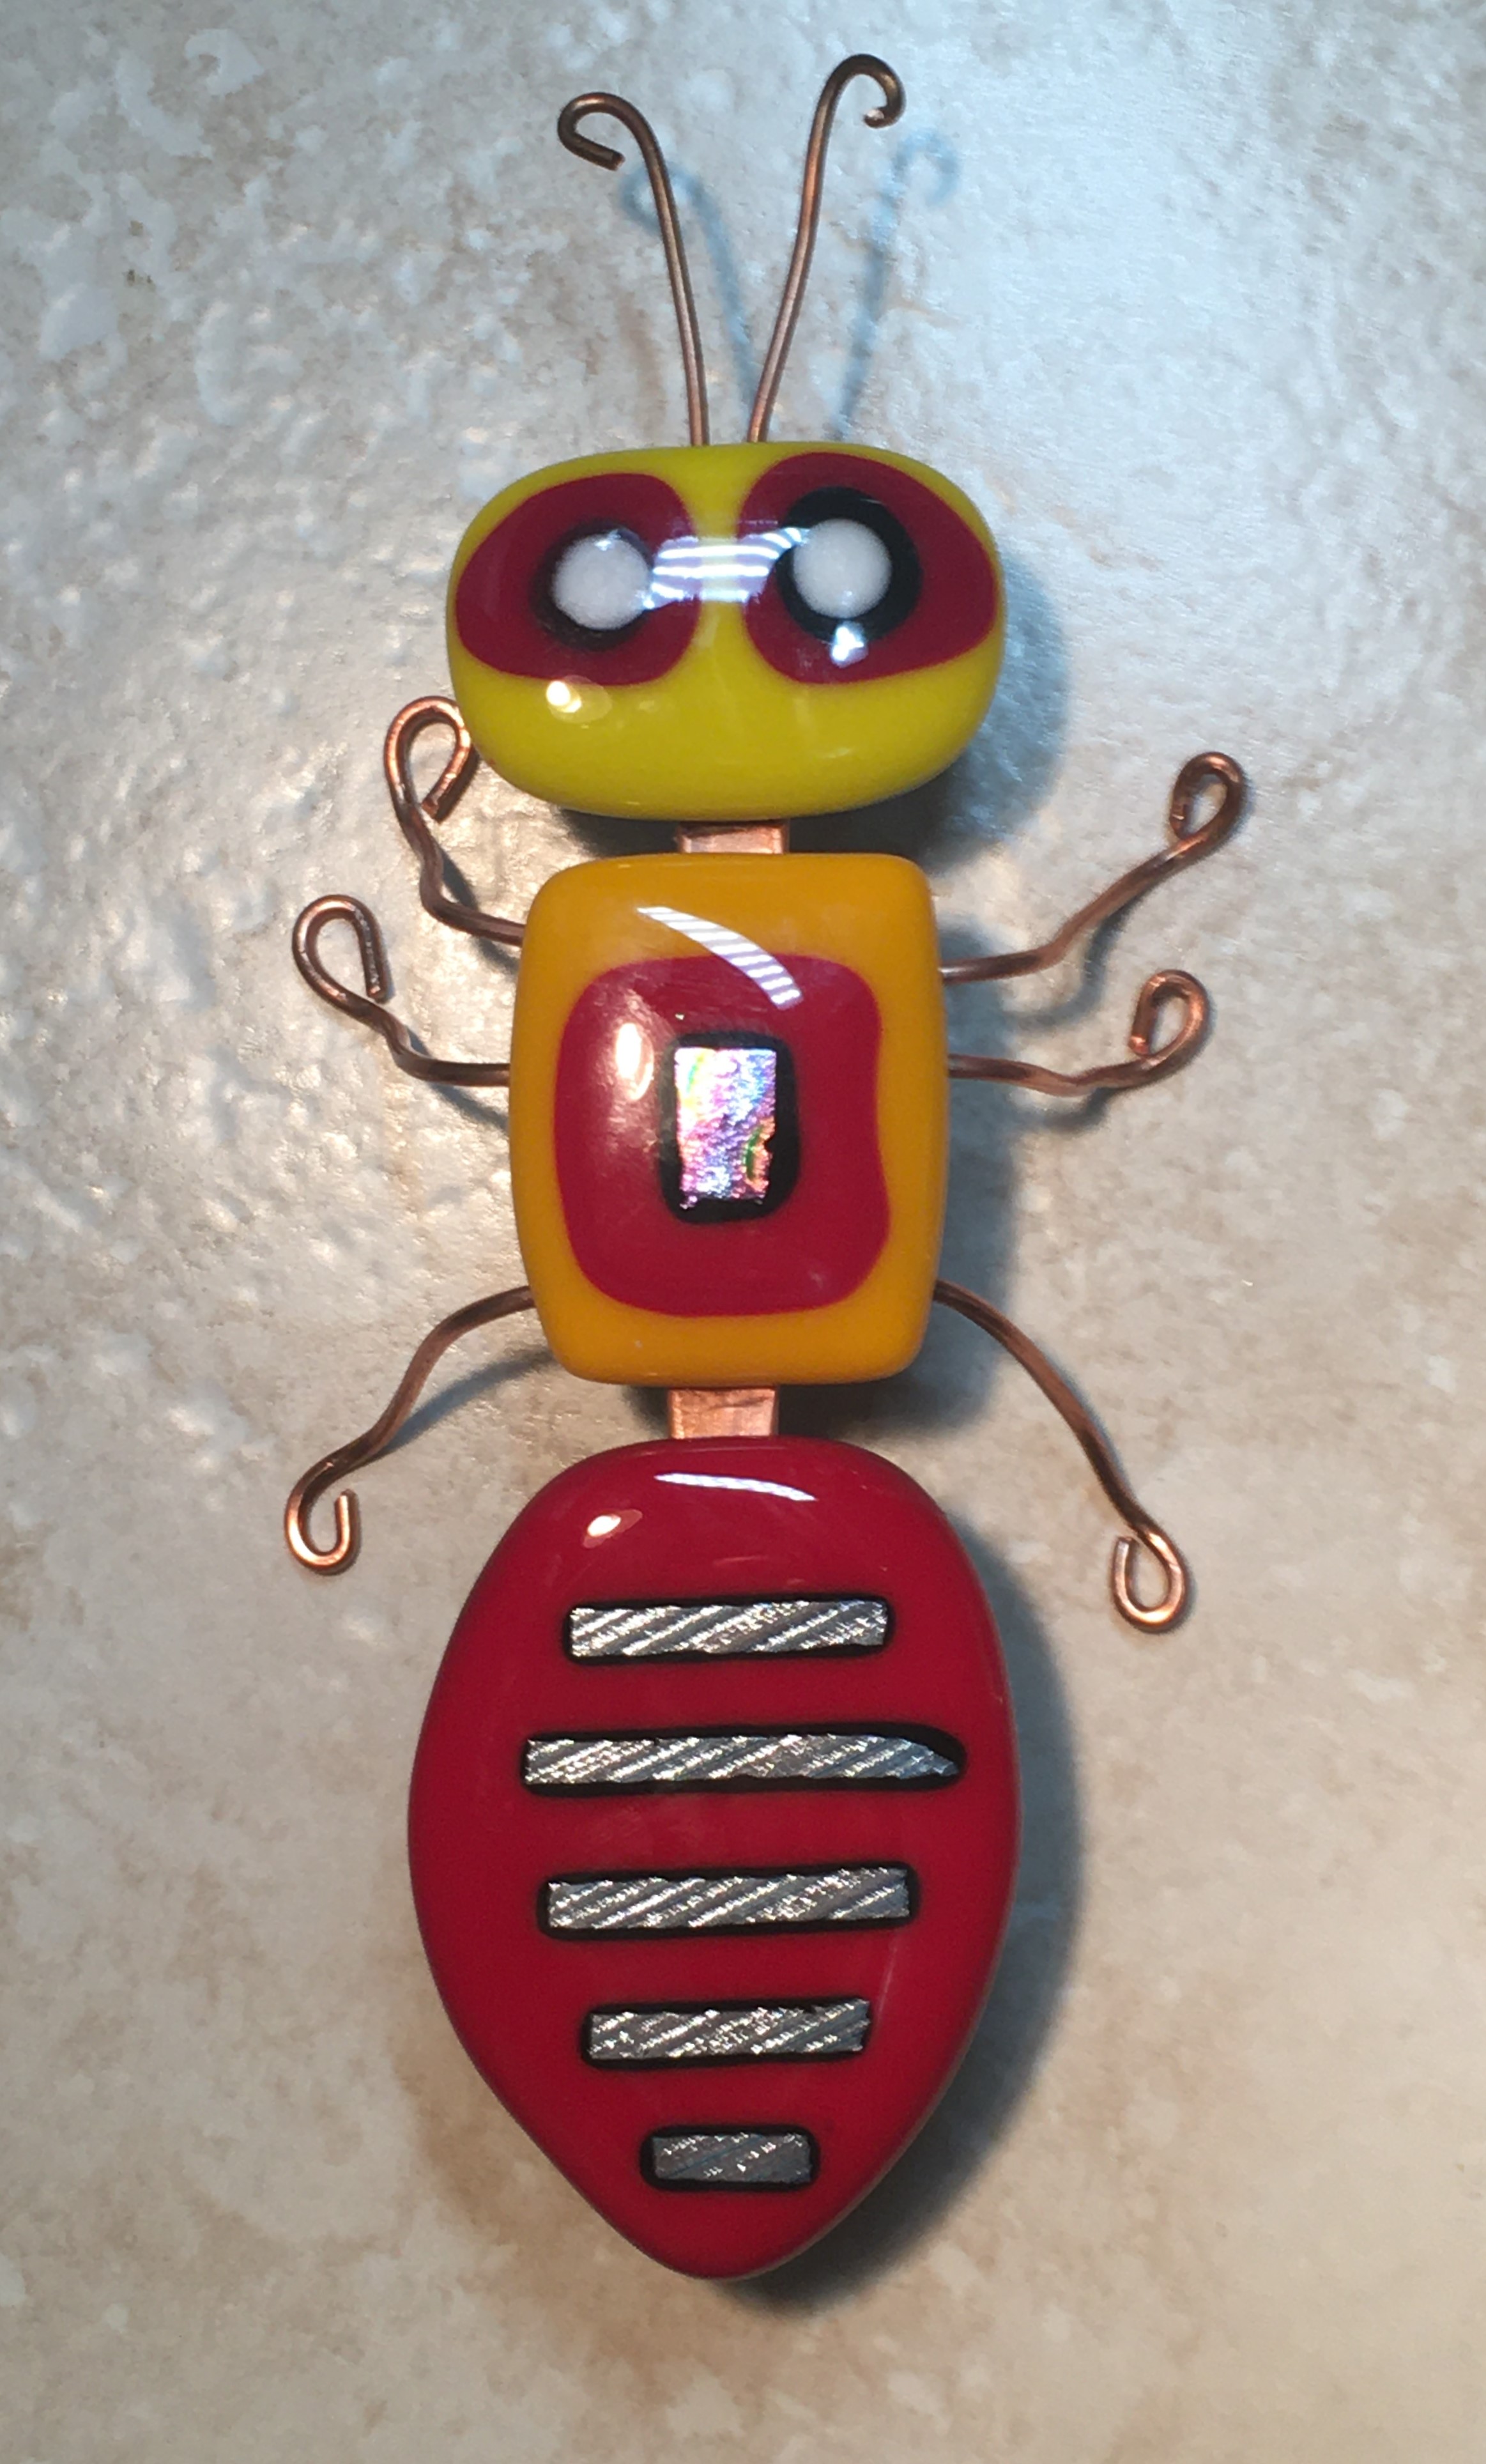
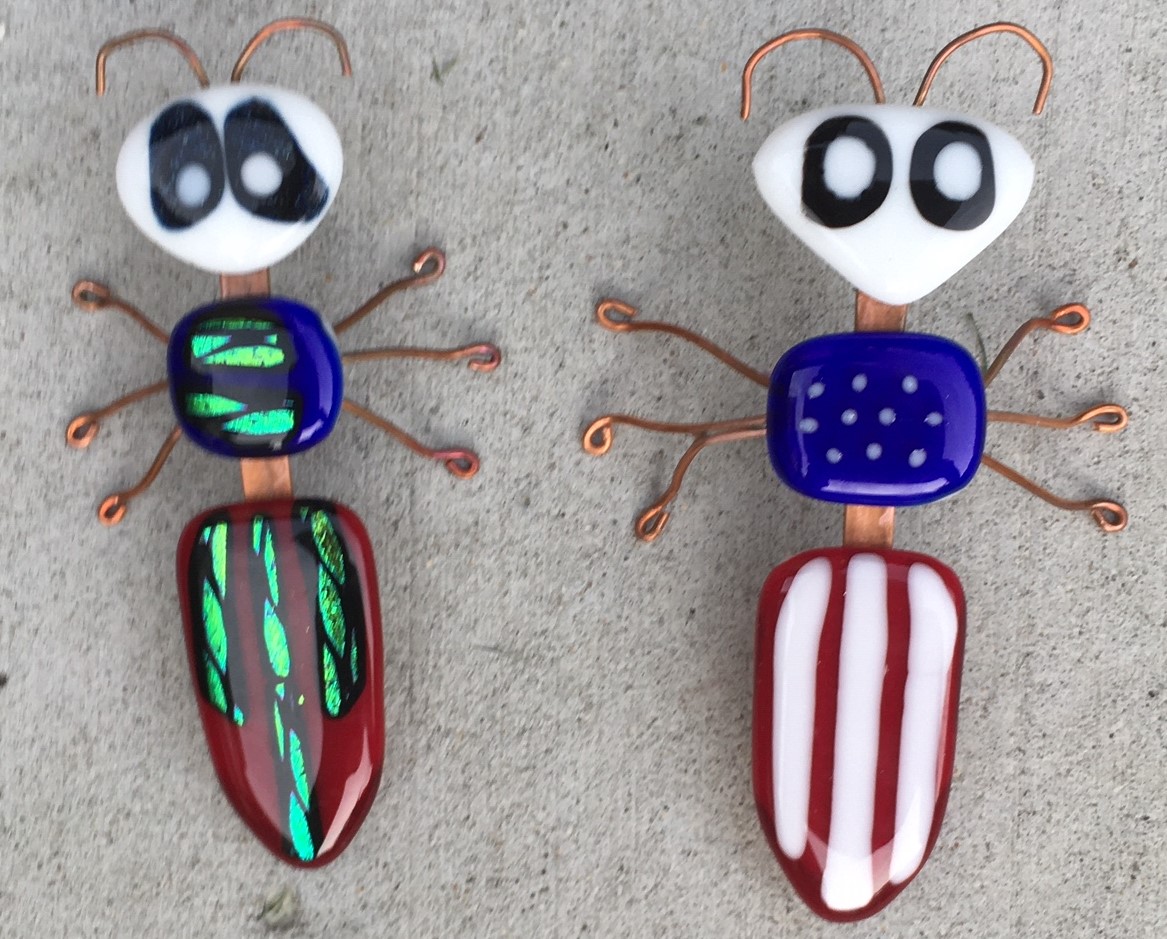
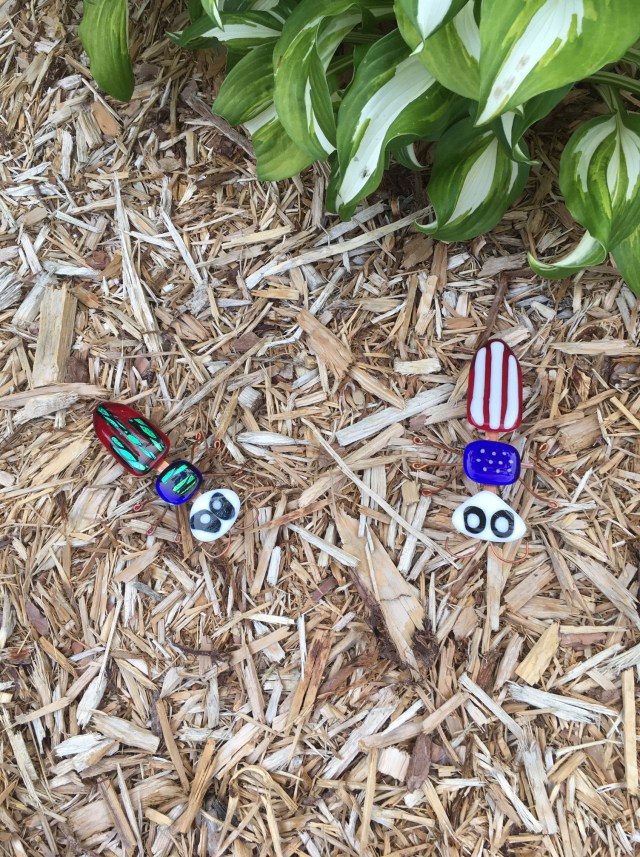
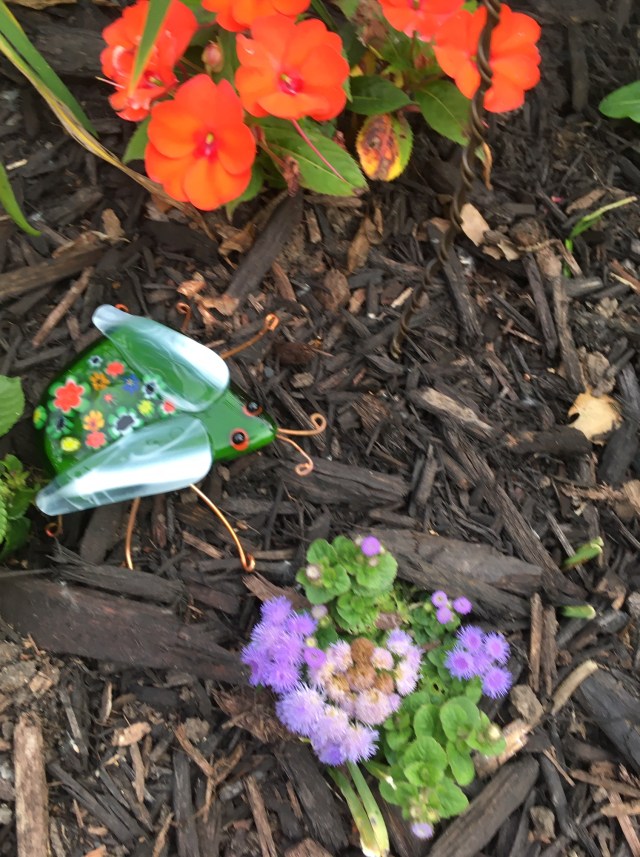
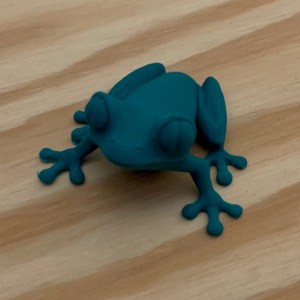
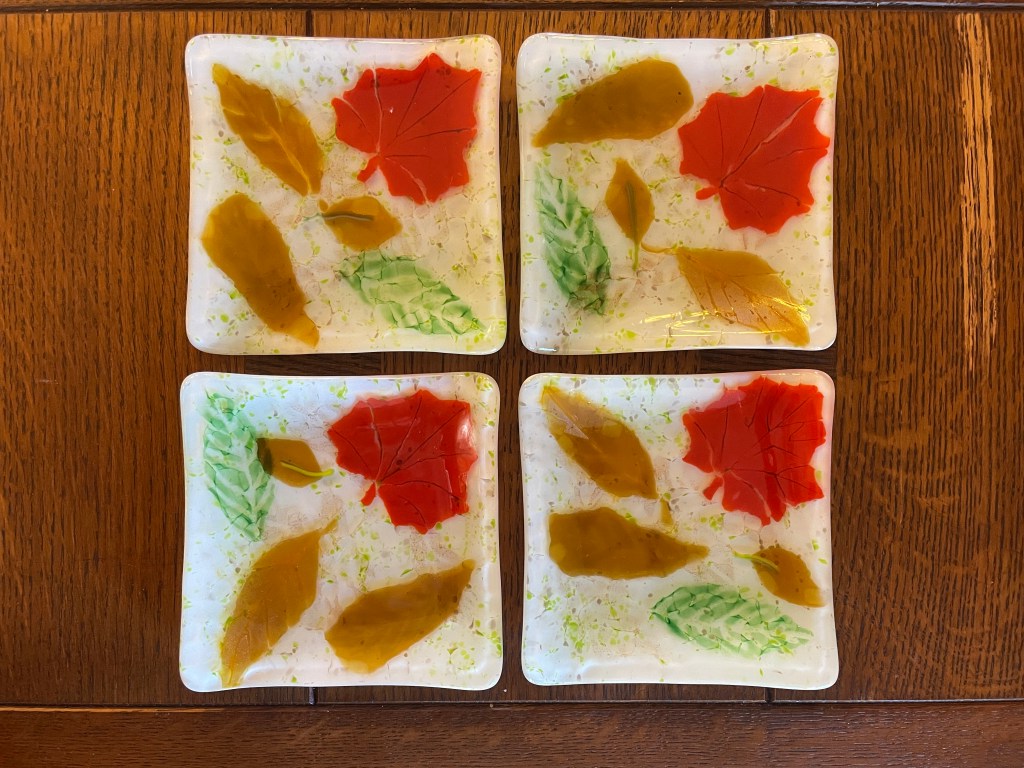
Since I am writing about fall, I am including a couple glass projects that I completed this year.

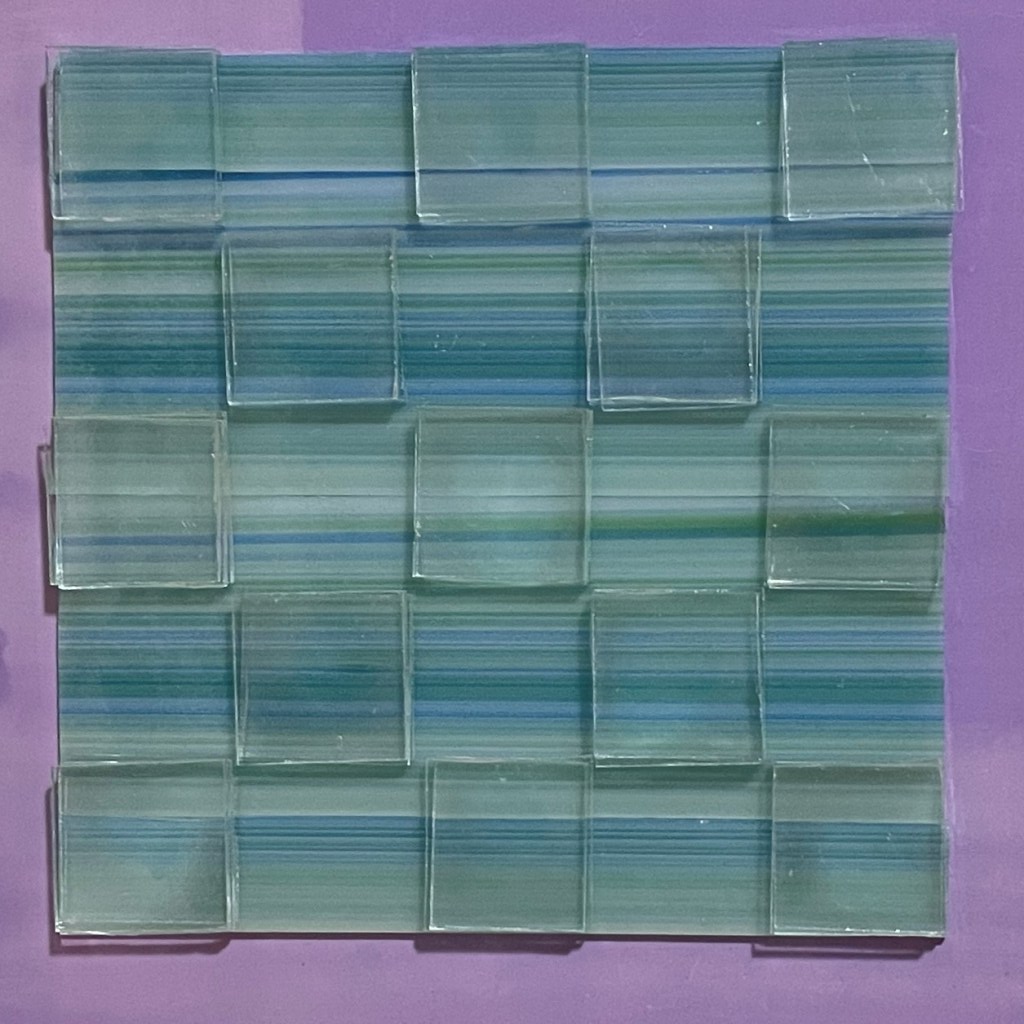
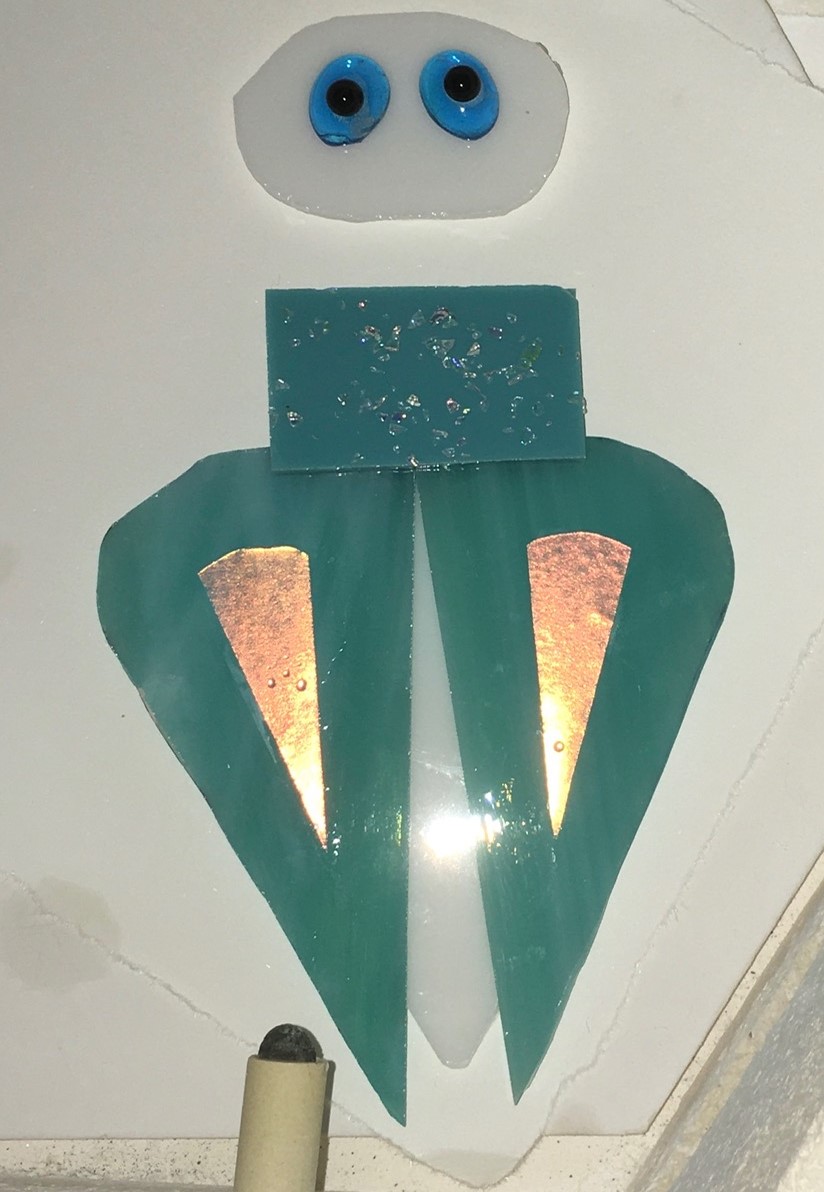
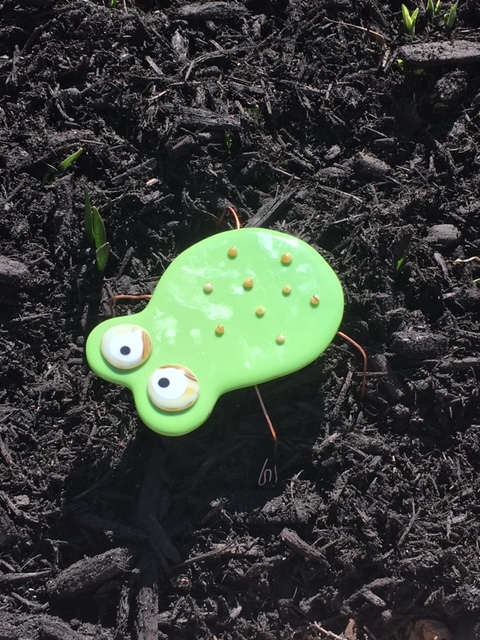
Napkin Holder – made with twisted copper wire, sheet glass and leaf shaped murrini.

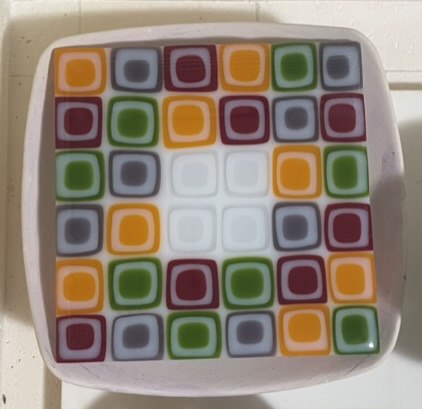
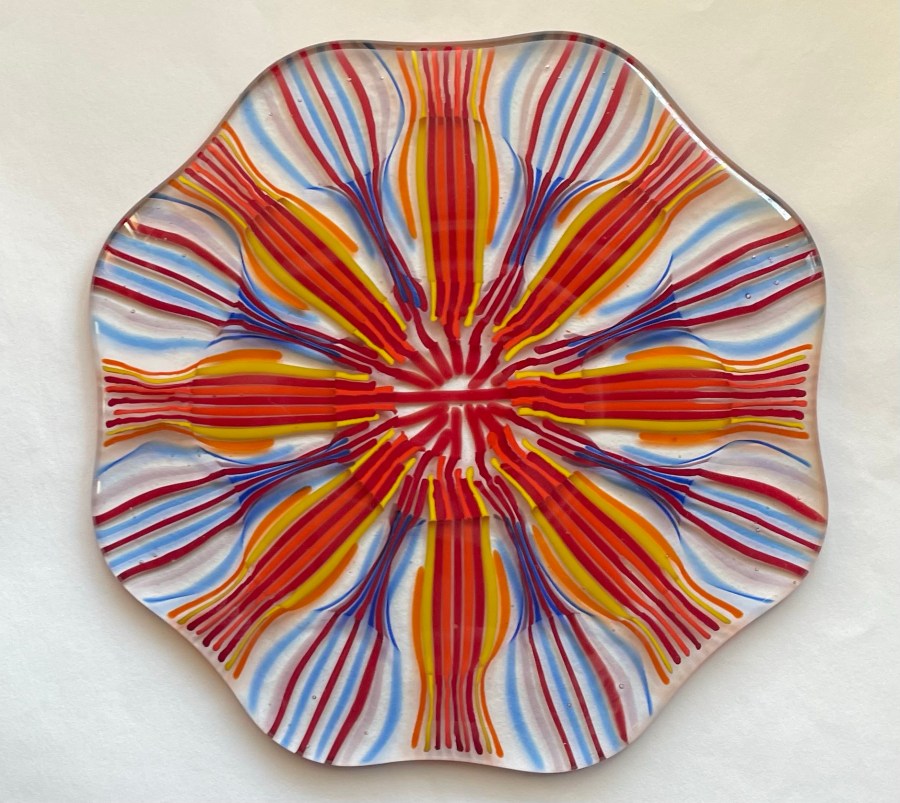
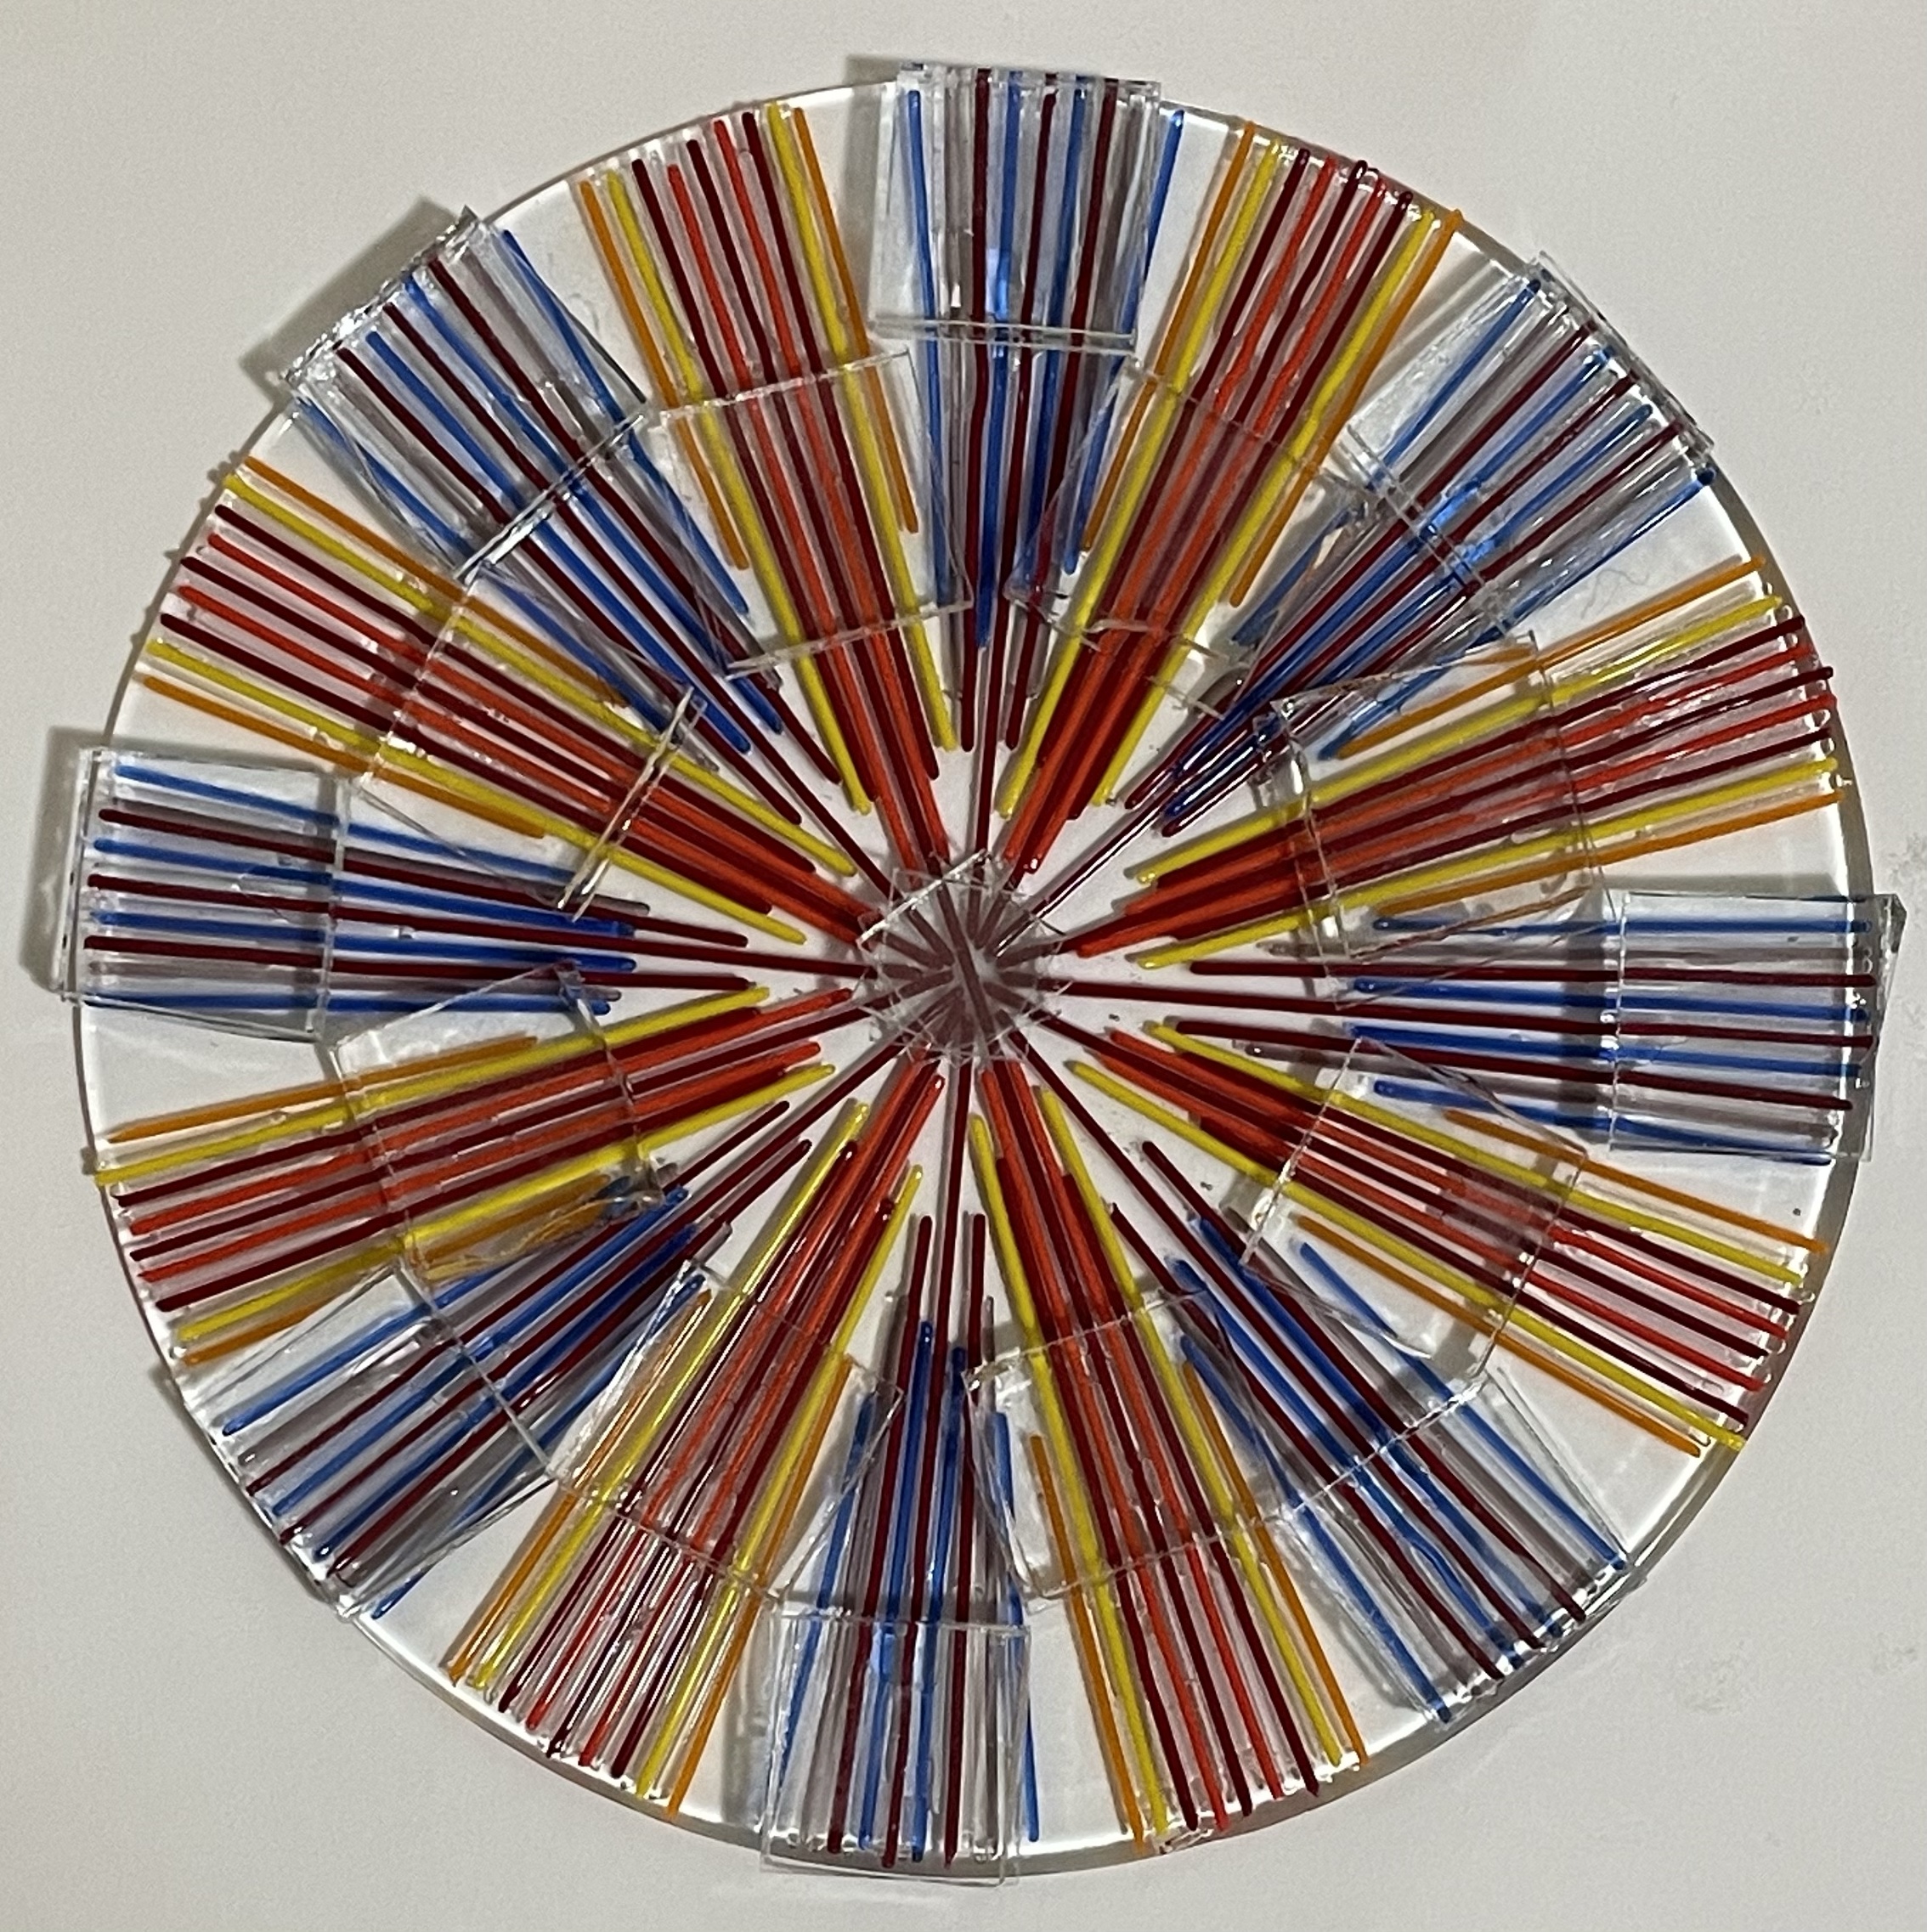
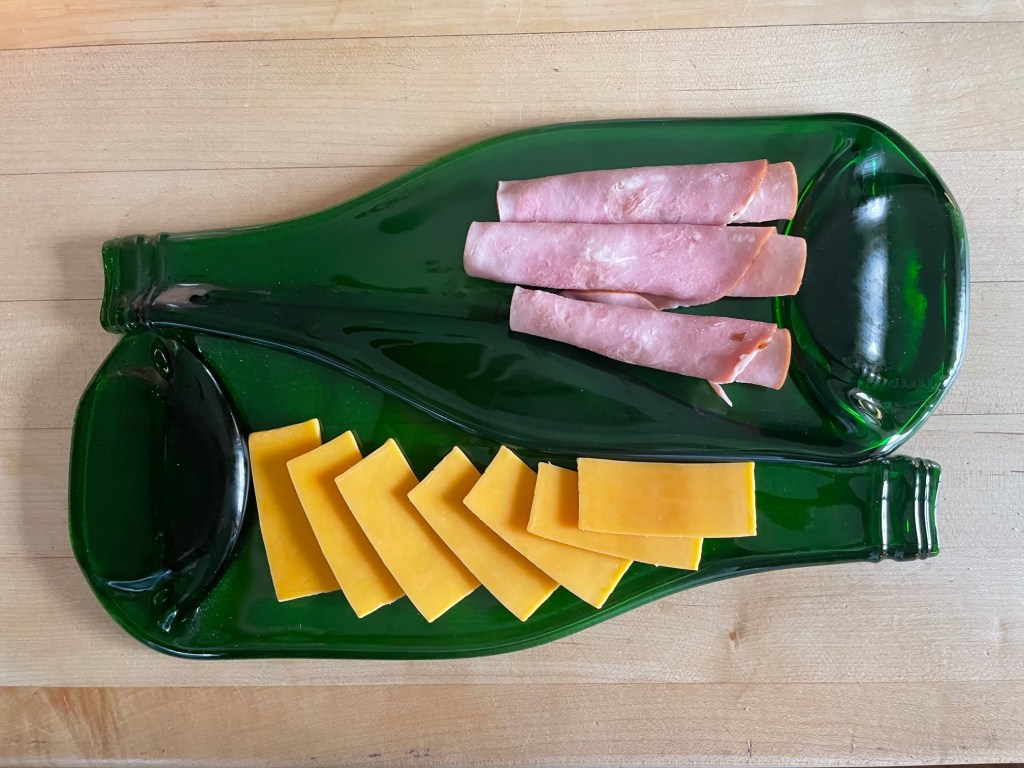
Dessert Plates – made with copper Mica, iridized glass cut into shapes of leaves and glass frit.

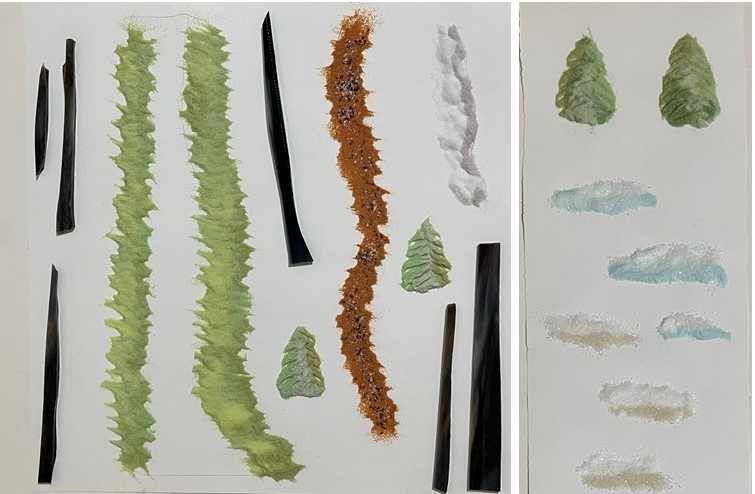
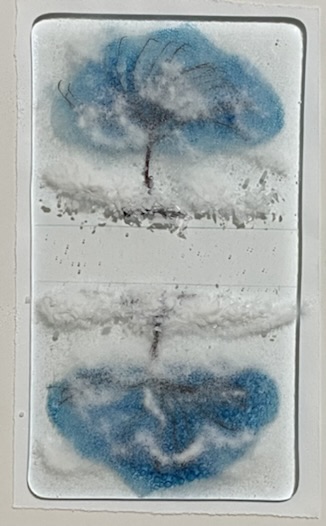
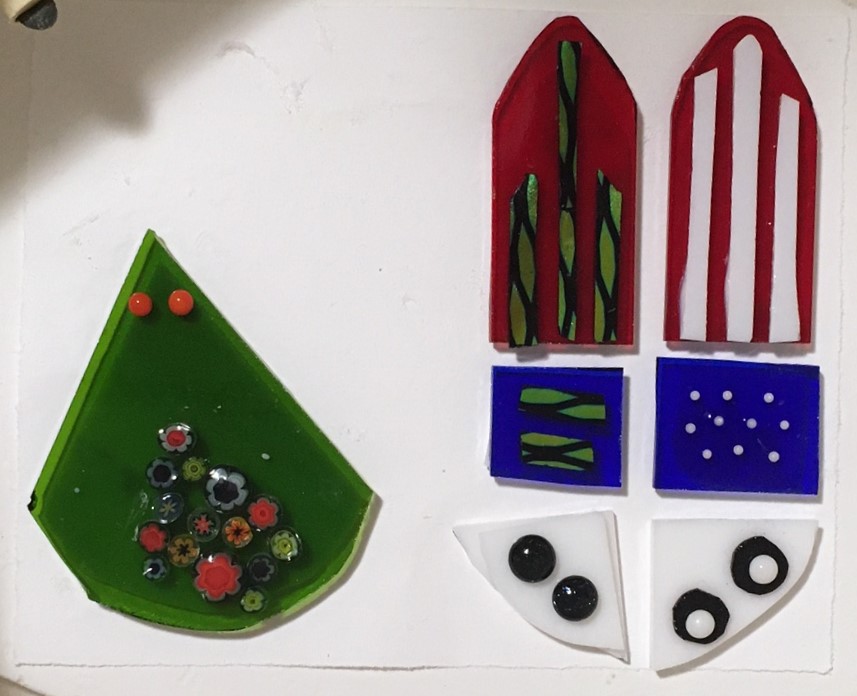
Tree Votive Holder – made with glass strips / coarse frit slumped over a metal votive form

Wishing everyone a Happy Fall!

Glass Landscape

Landscapes are something that I enjoy – the beauty and incredible details of God’s creation! While I have made a few quilted landscapes, I had not yet tried to make a landscape out of fused glass.

A few months ago, I was cleaning and rearranging the supplies in the room where I do my fused glass work. When I moved a large organizer box, I discovered a picture taped to the wall that had been there for a really long time. This picture was drawn by one of my sons when he was about eight years old and was my inspiration for an attempt at a fused glass landscape.

For the background glass, I used some Heads & Tails glass, a type of glass that I recently discovered at a local glass supply store. H&T glass is the rough uneven sides of the sheets of glass cut off during the manufacture into sheets.

For some of the details, I used opaque frit powder and fine glass. This glass was shaped into clouds, grass, trees, etc and then tack fused.

These glass elements were then combined to replicate the inspiration drawing. Glass frit and stringer were used to create the trees and the entire piece was full fused.

I was pleased with the result.

After trimming the edges, additional frit was added to create detail for the trees, rocks and flowers.

I especially like how the landscape looks back-lite.

For my first attempt at a glass landscape, I am pleased with the result. I learned a lot while doing this and may try to replicate some pictures taken during vacations.

Optical Illusions with Glass Frit and Glass Displacement

Recently, I have been “playing” in my glass studio each morning trying out some new ideas. By doing this in the mornings, it allows me to set up something in the kiln to fire during the day. The next morning, I get to see the results of my previous day’s efforts. It gives me something nice to see (as well as a few surprises) when I open the kiln.

Lately, I’ve been playing around with how the placement of the glass can create optical changes after being fired.

Stenciling with Frit Glass.

For this project, I placed a couple 6″ stencils on kiln shelf paper and sifted some fine glass frit over the stencils. I then carefully removed the stencil and fired the glass using a Tack Fuse Schedule (max temp 1325 degrees, no hold time). This schedule resulted in the glass lightly fusing together without dramatically changing the size. I selected fine frit for two reasons (1) I have lots of it that I don’t use in other projects and thought this would be a good way to use it, and (2) I wanted the image to be more abstract and thought that powdered frit would be too exact for what I wanted to accomplish. This two thin wafers of frit were aligned, sandwiched between a piece of opaque white and a piece of clear glass, full fused and slumped into a shallow dish mold. The result was lovely. By placing the transparent orange wafer on top of the opaque red glass wafer, I achieved a color gradient that would have been difficult to achieve. I really like the look of the bubbles that were trapped around the frit as it melted into the sheets of glass.

Glass Displacement.

For this project, I wanted to see what would happen if I stacked various sized squares of opaque and transparent glass and full fused. Since glass naturally wants to achieve a 6mm thickness (1/4inch), the glass in the stacks should cause the lower glass to shift outward as the top glass settles down to the natural height. I used a 6″ piece of opaque white glass as the base. On top of this, I placed stacks with 3/4″ transparent (in various colors), 5/8″ opaque white and 3/8″ transparent. The area of the three pieces of glass in each stack was 0.56″, 0.39″ and 0.14″, which added up to 1.09″. By placing the stacks in a six by six grid, the glass should settle evenly on the base glass. However, to keep the edges straight, I did use a 6″ stainless steel form. After full fusing (max temp 1475 degrees, 30 minute hold), the edges were smoothed on my flat grinder and the glass was slumped into a shallow dish mold. The result gives the illusion of depth to the piece.

Frit Displacement.

For this project, I wanted to see if glass displacement would be visible using frit sifted over stacked glass. The thinking behind this idea was that the glass powder would settle onto the horizontal surfaces, but would not stick to the vertical surfaces. Then, as the glass melted and spread, the untreated vertical glass would displace some of the adjacent horizontal glass. My initial test of this idea worked well (sorry, I forgot to take pictures). I applied the idea to make another small dish. For the base layers, I used a 6″ piece of clear glass was placed on to of a 6″ piece of red frit and stringer glass. On top of this, clear glass pieces, 0.75″ were placed in a 5 x 5 grid. Over this, I sifted transparent blue powder. And, to add some variety, I placed a couple 0.375″ red transparent square.

Another Frit Displacement.

Could this technique be used to create slight shadowing around cut pieces of glass? To test out this idea, I created a design that matched a quilt block I had recently made. Powdered glass in a bronze color was sifted over this design and accent glass added. For the bottom of the base layer, I also created a design using glass with different white textures. This turned out lovely, but I think the frit displacement technique works best when the color of frit is more intense.

Alternative Sources.

Sometimes art supplies can be very expensive. So, when I find an alternative source, it can be very rewarding. Earlier this year, while walking around our local Target store, I saw some unfinished ceramic dishes in the dollar section of the store. Some were letters of the alphabet and others were geometric shapes.

When I saw these, I wondered if they would be useful for molds for my fused glass. Casting molds can cost $10 for even a small mold. So, if these would work, they would be very economical. I purchased one of the hearts and took it home. I figured if it didn’t work I would only have wasted a dollar (and some scrap glass).

Before testing it, I did some on-line checking to see if anyone else had already tried using one of the small dishes. Sure enough, several people had already tried the dishes and were successful.

Using some scrap glass I made a heart paperweight (for Valentine’s Day) and a heart paperweight in support of Peace for Ukraine.

With Mother’s Day approaching, I had another idea for the heart molds.

Using scrap glass, I made some hearts of soft blue and soft green glass.

The resulting hearts were enhanced with various murrini and freeze/fuse glass shapes, tack fused to clear glass and placed in a 5×5 frame with a quote from Therese of Lisieux that I thought was very meaningful for Mother’s Day.

I also made another heart using some pieces of vitregraph and murrini.

My mom’s gift was hand delivered when I visited her recently and my mother-in-law’s gift was recently mailed to her. So, don’t worry that their surprise for Mother’s Day is impacted by this post. I think both of them enjoyed their gifts.

I have since stocked up on more dishes, letters (unfortunately they did not have the entire alphabet), diamonds, more hearts and hexagons. I am looking forward to using these new molds. If anyone has any special requests for heart/letter, please contact me to inquire about what I can make.

Optical Illusions in Glass

When purchasing supplies for my crafts, I try to support my local stores. However, that is not always possible. When I first started fusing, one of the on-line sites I purchased from was Delphi Glass in Lansing, MI. This company has numerous free patterns and project ideas on their website.

One of the projects that I tried a few years ago is the “Woven Stripes” square plate (Delphi Project Guide found here). To make the plate, I purchased some Vienna Stripe glass. The glass is a semi opaque white with lines of color on the surface.

This project was made with a clear base layer and squares of the striped glass placed in an alternating “woven” pattern. Over every other striped square (those going in only one direction) a square of clear glass was placed.

Fusing glass is normally sold in sheets that are 3mm thick. Thus, the design involved some areas with two layers of glass (making these areas 6 mm thick), and some areas of three layers of glass (9mm thick).

However, glass has a natural tendency to want to be 6mm thick. When fired at a full fuse temperature, the areas of clear glass spread outward to create the 6 mm thickness. This project created a bit of an optical illusion. In the areas where the clear glass spread, the lines appear slightly curved.

Recently, I tried another variation of this optical illusion. I though that if one piece of glass caused the stripes to curve, then maybe two pieces of glass would create a greater curve effect. Because I was stacking more glass, I opted not to use a clear base layer, to avoid the project spreading out too much. Rather, I used the my excess Vienna Stripe glass as a single base layer. To accentuate the extent of curve, I kept the strip going only one direction. Over the striped glass, I stacked two pieces of clear glass in an alternating fashion, leaving an uncovered area of the base glass between each double stack of clear glass.

The optical illusion I was hoping for worked our really well. Unfortunately, the base layer was not a solid piece of Vienna Stripe, but rather four pieces placed side by side. At the full fuse temperature, the glass naturally tried to settle to 6mm in thickness. This caused contraction in the areas of a single layer of glass and a couple of holes to open up.

I will admit that I was a bit disappointed with these holes because I had originally planned to slump the project into a square plate mold. I pondered some ideas for how to cover the holes, but was not really happy with any of my ideas. When I showed the project to my husband, he suggested that I run some ribbon through the holes as a way to make the project a piece of wall art. I like that idea. And, since the top holes were very symmetrical, it worked well. For the hole at the bottom of the project, I cut some flower petals out of the last bits of Vienna Strip, contour fused them together and hung the flower from the bottom. I think this would make a lovely piece of wall art. If anyone is interested in the piece, please contact me and I will make arrangements for it to be sent to you.

I really like how this optical illusion project turned out and decided to try another idea – a round approach to the same illusion. Unfortunately, Vienna glass is no longer sold, so I needed a different source for my stripes. To do this, I placed stringer pieces around the perimeter of a circle of clear glass in an alternating pattern of two color sets each with eight sections. Two pieces of clear glass was stacked over one set of colors around the perimeter. And, two pieces were stacked over the other color sections but at a position more towards the center of the circle.

I really like how this project turned out! It resulted in an octagon shape that I then slumped into a shallow plate form.

I have some more optical illusion ideas that I will be trying in the future.

Chemistry in the Kiln

Having an undergraduate degree in chemistry, and having spent numerous years involved in research (as an undergraduate student, graduate student and on the UM faculty), I do have a tendency to look at what is actually happening when I am doing various crafts that involve chemicals.

This was the case when I was learning how to dye fabrics and yarns, when making yogurt, and in my cooking and baking.

So, when I saw some fun ideas for creating bubbles in fused glass, I decided to learn a bit more about the idea.

Calcium carbonate is a chemical compound with the formula CaCO3 and a very pale green color. Upon heating, it releases carbon dioxide, a thermal decomposition reaction, to form calcium oxide. CaCO3(s) → CaO(s) + CO2(g)

The temperature at which decomposition occurs is higher than the slumping temperature of glass. So, when calcium carbonate powder is placed between two pieces of glass, the glass slumps and seal the powder in the space between the glass. As the temperature is raised, the decomposition happens and carbon dioxide gas is generated, creating bubbles. But, because the glass is sealed together, these bubbles are trapped between the pieces of glass. And, the resulting calcium oxide is a lovely turquoise color.

I set up to test this idea in my kiln. But, I decided to test some additional powders as well. Cobalt carbonate, copper carbonate, nickel carbonate, sodium bicarbonate and Borax were sifted onto 1″ x 1.25″ pieces of glass, capped with a second piece of glass and fired in the kiln at a full fuse schedule.

All of these powders created bubbles. The carbonates worked really well, giving some lovely blue, turquoise and grey bubbles. Unfortunately the sodium bicarbonate created a really large bubble and will not be very useful for some creative glass ideas. The Borax produced very small bubbles, more experimenting is needed to optimize the use of Borax.

This lead me to some really fun ideas. I think the cobalt carbonate would be nice to use for an underwater scene. I am hoping to give that I try sometime this year.

The copper made me think of winter. And, since I needed a napkin holder for the winter months, I had an idea.

Using some scrap electrical wire, I cut a couple small pieces and spread the individual wires out to look like the trunk and branches of a tree. Copper is a heat stable metal that I have used in other projects. These copper pieces were placed on a piece of clear glass. Then, using a cardstock stencil, I sifted some calcium carbonate over the trees to create the image of the tree. After capping with a piece of clear glass, white opaque frit was sprinkled to create some “snow”.

After fusing, the trees were great, but I decided to tack fuse some more white frit to make more snow.

I was really happy with the resulting glass. After slumping over a mold, the napkin holder (seen above) was ready for use in my kitchen.

I am looking forward to some more “chemistry experiments” with my kiln.

The Great Minnesota Get “Back” Together

Each year, I enjoy going the the Minnesota State Fair, viewing the artistry of the creative activities entries, as well as entering a couple quilts in the competition. In 2020, I was disappointed when the fair was cancelled.

This year, I had originally thought that I would not be able to enter any quilts in the competition. Having a trip to Colorado scheduled during the drop off days for the creative activities, I was at first unsure how I would be able to enter. About a week prior to our trip, I learned that I could drop off entries at the fair office during early drop off days before leaving on our trip.

After entering, I was still hesitant to attend the fair due to the increase in Covid cases. However, with the attendance numbers on previous days being down, I decided to go this morning. Being there from 8 to 11am, the number of people that were there was pretty small. The weather was cool and it was an enjoyable morning.

Things that I did not do:

  • Utilize a Park & Ride bus – to avoid the crowds of people on the buses, I left home early morning and was able to find parking in a lots across the street from one of the fair entrances.
  • Eat Fair Food – I usually avoid the fair food, so this was nothing new for me.
  • Ride any amusement in the Mighty Midway
  • Do any shopping in the Market areas.

Things that I did do:

  • Wore a mask and avoided crowds
  • Arriving early, I walked through several of the animal and 4H exhibits prior to the other buildings opening
  • Enjoyed the artistry in the Creative Activities building, including quilting, weaving, crochet and woodworking
  • Enjoyed the flora of the fair, a much overlooked aspect of the fairgrounds

Animals:

Creative Activities – My entries:

My hexagon quilt received a third place ribbon. The quality of the entries this year was amazing. So, I am pleased with a third place finish.
My miniature doll quilt, made with hand dyed fabrics received a second place ribbon. This was a huge surprise to me. I only entered this quilt as a whim at the last minute, the quilt was never intended to be entered into a competition.
The Twin Cities Skyline wall quilt that I made for a friend did not place. However, it is displayed in a very prominent location at the entrance to the Creative Activities Building. I will be interested to read the comments from the judge when I pick it up next week.

Creative Activities – Noah’s Ark: My absolute favorite of all of the creative activities entries that I saw today!

Creative Activities – Other Quilting:

Creative Activities – Weaving:

Creative Activities – Others:

Butter Sculptures of the Fair Princesses:

Flora of the State Fair:

Repurposed Glass Bottles

This posting is a bit late, since these were gifts given to my brother for Christmas. But, better late than never.

The inspiration for these gifts were my brother’s strong liking for beer. This is one thing I do not have in common with him, I actually hate the taste of beer. So, to obtain the bottles that I needed for these projects, I had to rely on my sons and some of my friends for the empty bottles.

Glass Art: After taking a class at a local glass supply store, I tried my hand at making glass art from crushed bottles and scrap window glass. This was a fun project, but actually a lot of work.

For the clear background, I used glass that came with a couple frames that I had recently purchased. Because most window and photo frame glass has a thin film of tin, this layer needs to be identified and removed with a chemical solution prior to fusing. After cleaning with isopropyl alcohol, two pieces of glass were then fused together using a full fuse program to make the main background of the project .

For the tree, brown and green bottles were crushed with a frit piston and screened with frit sifters.

To make the trunk of the tree, brown glass frit was contoured on the background glass with some GlasTac.

The green frit was then added to create the canopy of the tree and the surrounding ground. The project was fired using a contour fuse program (1375F max temp).

Finally for display purposes, the project was slumped over a gentle curved stainless steel mold and mounted in a metal base (see photo above).

This was a fun project, but I think the next time I attempt glass sculpture with frit, I will probably use premade purchased frit.

Bottle Projects:

I have previously used empty bottles for wind chimes and as the base of pot melt mushrooms. Most wine bottles have a dimpled or punted bottoms. However, beer bottles generally have a flat bottom. When fired on their sides, flat bottoms fold up nicely. This made these beer bottles useful for making several projects.  After several trials, I settled on using a full fuse program (max temp 1425F) for flattening the bottles on my kiln shelf.

Napkin holder: The flattened bottle was balanced on a napkin holder mold and fired at using a slumping program (max temp 1280F).

Trivet: To make two different serving trays, two and three bottles were overlapped slightly and again fired at a full fuse program (1425F). After firing and cooling, clear adhesive pads were placed on the bottom of the trivets. I forgot to take a photo of the beer bottle trivet, but I did recently make a trivet out of sparkling cider bottles.

Serving dishes: A cleaned and empty beer bottle, sparkling cider bottles or wine bottles (not flattened), was placed in an appropriate sized bottle slumping mold and fired following a bottle slump program (max temp 1280F, with a slow initial ramp at 250F/hour and a 30 min hold at 1100F to allow for the air to escape from the bottle).

These were all really fun projects to make.

The Ants (and other bugs) Come Marching In

Ants, wasps and other bugs are a part of life no matter where you live. Every year, these pests like to invade my yard, and sometimes my house. I have taken to spreading Diatomaceous Earth around the perimeter of my house to help decrease their numbers entering my house. This helps, but they are pesky and I still have to deal with them each year.

This year I am dealing with a bug invasion of my own making. Having seen some photos of fused glass garden bugs, I decided to make some of my own. Using the same technique that I did last year to make a centipede for my garden (see June 7, 2019), I created some more.

In order to conserve expenses, I sorted through my scrap glass and found pieces that would work for each bug. The glass pieces were then fused following full fuse and contour fuse schedules.

The copper exoskeletons were made from scrap copper sheet, pipe pounded flat and wire soldered together.

The glass was then adhered to the copper exoskeleton using E6000 adhesive

I now have some fun bugs in my garden. And, these bugs won’t find their way into my house!

Frogs – In the Garden (& Clinic?)

kung-fu-frog-batam-island-indonesia2

For those that are unaware, I am a pediatric dentist by profession.  I work with a group of seven doctors and 37 staff.  Nearly all of the procedures we perform (tooth cleanings, filling, crowns, etc) create an aerosol.  This is problematic in the current viral pandemic because the aerosol could put everyone at risk.  So, we know we will need to change our PPE (personal protective equipment) when we reopen our practice.

Because all of the PPE is being directed to medical facilities, as a dentist, it is nearly impossible to obtain face shields and masks.  In anticipation of this being a problem, when my son came home from NYC, I spent some time talking with him about 3D printers and how to use one to make our own masks and face shields.  I am very fortunate that, as an architecture student, he has lots of experience with several types of printers.

With his help, several weeks ago I purchased a Prusa printer kit. I ordered a kit for two reasons.  First, it was less expensive and I could get a better printer for less cost.  And, more importantly, the cost of the kit was just below the limit for having to pay import duties.  The kit took 18 days to arrive.  I am really glad I ordered when I did, because the estimate now is 5-6 weeks.

When the kit arrived, we needed to build the printer.  Okay, to be honest, it was mostly my son who put it together.  But, I did do a couple hours of the process.  The kit was like trying to build a house sold by IKEA!  The manual for putting it together was 225 pages long.  Fortunately the directions and photos were excellent.

A

It was exciting when the build was completed.  The first thing we printed was one of the sample files that came with the printer.  It was a tree frog.

Since the plan is to print things for use in my dental office, I wanted to verify that the printed items could be sterilized in our office steam autoclave.  I took the frog to one of my offices and tested it in the  autoclave.  The plastic filament was not impacted by the heat or the steam.  However, I forgot that the frog was printed as a hollow form with air trapped inside.  So, when the air heated up and expanded, it caused the belly of the frog to pop out.  I now have a pregnant looking frog!!.  This should not be a problem with the other items I plan to print because they do not have a large space with trapped air.

I am in the process of testing out different face shield and mask ideas.  I’ll give an update on those in a few days.

IMG_4852

In the meantime, and keeping with the frog theme, I thought I would give some information about a new piece of garden art that is in my flower bed.  Over the winter, one of the glass projects I made was a really cute frog.

The construction of this was somewhat similar to the turtle that I made last summer (July 14, 2019 post). It has a copper understructure with copper wire legs soldered and the glass attached to the copper.  When making it, I didn’t want to mess around with creating a custom slumping mold to “shape” the frog.  So, I left the glass flat.  Once the flowers start growing, I think this will be really cute in my garden.

Who knew there were so many inspirational quotes about frogs (google it and see for yourself)!