I admit, I have been really terrible at posting for the last few years. While I have been taking photos of my projects, I really haven’t had the motivation to write a post. And, when I would think about posting, I would look at my photos and become overwhelmed because I didn’t know which project to start with, so I would just give up.
This morning, I finished another quilt. When taking a picture of the quilt, I thought I should write a post. But, then the old feeling of being overwhelmed came back – will I every catch up on my posts.
So, I am going to try another approach. Instead of posting a lot of details about my projects, I am going to post a lot of photos, with just a little bit of the details. Hopefully I will catch up on posting. So, here goes…
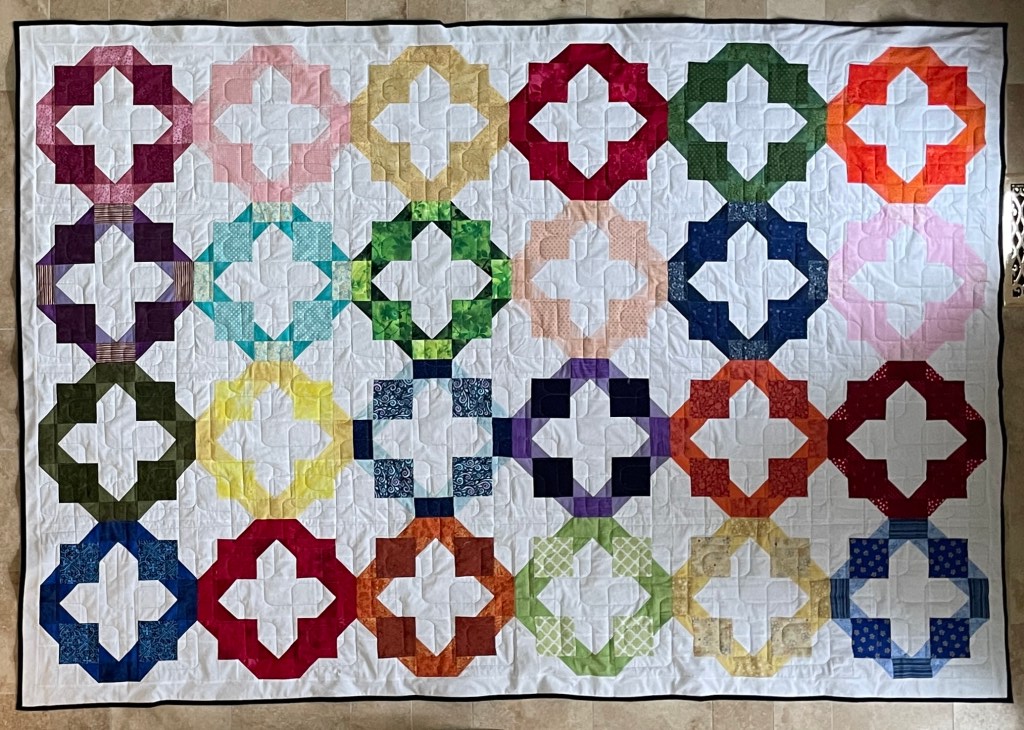
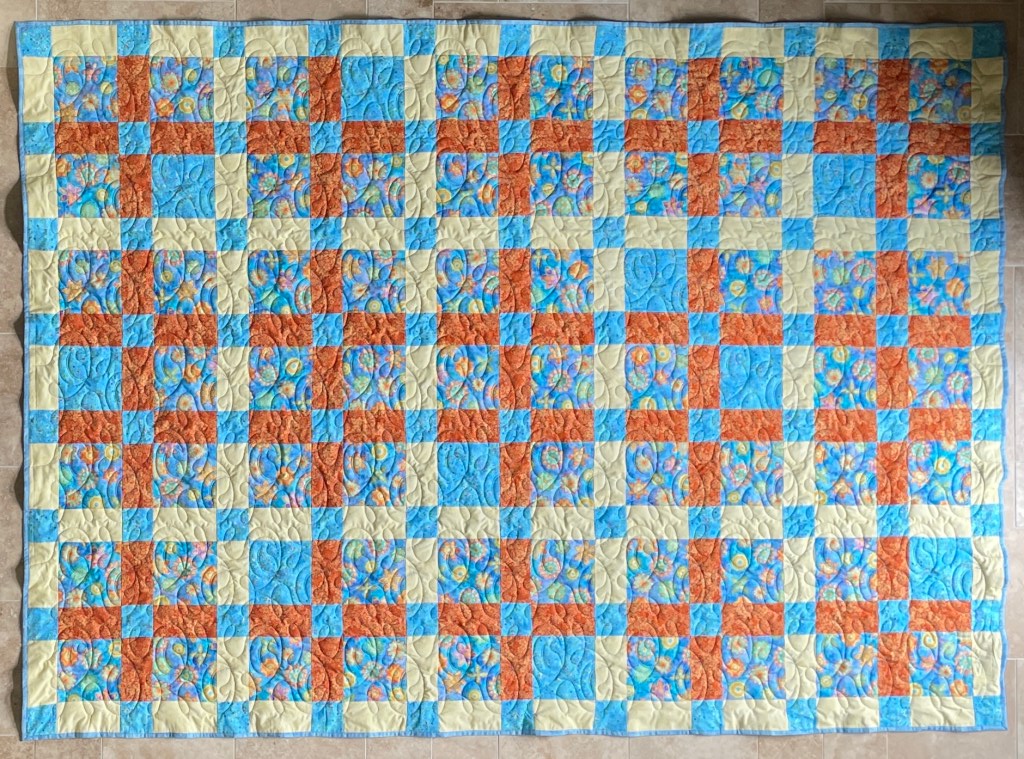
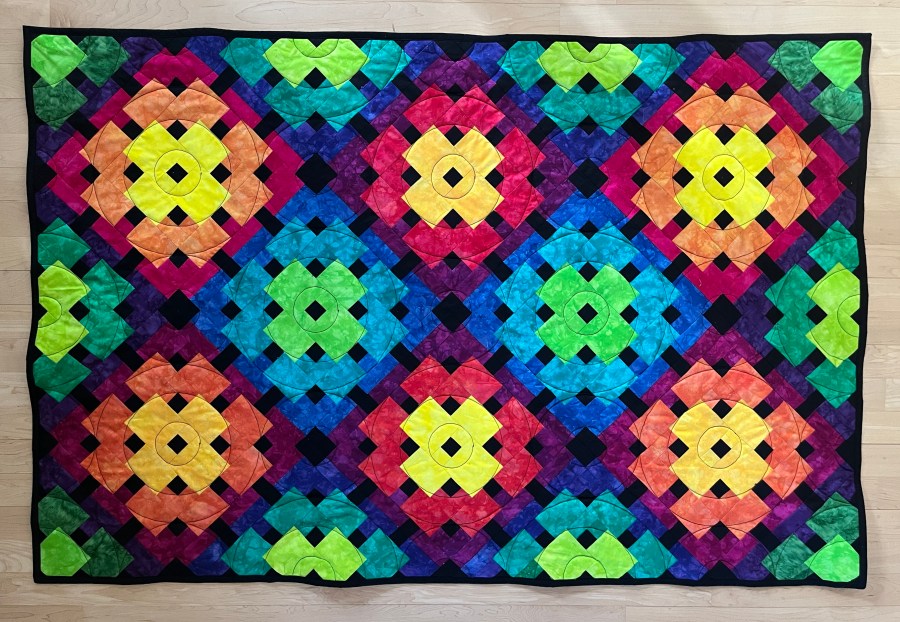
Granny Square Quilt
When sorting through my mother’s fabrics, I ran across a pack of fat eighths (9″ x 21″ pieces of fabric). In the pack there were 16 batik blenders in a rainbow of colors. Most fat eighths bundles have 18 pieces. And, since there was only one blue piece in the bundle, I think my mother must have used the other two pieces of blue for one of her projects. After looking through the numerous ideas I have on my computer, I settled upon a granny square block quilt.
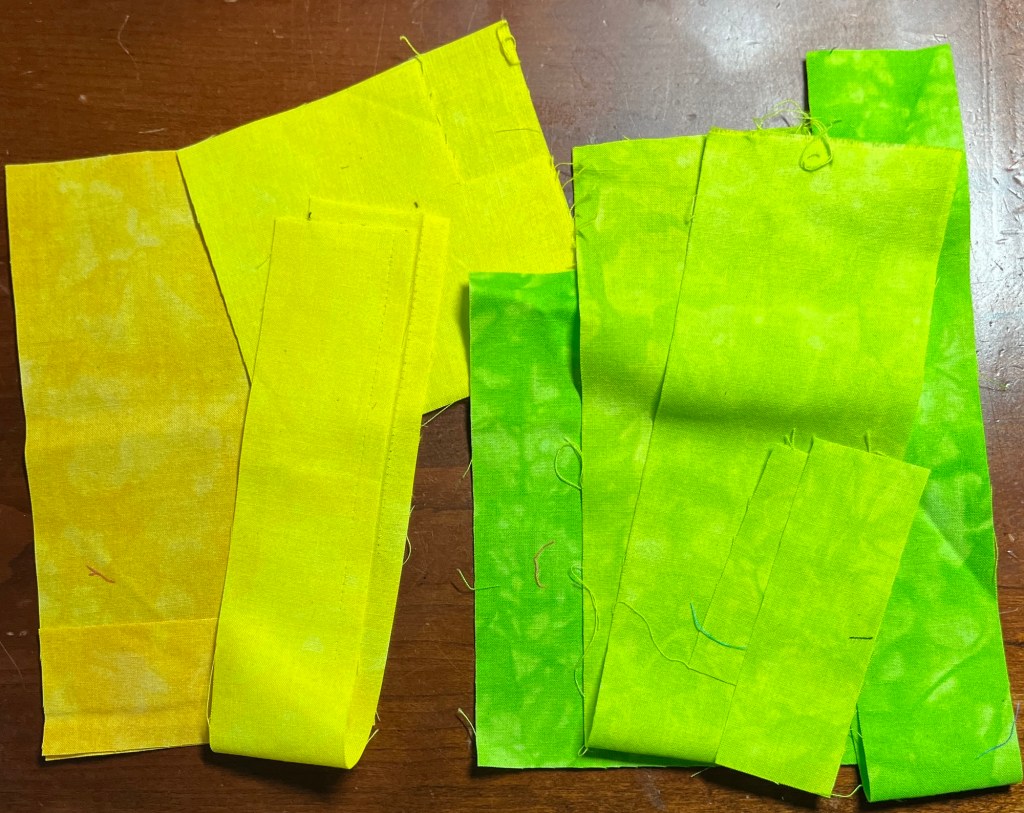
While planning out the quilt, I realized that I would need to be extremely careful with my cutting because the amount of fabric needed was nearly exactly what I had available. From the sixteen pieces of fabric (2 yards total), this is what I had left over.
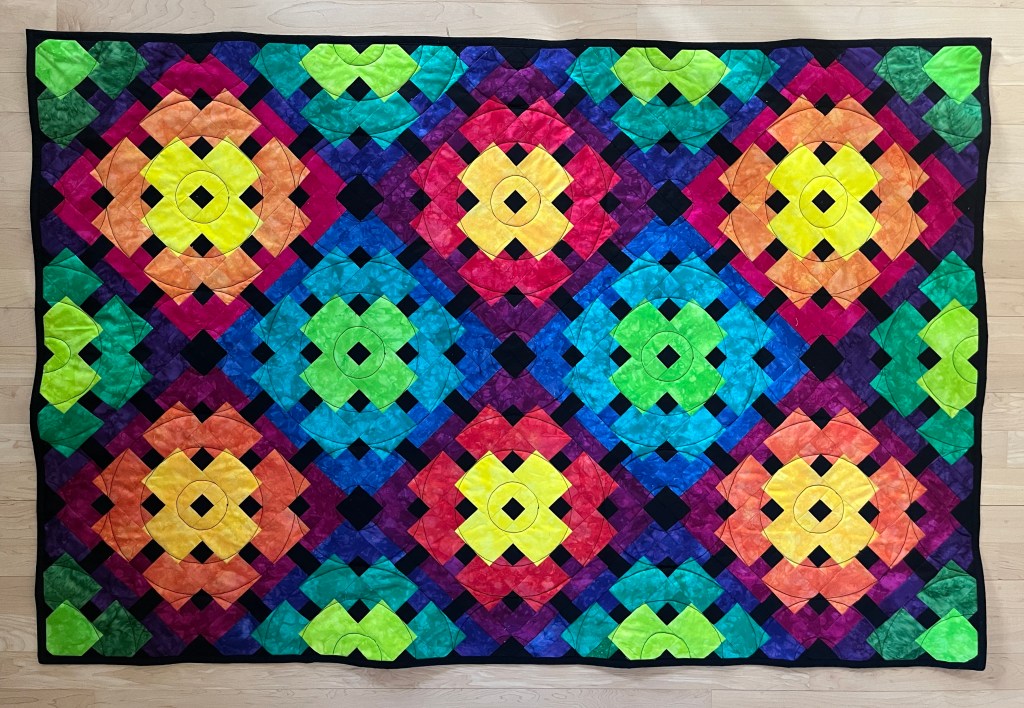
For the backing, I used another piece of fabric from my mother’s stash.
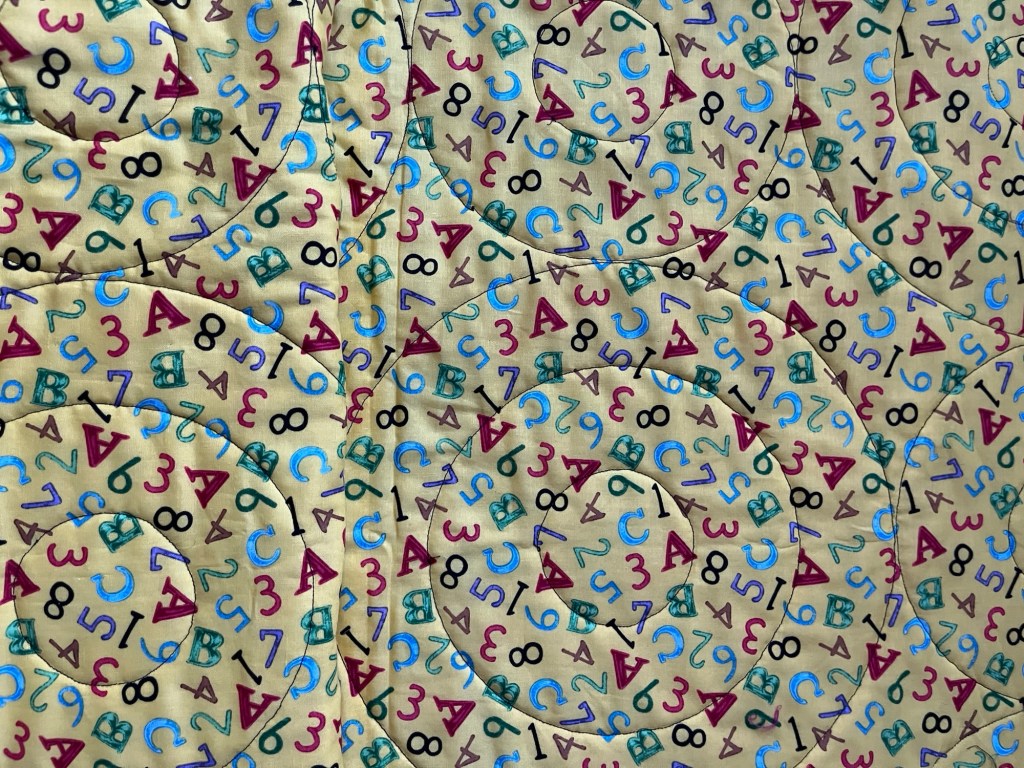
Measuring 38″ x 54″, this will be a nice quilt for a young child.
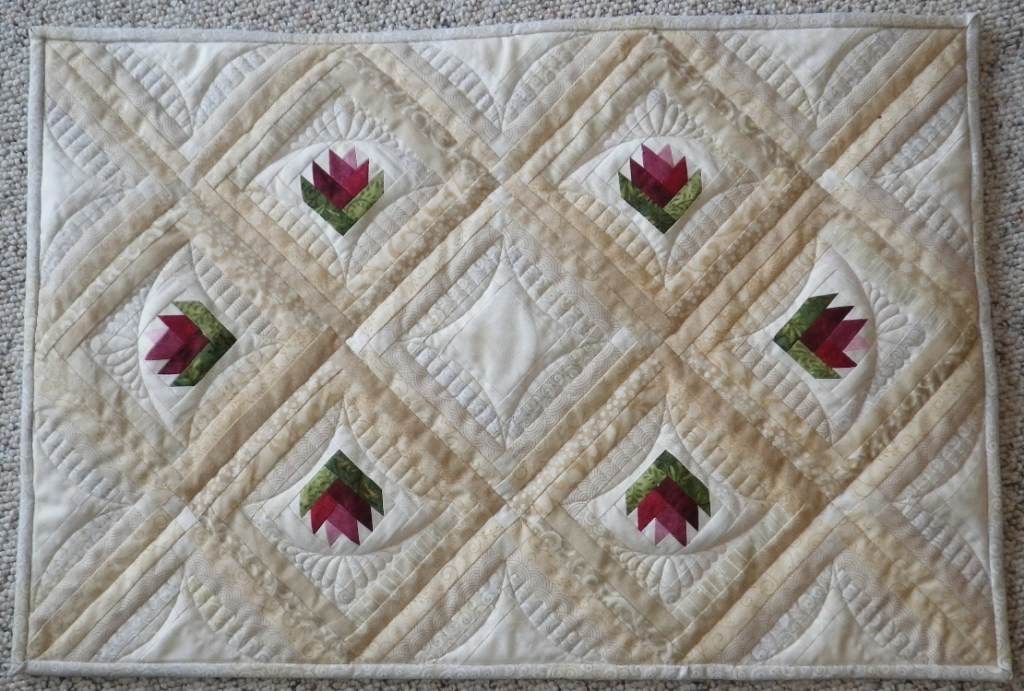
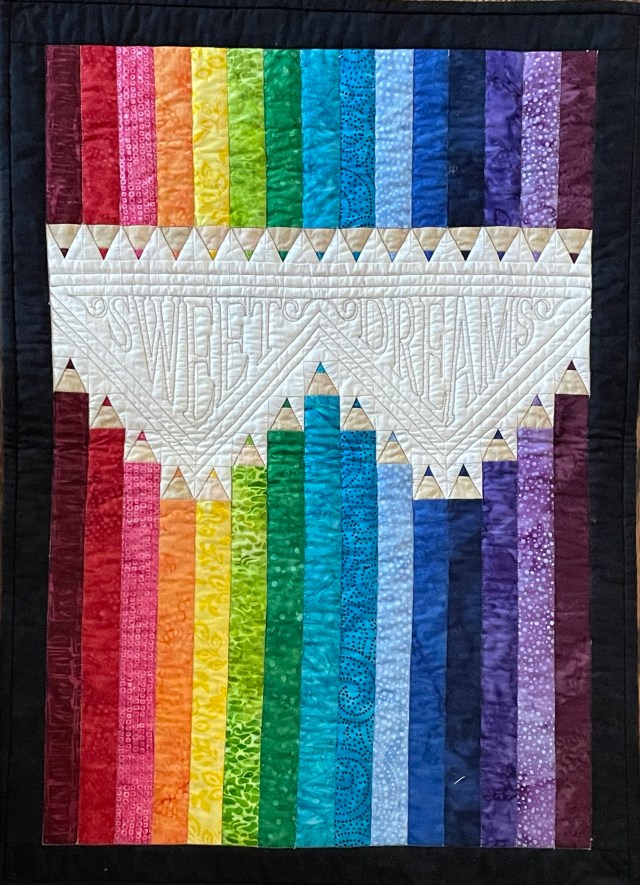
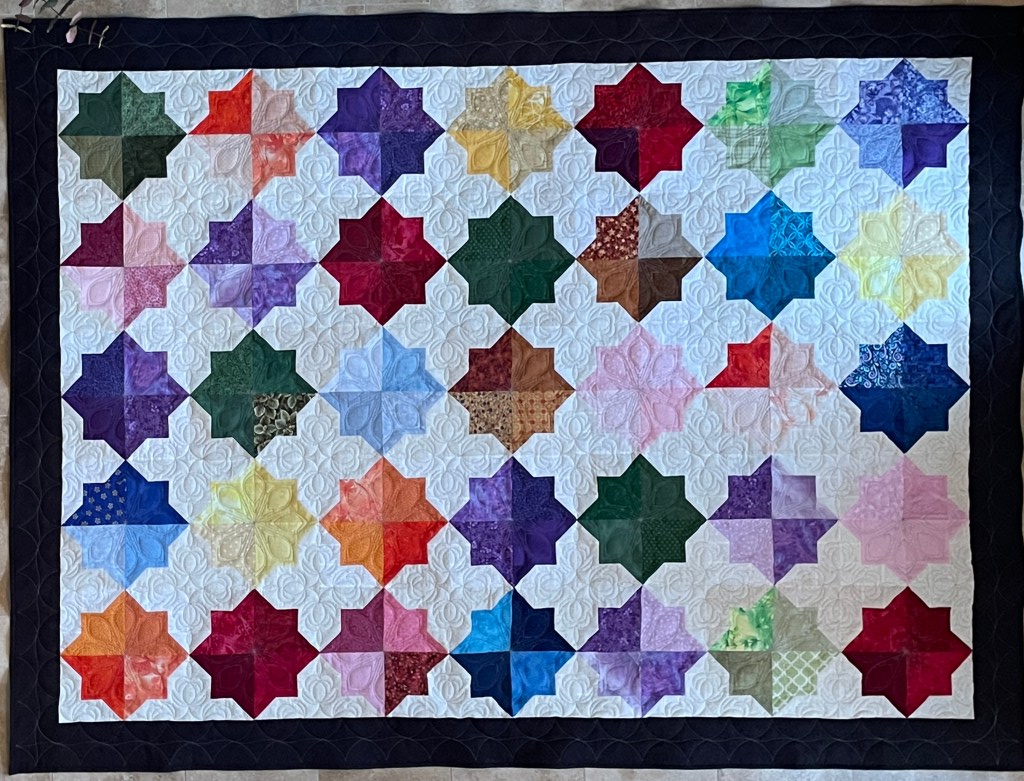
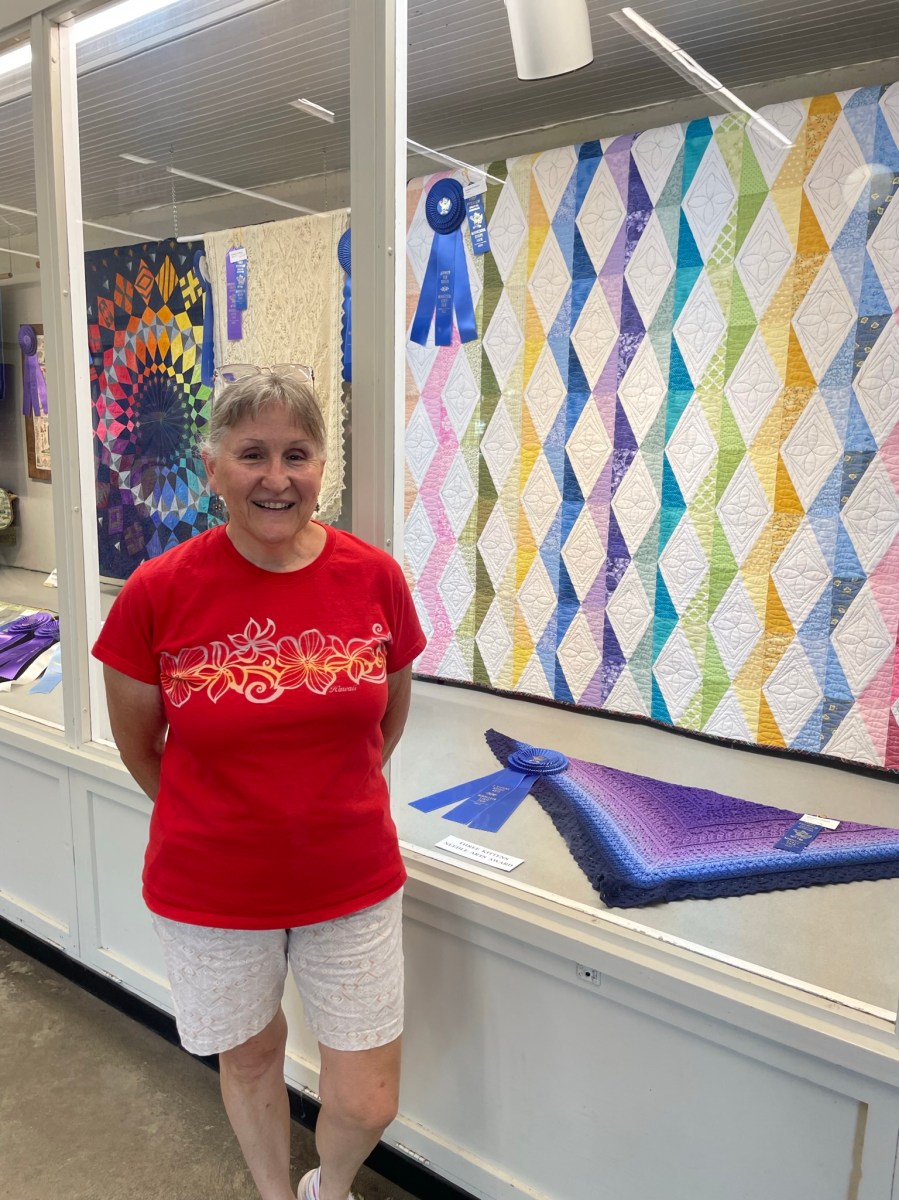
Hexagon Quilt
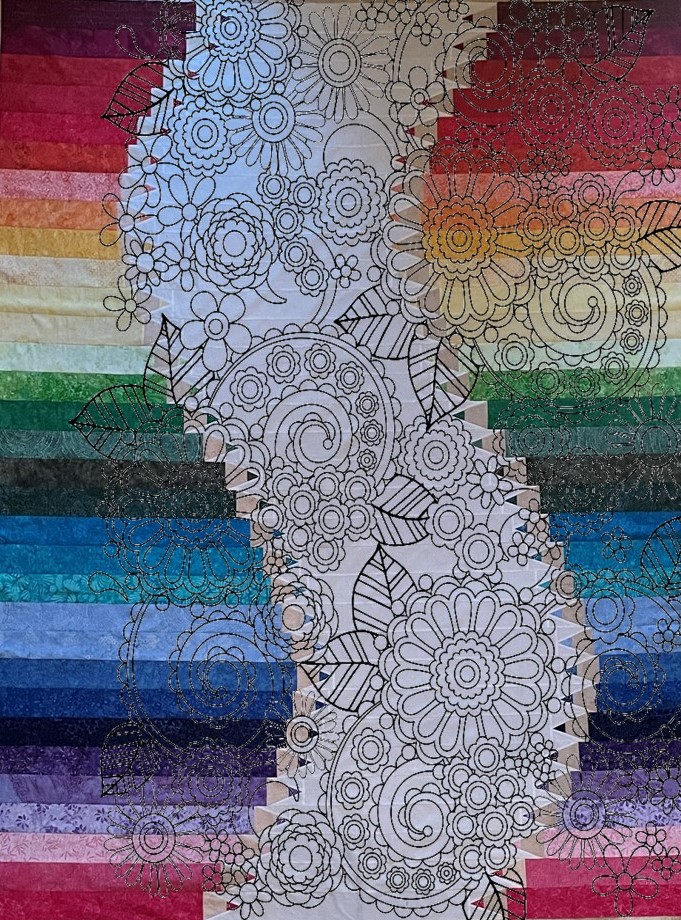
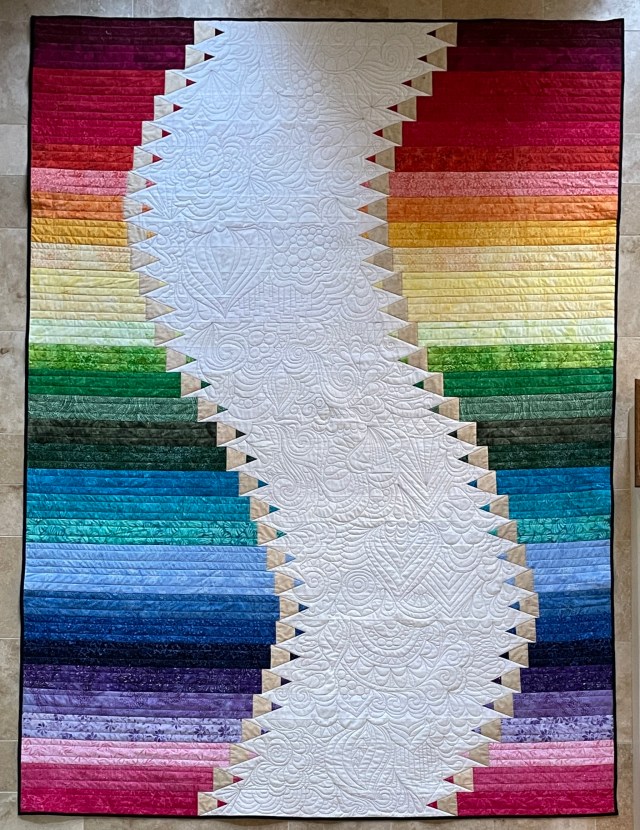
A few years ago, I made an asymmetric Burst quilt. Since then, I have wanted to remake the quilt but with the starburst centered on the quilt like the matching doll quilt. However, I wanted to try something different. So, I designed a similar quilt with a hexagon shape.
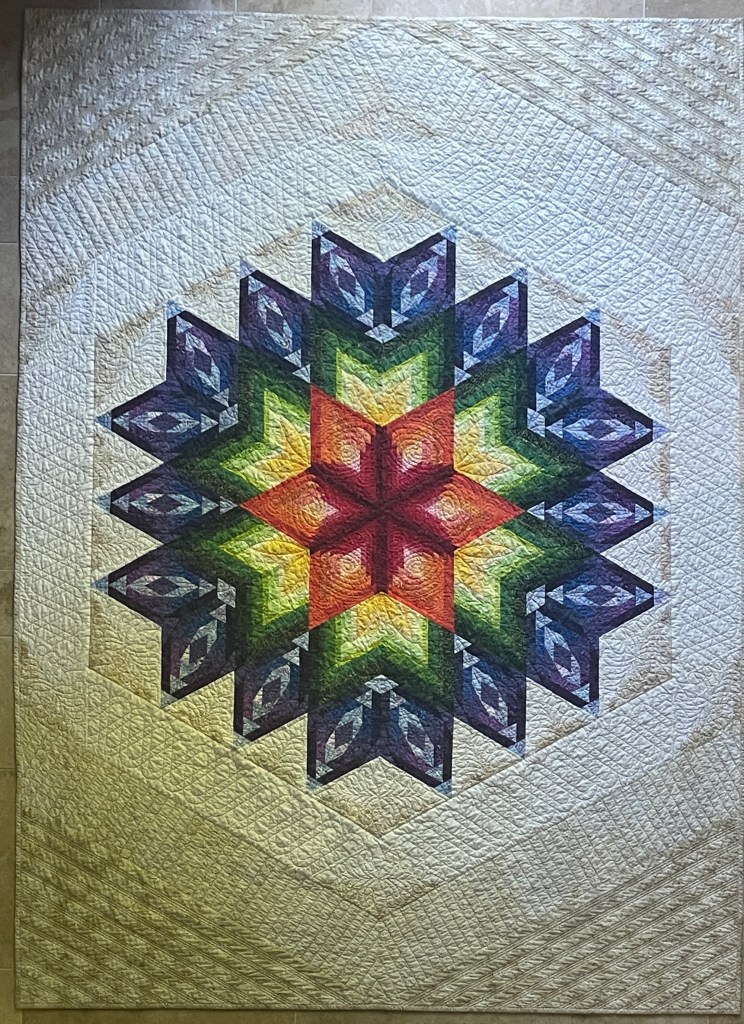
This makes a nice complement to the original quilt.
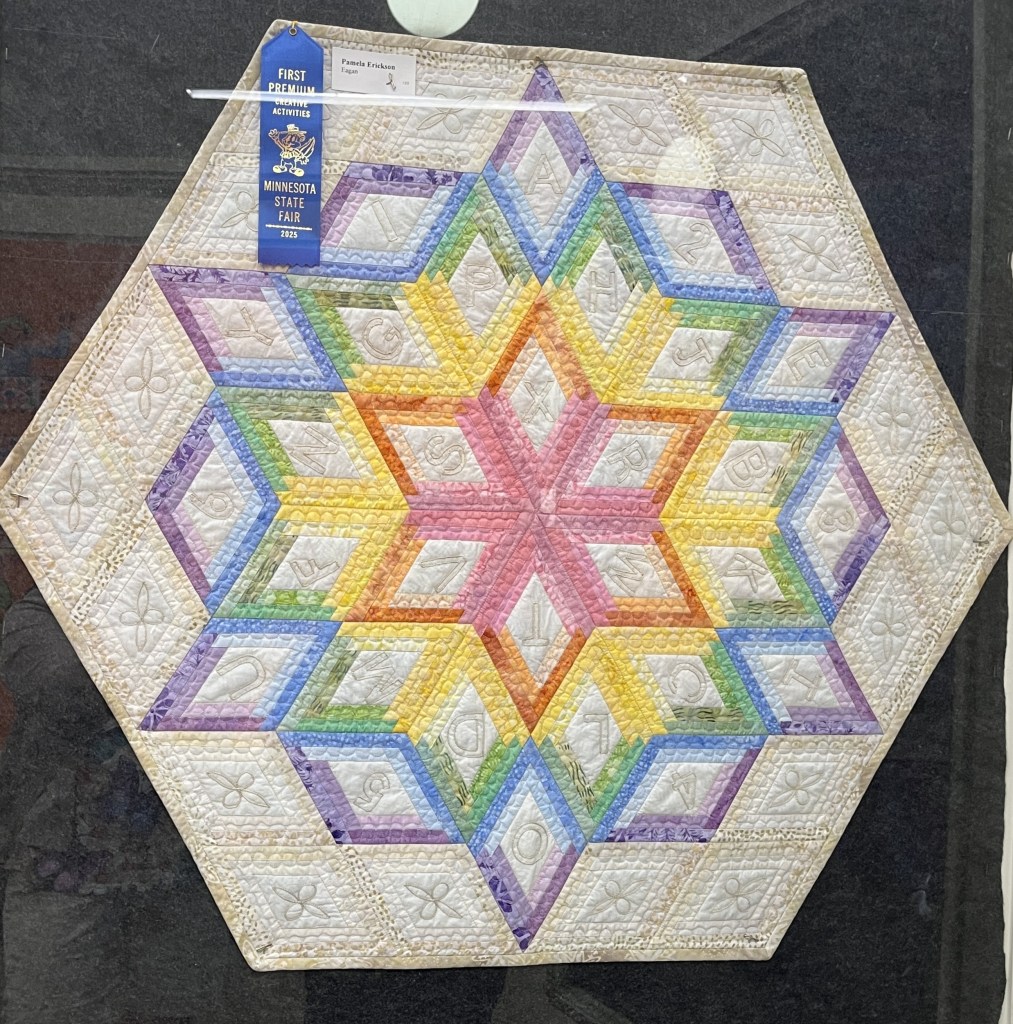
While sewing it, I thought that a pastel version of the design would be nice to try. So, I made a smaller, baby quilt with a hexagon shape. And, I was happy to receive a blue ribbon at the 2025 MN State Fair.
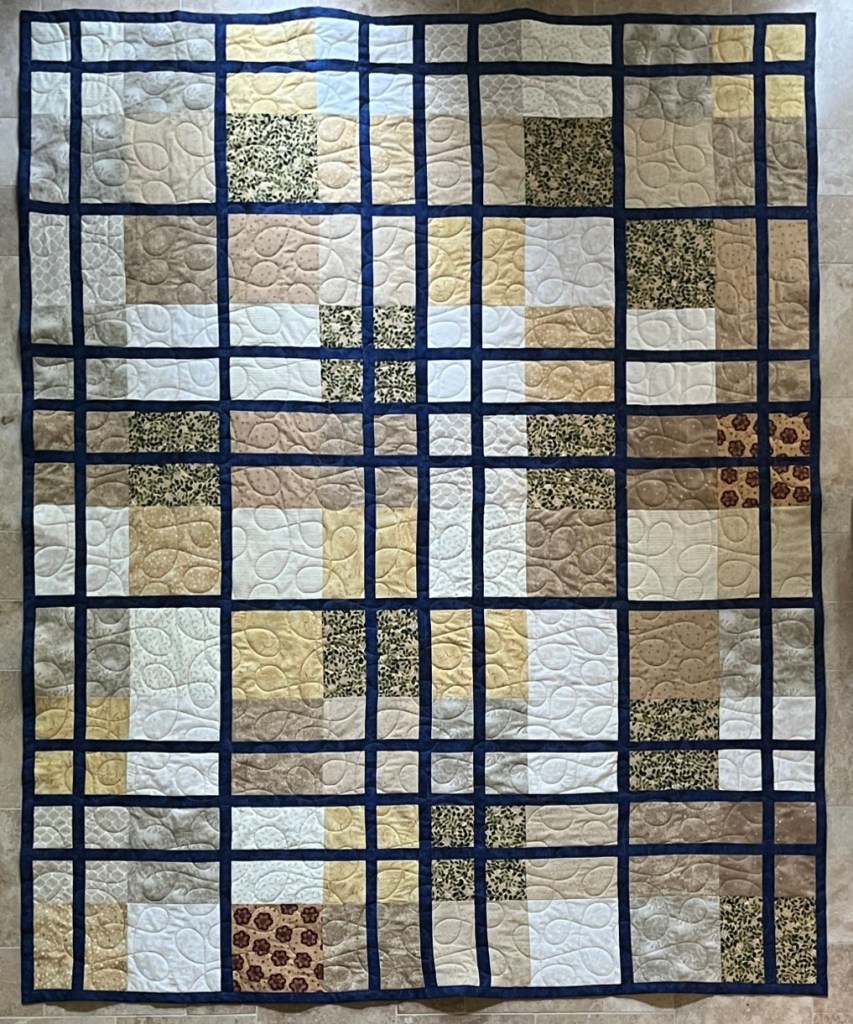
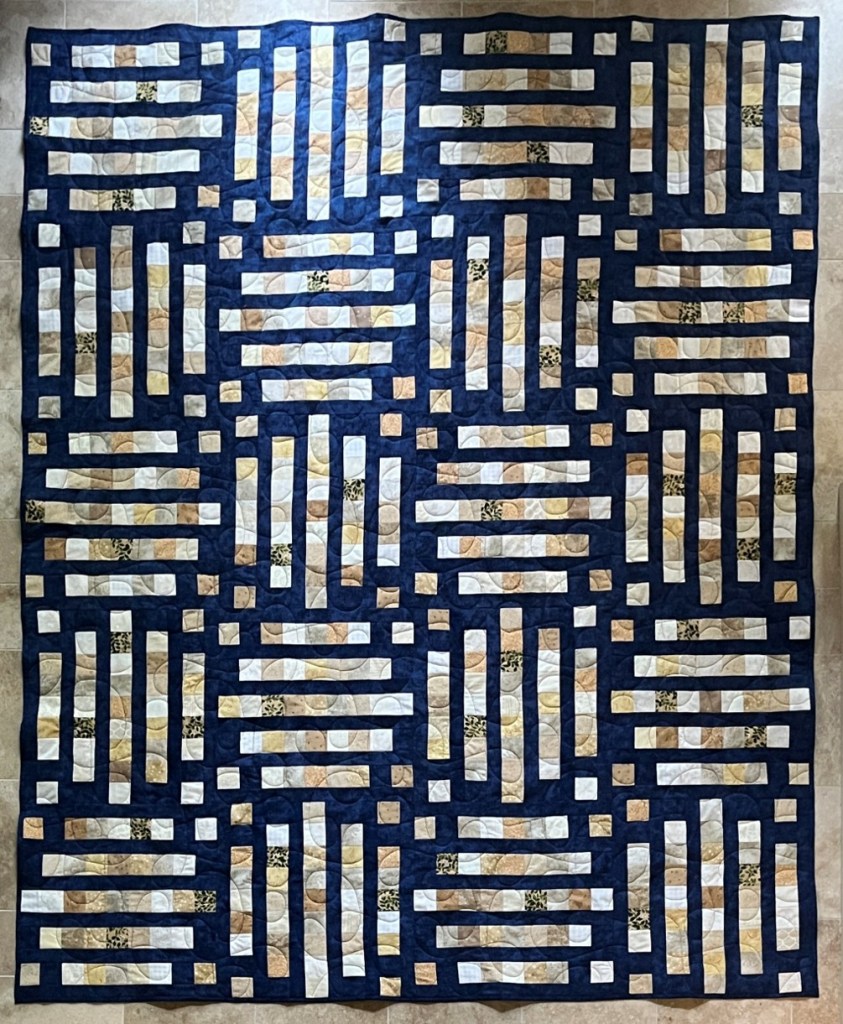
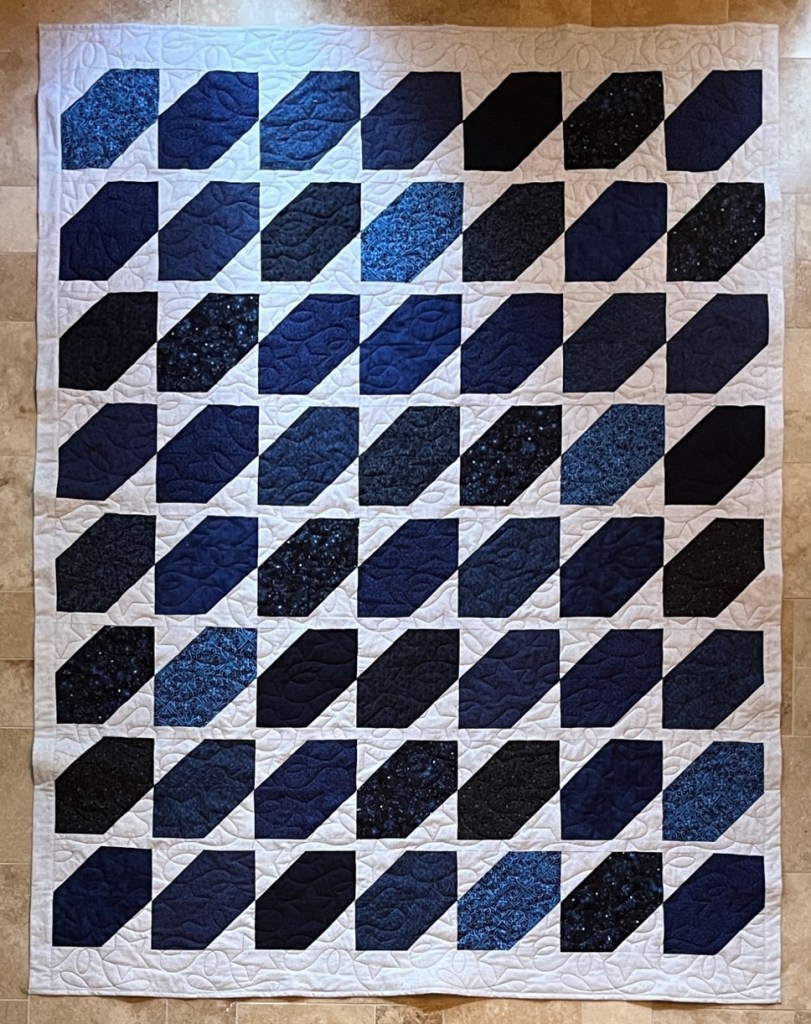
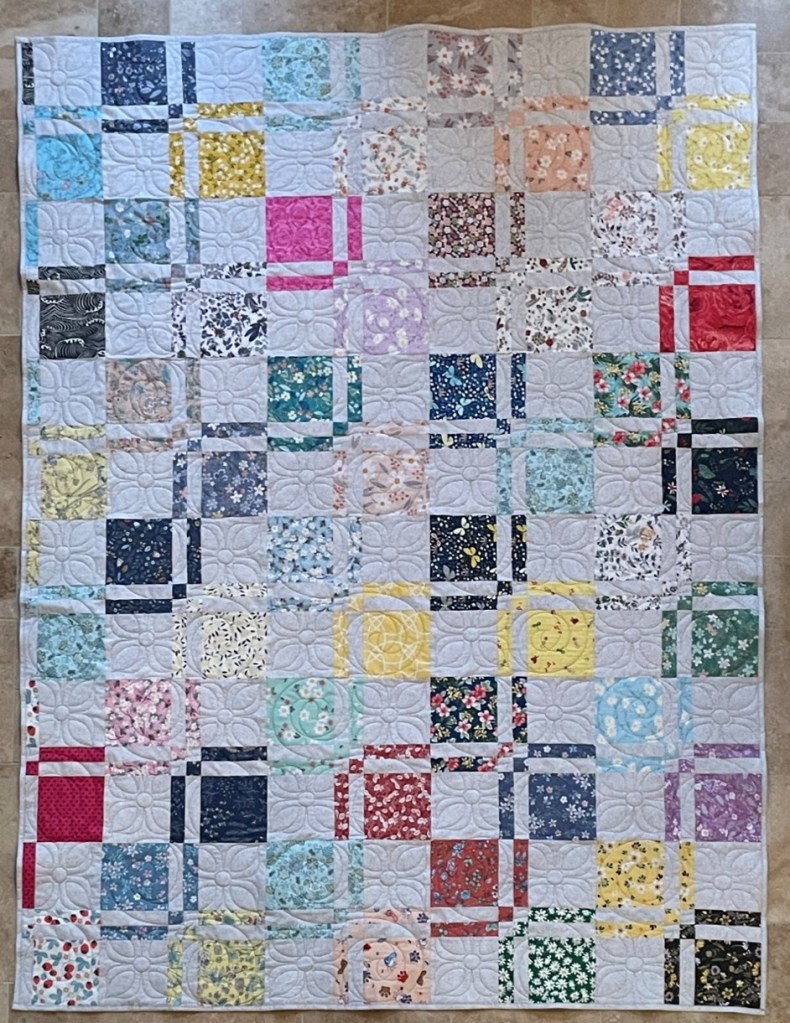
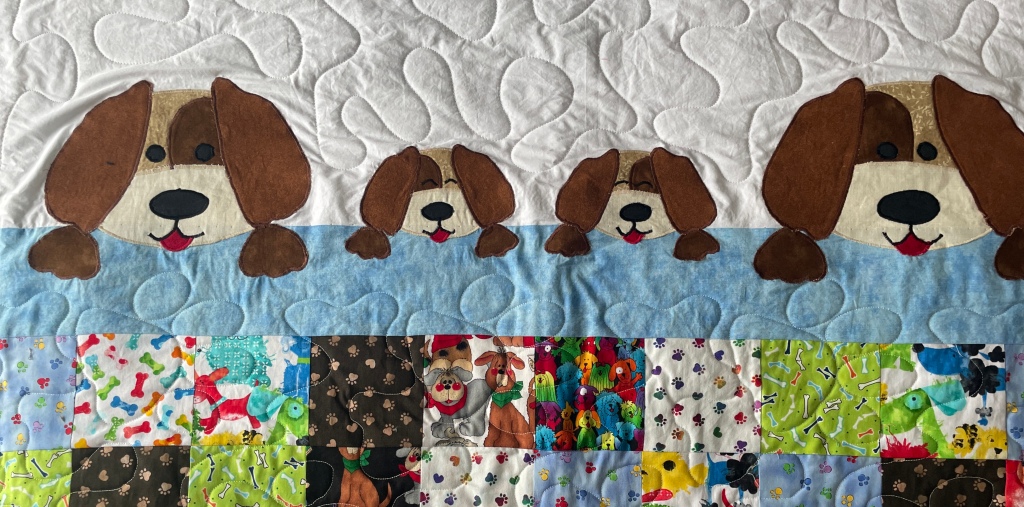
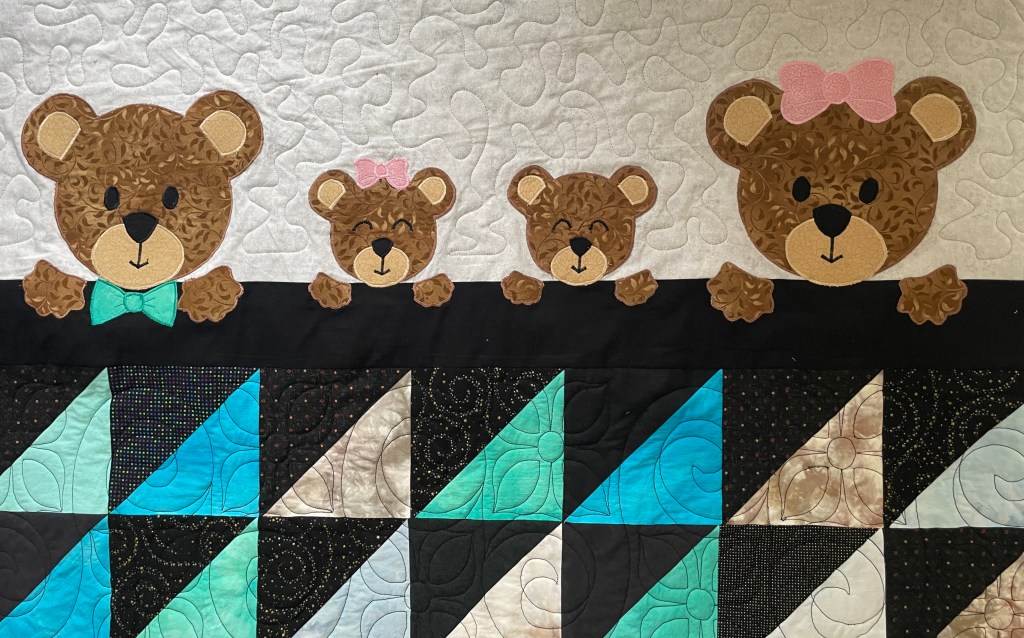
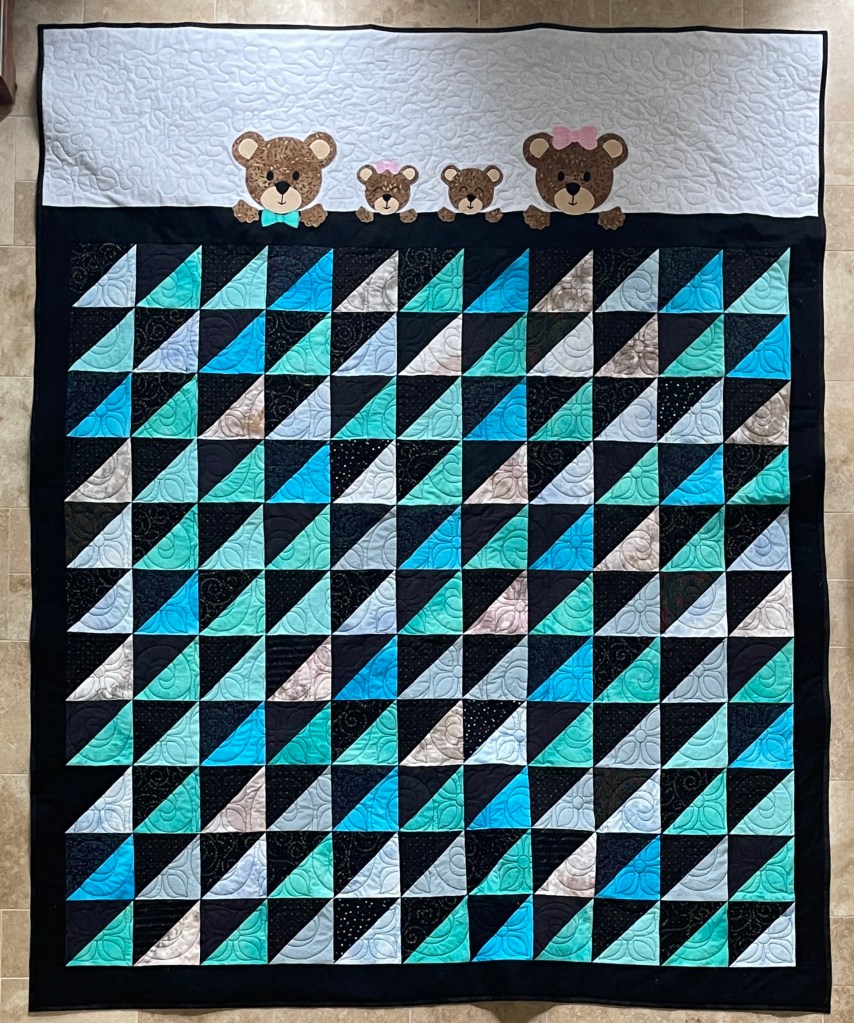
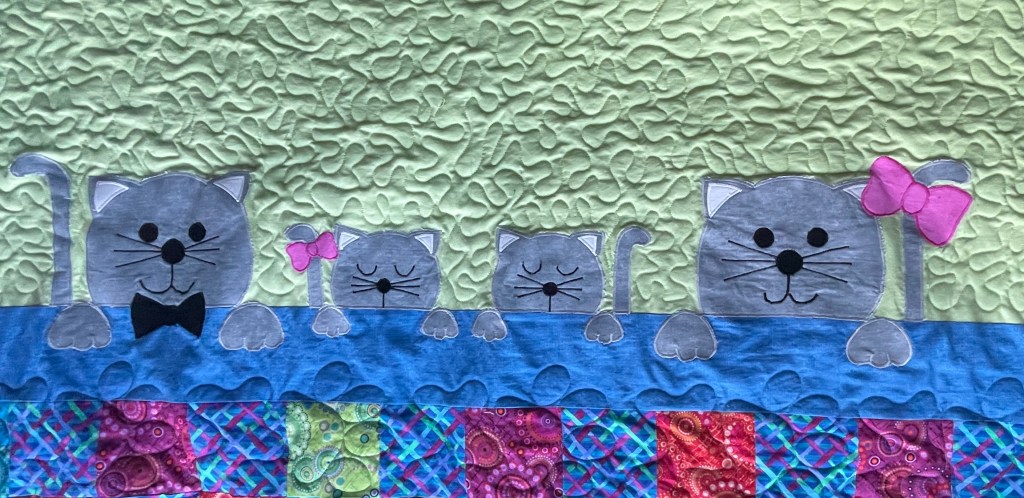
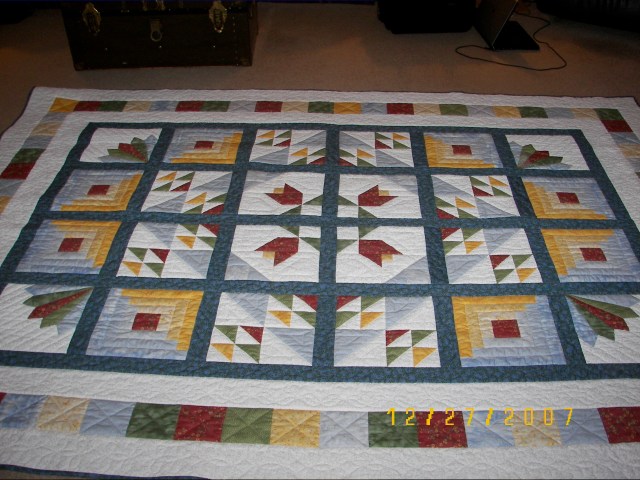
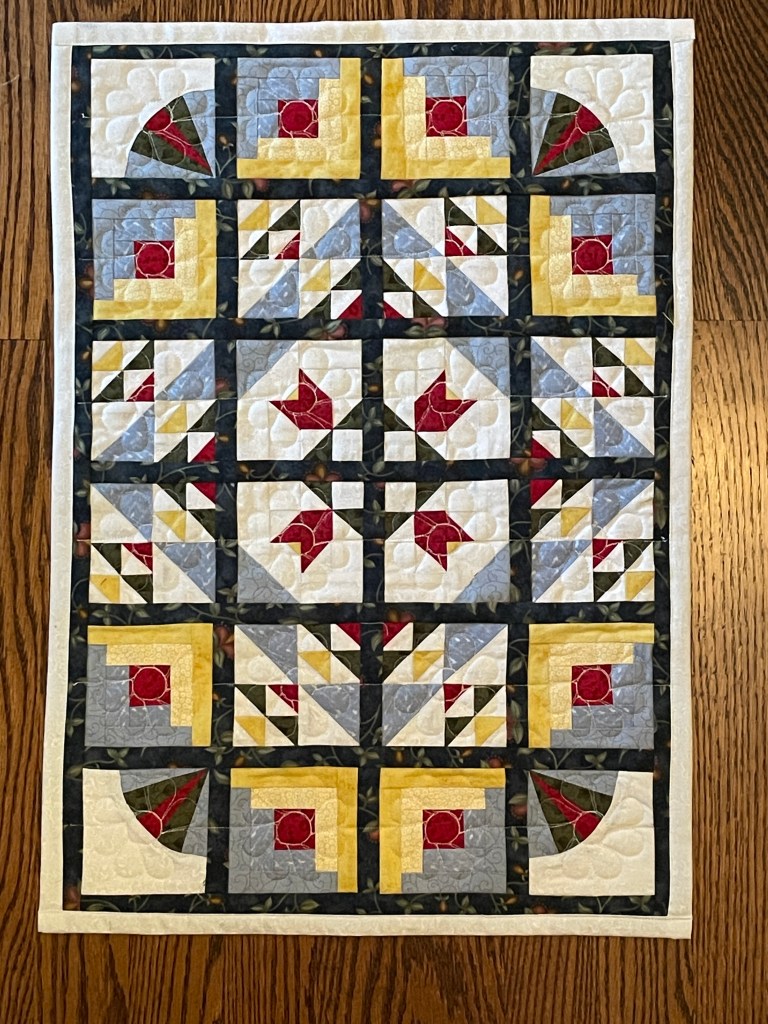
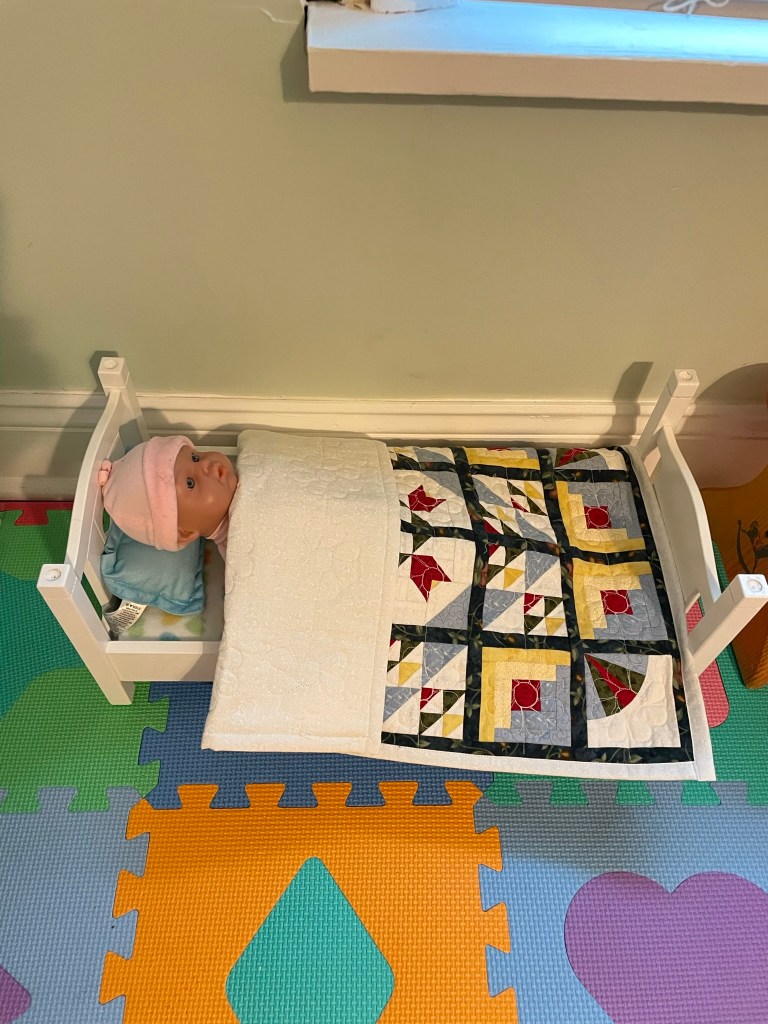
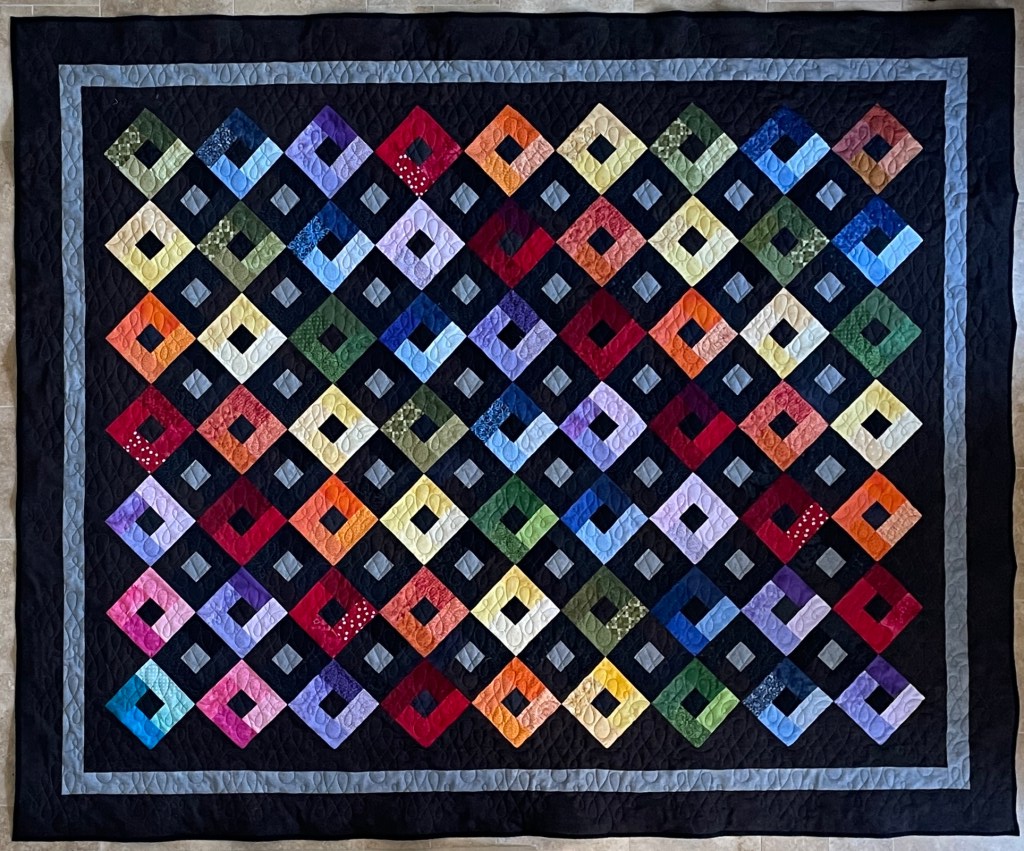
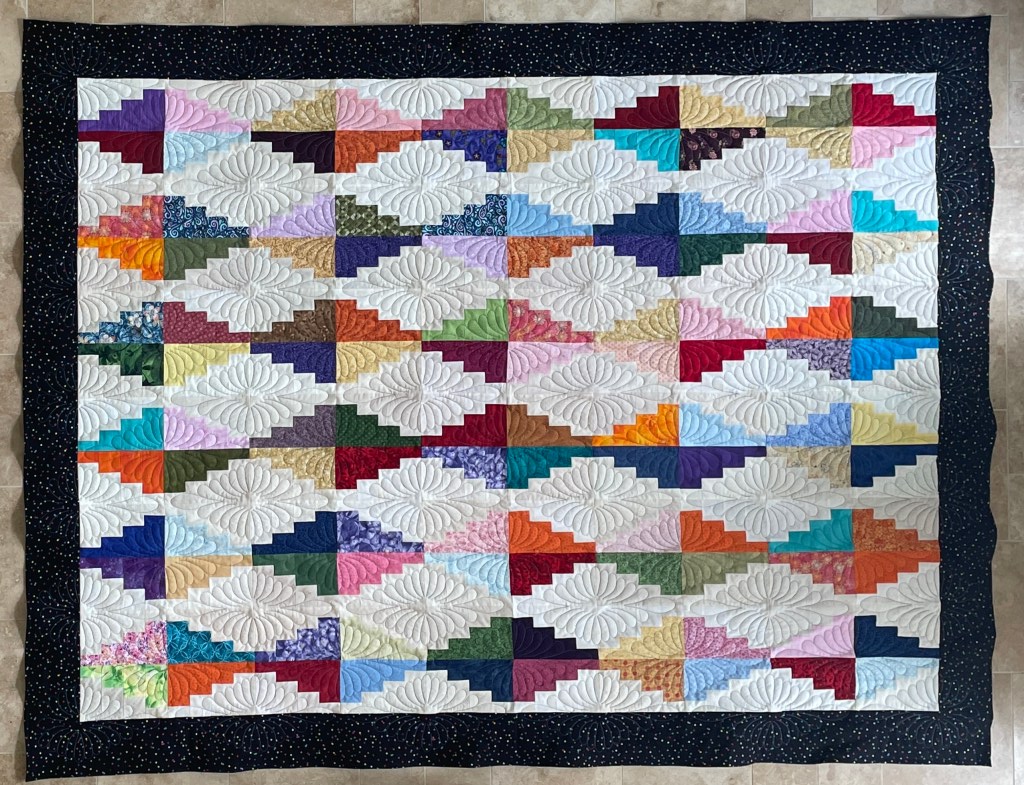
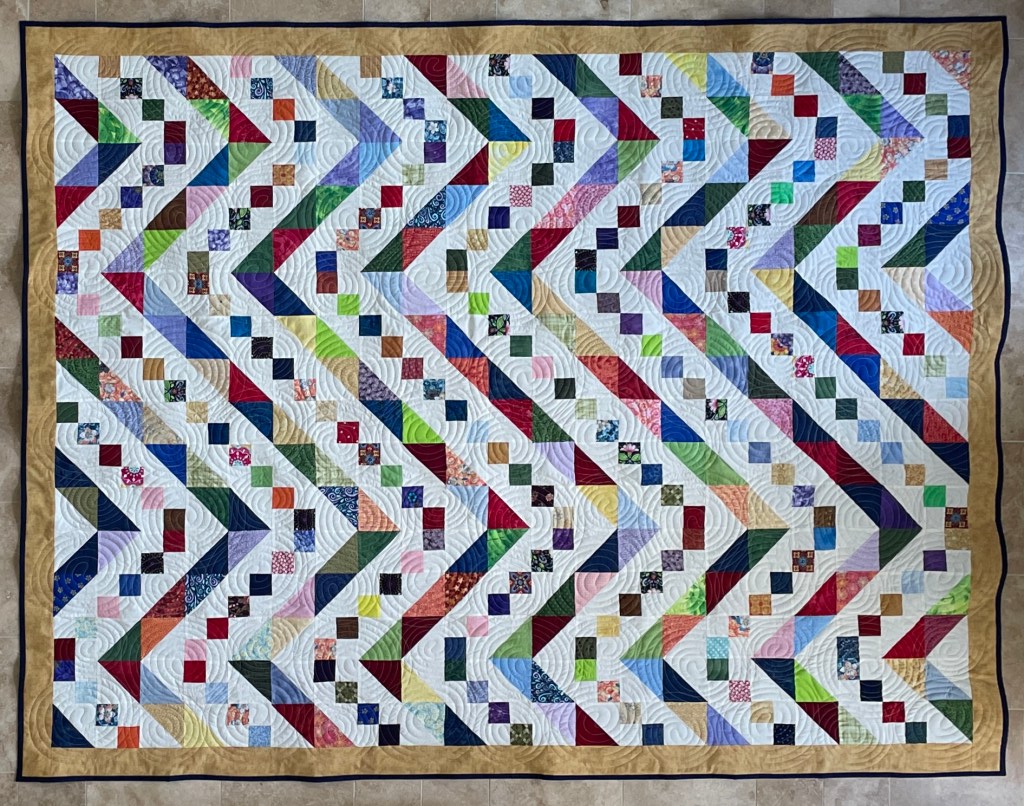
Donation Quilts
Every year, I donate several quilts to a local chapter of Sleep in Heavenly Peace. This year was no exception. In addition to the Sleeping Family quilts that I wrote about last year, here are the images of the other quilts that were donated this year.