Several months ago, I learned about a transitional housing facility right here in Eagan called Lincoln Place. This facility has 24 efficiency apartments and is a place for young adults who are at risk for homelessness. Along with providing housing, the residents are provided with support services as they transition into adulthood, as well as life skills such as cooking, financial planning and job skills.
Many of the residents are there because they have aged out of foster care. They arrive with few personal belongings. After learning this , I decided to contact them to see if I could donate some quilts to the residents. Previously, I have contacted other organizations about donating quilts. Minnesota Habitat for Humanity would only take quilts if I would guarantee that I made a quilt for each new home owner that they worked with. Well, I simply wouldn’t be able to make several dozen quilts each year. So, that idea was a dead end. I have also donated quilts to charity auctions. These were “state fair” quality quilts that were were not displayed well and thus did not raise much money for the organizations. In fact, in each case, the money that I spent on the fabric and supplies was more than the quilts actually sold for.
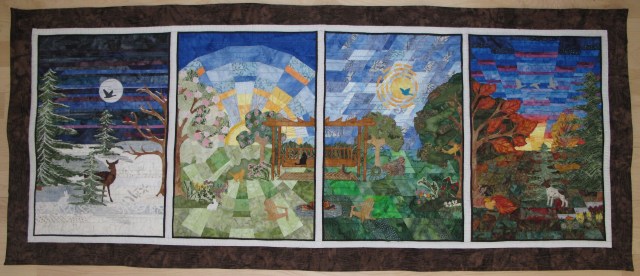
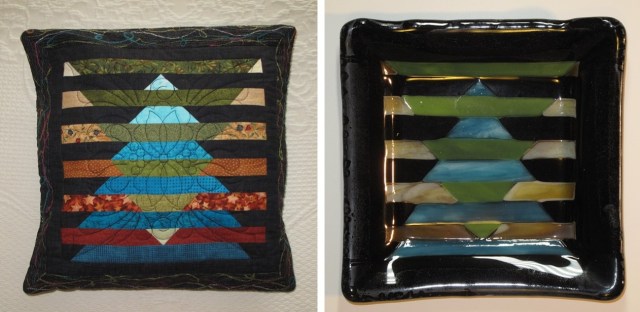
When I contacted Lincoln Place about donating quilts, they were very supportive of this idea and I have gladly donated several so far. The two split block quilts that I made back in April and May were among the quilts that I have donated.
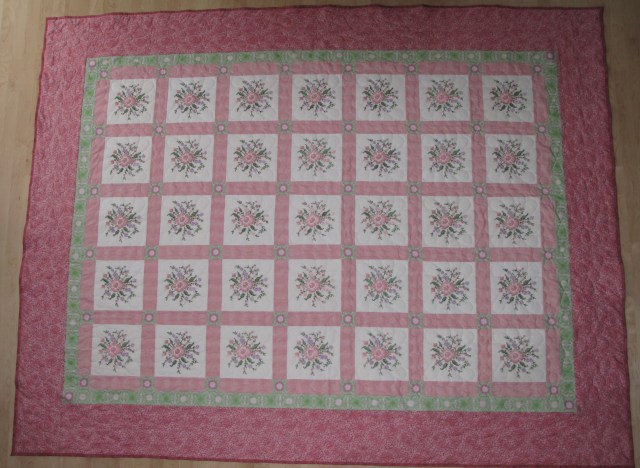
I recently finished several more quilts for Lincoln Place. One of these quilts incorporated several hand embroidered flower squares that my mother gave me. She found these at an auction in Arizona where she lived. I took these squares, pieced them with some matching fabric and then quilted them. Hopefully someone will enjoy this very cheerful quilt.


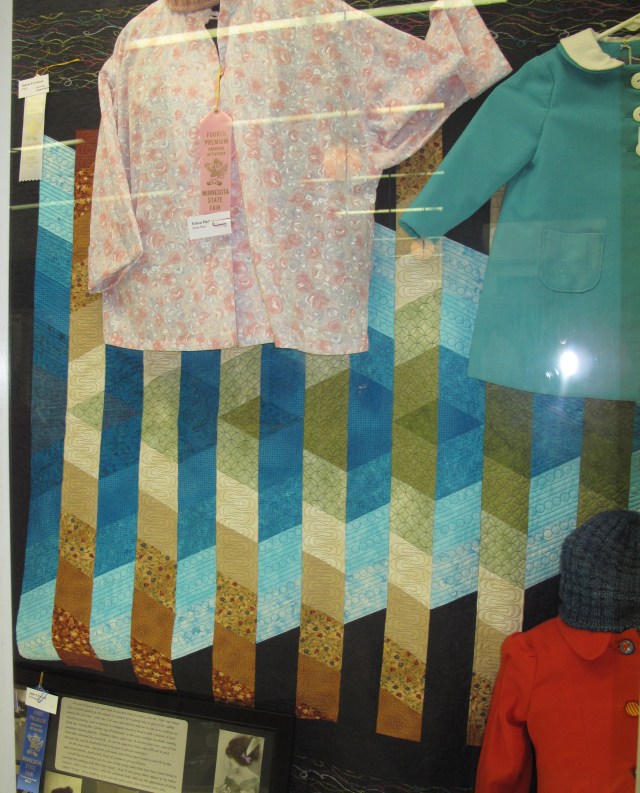
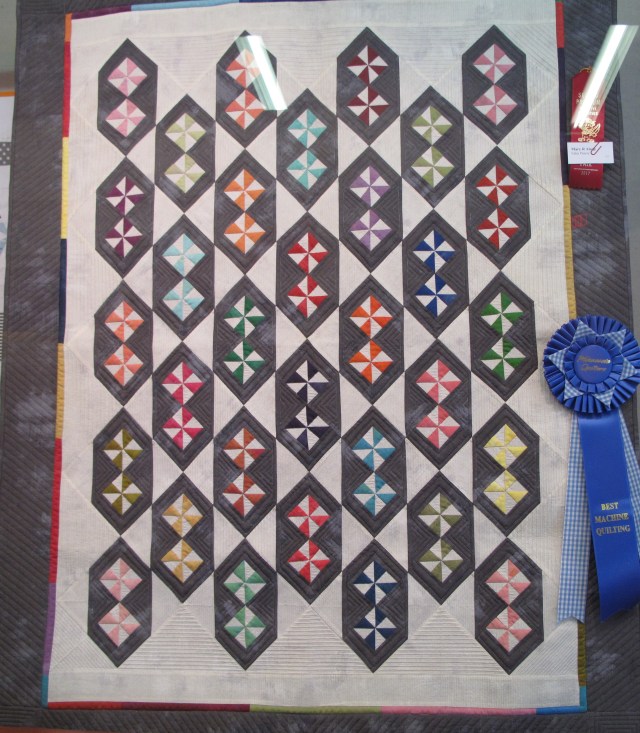
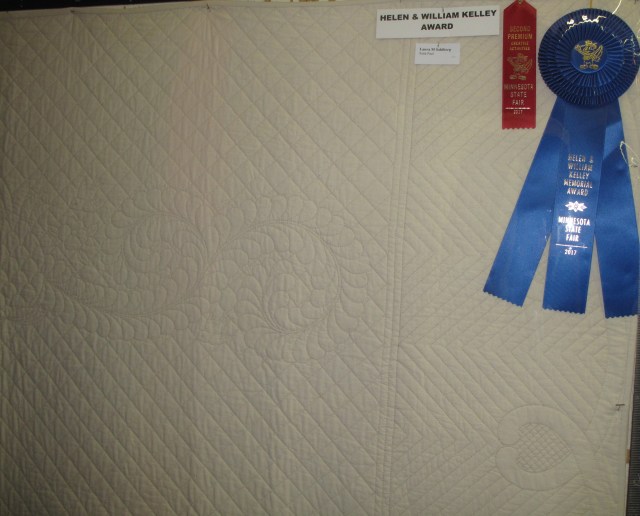
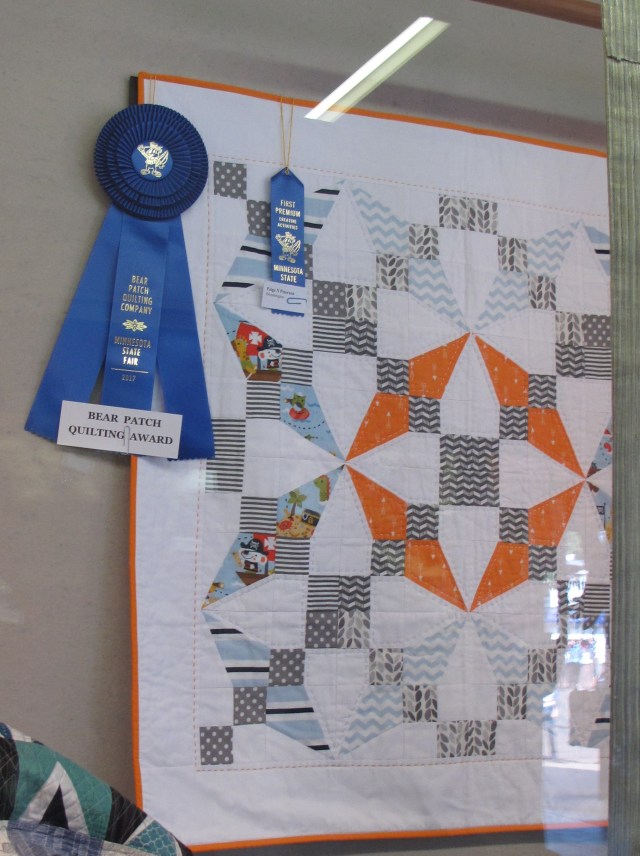
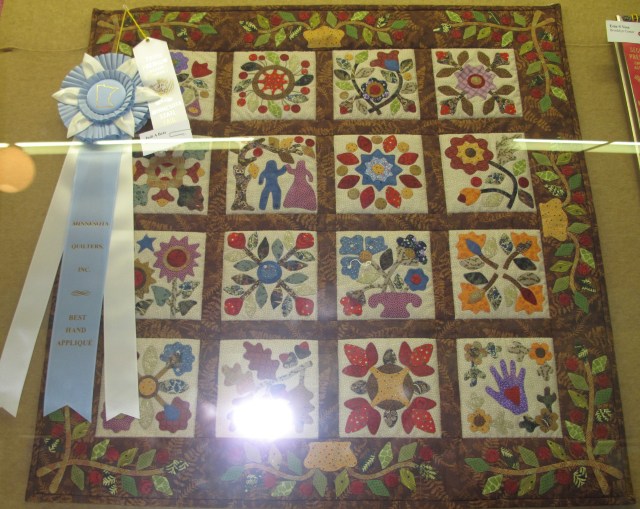
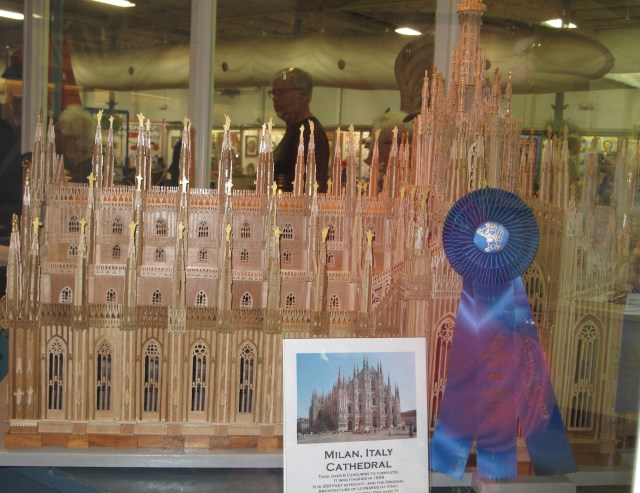
 It’s Fair time in Minnesota. Most people who post fair pictures on social media that show the many foods eaten at the fair. Today, when I went to the fair, I actually didn’t eat anything, although the food did smell really good! But, I did spend a couple hours looking at the projects in the Creative Activities Building. Lots of wonderful craftsmanship on display.


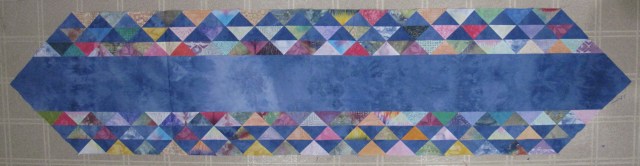
 my attention. That happened recently with some fabrics. The offer was for pack of 5″ charm square, 102 pieces in all. The colors looked so nice and the price was excellent. So, I purchased a set. I had no idea what I was going to make with them, and I certainly didn’t need any more fabric. But, they were just too pretty to pass up.

 strips, borders added and the quilting completed.
 t idea I tried was the “Twister”. This pattern also involved sewing the charm squares together alternating with a background fabric.