Our home, once filled with the busy-ness of four boys, is considerably quieter with only one son still living at home. And, this week he is on a field study trip with his school making our house even quieter.
Looking to the future, my husband and I have started thinking about moving in a few years. When that happens, we will leave behind a house that I have spent considerable time and effort into making a lovely place to live.
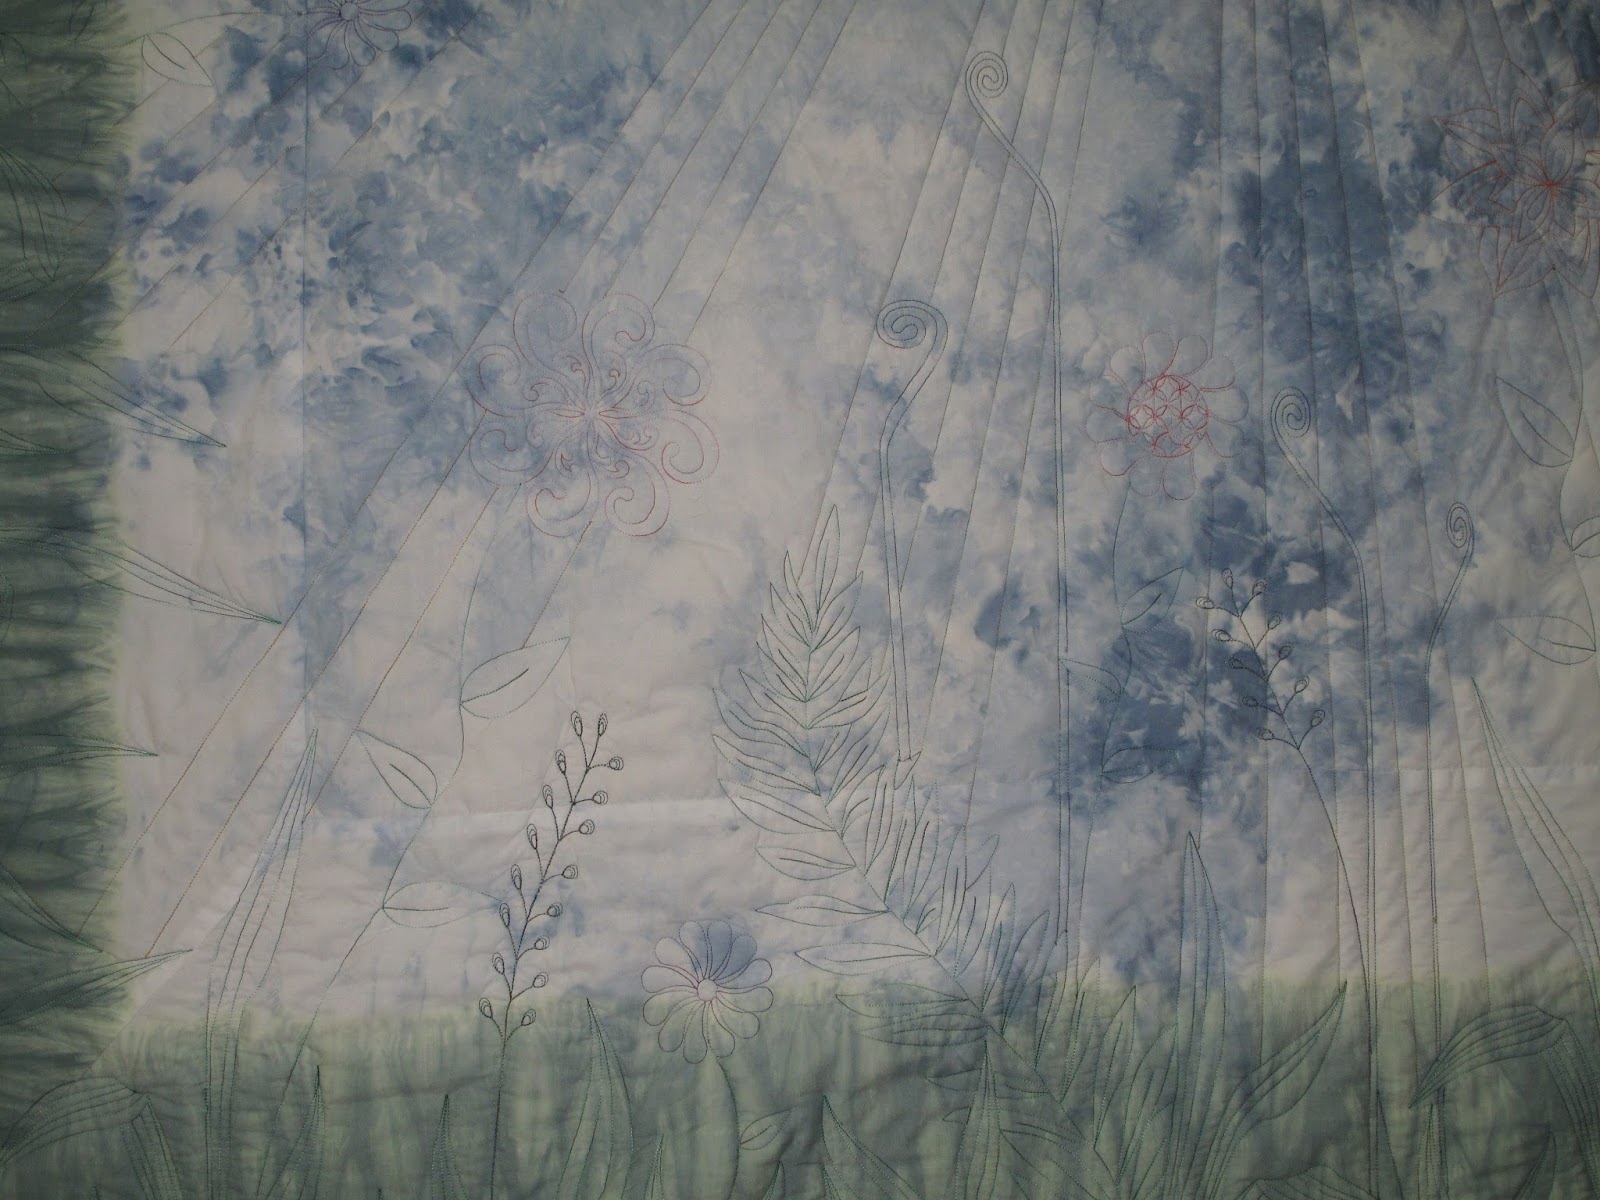
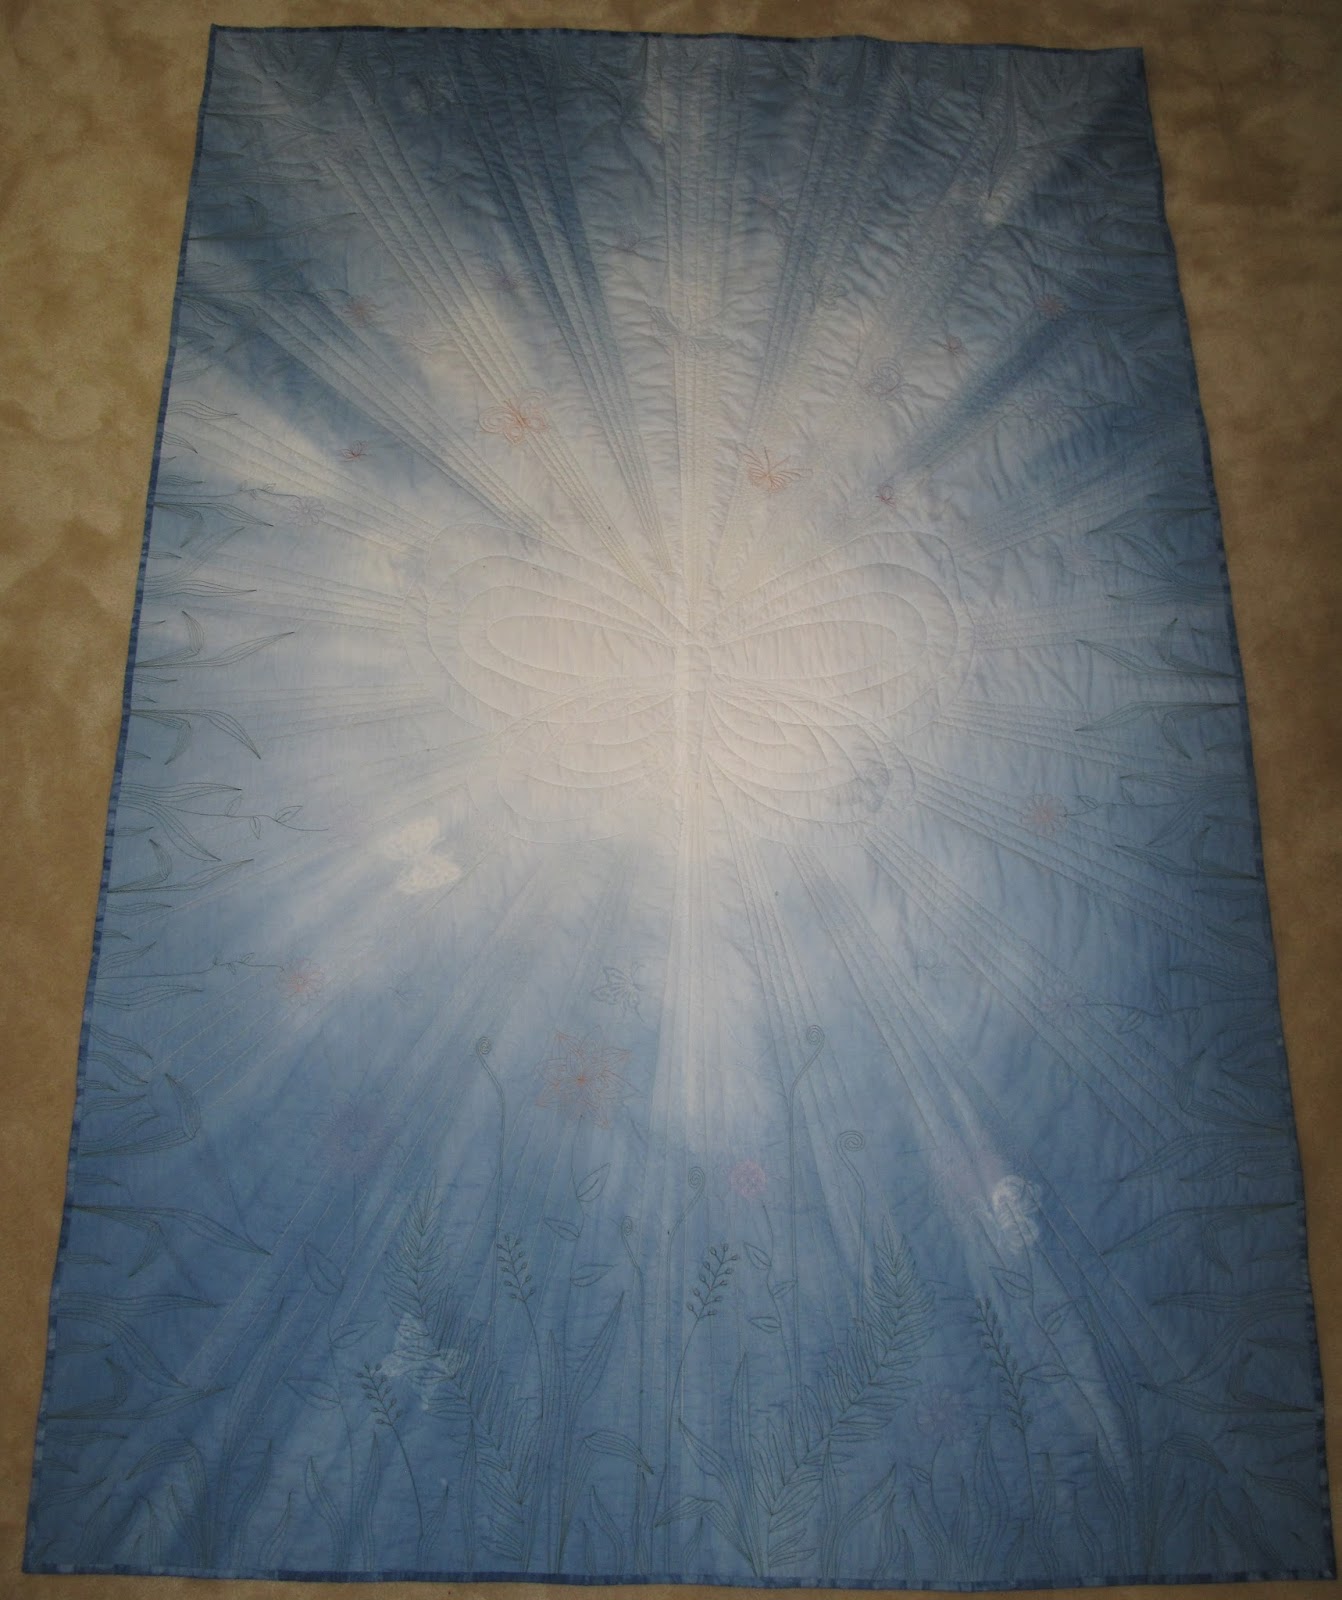
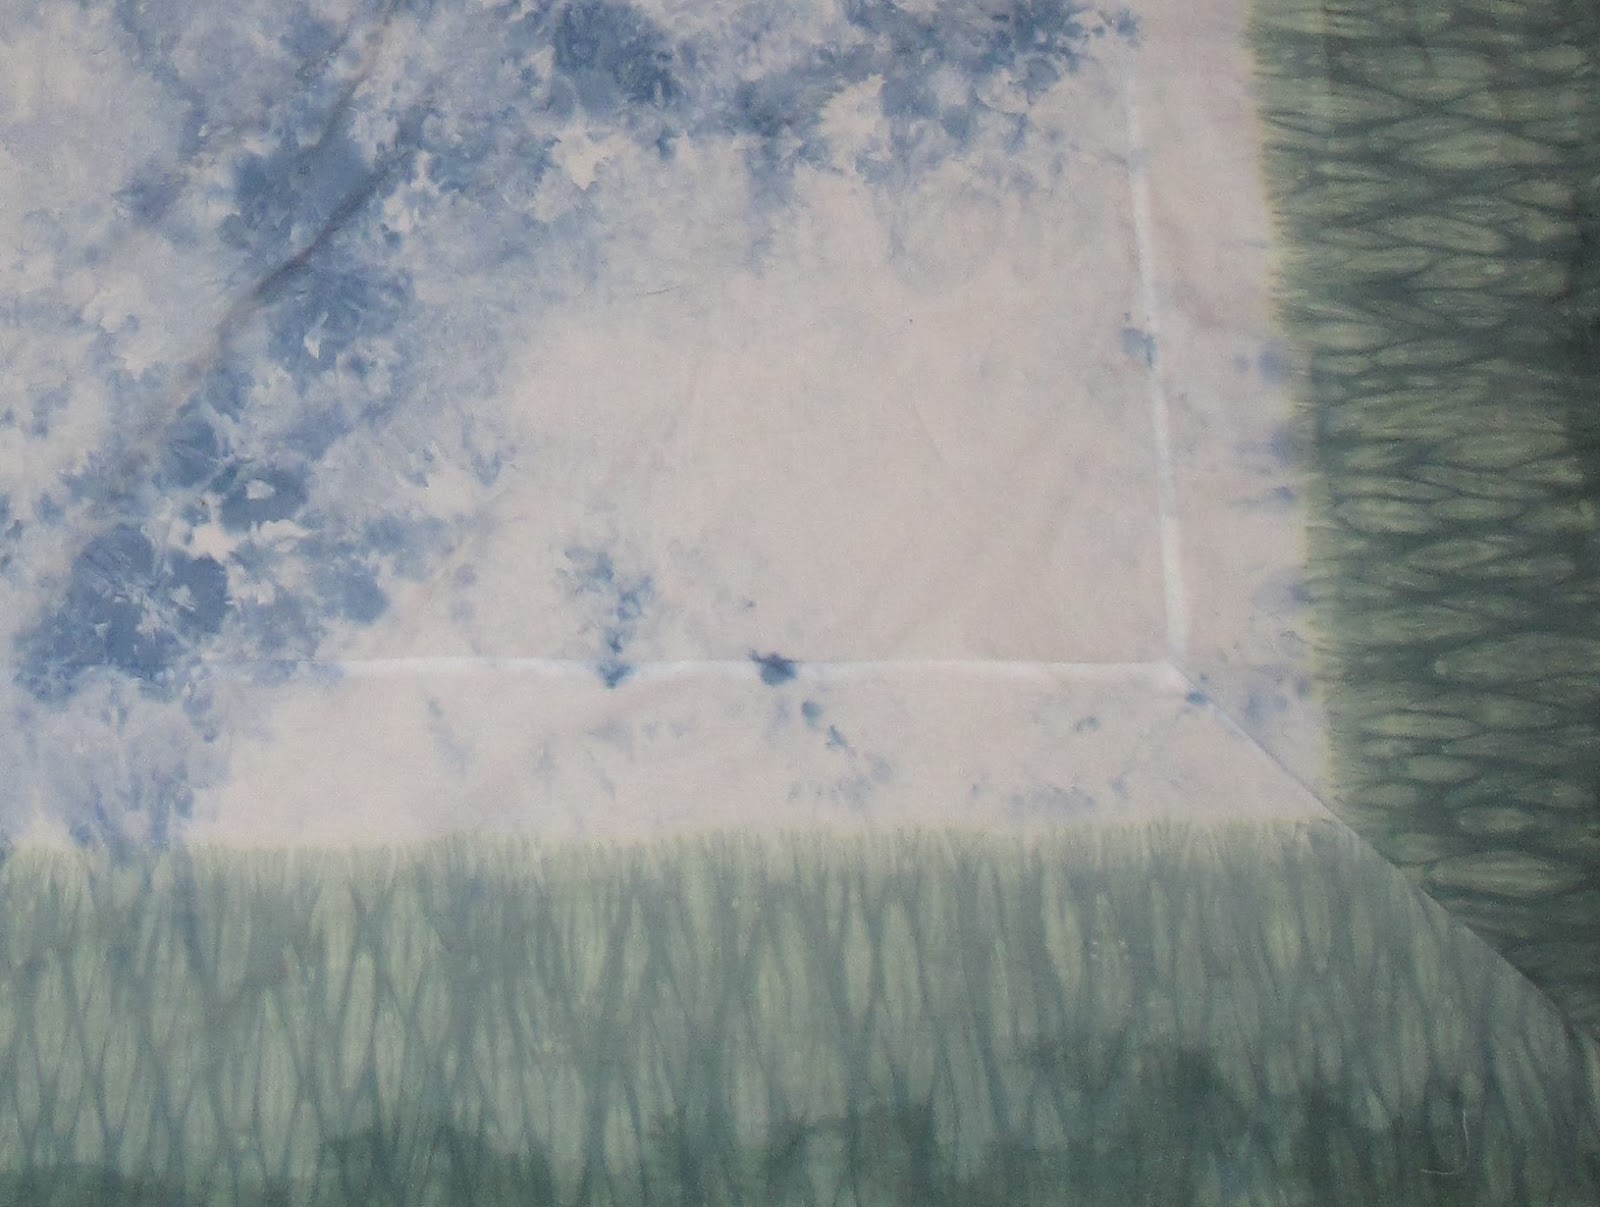
My backyard is especially enjoyable to me, with the trees and flowers and many places to sit and relax. To help remember this space, I decided to make a landscape quilt that shows my yard. I plan to call this quilt “Window on my World”. The idea is that the quilt will depict a view of my yard looking out of a window. Since all seasons and all times of the day are enjoyable, I plan to incorporate various times into the quilt.
The window will have four panes in it. Each pane will depict a different season in my backyard – Winter, Spring, Summer and Autumn. And, each pane will depict different times of day – Midnight, Sunrise, Midday and Sunset. So, starting from the farthest left pane and going right the landscape quilt will show the my yard:
- Midnight in Winter
- Sunrise in Spring
- Midday in Summer
- Sunset in Autumn
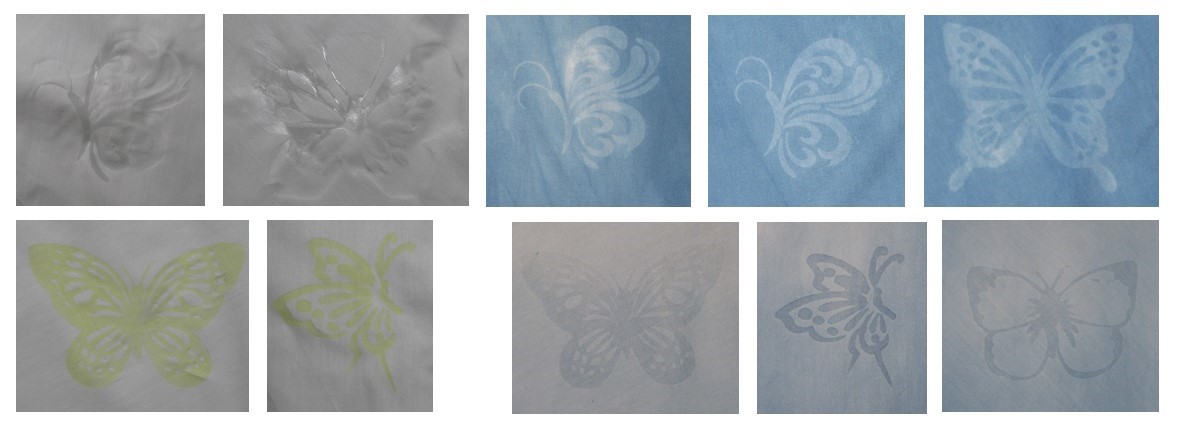
The first step in creating this quilt was to draw out my ideas on a few pieces of paper. I’m not very good at drawing, but these do show the idea fairly well.
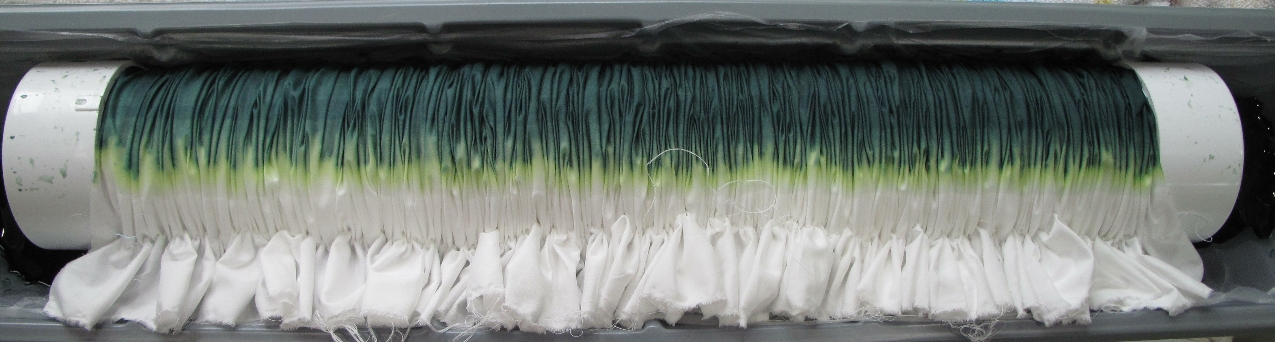
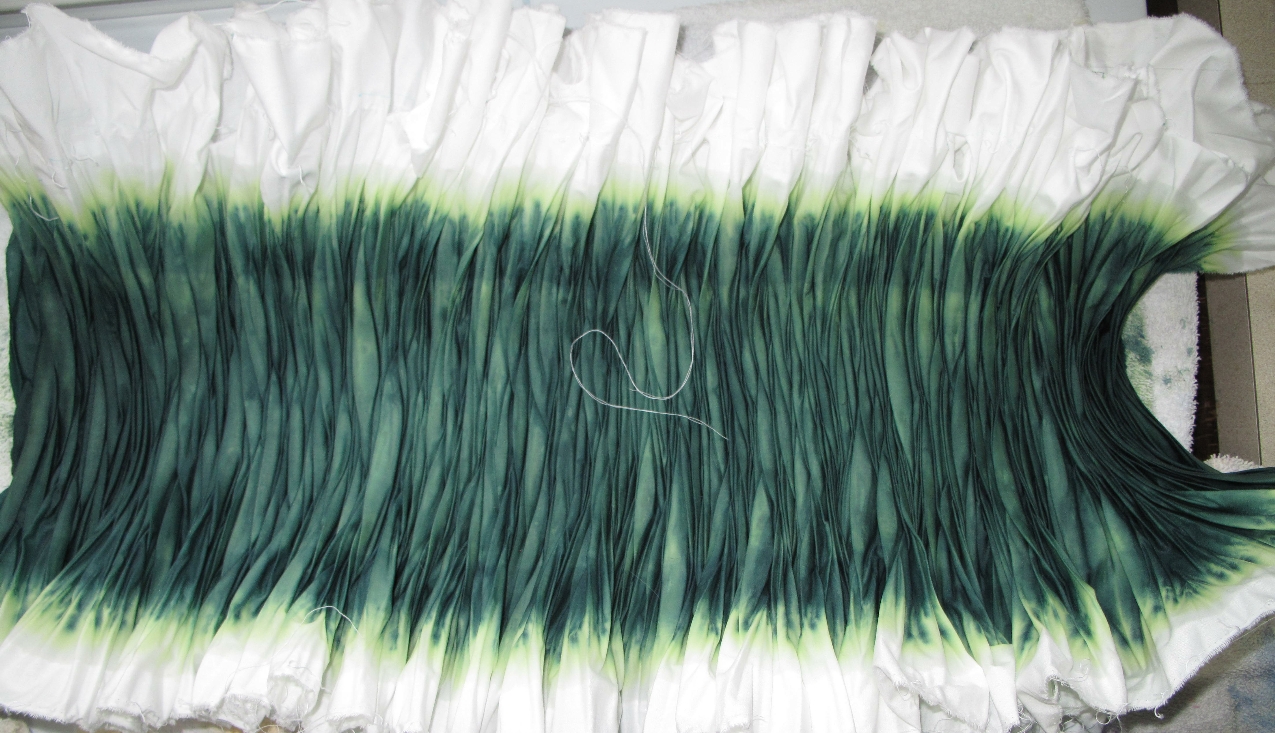
I now need to plan out the background. To make the quilt more visually interesting, I am playing around with different piecing ideas for each pane. That will be the topic of my next posting.