One of my original posts on this blog was about fabric dyeing (Sept 22, 2015). At that time, I mentioned that I had watched a Craftsy class about dyeing fabric. Before jumping in and buying numerous colors of dye and supplies, I decided to try a sample kit.
The purchased a gradation dyeing kit which was a smart decision. This kit gave me the opportunity to try my hand at mixing dyes to get different colors, as well as working with low volumes and how to best handle the fabrics.
The first color kit I purchased was “STONES & SHELLS”. 
Colors included were: Camel 5181, Old Rose 5220 & Stormy Grey 6160
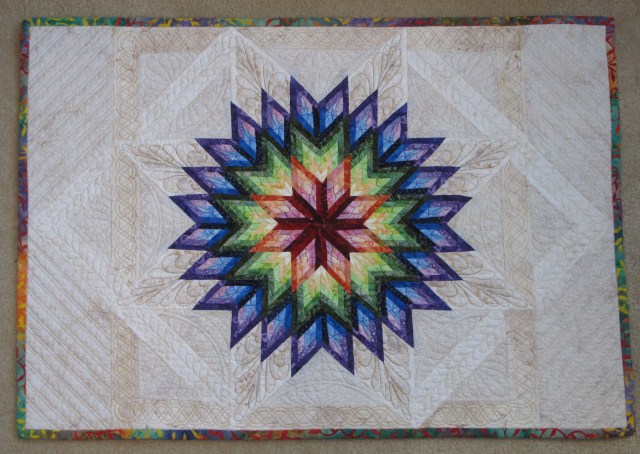
Following the directions, I created thirty fat eights in a gradation of earth tones. While the samples were fun to make, I had no idea what to use them for. So, these pieces of fabric have been sitting on my shelf waiting for some inspiration. Earlier this year when I was doing some strip quilting, I decided that a strip quilt might be a good use of these fabric as well.
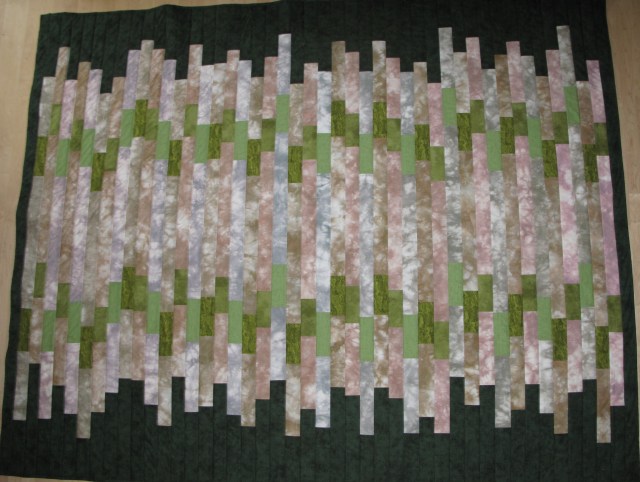
To add some pops of color, I dyed three fat quarters of cotton fabric using a variety of techniques – marbling, sun dyeing and batch dyeing. For the sides and the backing, I dyed a three yard piece of 108″ wide cotton with a evergreen dye.
The gradation fabrics were cut into 2.5″ x 20″ strips. These were then sorted by color and then The green pops of color were cut into 2 1/2″ x 5 1/2″ pieces. The strips were then sewn together with dark green on each side. After sorting the gradation fabrics, I split them into three groups and pieced starting with the first color of each group. This allowed for the fabrics to be distinct rather than blending from one gradient to the next.
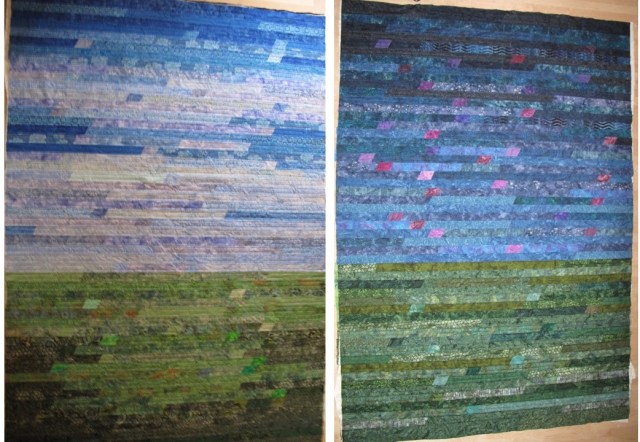
The quilt top was then put together using my long-arm machine just like a did with the black strip quilt earlier this year (May 8, 2019).
Another fun quilt to donate. And, more fabric used from my stash!
 Like most quilter, I have lots of fabric in my craft room. But, unlike other quilters, I try to keep the amount as low as possible. I no longer purchase fabric “just because see it and like it”. I have to have a specific project that I plan to use it in before I will purchase any fabric. Over the past few years, I have also received fabric from my sister, my mother and some of my friends. So, I really do not need to add to my stash.


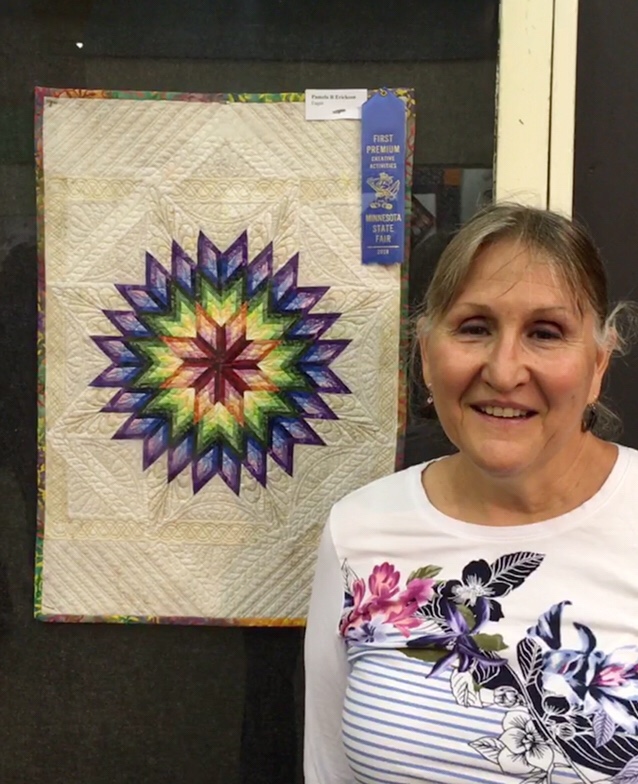
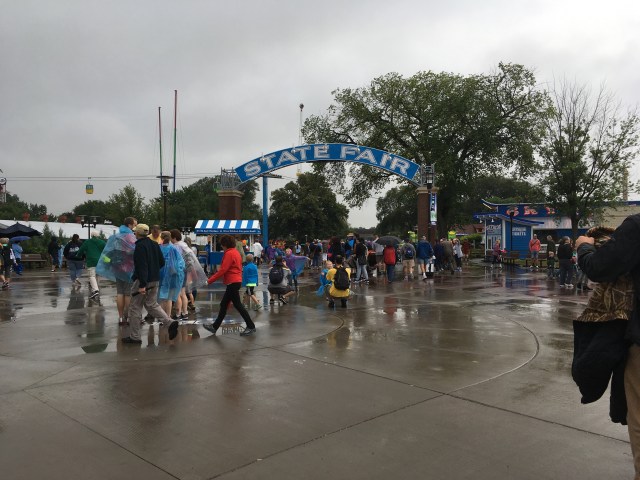 The Minnesota State Fair is currently taking place. If you are not from MN, you may not realize how big our state fair is. While MN only ranks 12th in size and 21st in population, it ranks second in state fair attendance, with over 2 million people attending each year. This is just behind Texas at 2.25 million visitors. However, Texas is second in land mass, second in population, and their state fair runs for 24 days (twice the length of the MN fair). Thus, I would say that the Minnesota State Fair outranks even Texas.