Butterfly Art Quilt

As a pediatric dentist, I see lots of kids with interesting clothing selections.  Some have mismatched colors, some have their shirts on backwards (or their shoes), but some are absolutely adorable.  Last winter, one of my younger patients (she was a little over 3 years old) came in with a t-shirt on that had a large butterfly printed on it.
Now, I love butterflies – with their beautiful colors and graceful wings. This little girl was fearful of having me check her teeth, so I tried to help her relax by talking to her about her t-shirt.  Turned out that she liked butterflies too and gladly started showing me her t-shirt.  On closer inspection, this large butterfly was actually made up of smaller butterflies and was really cute.  After a successful dental checkup, she left cavity free and happy!
Since it was a busy day, I didn’t think more about the patient until my lunch break when my staff commented that they were happy she overcame her fears and was able to complete an exam and cleaning. One of my staff commented that the conversation about the butterflies may have been what helped her to relax. This conversation sparked an idea in my mind – to make a quilt with a butterfly made out of little butterflies.

http://www.missoulabutterflyhouse.org/store/

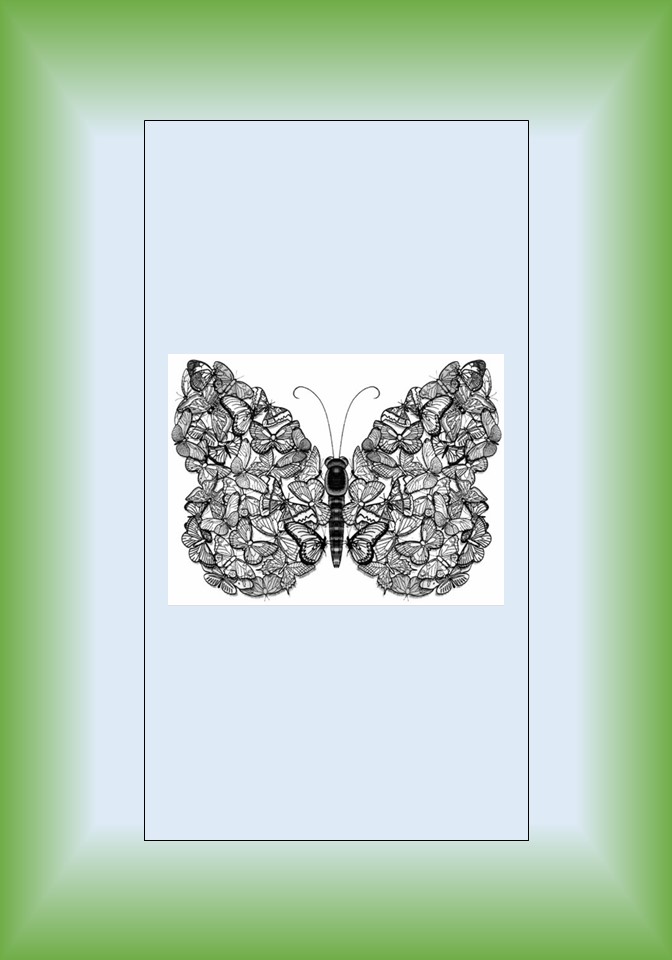
An on-line image search was unsuccessful in finding a picture of the t-shirt that matched what I remembered seeing earlier that day. I did, however, find a link to the Missoula Insectarium. In their store, they sell a t-shirt with butterflies  that I thought might be a good inspiration for my quilt.

Using a graphics program, I did a quick design to see how the idea might look. This, I thought, was going to be a fun quilt to make.

Creating the applique butterflies:
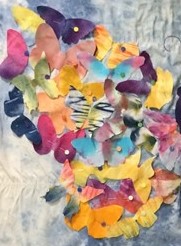
Using the graphics program, I cropped the butterfly image around each of individual butterflies.  In doing this, I found that several of the butterflies were about the same shape.  So, I actually only had 12 different butterflies to work with.  Using the Bernina DesignWorks software, I created a Cutwork and Applique file for each butterfly.

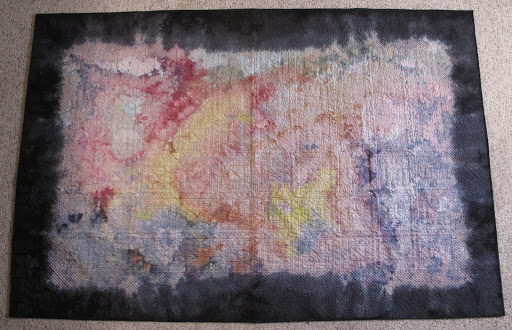
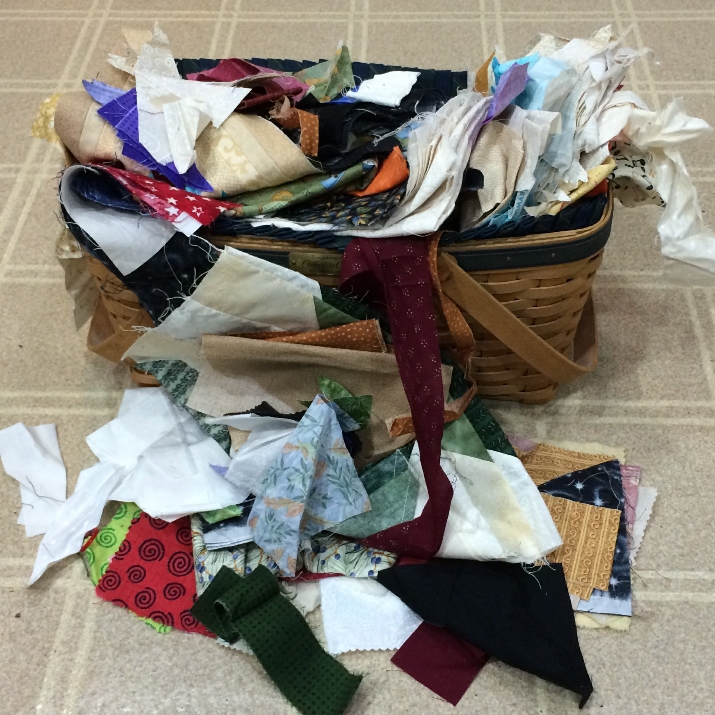
For my fabrics, I used the samples from my many trials of fabric dyeing – shibori, mandala, etc).  These fabrics had symmetrical colorings and patterns that worked well for butterfly wings.

More on this project in my next posting…
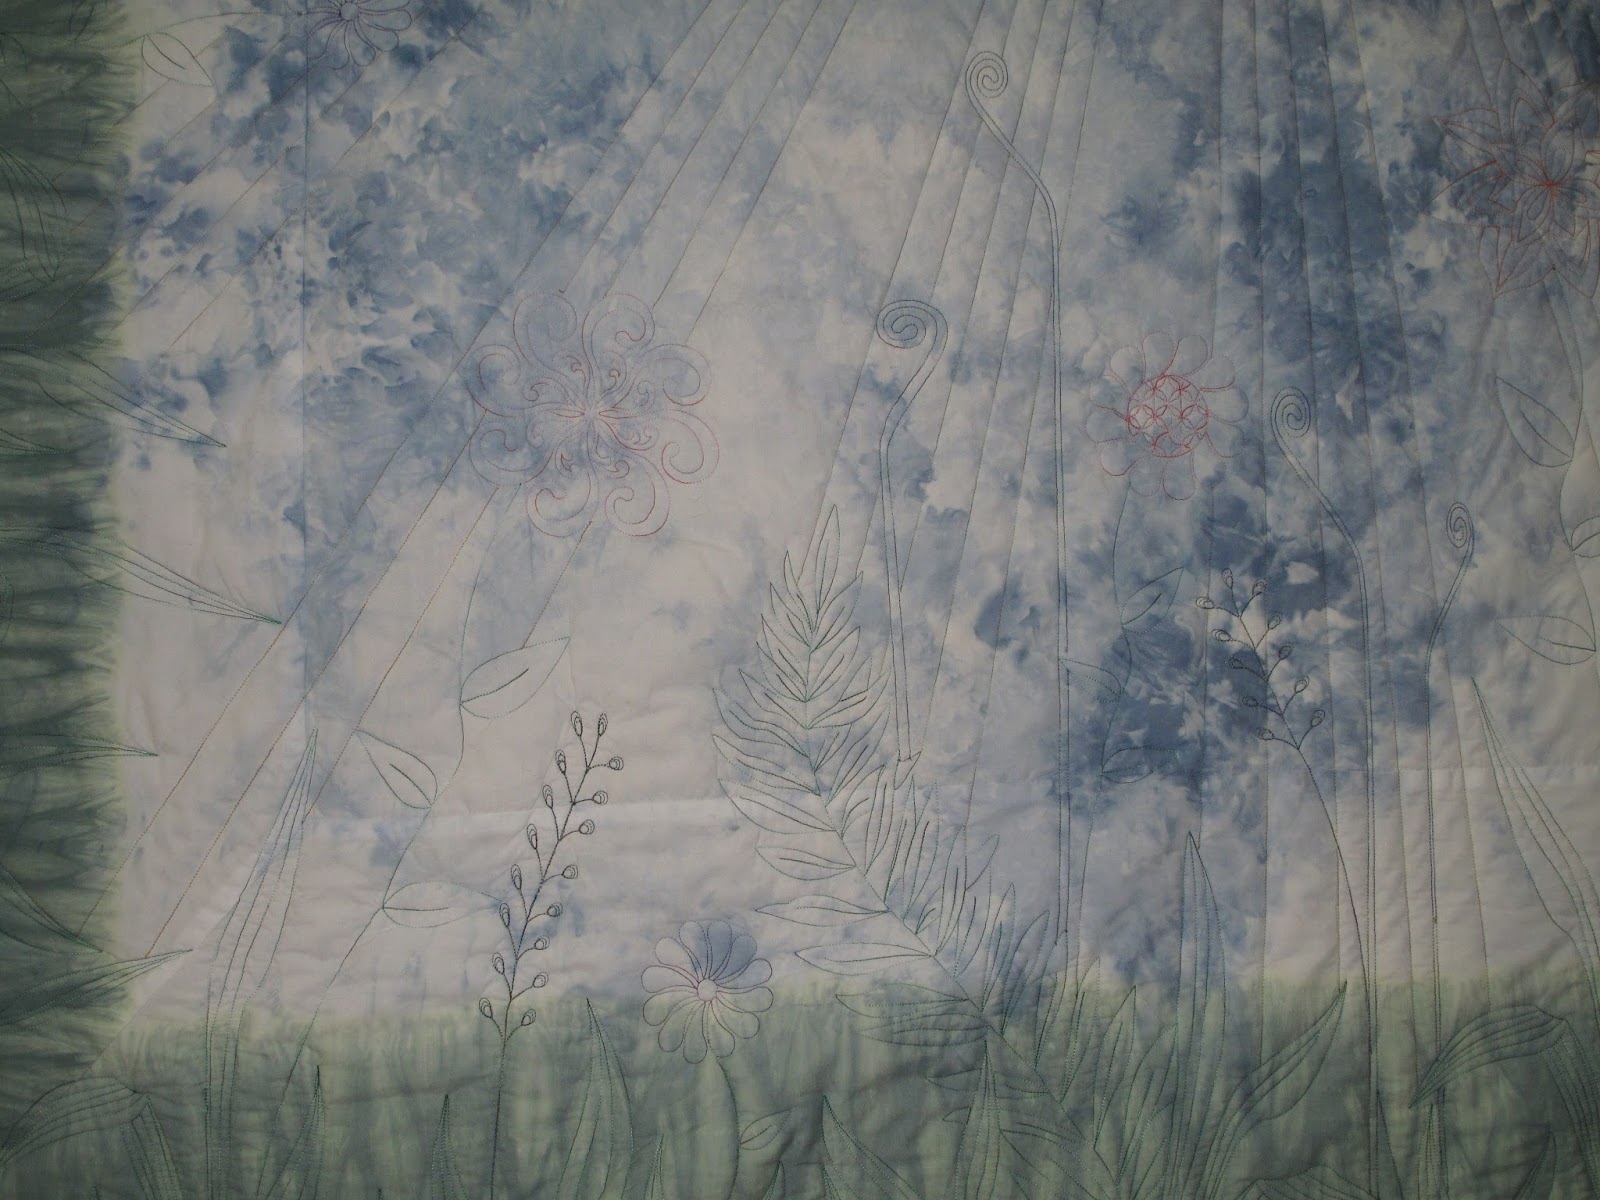
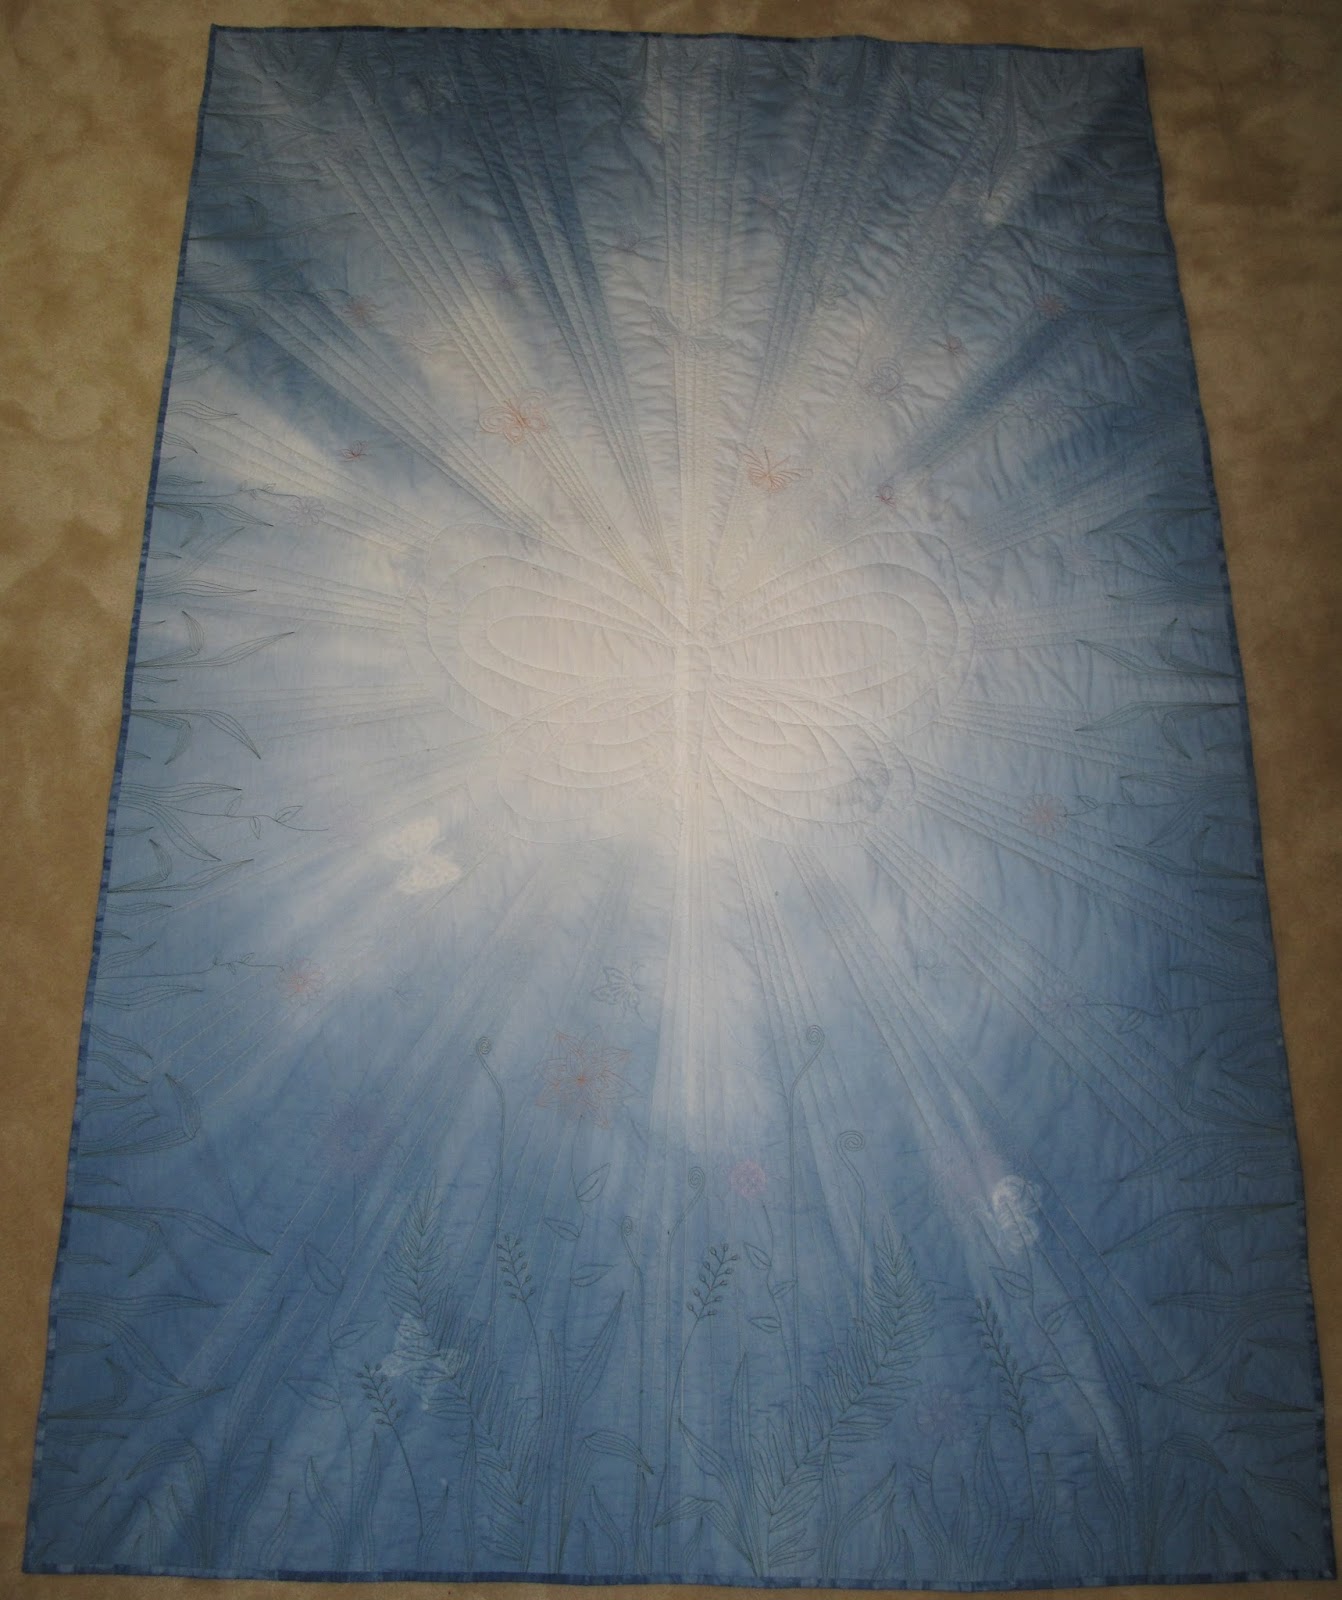
Mandala Dyeing

When I was first learning about fabric dyeing, I read about many different techniques.  One that I tried and really enjoyed was a technique known as snow dyeing.  And, living in Minnesota, we certainly have plenty of snow each year to play with!
After trying some small samples, my first major piece that I dyed was the backing to my dyed fabric quilt (see Sept 22, 2015 post for more information).  I wanted the back of the quilt to complement the pieced from quilt, so I snow dyed with my six main dyes.  I then folded the fabric in a manner that brought all of the borders together and over-dyed the edges with black dye. The result was very nice and looks much better in person than in this photo.

Now that there is a fair amount of snow outside, I decided to take my snow dyeing one step farther – Mandalas.  Looking around any craft store or art supply store, you will see adult coloring books.  Many of these have mandalas for coloring.

The word “mandala” is from the classical Indian language of Sanskrit.  Loosely translated to mean “circle”.  However, a mandala is far from the simple shape we think of as a circle.  It is a complex structure with overlapping lines of shape and color.
Unable to find specific instructions for snow dyeing mandalas, I decided that some experimentation would be necessary.

My first attempt:

  • Combed cotton fabric 22″ x 22″, soaked in warmed soda ash solution for 30 minutes. 
  • Remove the fabric from the solution and squeeze the excess liquid from the fabric.  
  • Hang to dry for 24 hours.
  • Iron the folds into the fabric.
    Unfolded fabric to show the pleating created by the folds


Folded fabric


Bucket with two folded pieces of fabric
  • Place folded fabric in drain tray.  I used a drawer organizer with holes drilled in the bottom. The organizer was then set above a large storage bucket to collect the melting snow.
  • Cover the fabric with snow.  Make sure that there is no fabric visible.  I used about 8 cups of snow.  
  • Sprinkle a total of 1/2 teaspoon of Procian MX dye over the snow.  I used several colors hoping for some colors blending together.  
Fabric covered with snow and sprinkled with dye powder.
I forgot to take a photo right away.
The above photo was taken after three hours.
You can see that the snow had melted and the dye powder had blended a bit.
  • Place the lid over the bucket (mostly to keep the cat out of the dyes) and allow to sit at room temperature for 24 hours.
  • After 24 hours, rinse fabric in cold water.
  • Wash in hot water with blue Dawn soap.
  • Rinse, dry and iron.
Lessons learned:
  • too much white, I need to add more dye.  
So, I checked for any suggestions on-line. One site stated that the colors were more vibrant if the dye was mixed directly with the snow.  I will give that a try.

And, to save time, I realized that snow melting over fabric will make the fabric wet (I certainly didn’t need Sherlock to help me make that deduction). So, next sample I will use the fabric immediately after soaking in the soda ash solution.

I also wanted to see what happened if I used preprinted fabric.  I was hoping that this might be a nice way to make my own fabric, but still have a pattern printed on it.

So, another experiment to try.

My second attempt:

  • Printed white-on-white cotton fabric 18″ x 22″, soaked in warmed soda ash solution for 30 minutes. 
  • Remove the fabric from the solution and squeeze the excess liquid from the fabric.  
  • Place damp fabric on table and fold for desired dye pattern
  • Place in tray over bucket
  • Mix dye with snow.  I used Mixing Blue, Golden Yellow, Mixing Red.  1/4 teaspoon was mixed with 8 cups of snow and packed over the fabric.
  • Place lid over the bucket and allow to sit at room temperature.
  • After 24 hours, rinse fabric in cold water.
  • Wash in hot water with blue Dawn soap.
  • Rinse, dry and iron.
I did take a picture of the fabric before dyeing.
Unfortunately white on white does not show very well.
So, I’m not posting that picture. But, this is the dyed result. 
Lessons learned:
  • colors are brighter – but, I think just a bit more dye would be even better
  • printed fabric looks nice, but maybe not for mandalas since it tends to distract from the pattern created by the dyes.

Looking at more on-line ideas, I found a site that used rubber bands to bind the fabric to create more detail in the mandala.  And, another site that used the microwave the speed up the dyeing process. So, more experiments to try.

My third attempt:

  • Combed cotton fabric 22″ x 22″ folded and bound with rubber bands. 

  • Soak in soda ash solution for 30 minutes
  • Place in tray over bucket

  • Mix dye with snow and packed over the fabric.
  • Place lid over the bucket and allow to sit at room temperature.
  • After the snow had melted, approximately 6 hours, place the fabric in a plastic bag.
  • Microwave on High for 30 seconds, wait 2 minutes.  Repeat 4 times.
  • Rinse with cold water.
  • Wash in hot water with blue Dawn soap.
  • Rinse, dry and iron.

Lessons learned:
  • Rubber bands left uneven marks on the fabric.  I liked the folding better.
  • Microwaving the dyes caused the colors to be more muted.
I do love this technique, but I still need to perfect my “formulas”.

Scrap Quilts


I love fabrics and hate to waste even a small piece.  So when I make a quilt,  I keep my scraps – you never know when you may need a small piece of lime green fabric!  When I am working on a project, any small piece of fabric goes in a basket to save for future projects. Well, that basket is over flowing again.  

So, it’s time to think about doing another scrap quilt. An idea came to me while looking at commercial fabrics for cushions at my dental office. One of the fabrics was called “Bounce” and my staff thought it would be a nice quilt idea.  This quilt should be fun (think balls bouncing out of a ball pit), but it will be a while before I can work on it.  Until then, I thought I would post some pictures of previous scrap quilts I have made. 


A few years ago, my eldest son asked if I would make him a new quilt from some of my scraps.  He looked through the many ideas for quilts that I had designed using EQ7 but not sewn.  He selected one I called “Rainbow Stars” which was a variation of the Starry Path Block.  I sorted through my scraps and found that I had enough to complete the quilt.  All I needed to purchase was the black background fabric. The angles in this  quilt are not your typical quilting angles.  I found it easier to make the quilt using paper piecing. Luckily, EQ7 allows for printing templates for paper piecing.  

I changed the order of the colors and switched the corner blocks to brown.  But, the resulting quilt was remarkable similar to the design.


I enjoyed making this quilt so much, that I thought – what would it look like in lighter fabrics, Batik pastels, perhaps?  So, I went back to EQ7, changed the colors, liked what I saw and decided to make another. I didn’t have any pastel batiks in my stash, so, I purchased a jelly roll of pastel batiks. This proved useful. The points of the stars fit nicely in the 2.5″ strips.  

Again, this quilt looks very similar to the design.               


A trip to the Minnesota State Fair showed the quilt sporting a lovely blue ribbon!

With a bit of extra fabric, I decided to make some accessories.  
-a doll quilt
-a pillow sham in grey and white
– a decorative pillow

After requests from friends for directions for making this quilt, I decided to type up a pattern.  If you are interested in the pattern, go to PatternSpot to purchase.