Keeping my craft supplies organized is important to my creativity. And, when I can’t find something to help me store supplies, it can be rather frustrating. While this necessity is not major (in the grand scheme of life) it has lead me to put my 3D printer to use and create some custom storage options for myself.
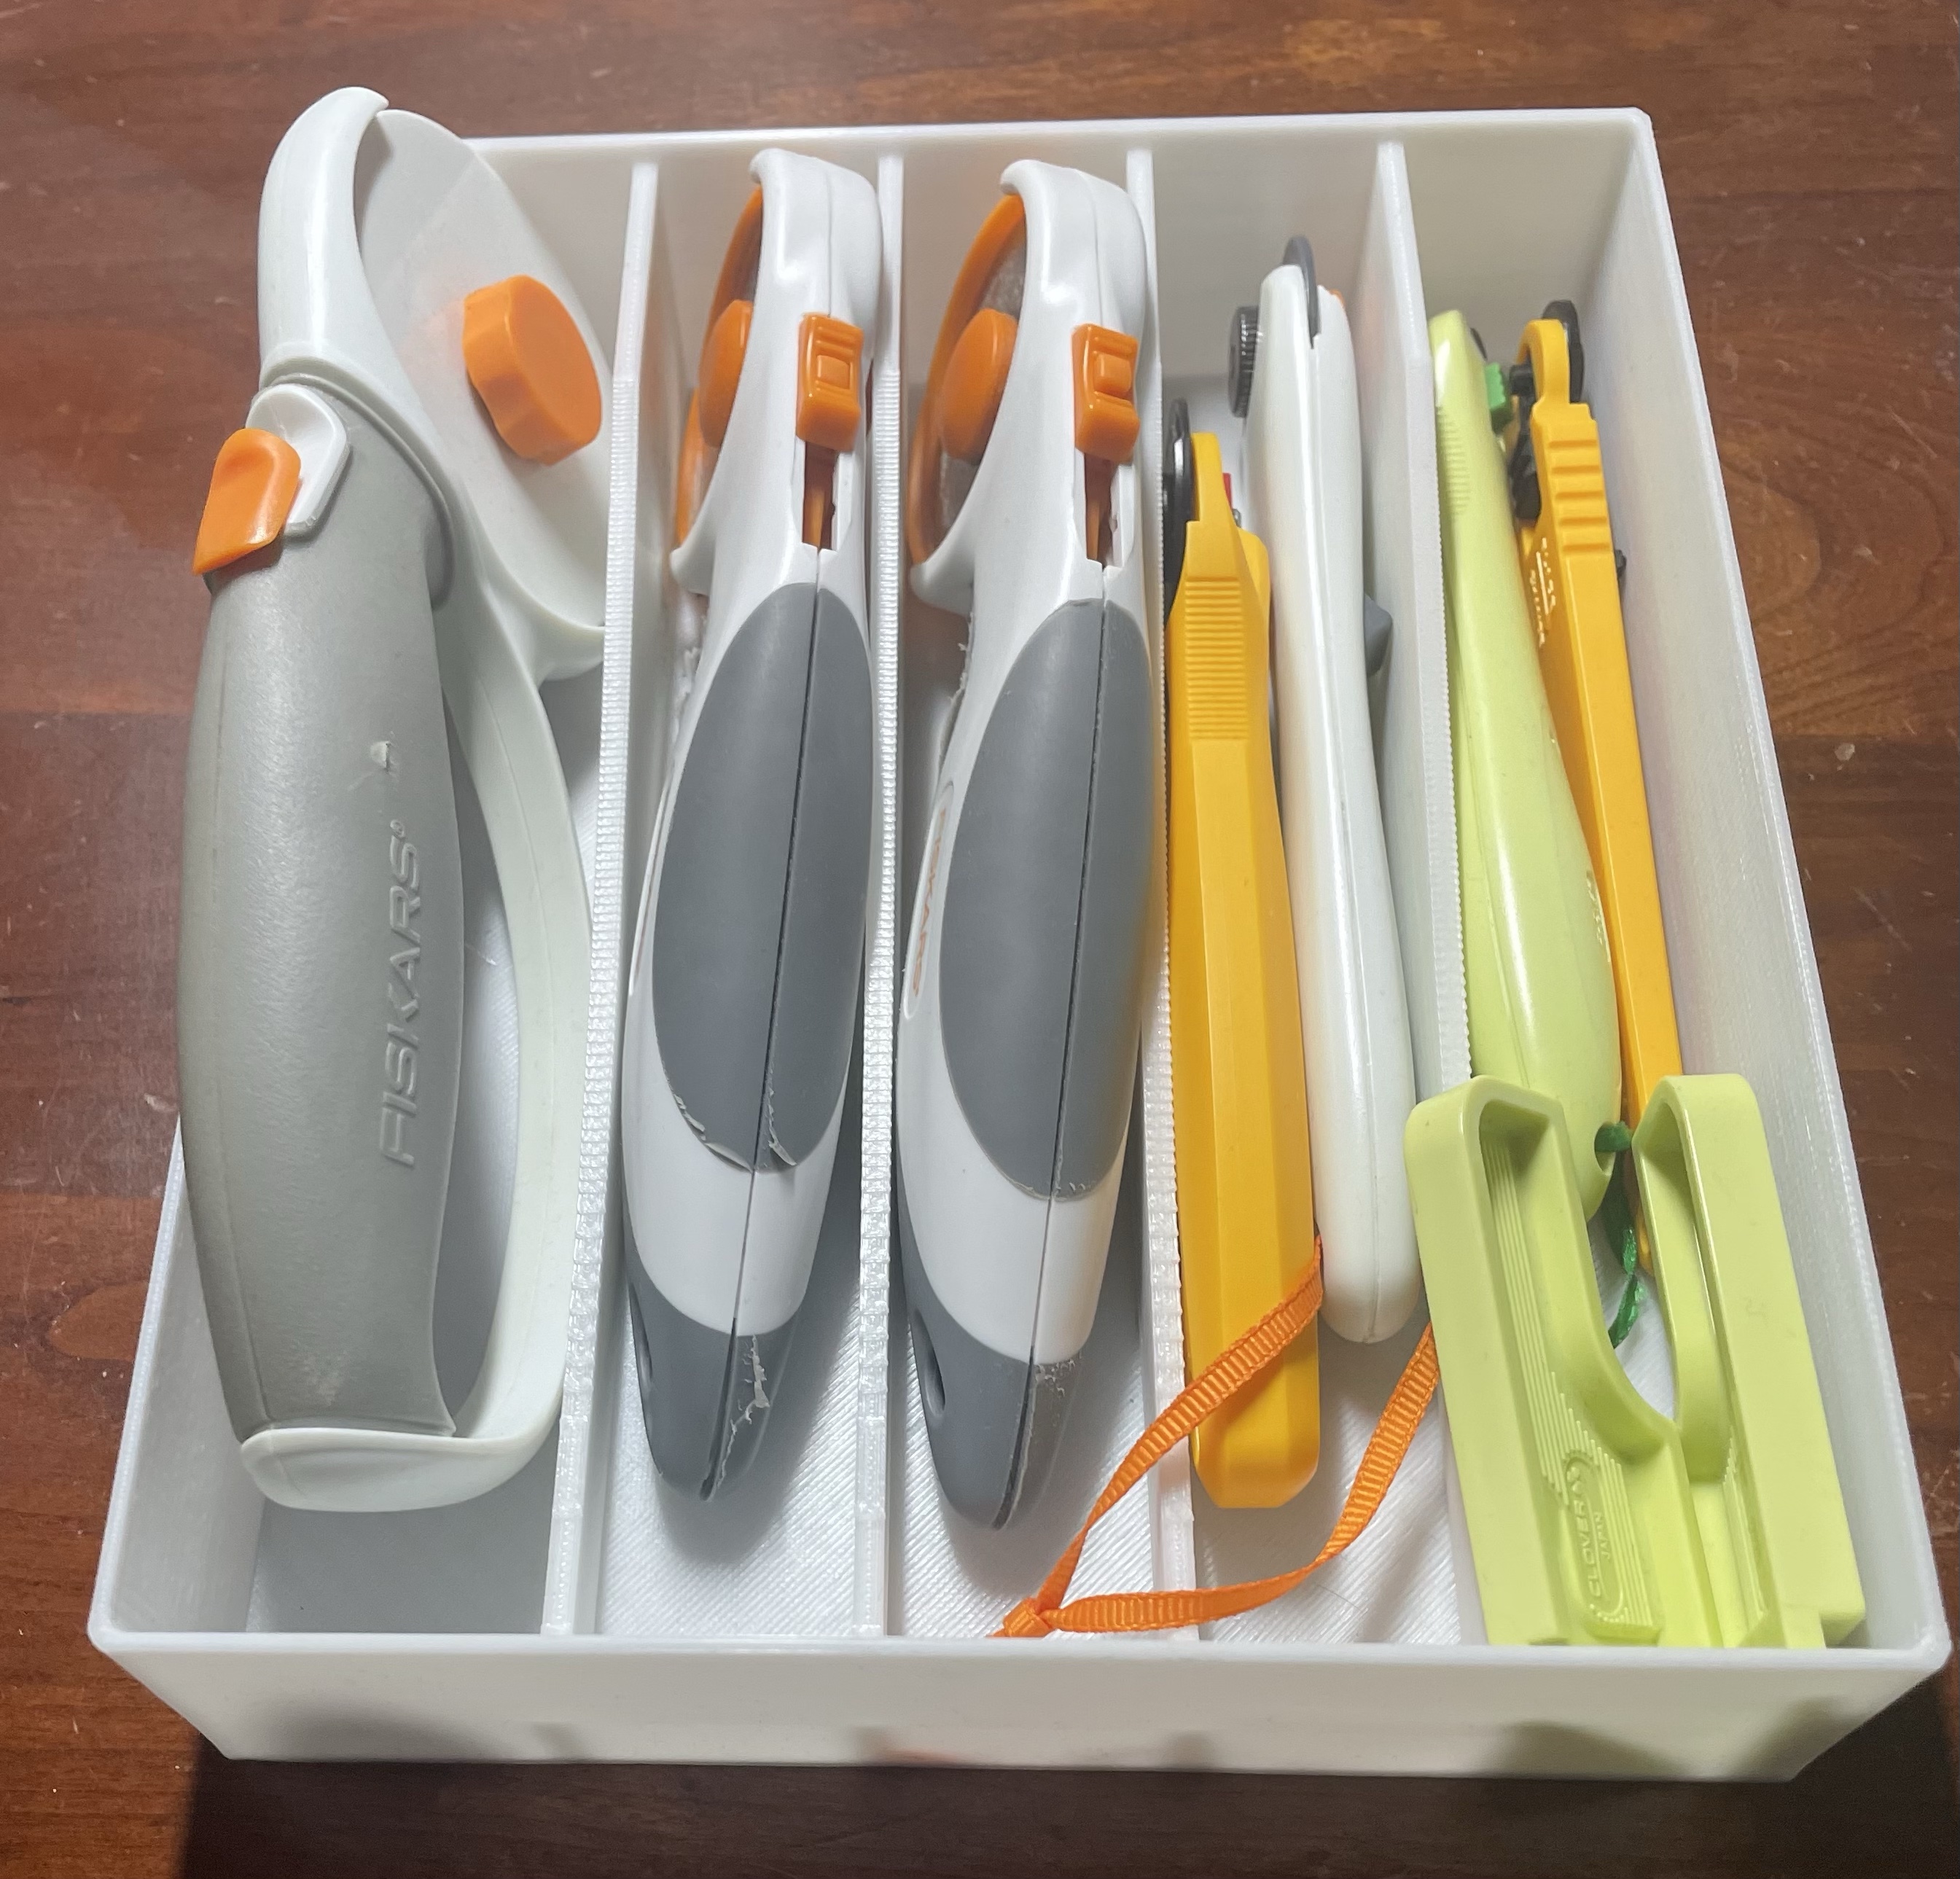
Rotary Cutter Storage Box. Originally these cutters were hung on the side of my desk with Command hooks, but would often fall off. I designed a box that holds all of my cutters and fits on the keyboard drawer of my sewing desk. Handy and Convenient.

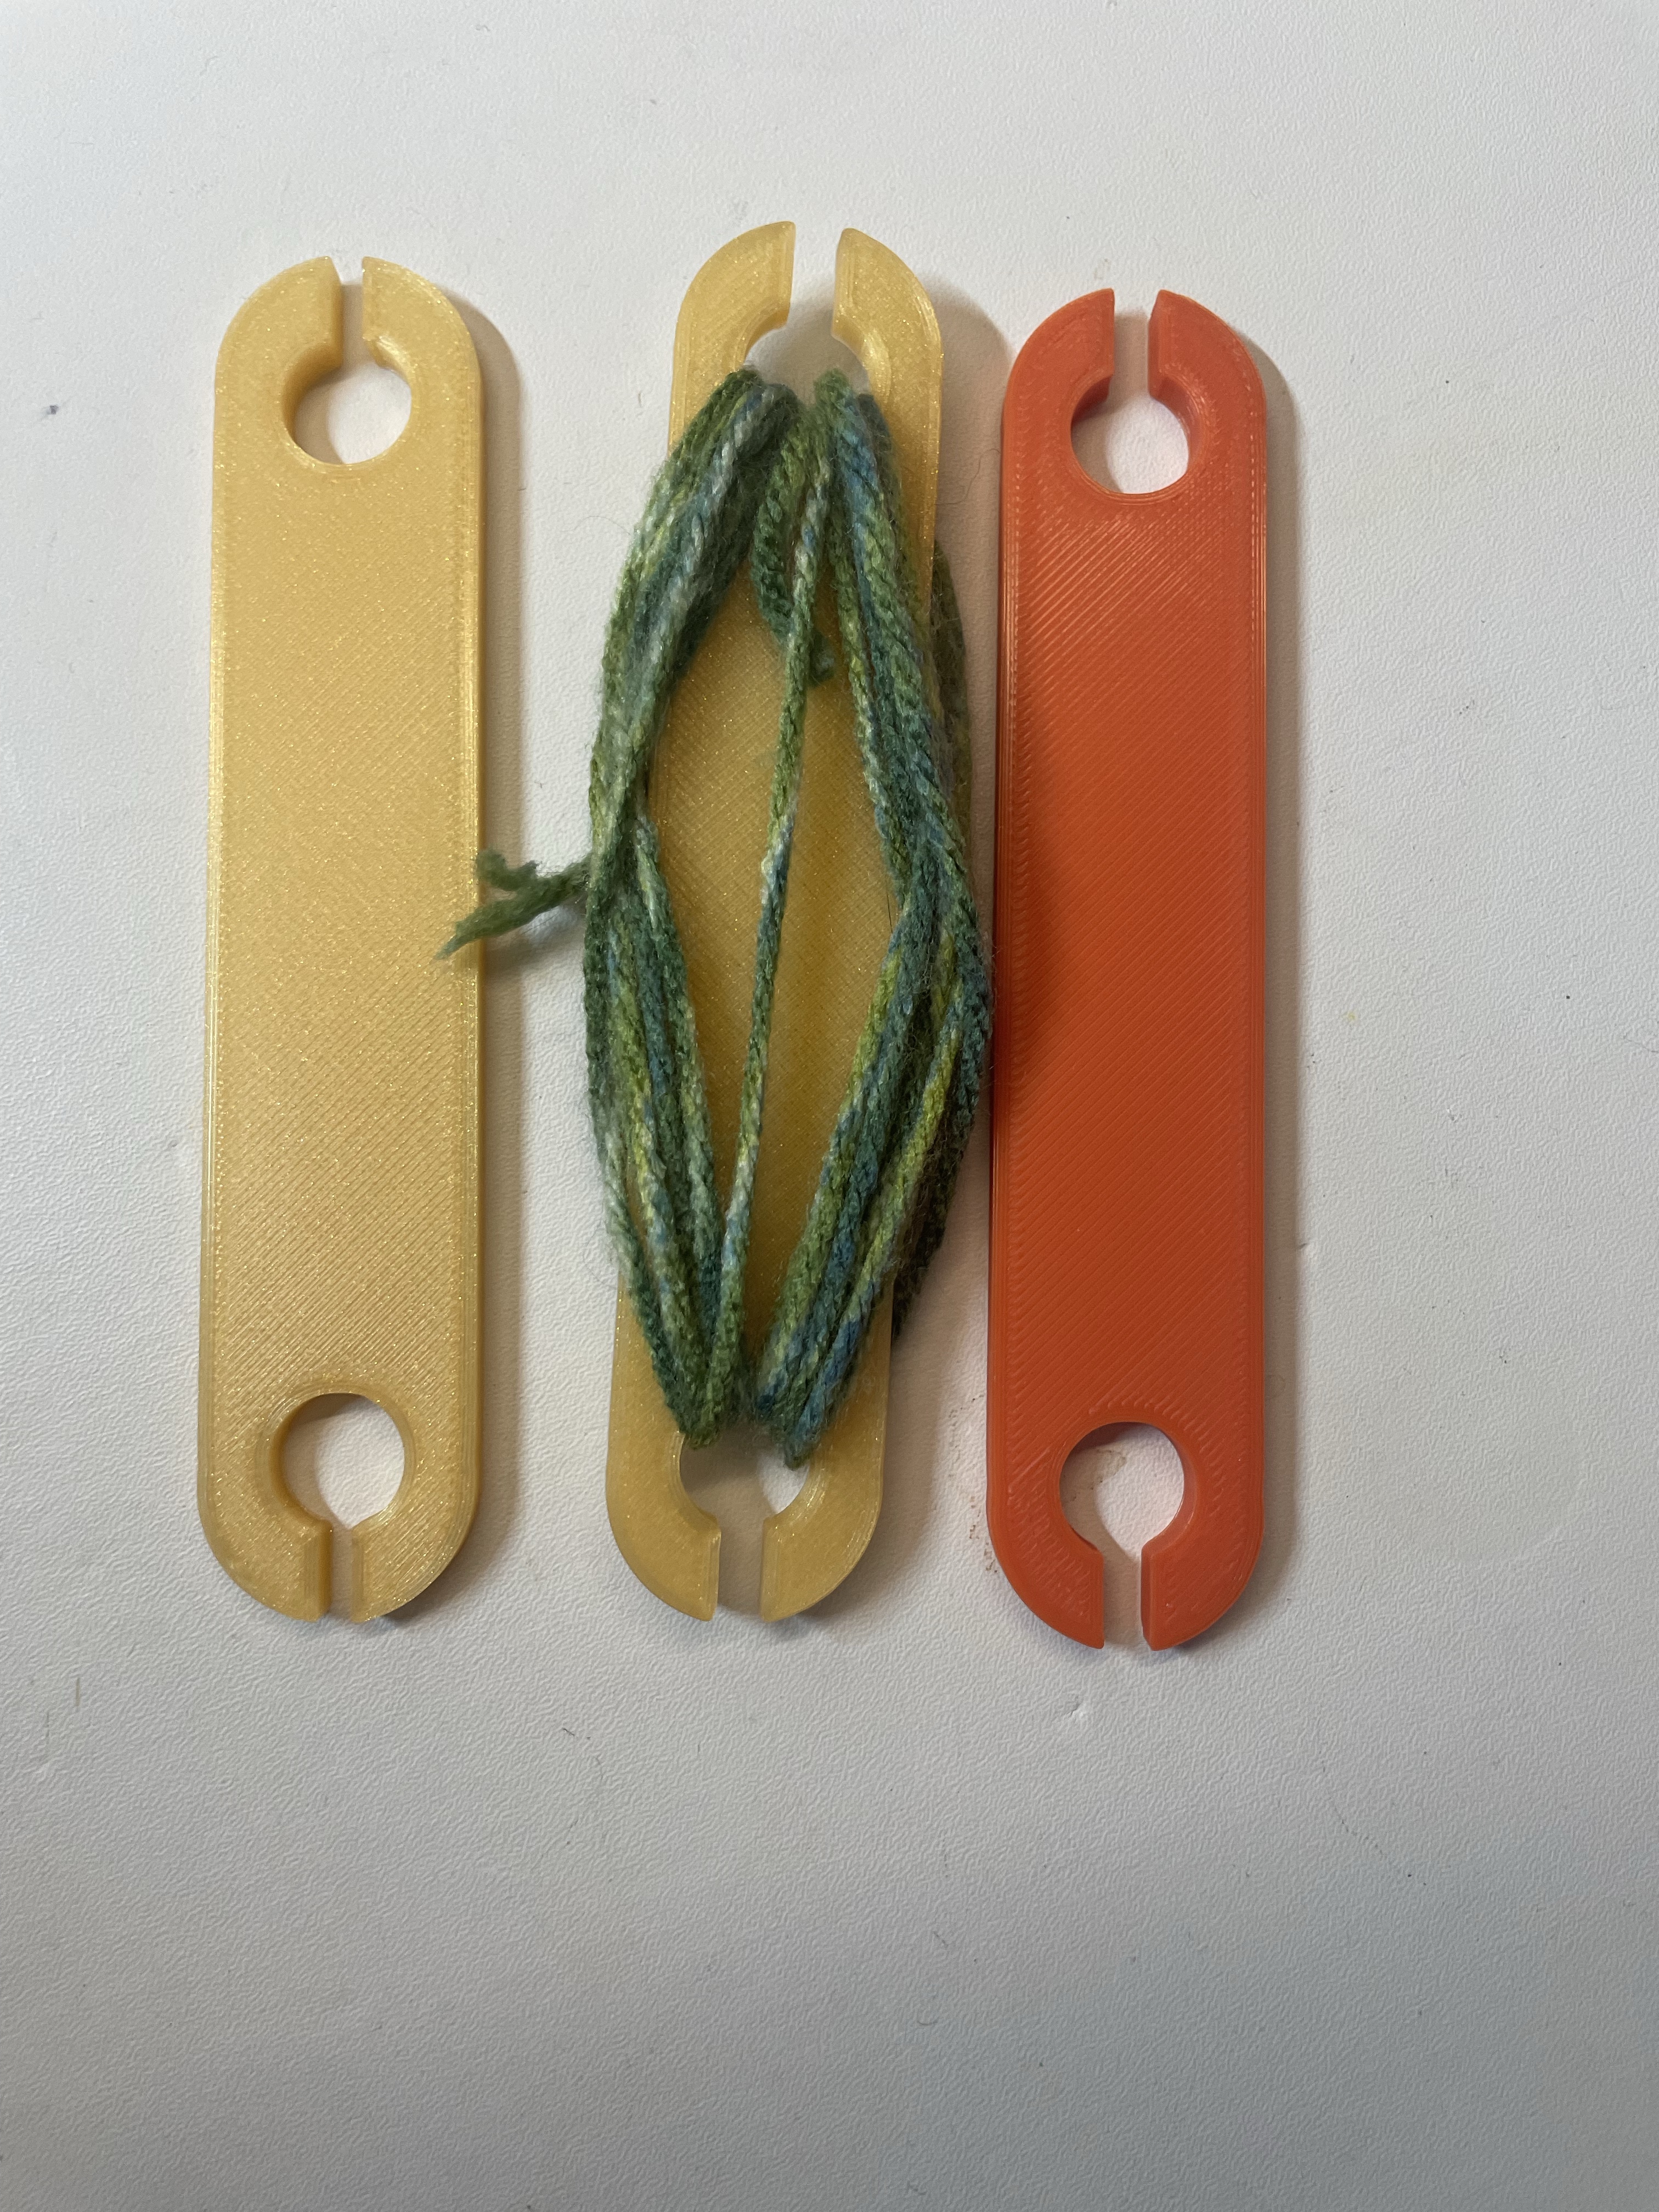
Loom Supplies. A shuttle is used to hold the weft yarn when weaving so that the weaver can pass the yarn from side to side. A weaving design with multiple yarn colors requires numerous shuttles or to change the yarn that is on the shuttle whenever the color changes. Most of the weaving that I do is scarves that I donate with knit or crocheted hats. Having only two short shuttles, I was having to rewrap my weft yarn often. Rather than spending money to buy more shuttles, I opted to design one to 3D print. Inexpensive and handy. However, I went one step farther and designed a hanging basket for the side of my loom to place the shuttles in when a am weaving.

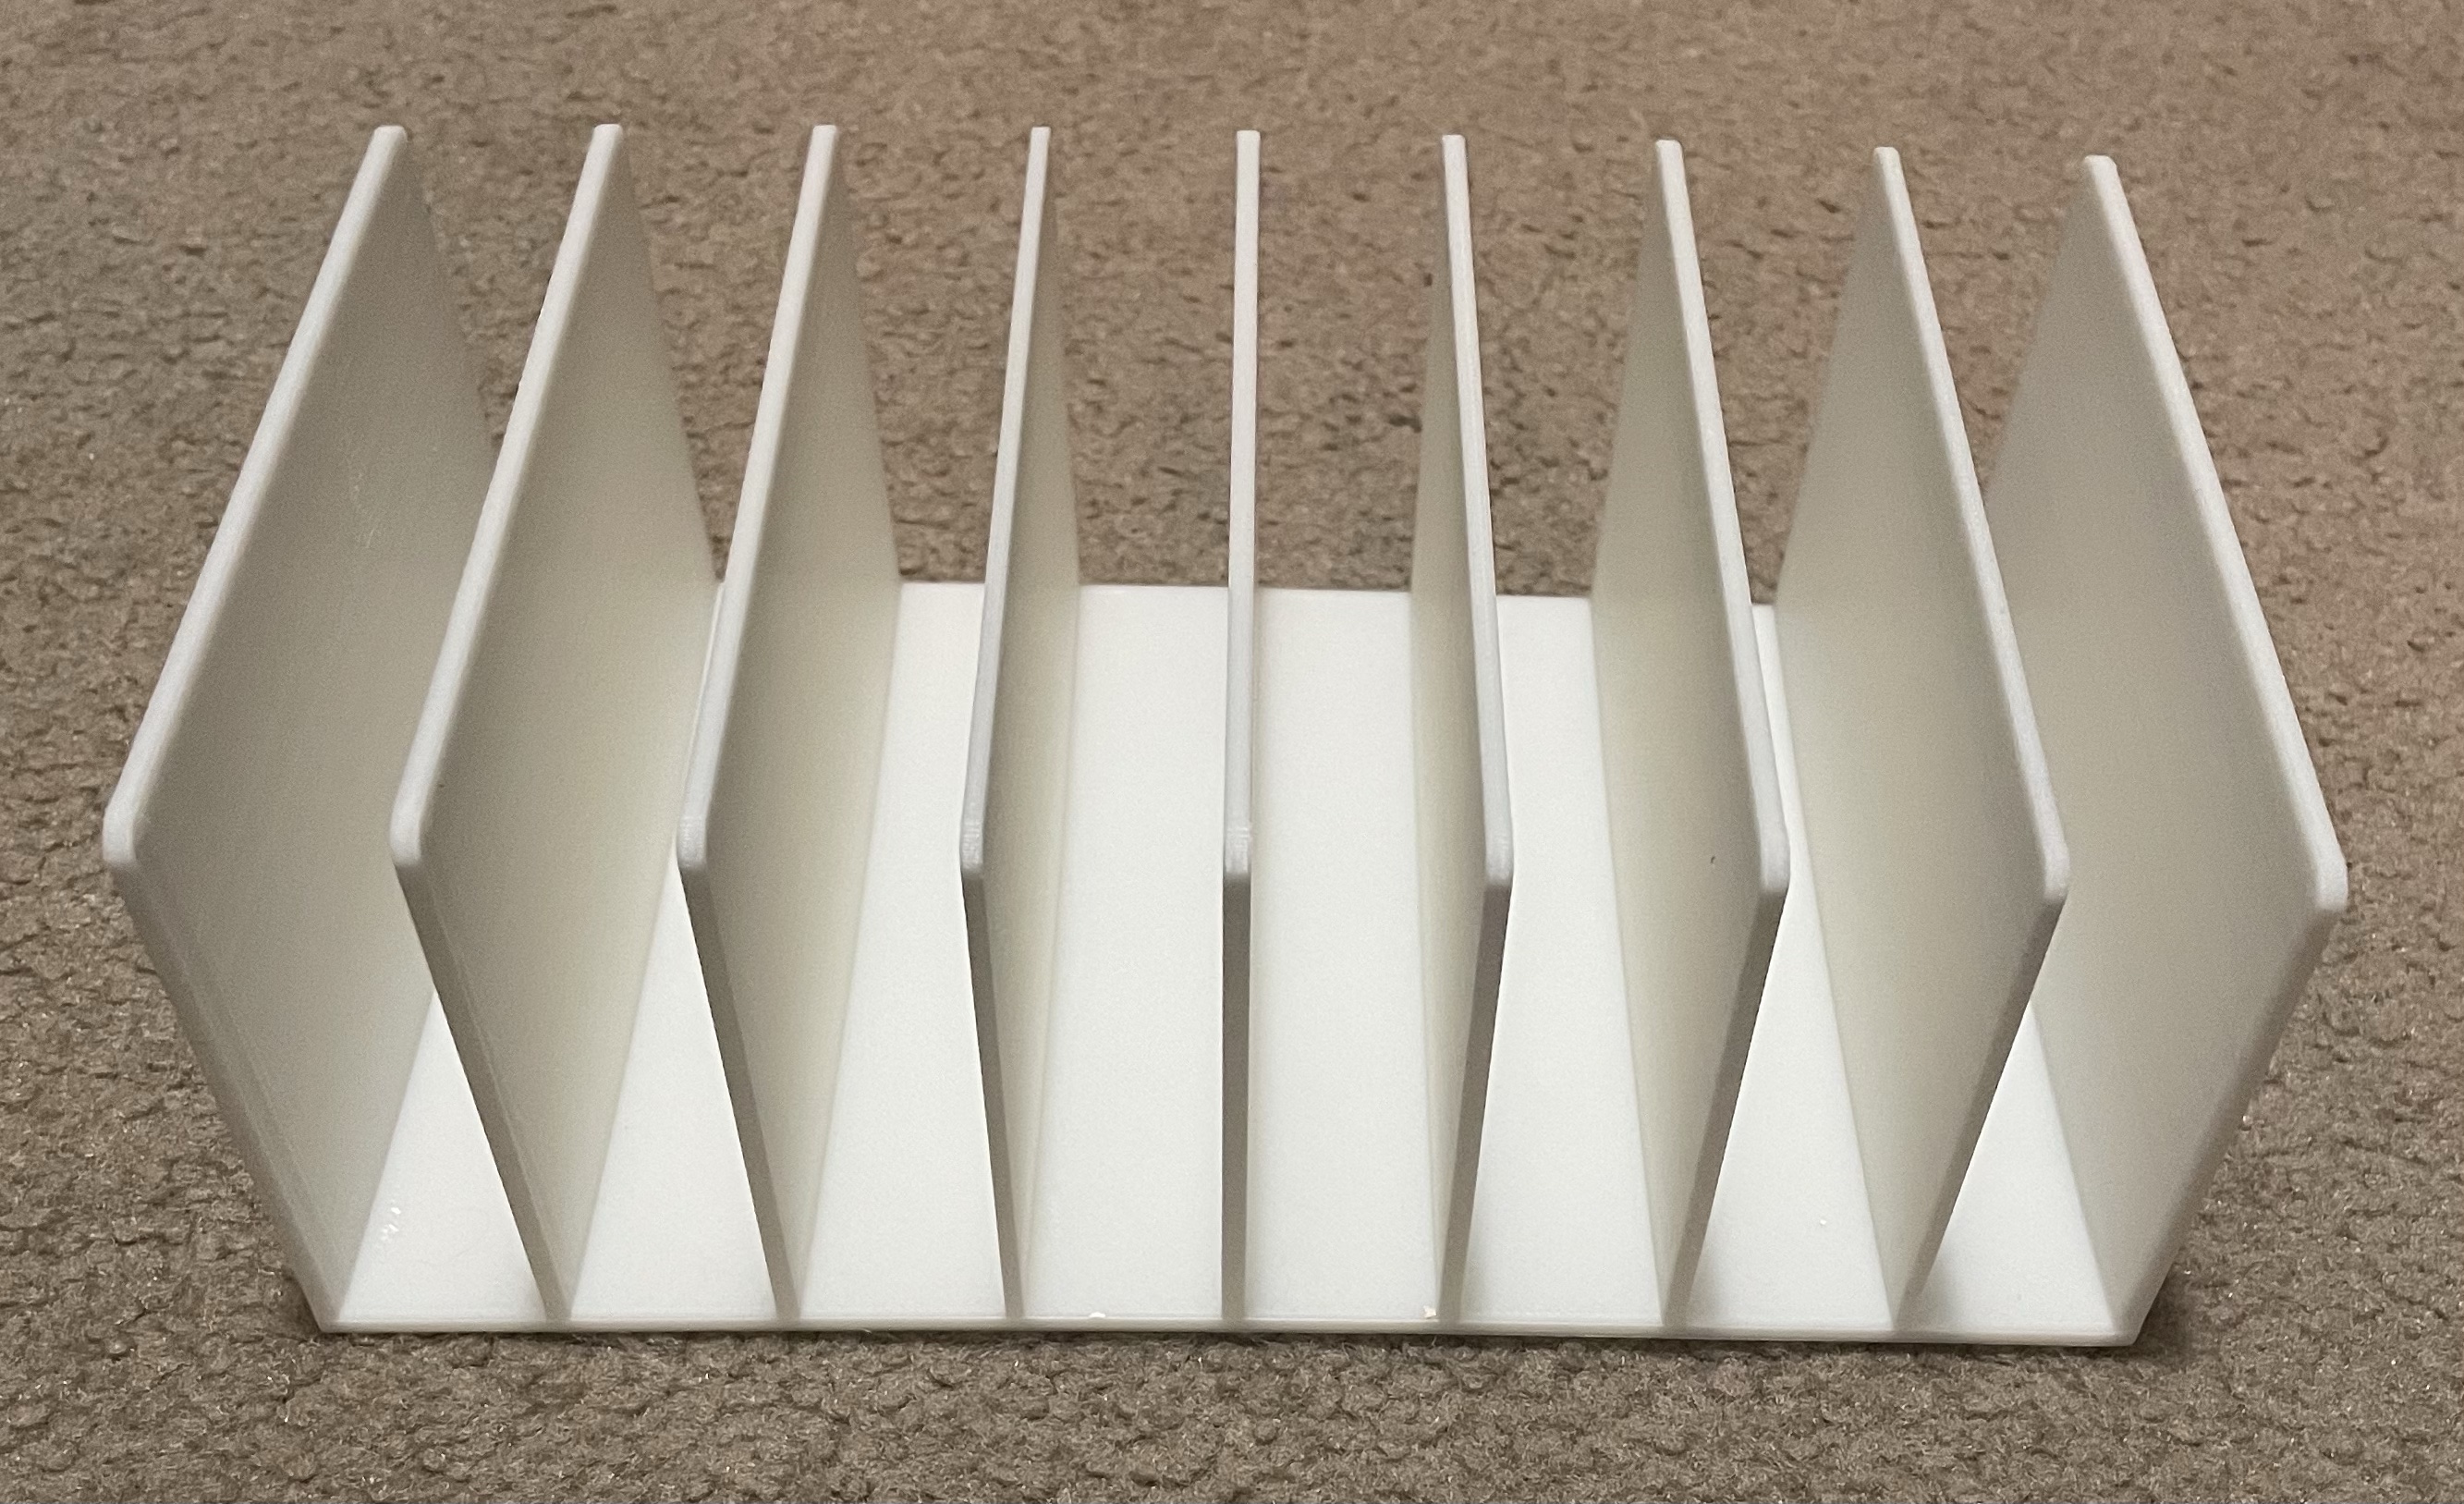
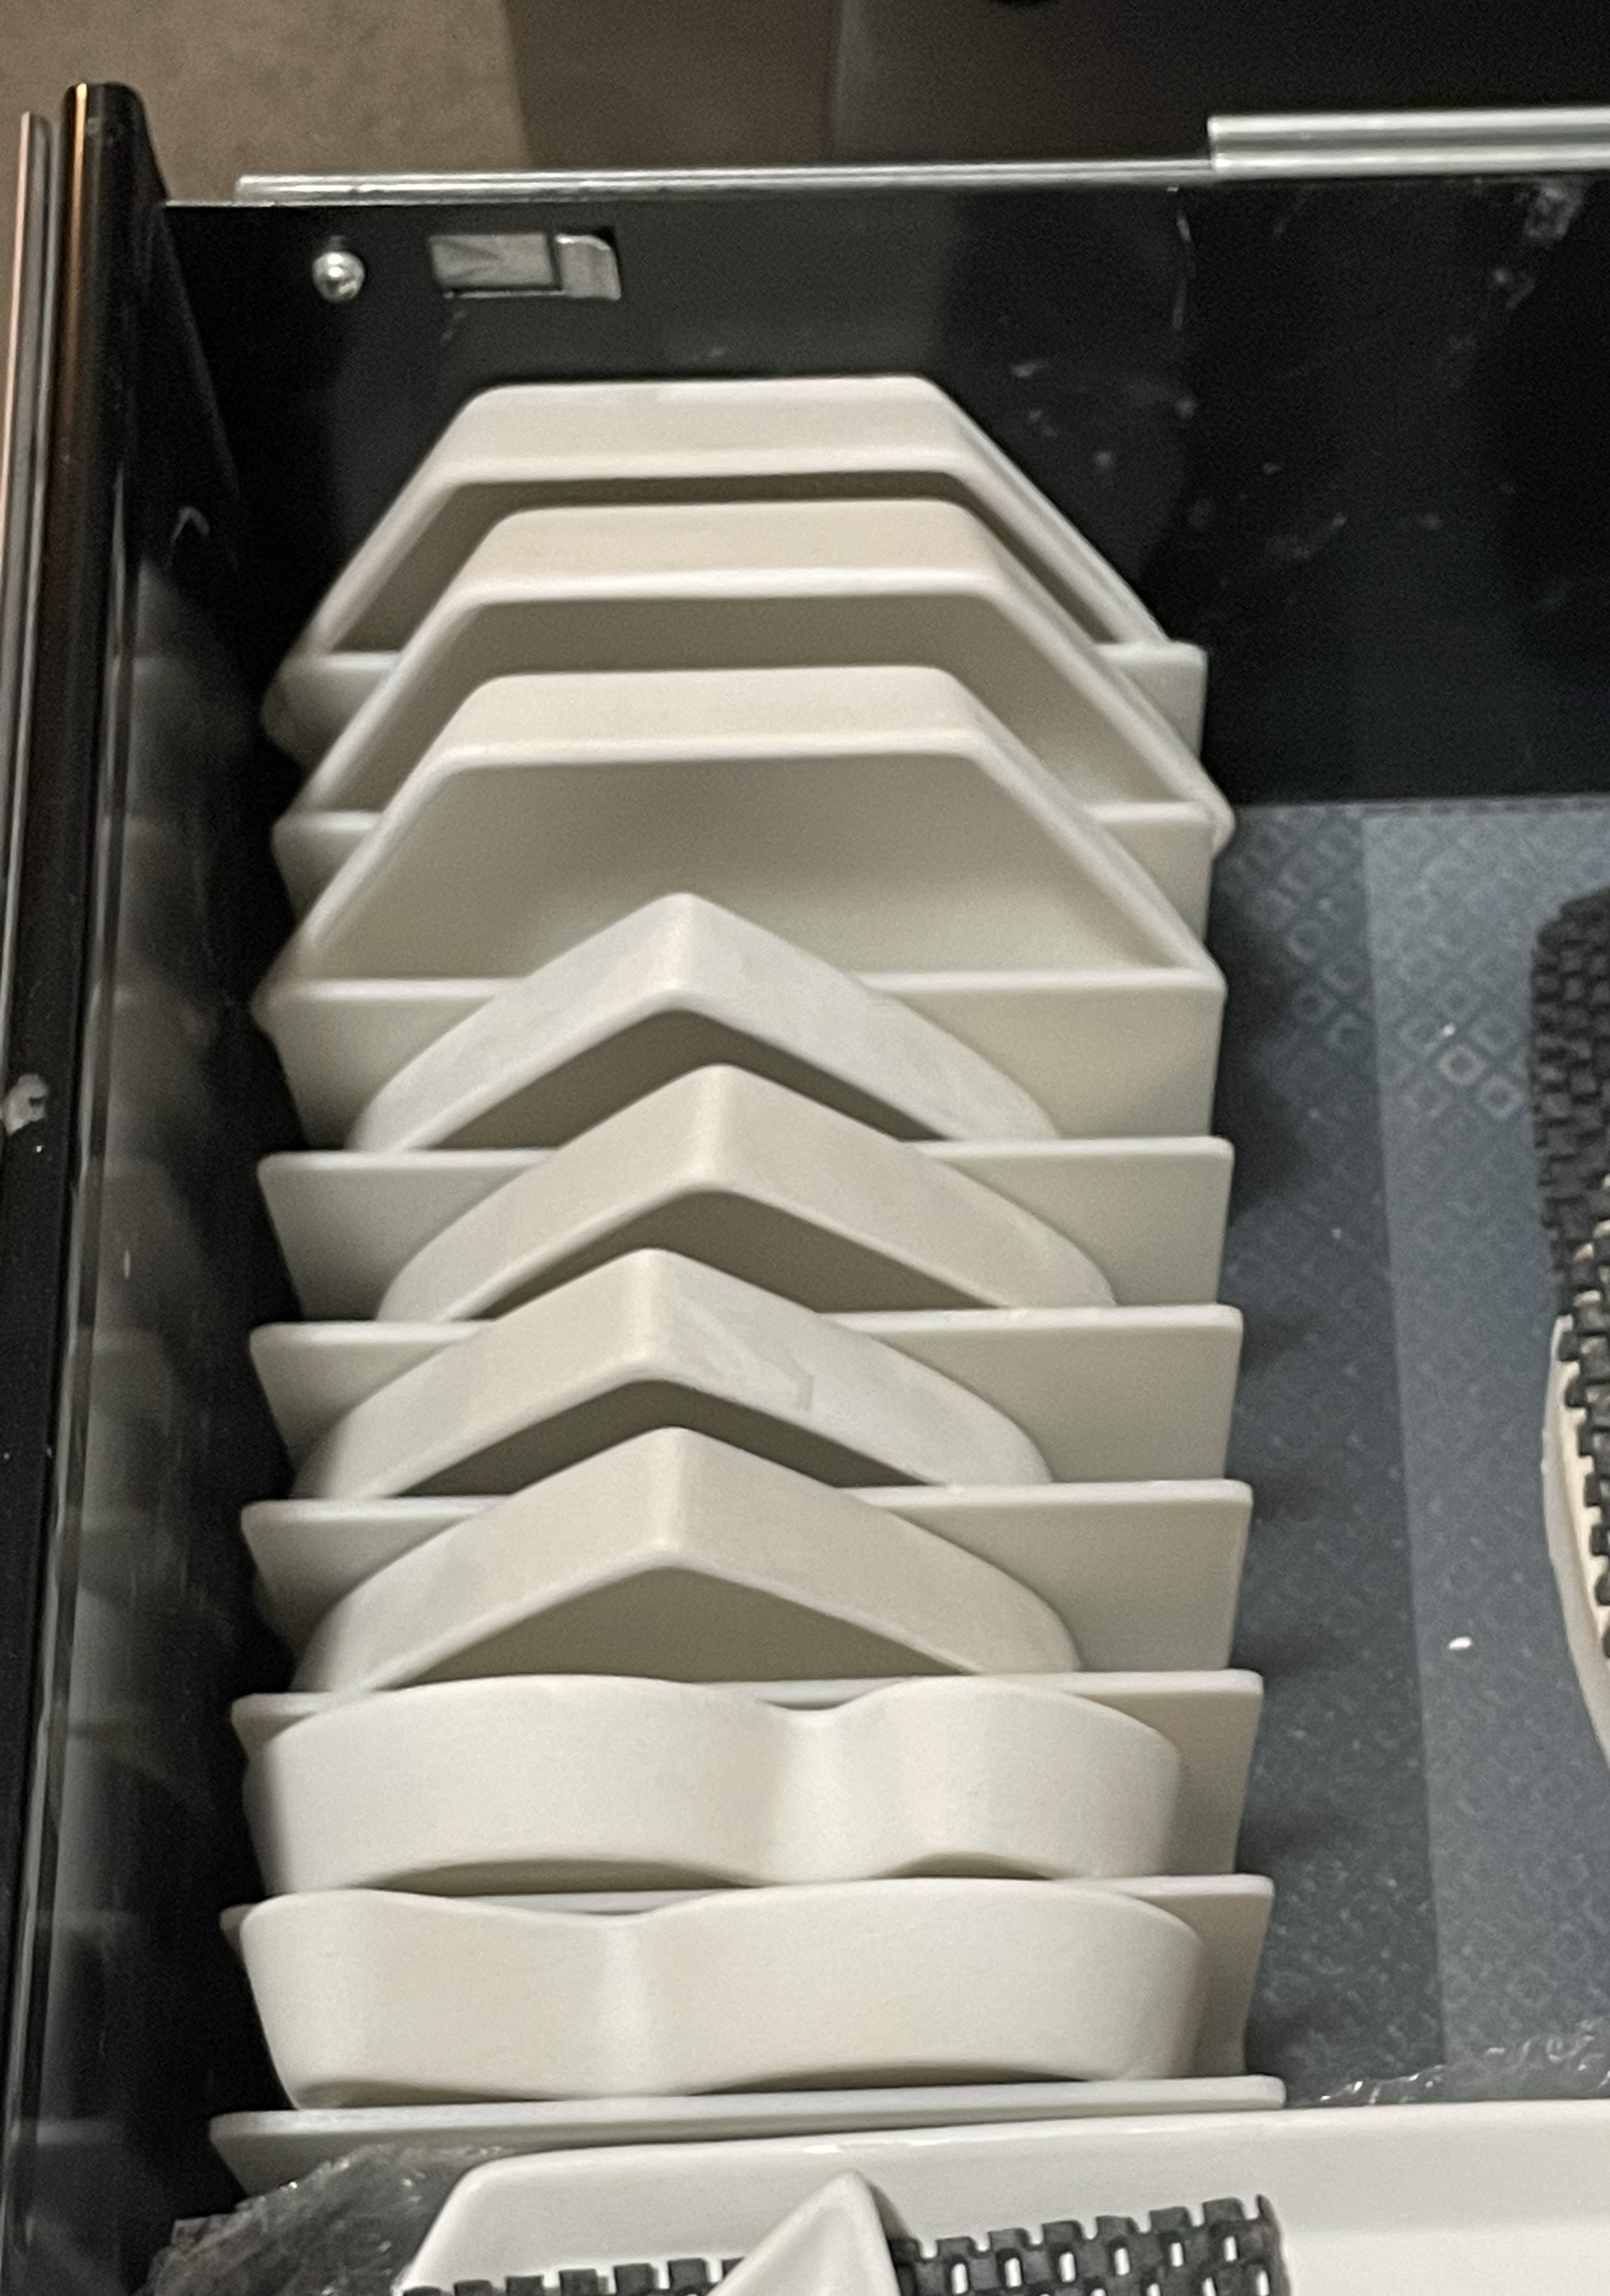
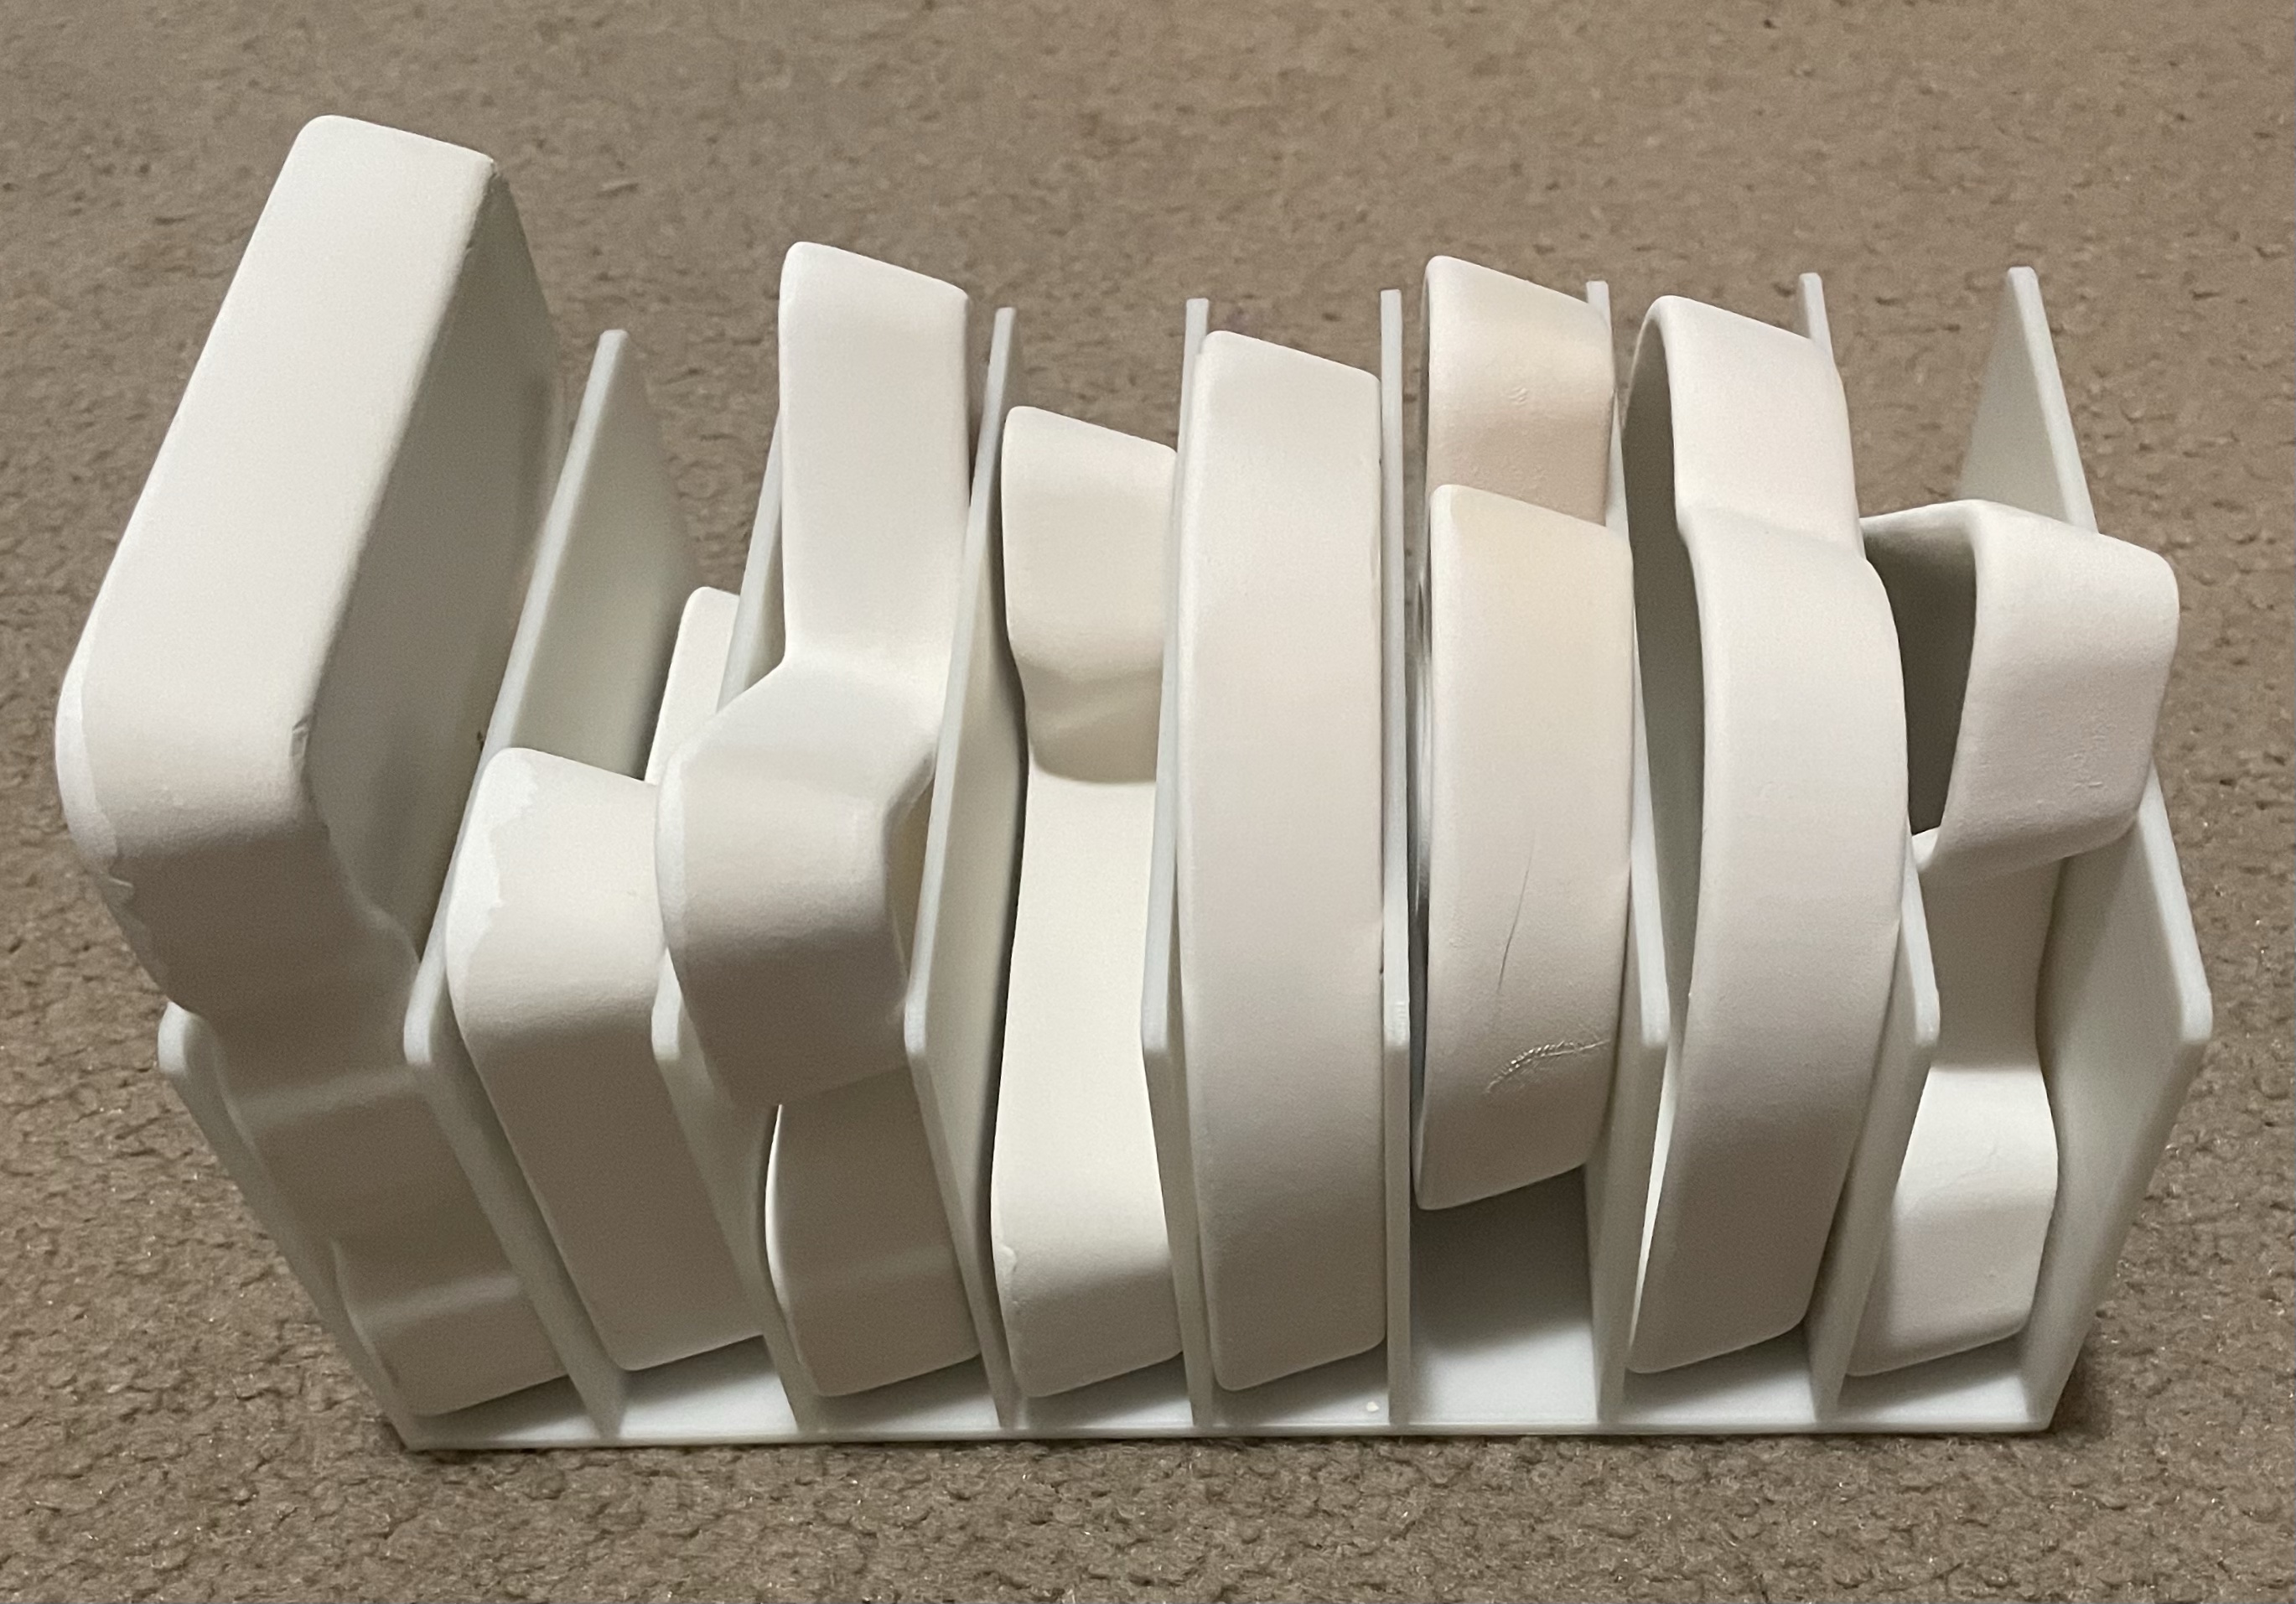
Fused Glass Casting Mold Storage Rack. I recently purchase numerous unglazed ceramic dishes from Target (hearts, hexagons, diamonds, and various letters). I had seen these being described on-line as inexpensive casting molds for fused glass. They cost $1-3 each and function the same as molds purchased specifically for glass that cost between $10-15 each. While fortunate to purchase several, I was having a hard time finding a storage spot for them in my glass studio. Again, I used my 3D printer and designed a couple racks to hold molds upright in the drawer of the cart in my studio. Problem solved, with minimal space needed.

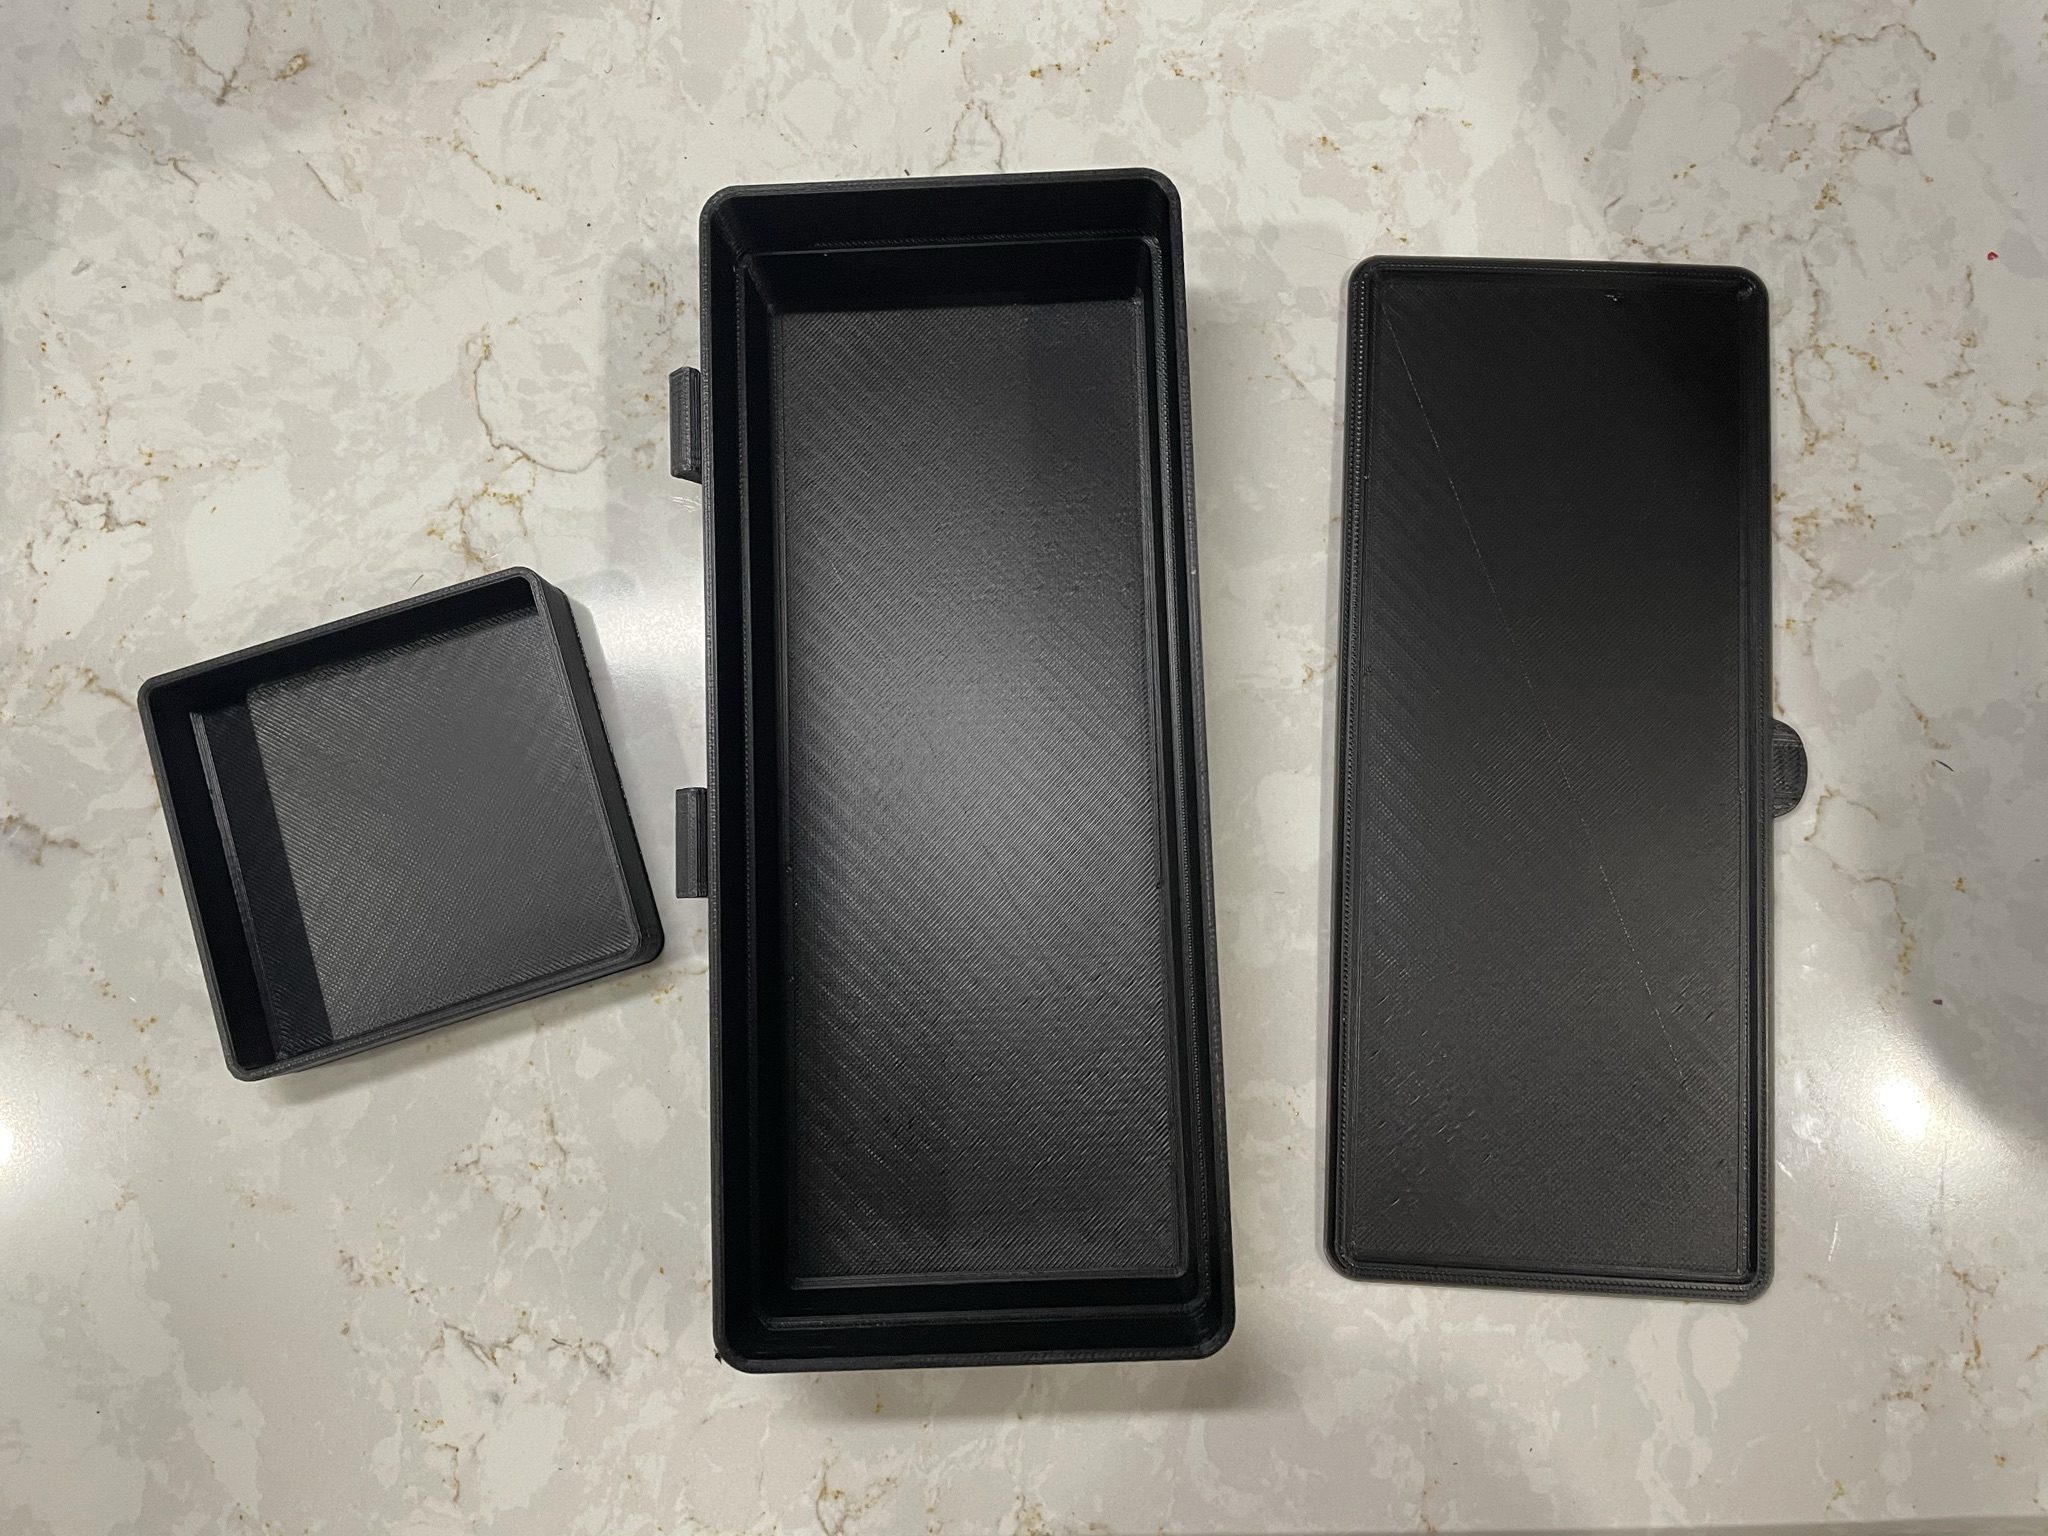
3D Printer Tool Storage. Lastly, I needed to organize the small tools that I use with my 3D printer. I wanted these tools to be handy, but not just sitting out on the counter. I found a box design on Thingiverse, altered it, and made a couple boxes that attach to to either side of the bed of my printer.


When I first purchased my 3D printer, I never realized how handy it would be for customized storage solutions!


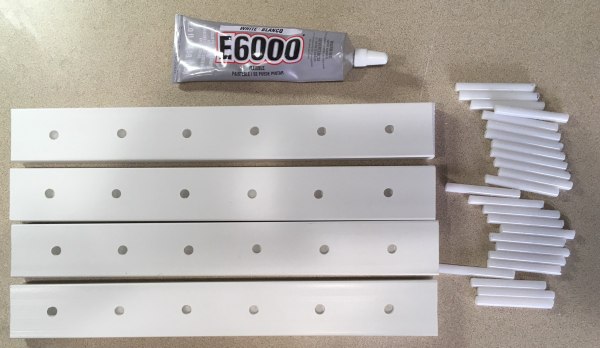
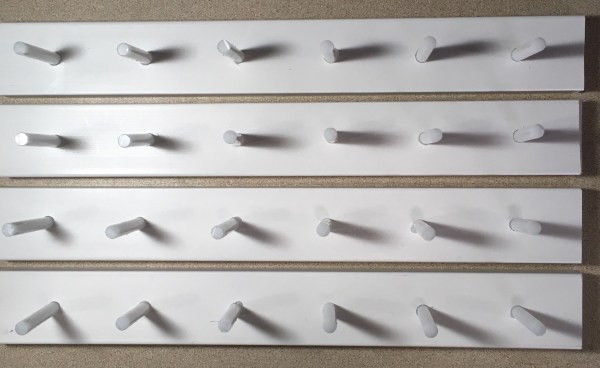 4. Fill each hole part way with E6000 adhesive. Place one plexiglass rod piece into each hole. They will be snug and may require a small tap with a hammer to fully seat them.
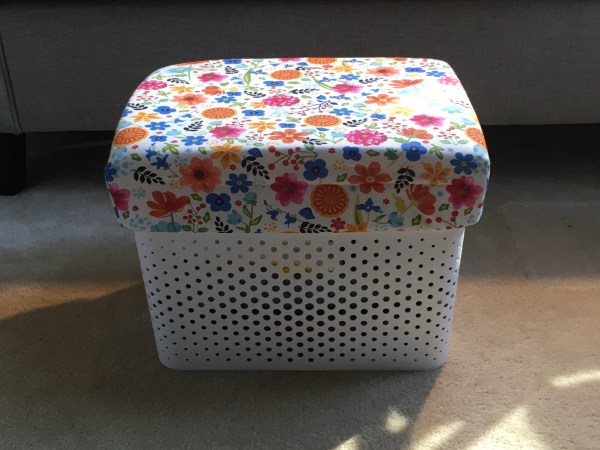 Lately, I have been doing a lot of hand stitching – applique, embroidery and quilt binding. When hand stitching, I like to have a place to rest my your feet higher than the floor in order to make myself more comfortable. Unfortunately this was something that I did not have in my new craft room.
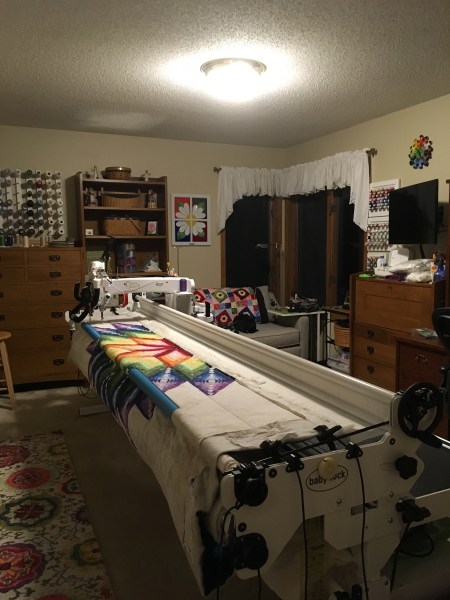
 Wanting to add one, I starting looking around the room to see where I could store the footrest when it was not being used. The size of a place to stash the footrest would be the limiting factor for the size of the footrest itself. With the room maximized for storage, I was not finding a good spot to keep one. So, I put off purchasing one.


 Now I have a colorful and comfortable foot rest. When not in use it fits nicely into the original storage spot without taking up any space in my room.