Spring is my favorite time of year. And, while my main planting will need to wait a few more weeks, I have been enjoying the color of the spring flowers in my gardens.
To bring the spring colors inside, I made some glass table art.
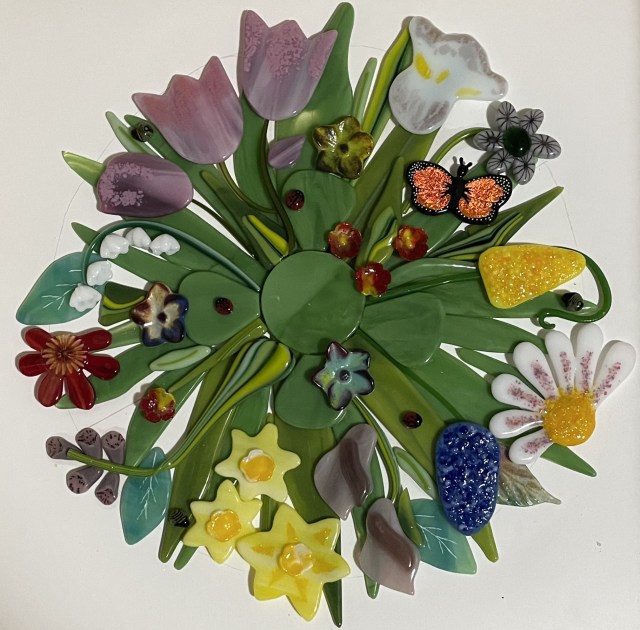
Floral Bowl:
A base of green flower stems was created with cut pieces of glass and vitregraph contour fused together.
To add details, a variety of flowers were made using cut glass with frit details, murrini, freeze and fuse flowers and flamework flowers. The butterfly was dichroic glass that was etched to create the details, white enamel paint was added to create the dots and a handmade butterfly body was made with fused dots and stringer. These design features were contour fused to soften the edges, then placed on the stem base and tack fused together.
The resulting 12″ piece of art was slumped into a bowl shape.
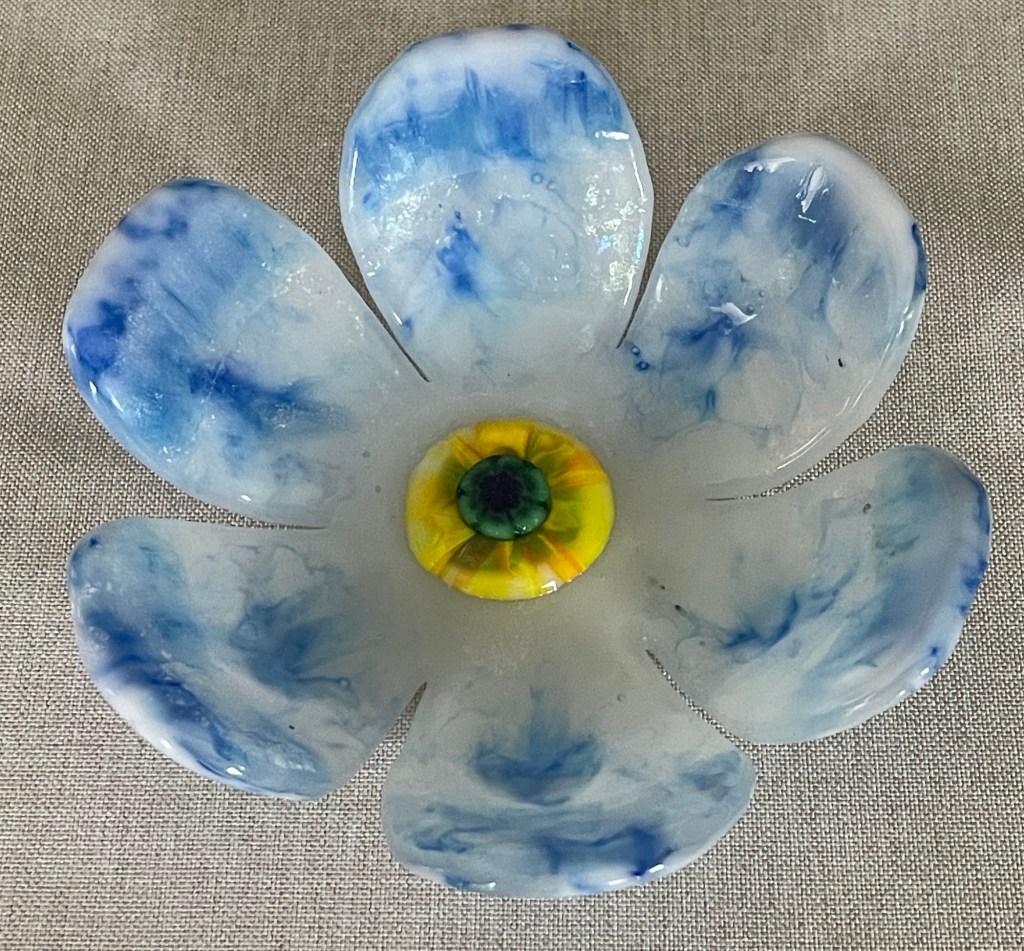
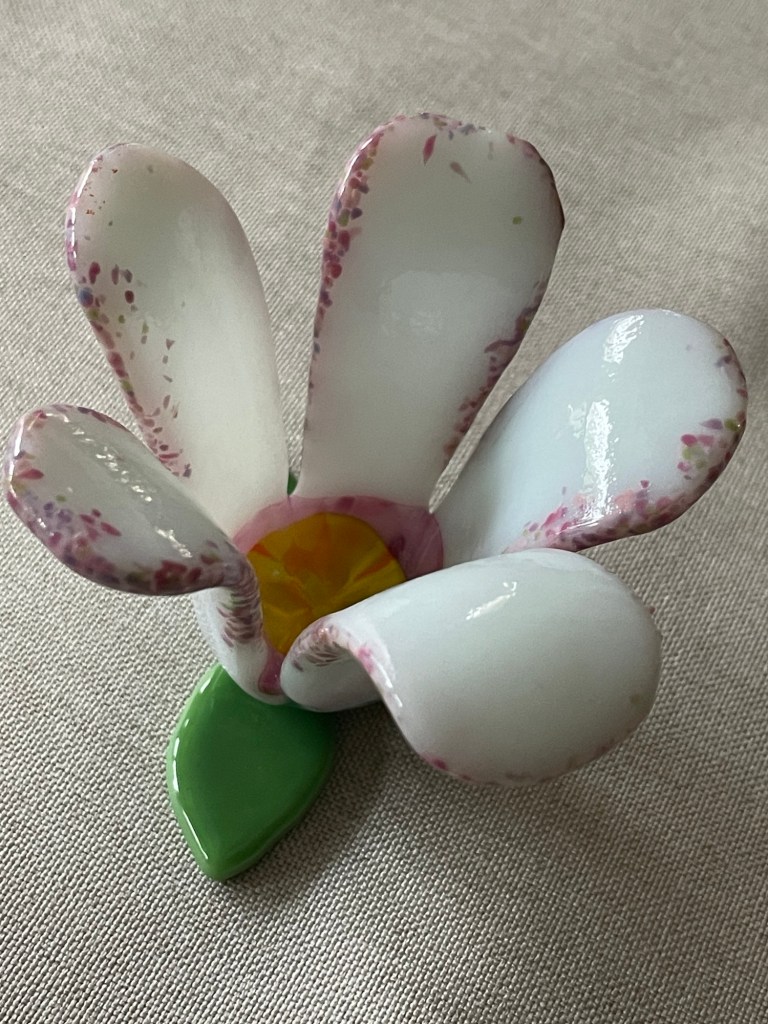
Eden Flower Bowls:
Eden is an innovative fused glass technique by Cristina Grumezescu Schnellboegl (tutorial available on Etsy). I will not describe the details of this technique because it is a paid tutorial, but I used this technique to create really lovely custom glass. The resulting glass was squashed to make it 3mm thick, cut into the shape of a flower, contour fused with added details and slumped into a bowl shape.
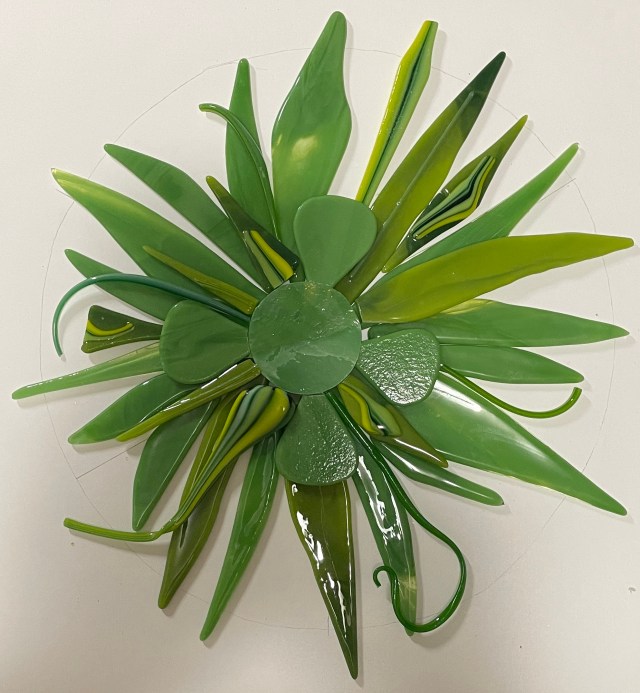
Deep Slumped Tulips:
Glass petals were cut and contour fused with frit and flower centers, then slumped over a deep ceramic form and epoxied to a green base.
I am enjoying the lovely spring flowers now in my dining room while waiting a few more weeks to do my spring planting.
I really like when a new project turns out close to what I envisioned.
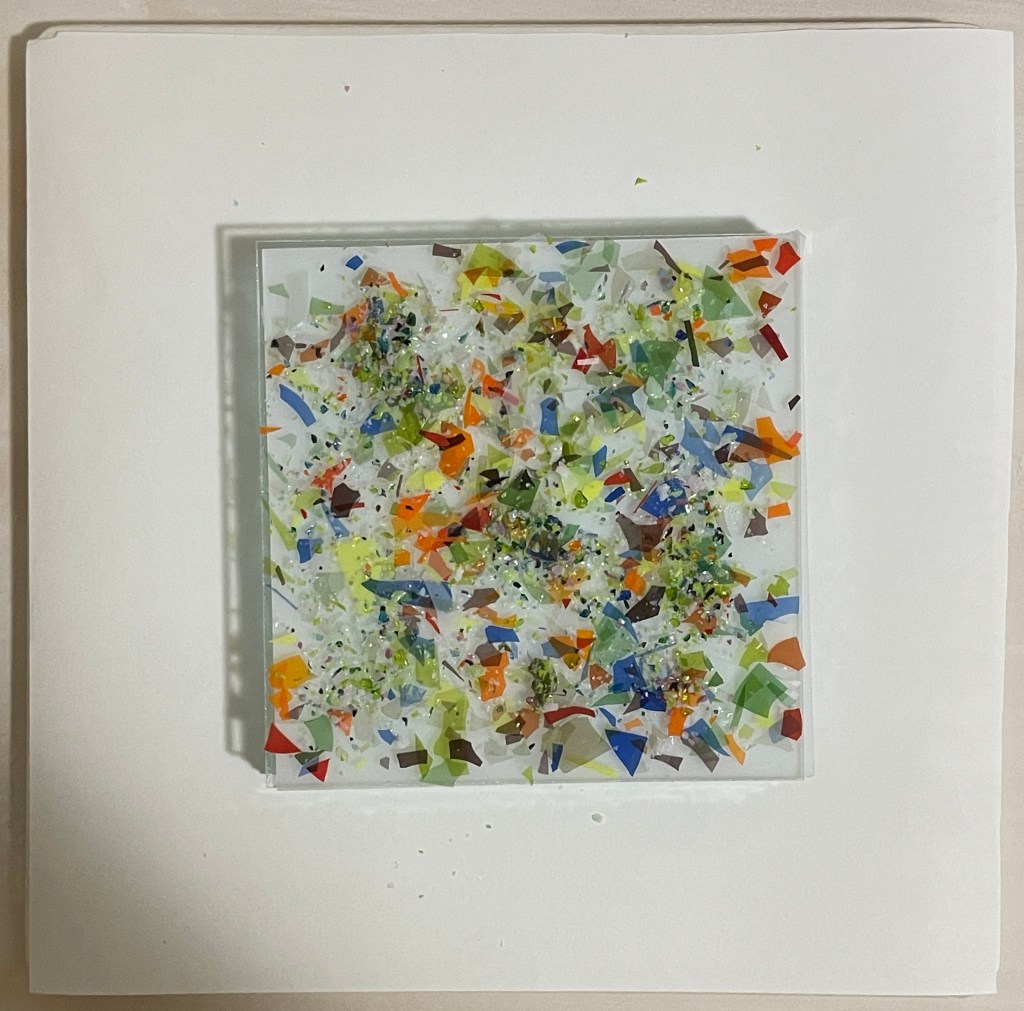
I’ve previously only done one frit flow project, with homemade frit, and was pleased with the result. With this technique, frit and/or glass shards are placed on top of a stack of glass and allowed to spread out at full fuse temperature. The result creates a wonderful optical effect.
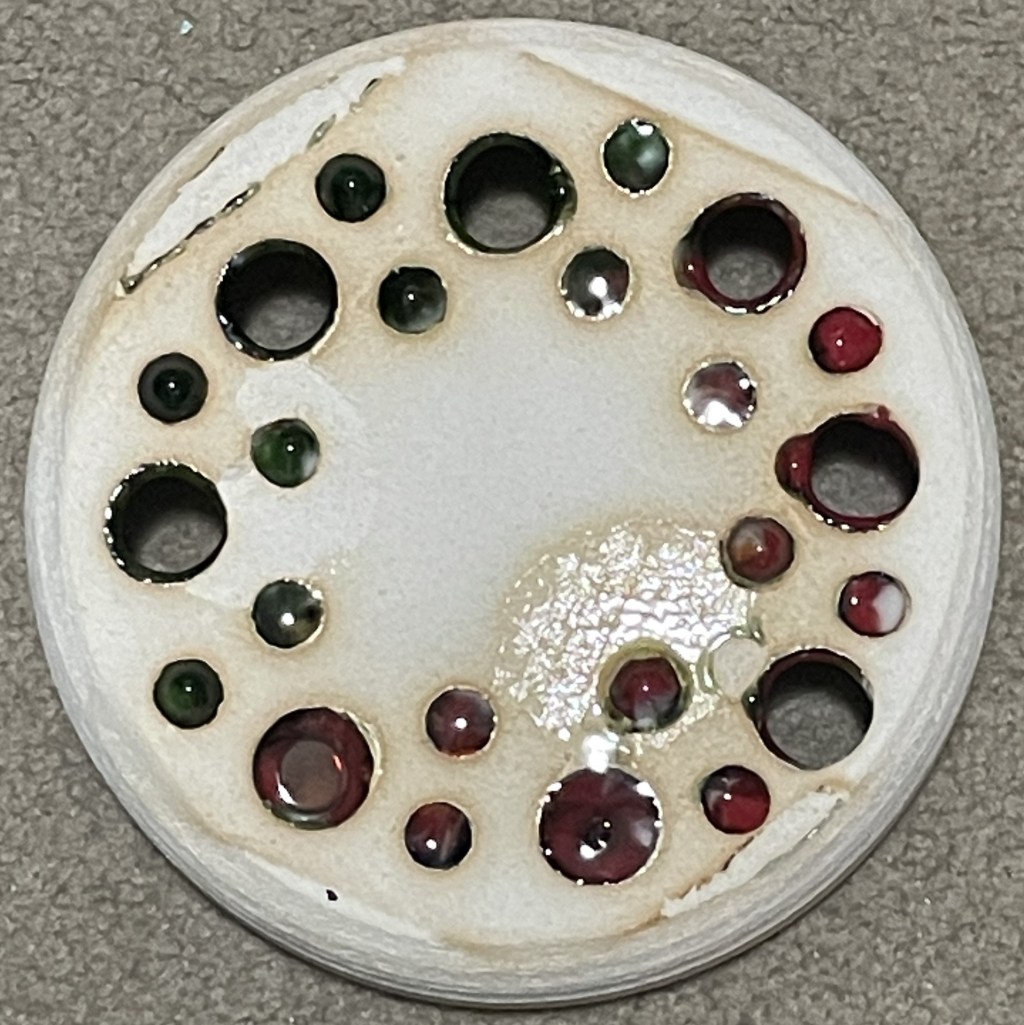
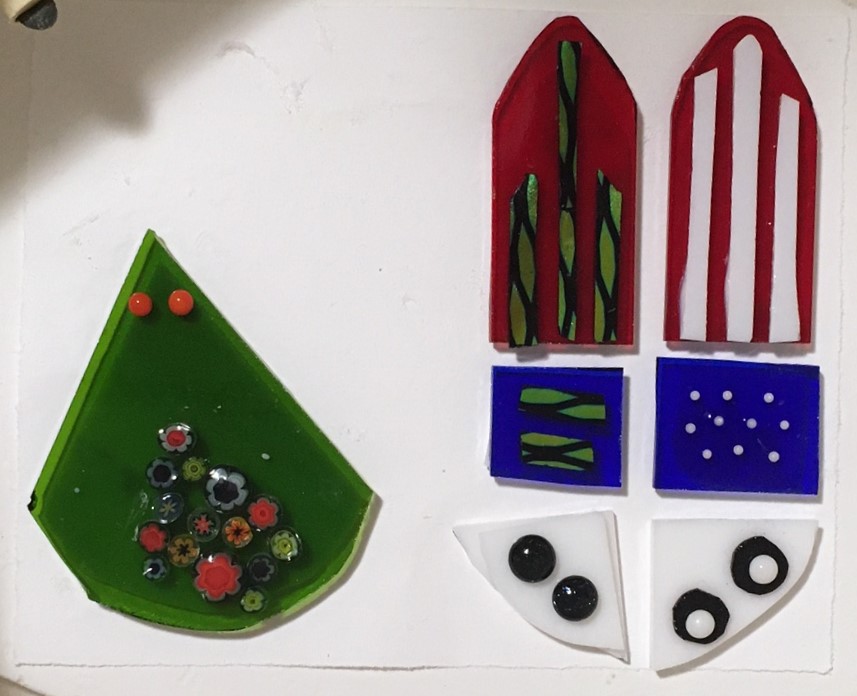
This weekend, when organizing my supplies, I came across a ceramic pot melt mold I had custom made several years ago. This mold has holes only around the perimeter of the pot.
When I saw it I thought I would try putting just small amount of glass in the pot, hoping to get the flow to look like flowers (ie: poppies). And, wanting to try another frit flow, I decided to use that technique for the background.
I tried a two sided frit flow, but didn’t like how it looked. So, not wanting to waste glass, I broke it into four pieces and stacked them. The weight of these pieces was 680 gm. On top I added a piece of white glass with frit divided into two areas. Top half was a combination of blues. The bottom half was a combination of shades of green. The weight of the white glass and frit was 115 grams.
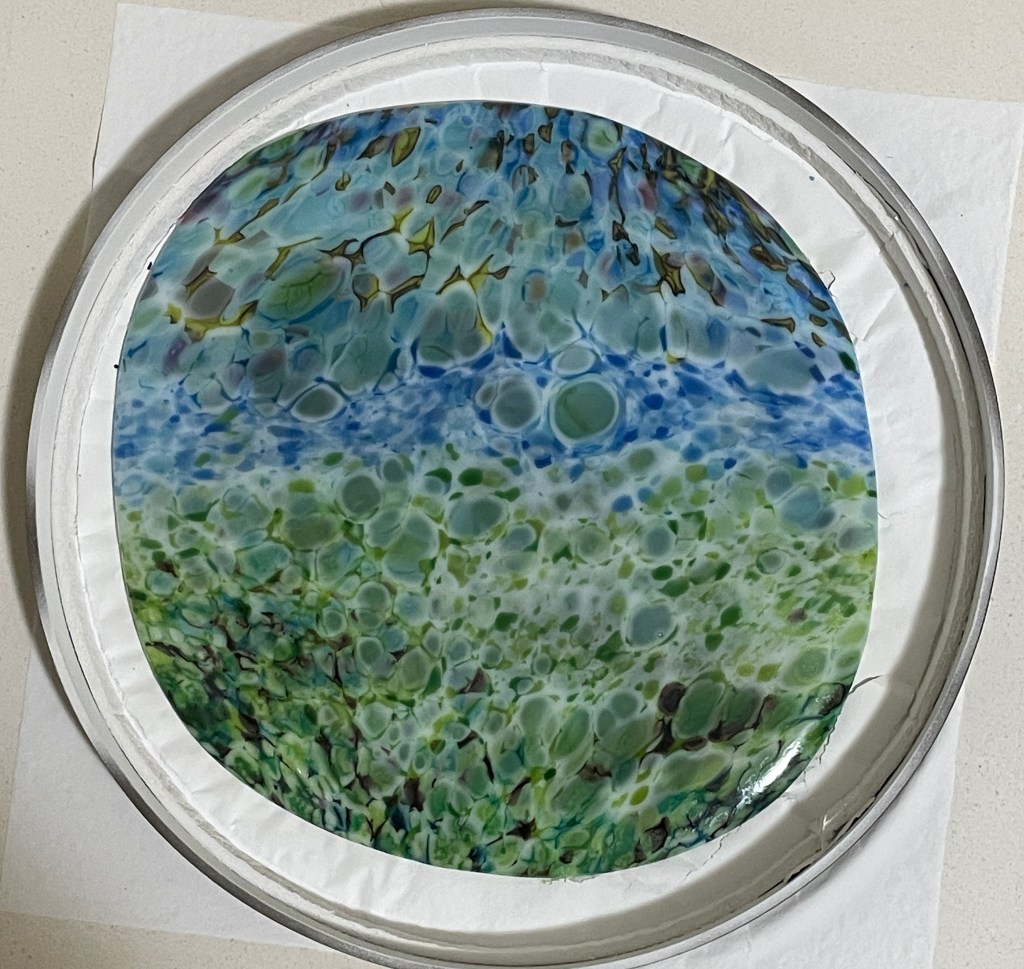
This is how the frit flow turned out.
On top of this, I placed some green vitregraph for the flower stems.
Then I setup my pot melt with red glass (90grams) and orange frit (25 grams) above the holes in the top half of the pot. Above the holes in the bottom half, I put pieces if green glass (70 grams).
I am really pleased how this turned out and can’t wait until next summer when I can display it in a glass stand in my garden.
This is my favorite time of the year. The weather is lovely with highs in the upper 70s and lows in the upper 50s. The flowers are planted, my garden is growing and every day I enjoy being outside working on various projects.
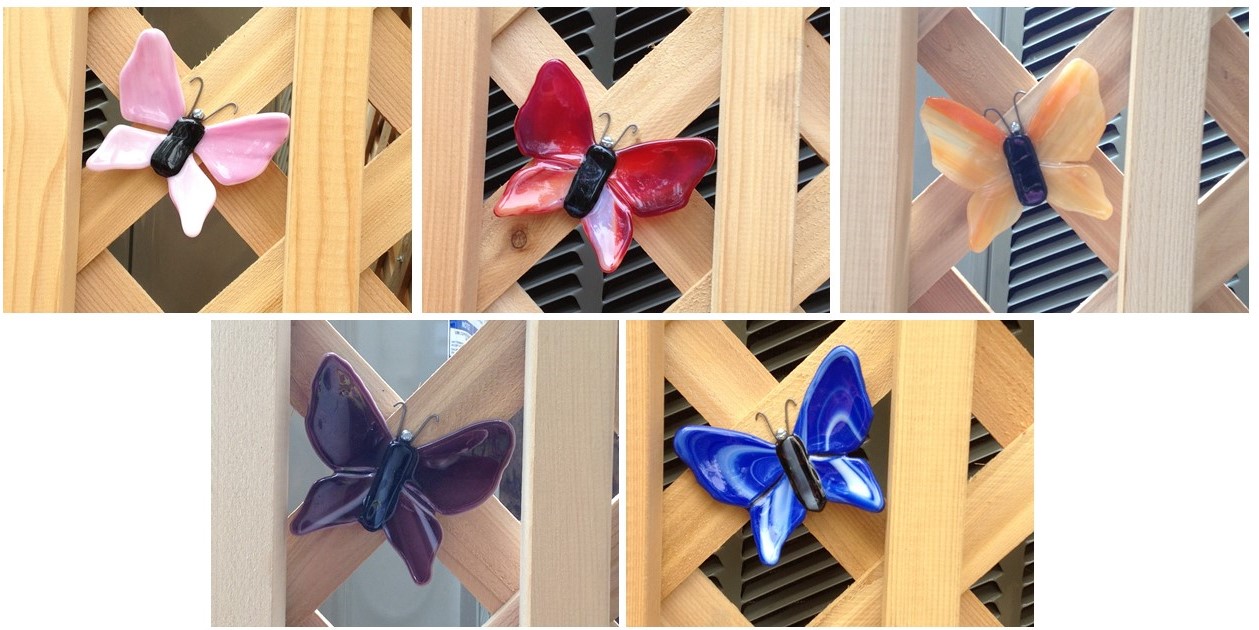
In a couple months, my window box and planters will be blooming and full of color. In the meantime, I have to wait for the flowers to grow and bloom. So, I decided to add some glass art to my window box. A glass butterfly, a couple of glass leaves and glass flowers add some nice color. Once the plants fill in, the window box should look even better.
For these art pieces, the glass was cut from pieces in my scrap buckets, contour fused and then slumped into a ceramic mold. On the back, a two inch piece of 1/4″ copper pipe was attached to each piece and a metal rod inserted to support the art in the window box.
In addition to planting flowers and vegetables, I have also been patching areas of the grass. Up until a few years ago, I had a rain barrel under the downspout in the back of our house to collect the rain water. Unfortunately, this rain barrel cracked after many years of use. Without the rain barrel, during a rain storm, the flow of water can be very strong and the surrounding ground is eroded and the grass does not grow well.
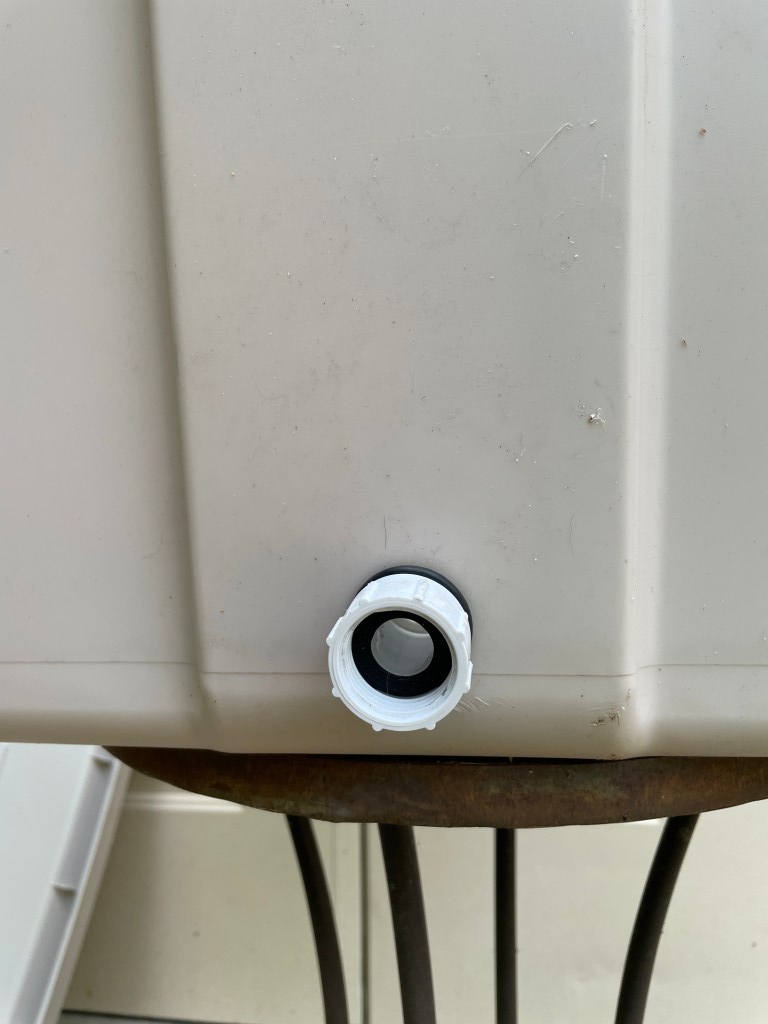
To try to improve this area of the lawn, I thought about purchasing another rain barrel. Unfortunately, they are rather expensive and larger than I would prefer. Instead, I decided to try to make my own. After drawing out some ideas I put together the necessary supplies, an old Rubbermaid tote, some PVC connectors, a shutoff coupling and two rubber washers.
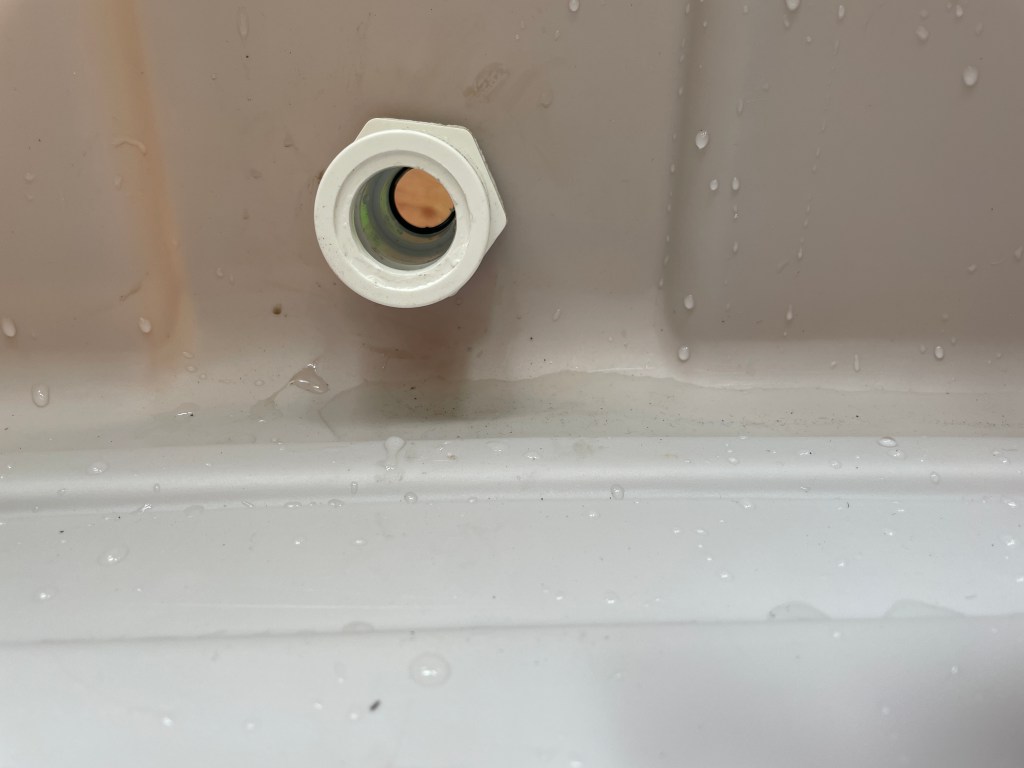
A one inch hole was drilled in the side of the tote and the edges of the cutout smoothed with a metal file. A 1″ washer was placed over the end of a 1/2″ Slip x 3/4″ FHT PVC hose fitting and pressed into the hole that had been drilled in the side of the tote. To hold the fitting in place, another 1″ washer was placed over the end on the inside of the tote another coupling was placed over the PVC fitting.
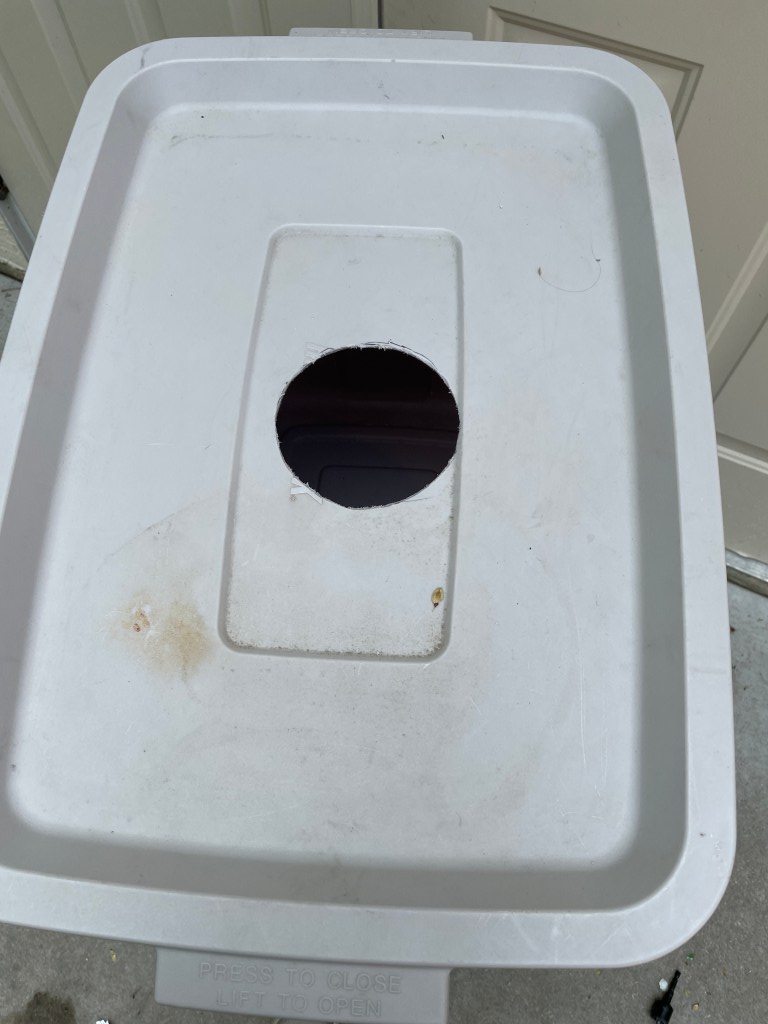
To collect the water from the downspout, a hole was cut in the lid of the tote.
A diverter was attached to the downspout and the length adjusted to fit into the tote lid. A brass shut-off coupling was screwed into the outside of the fitting to be able to open and close the opening. The tote was placed on several brick pavers to raise the tote high enough to access the shutoff valve. The water collected will be used for watering the plants in my back yard.
Of course, I had to add some decorative art to this functional item. Using my Cameo cutter and some permanent vinyl, I added a couple cats (that match the metal cats on my raised bed gardens) and some grass. While I am unsure whether these vinyl decorations will last, they do add some whimsy to my project. And, hopefully the grass will grow better in this area of the yard.
Another gardening project was to update the watering system in my raised beds. Last year, I used soakers hoses to keep my garden watered. This year when I connected the soaker hoses, I discovered that the hoses (advertised as “leak proof”) had cracked in several location.
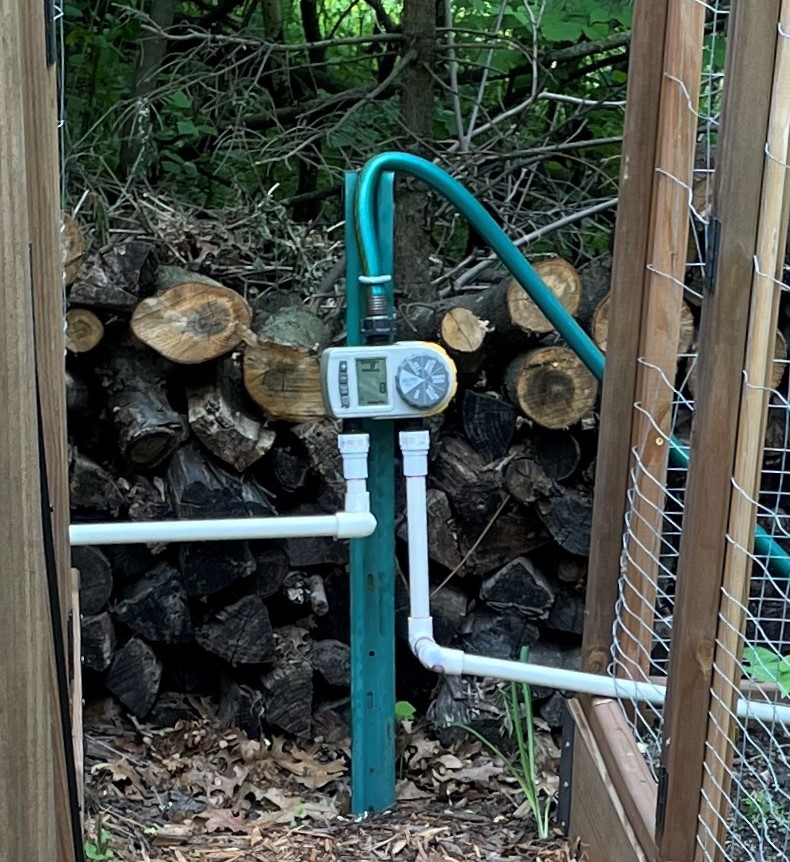
To replace them, I wanted something that may last longer. Using two 10 feet pieces of 1/2″ PVC, several couplers, a couple caps and a couple hose fittings, I made new waterlines. A PVC to hose fitting was attached to each water outflow on a timer. The PVC was cut and connected with couplers to create a waterline to each raised bed.
For each of the raised beds, 1/8″ holes were drilled every 2 inches along both sides of the length of a 90″ piece of pipe with a cap at the end of the tube.
This new watering system works great. It does come apart into sections that can be stored indoors in the winter and will hopefully last more than one year.
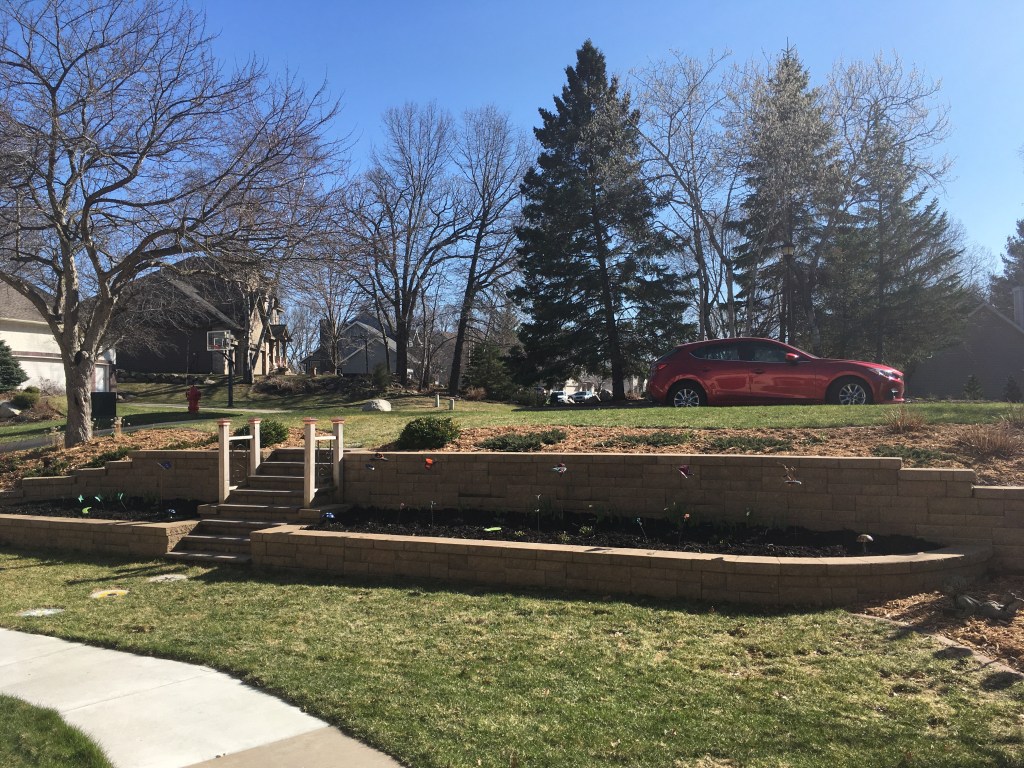
Owning a house in the suburbs, we have a few utility boxes visible in the corners of our front yard. In one corner of our property, adjacent to the driveway, is the large electrical utility box. This box is mostly on our neighbor’s property, so I have not done anything to block the view of it.
However, in the other corner of our yard are the cable and telephone utility boxes. Since these are mostly on our property, a few years ago, I made some decorative screens to help them visually blend with the landscaping. Around the telephone box, I made a mini fence by attaching cedar pickets to several pieces of metal strapping that can be lifted up for easy access to the box.
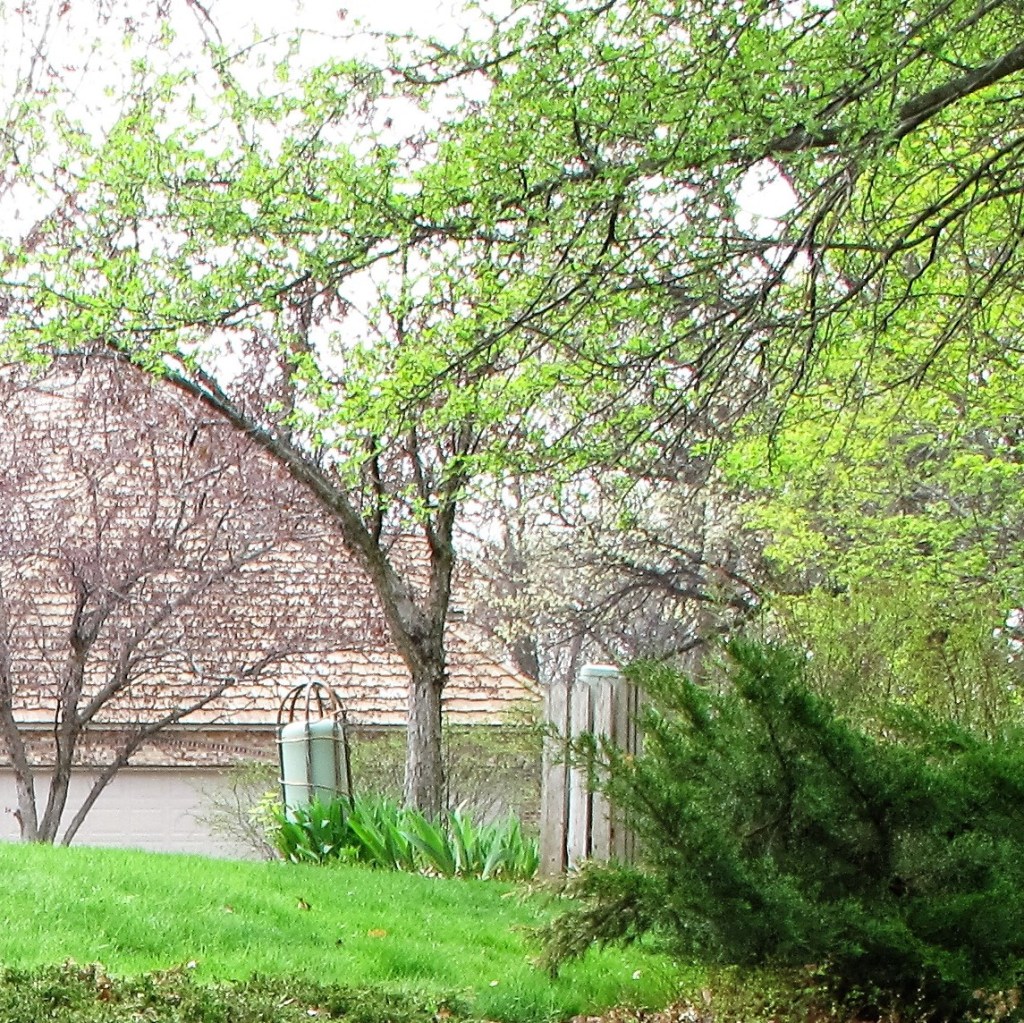
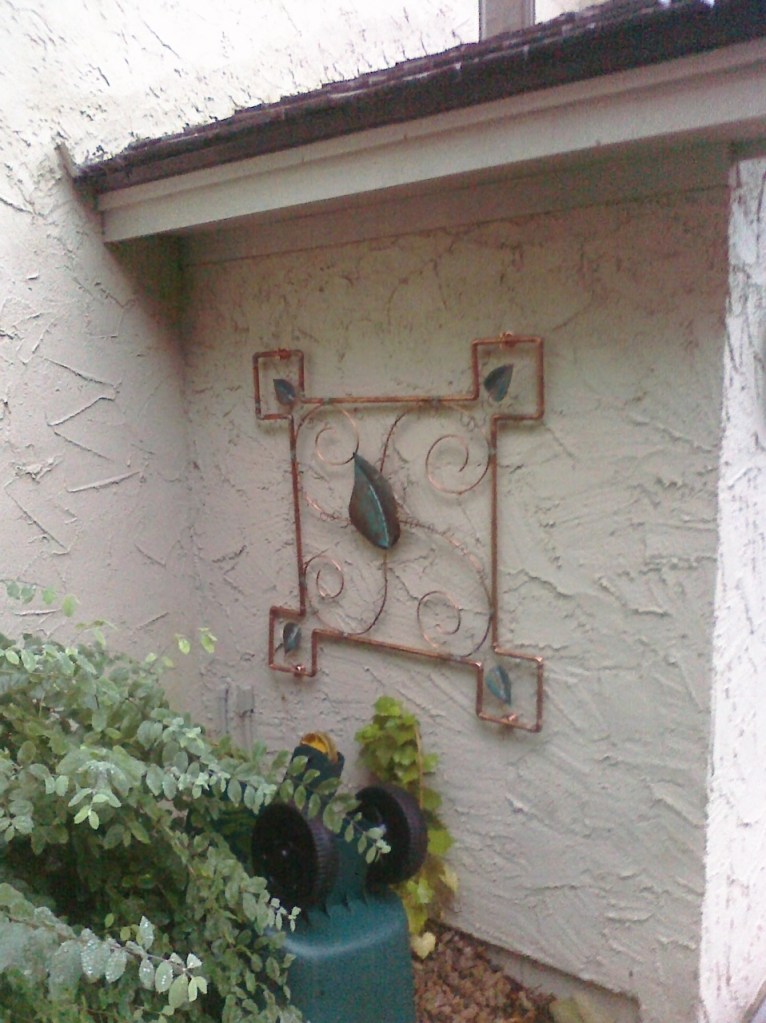
Around the cable box, I placed a trellis that I made out of copper piping. To help camouflage the box, each spring I would plant morning glories to grow on the trellis.
This worked really well the first two years after I made it. However, when the cable company would need to access their utility box, they would uproot the morning glories. Unfortunately, this has happened each of the past three years, and this year it was only a few weeks after planting the morning glories. Instead of replacing the plants, I decided to try something different to make the trellis more appealing.
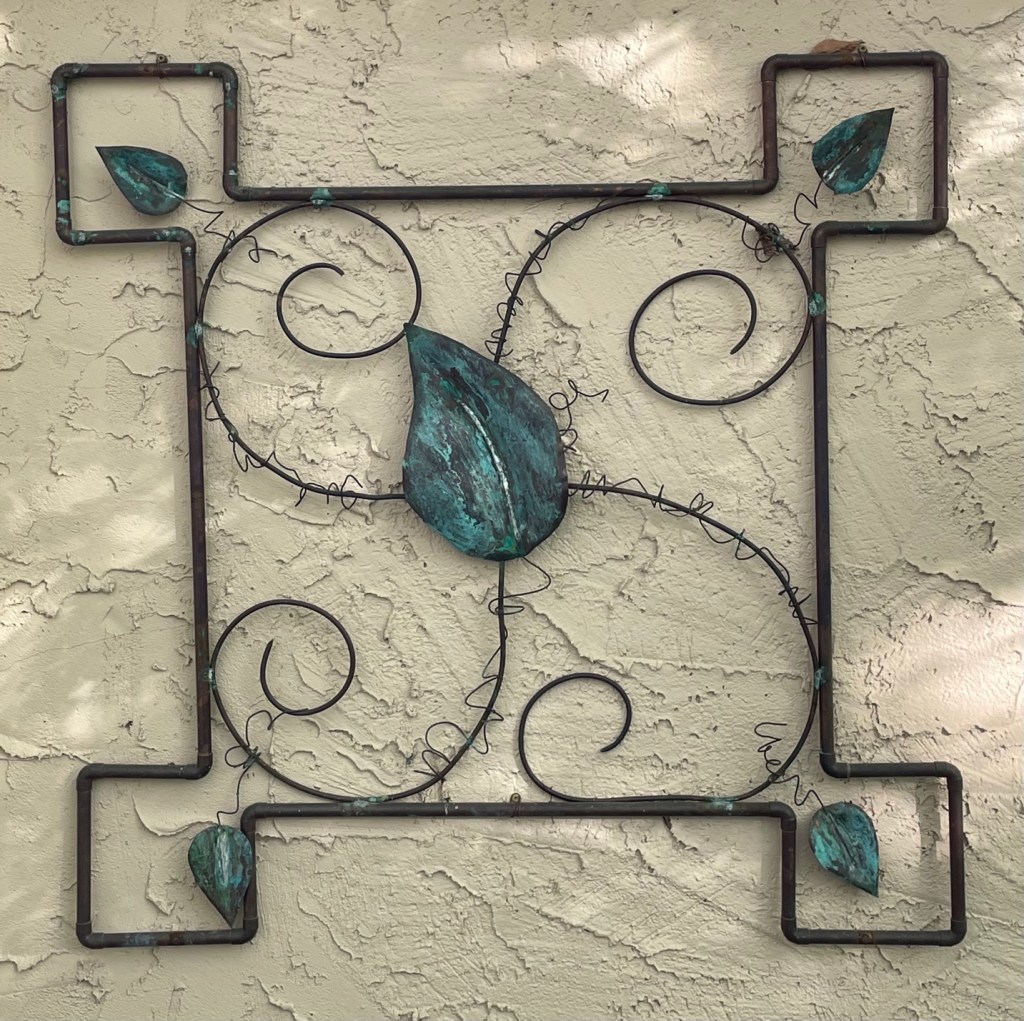
A while ago, I had made a piece of decorative art for the side wall of my garden shed. This wall sculpture was made out of pieces of copper pipe soldered together. Leaves were cut out of copper sheeting and soldered to heavy copper wire that was then twisted and soldered to the main copper framing.
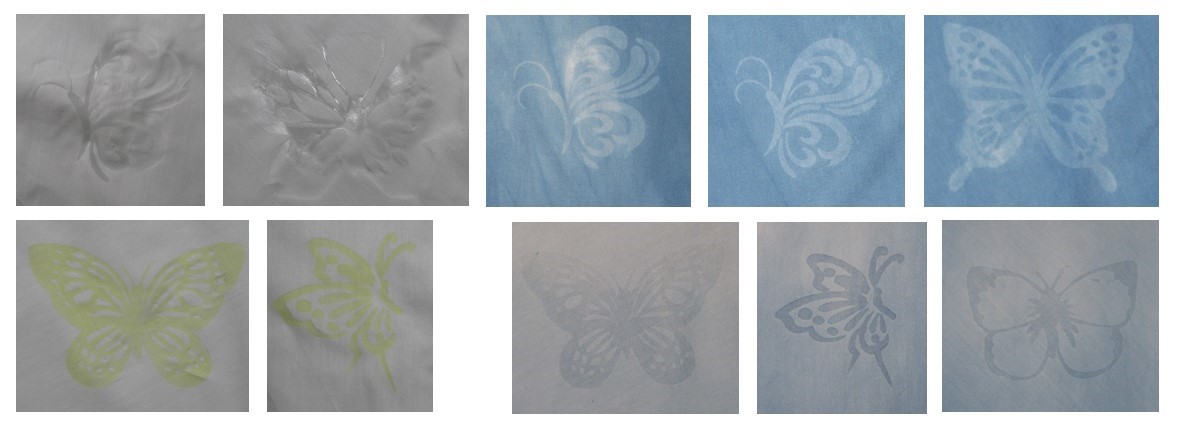
Using this earlier project as inspiration, I decided to add some leaves and butterflies to the trellis surrounding the cable box. The leaves were cut out of left over pieces of heavy copper sheeting from my original project. The butterflies were cut out of a slightly lighter weight copper that I recently purchased.
To speed up the aging process, I sprayed these new pieces of copper with ammonium sulfate (Miracle Grow) and set them in bright sunlight for a day.
The butterflies turned a lovely shade of green. Unfortunately, the older copper used for the leaves did not patina very well. I guess I will need to wait and see what happens over time. These copper leaves and butterflies were attached with wire to the original trellis and placed back around the utility box (see photo at beginning of this post).
Since the wildlife is abundant in my yard, and our neighborhood HOA does not allow fences, I have moved most of my gardening to containers on my deck.
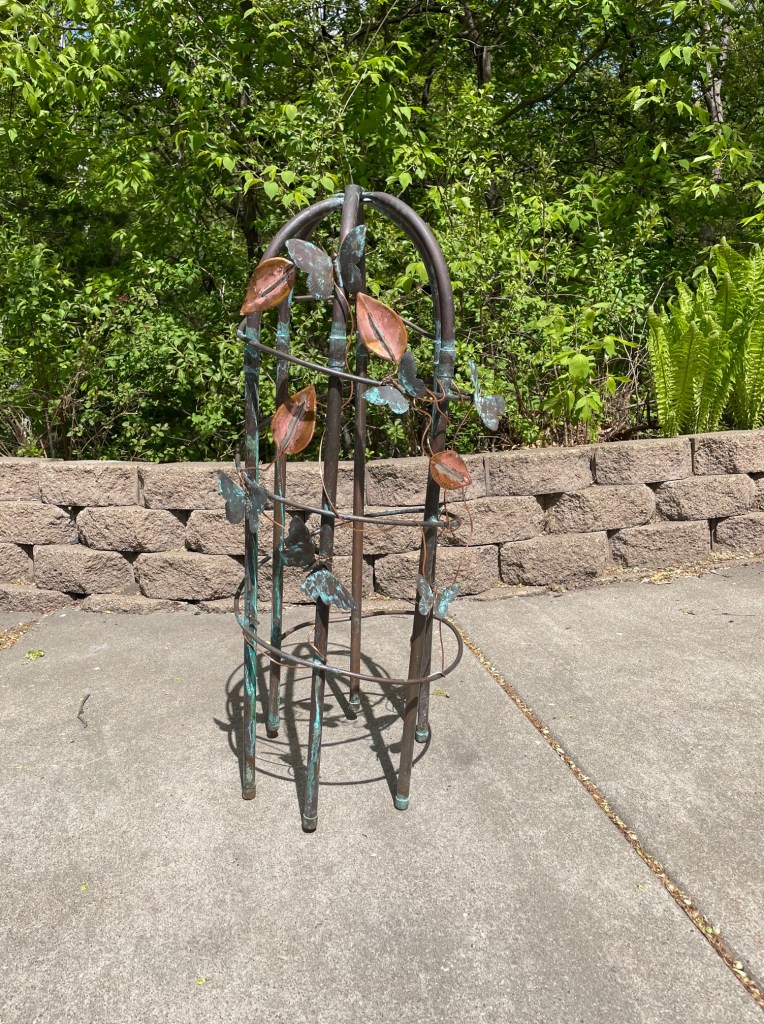
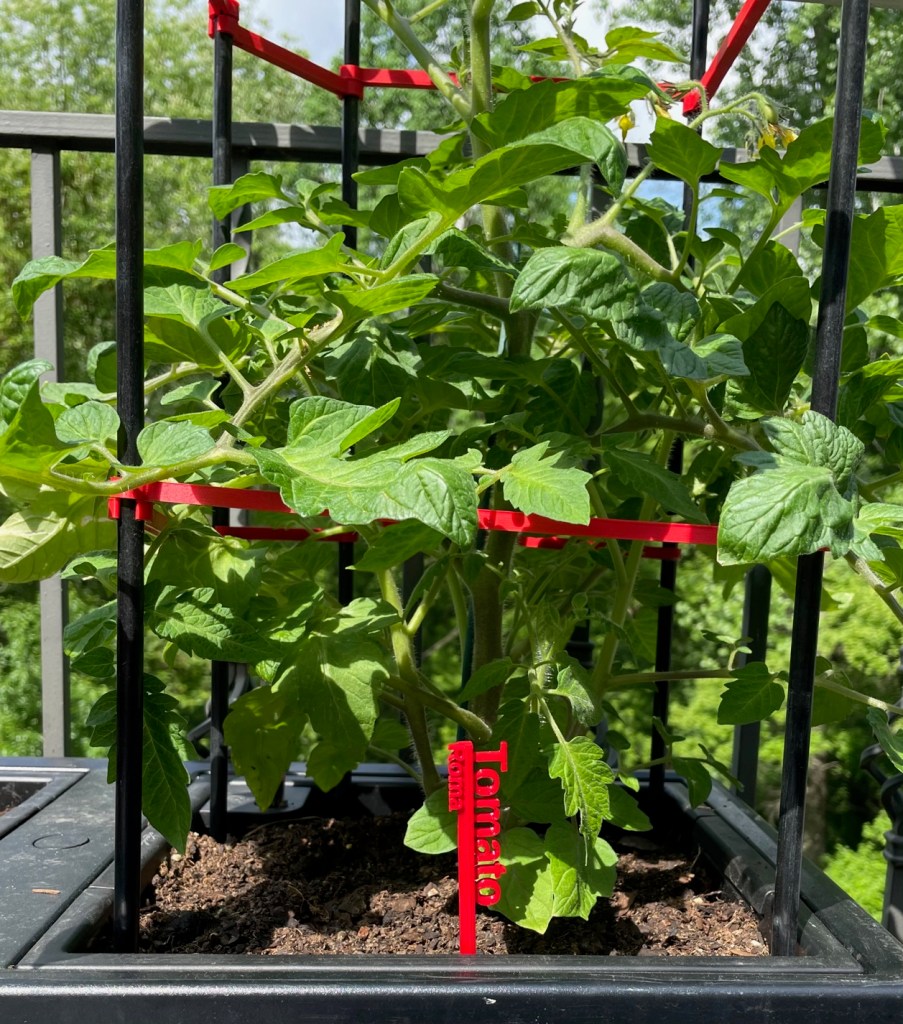
While I have been able to continue to grow my onions, hot peppers, peas, and cucumbers in my planting beds, tomatoes were problem. I thought tomatoes would be safe from the critters in the yard and for years I have grown them in planting beds in my yard. However, during the summers of 2018 and 2019, the wild turkeys would peck at them and ruin the fruit. So, at the end of 2019, I purchased a couple large Lechuza planters on clearance for growing tomatoes on my deck. Each of the planters had three removable planting boxes for easy storage in the winter.
At the time, I did not purchased the trellis system that went with the planters because they were not on clearance and would have cost more than the planters cost. Plus, I thought I would just use the tomato ladders I had used in the past when I grew the tomatoes in the planting bed in my yard. Unfortunately, when I used them last summer I discovered that these ladders were too top heavy for the new planters and the planters would tip over when we had a summer storm.
This summer, I sought other ideas for supporting my tomatoes. I originally bought a couple of the smallest tomato cages that are sold at the garden centers near me. Unfortunately, even the smallest cages were too big to fit the size of the planter boxes. So, I looked on line for other ideas. Having made other garden decorations out of copper, I considered making a couple copper trellises. But, again the cost was something that I thought was more than I wanted to spend.
A couple weeks ago, while doing laundry, I walked past my 3D printer and thought maybe I could print some type of trellis. After looking at ideas on-line, I tried out a few ideas. What I finally settled on was some fiberglass garden stakes and then designed some printed connectors that snap the stakes together. So far, they seem to be working well.
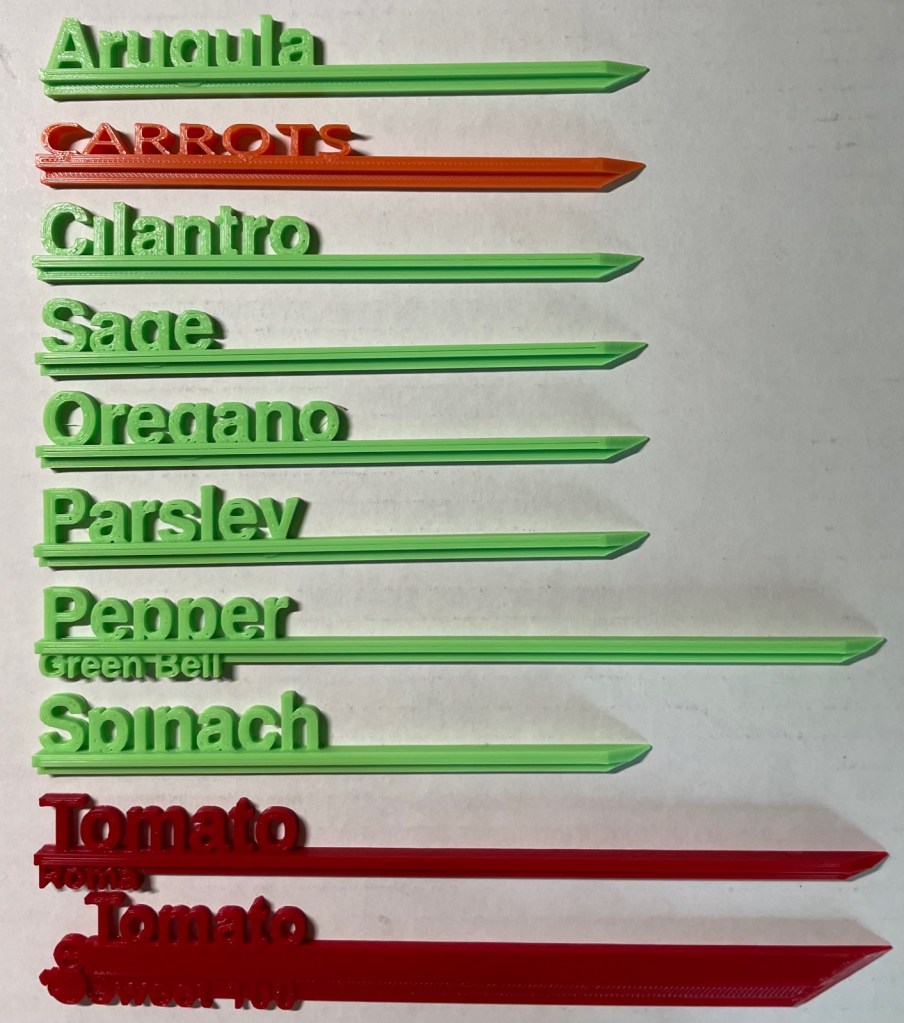
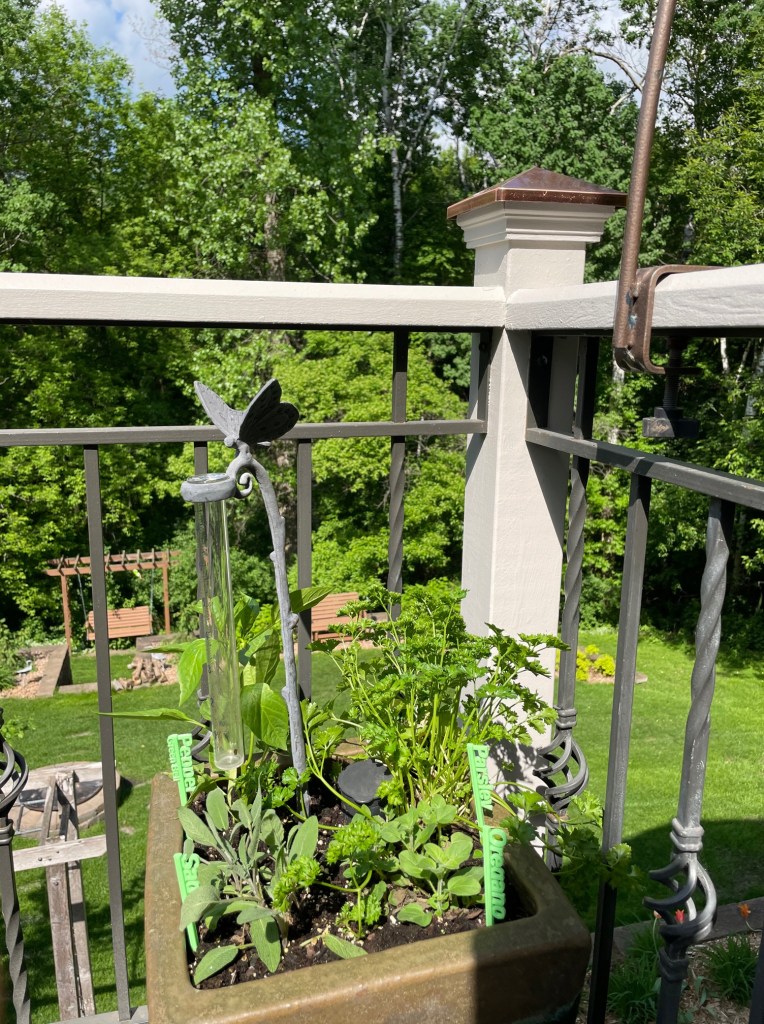
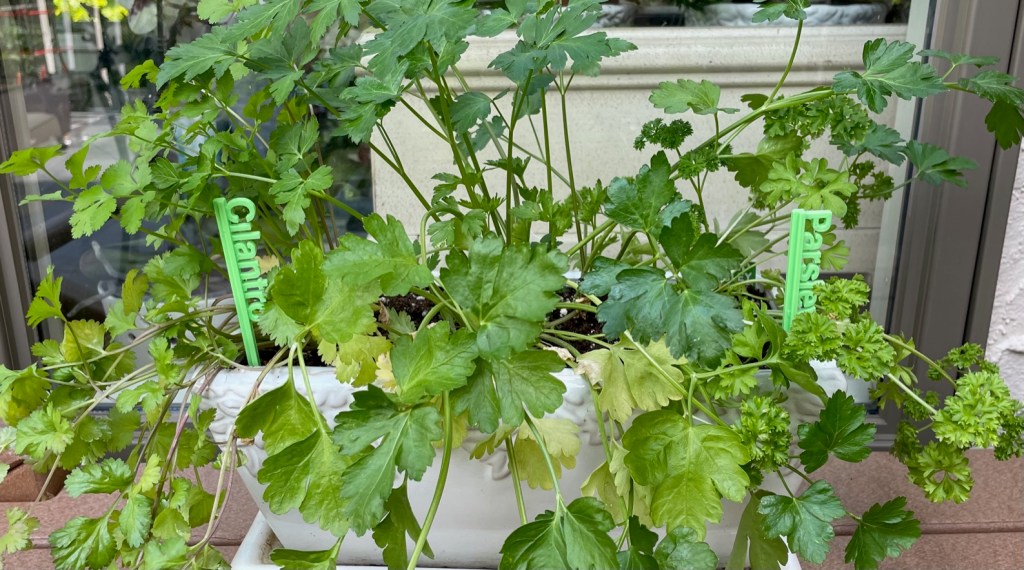
While perusing different printed gardening ideas on-line, I came across some plant labels. Did I really need labels for my plants? Well, no, I do know which plant is which. But, I liked the labels and decided to print a few.
Ants, wasps and other bugs are a part of life no matter where you live. Every year, these pests like to invade my yard, and sometimes my house. I have taken to spreading Diatomaceous Earth around the perimeter of my house to help decrease their numbers entering my house. This helps, but they are pesky and I still have to deal with them each year.
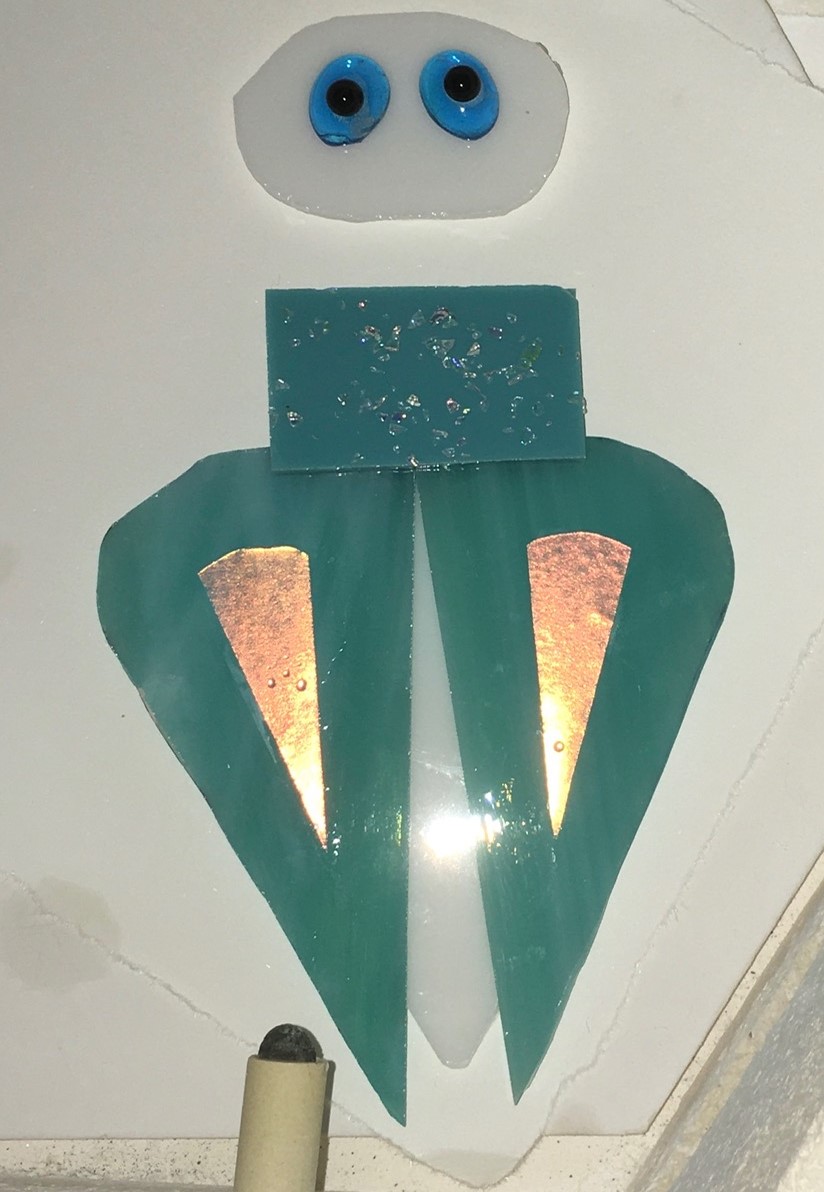
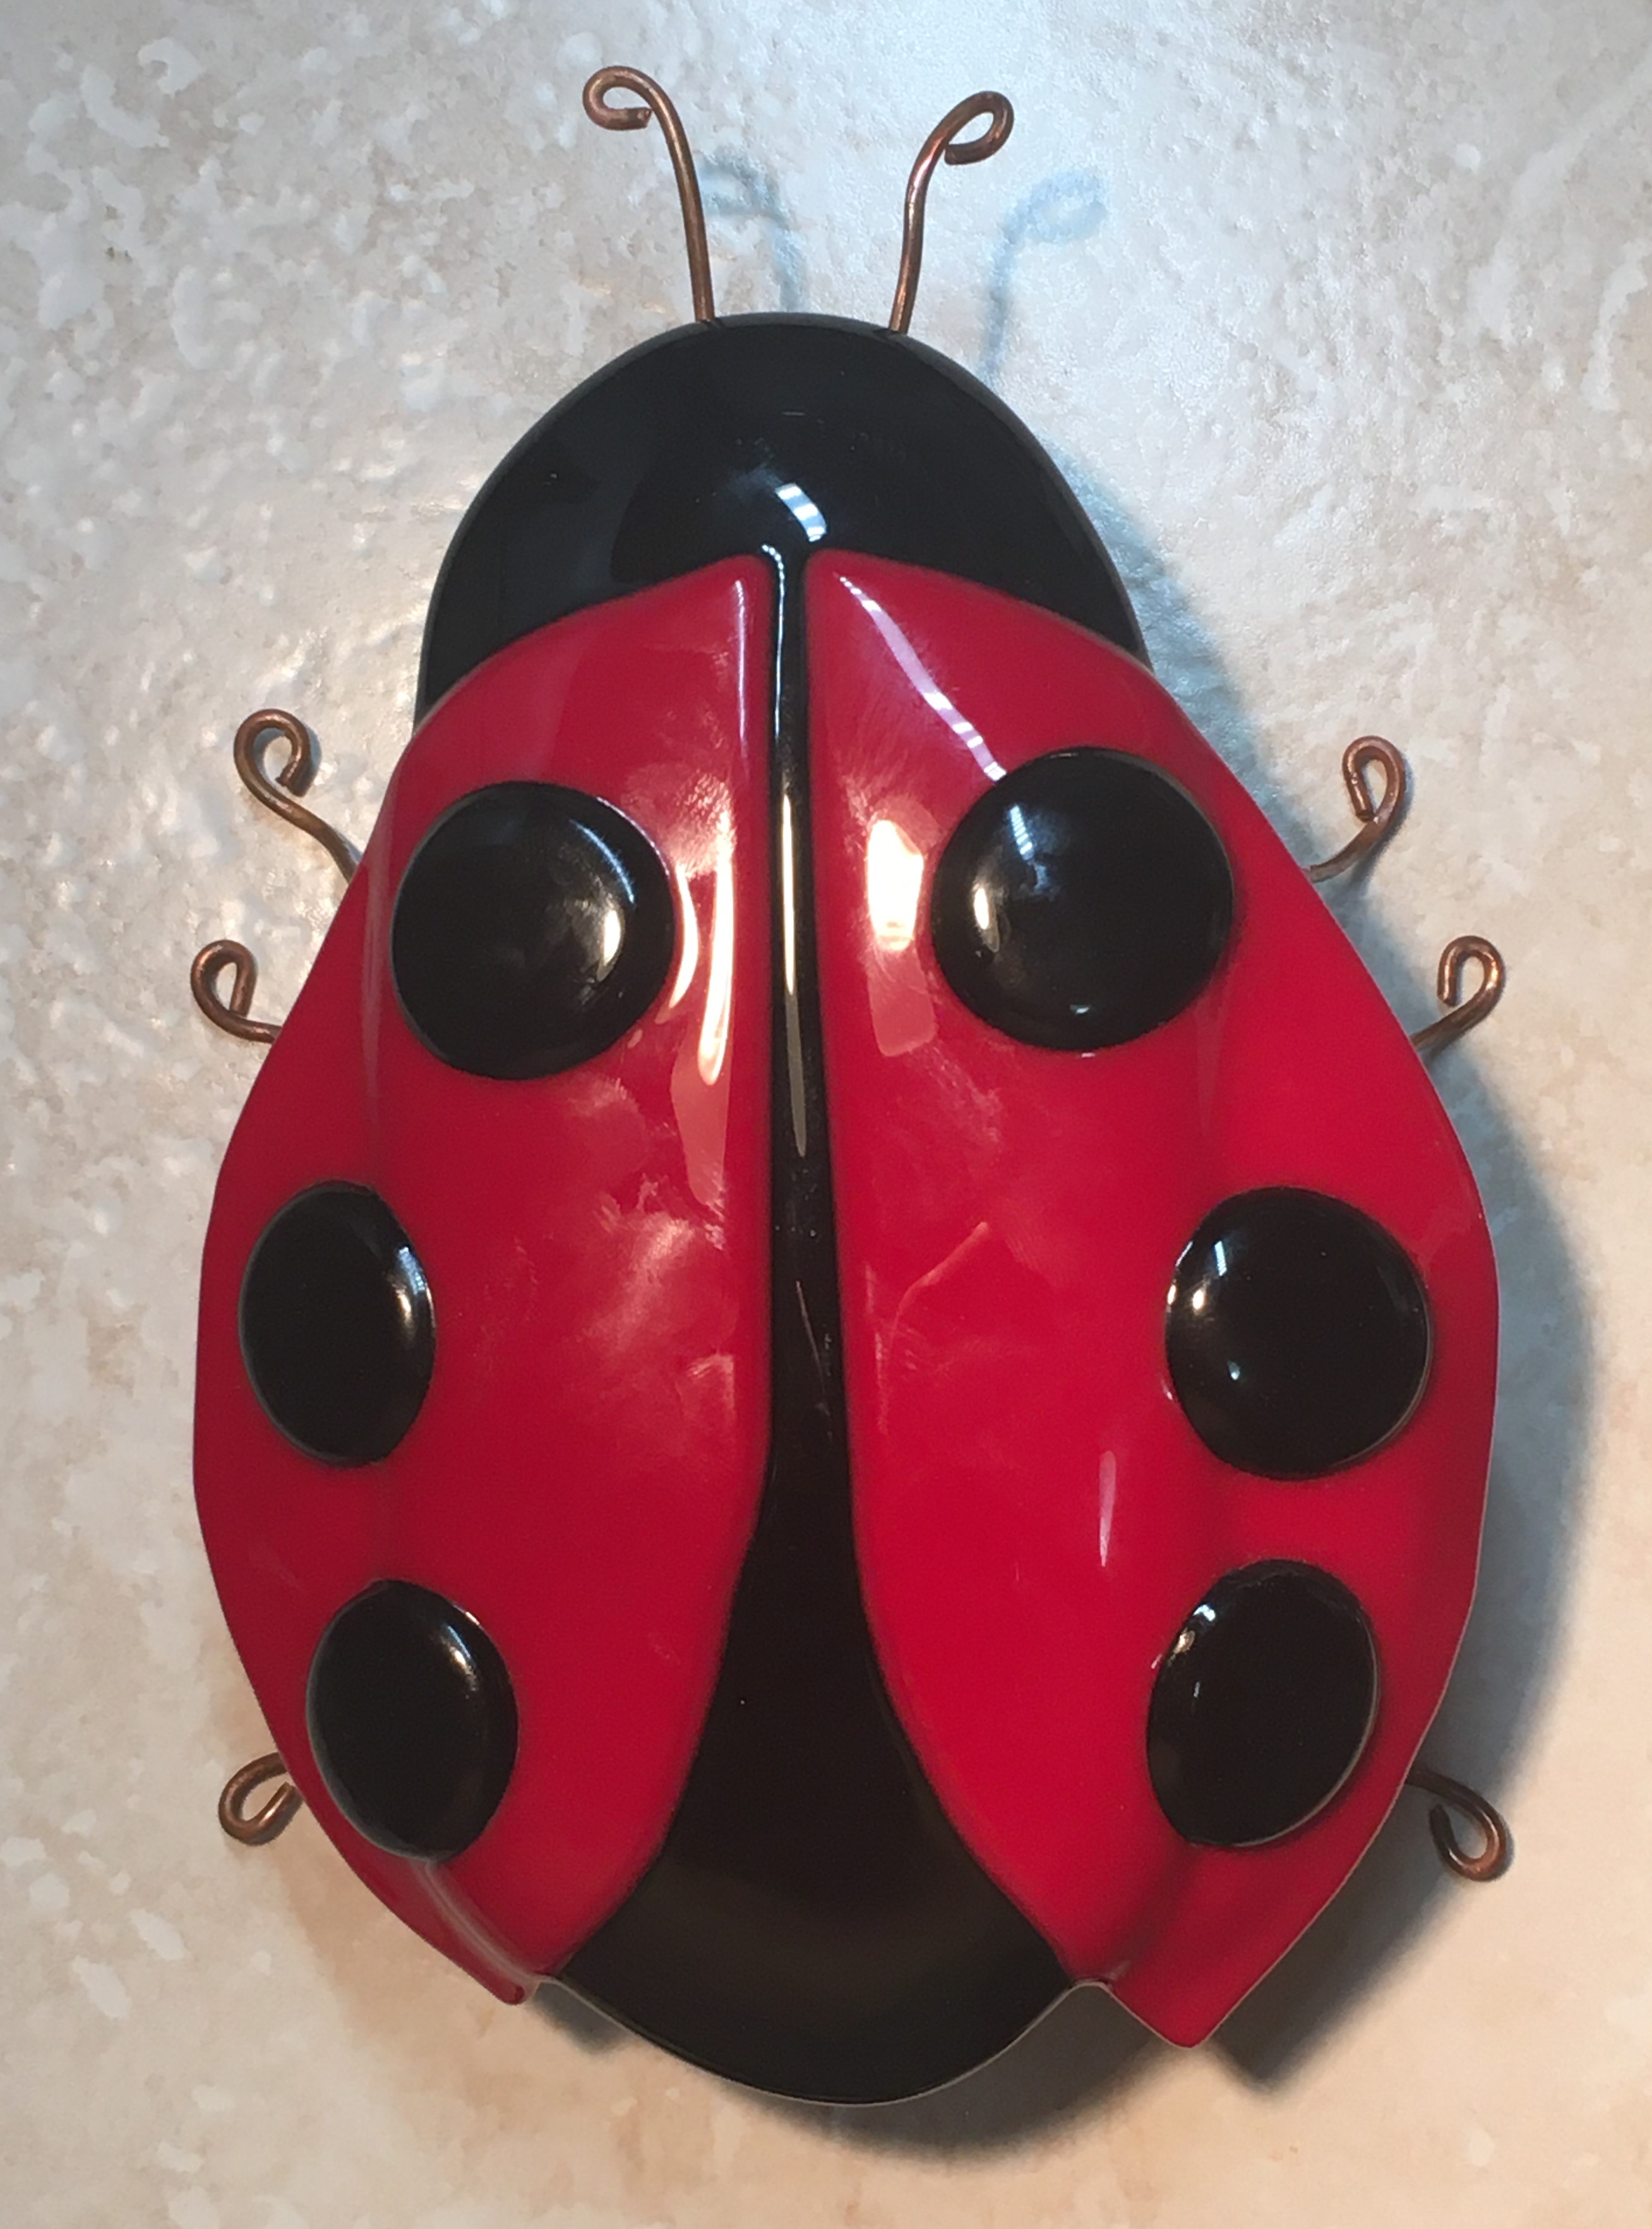
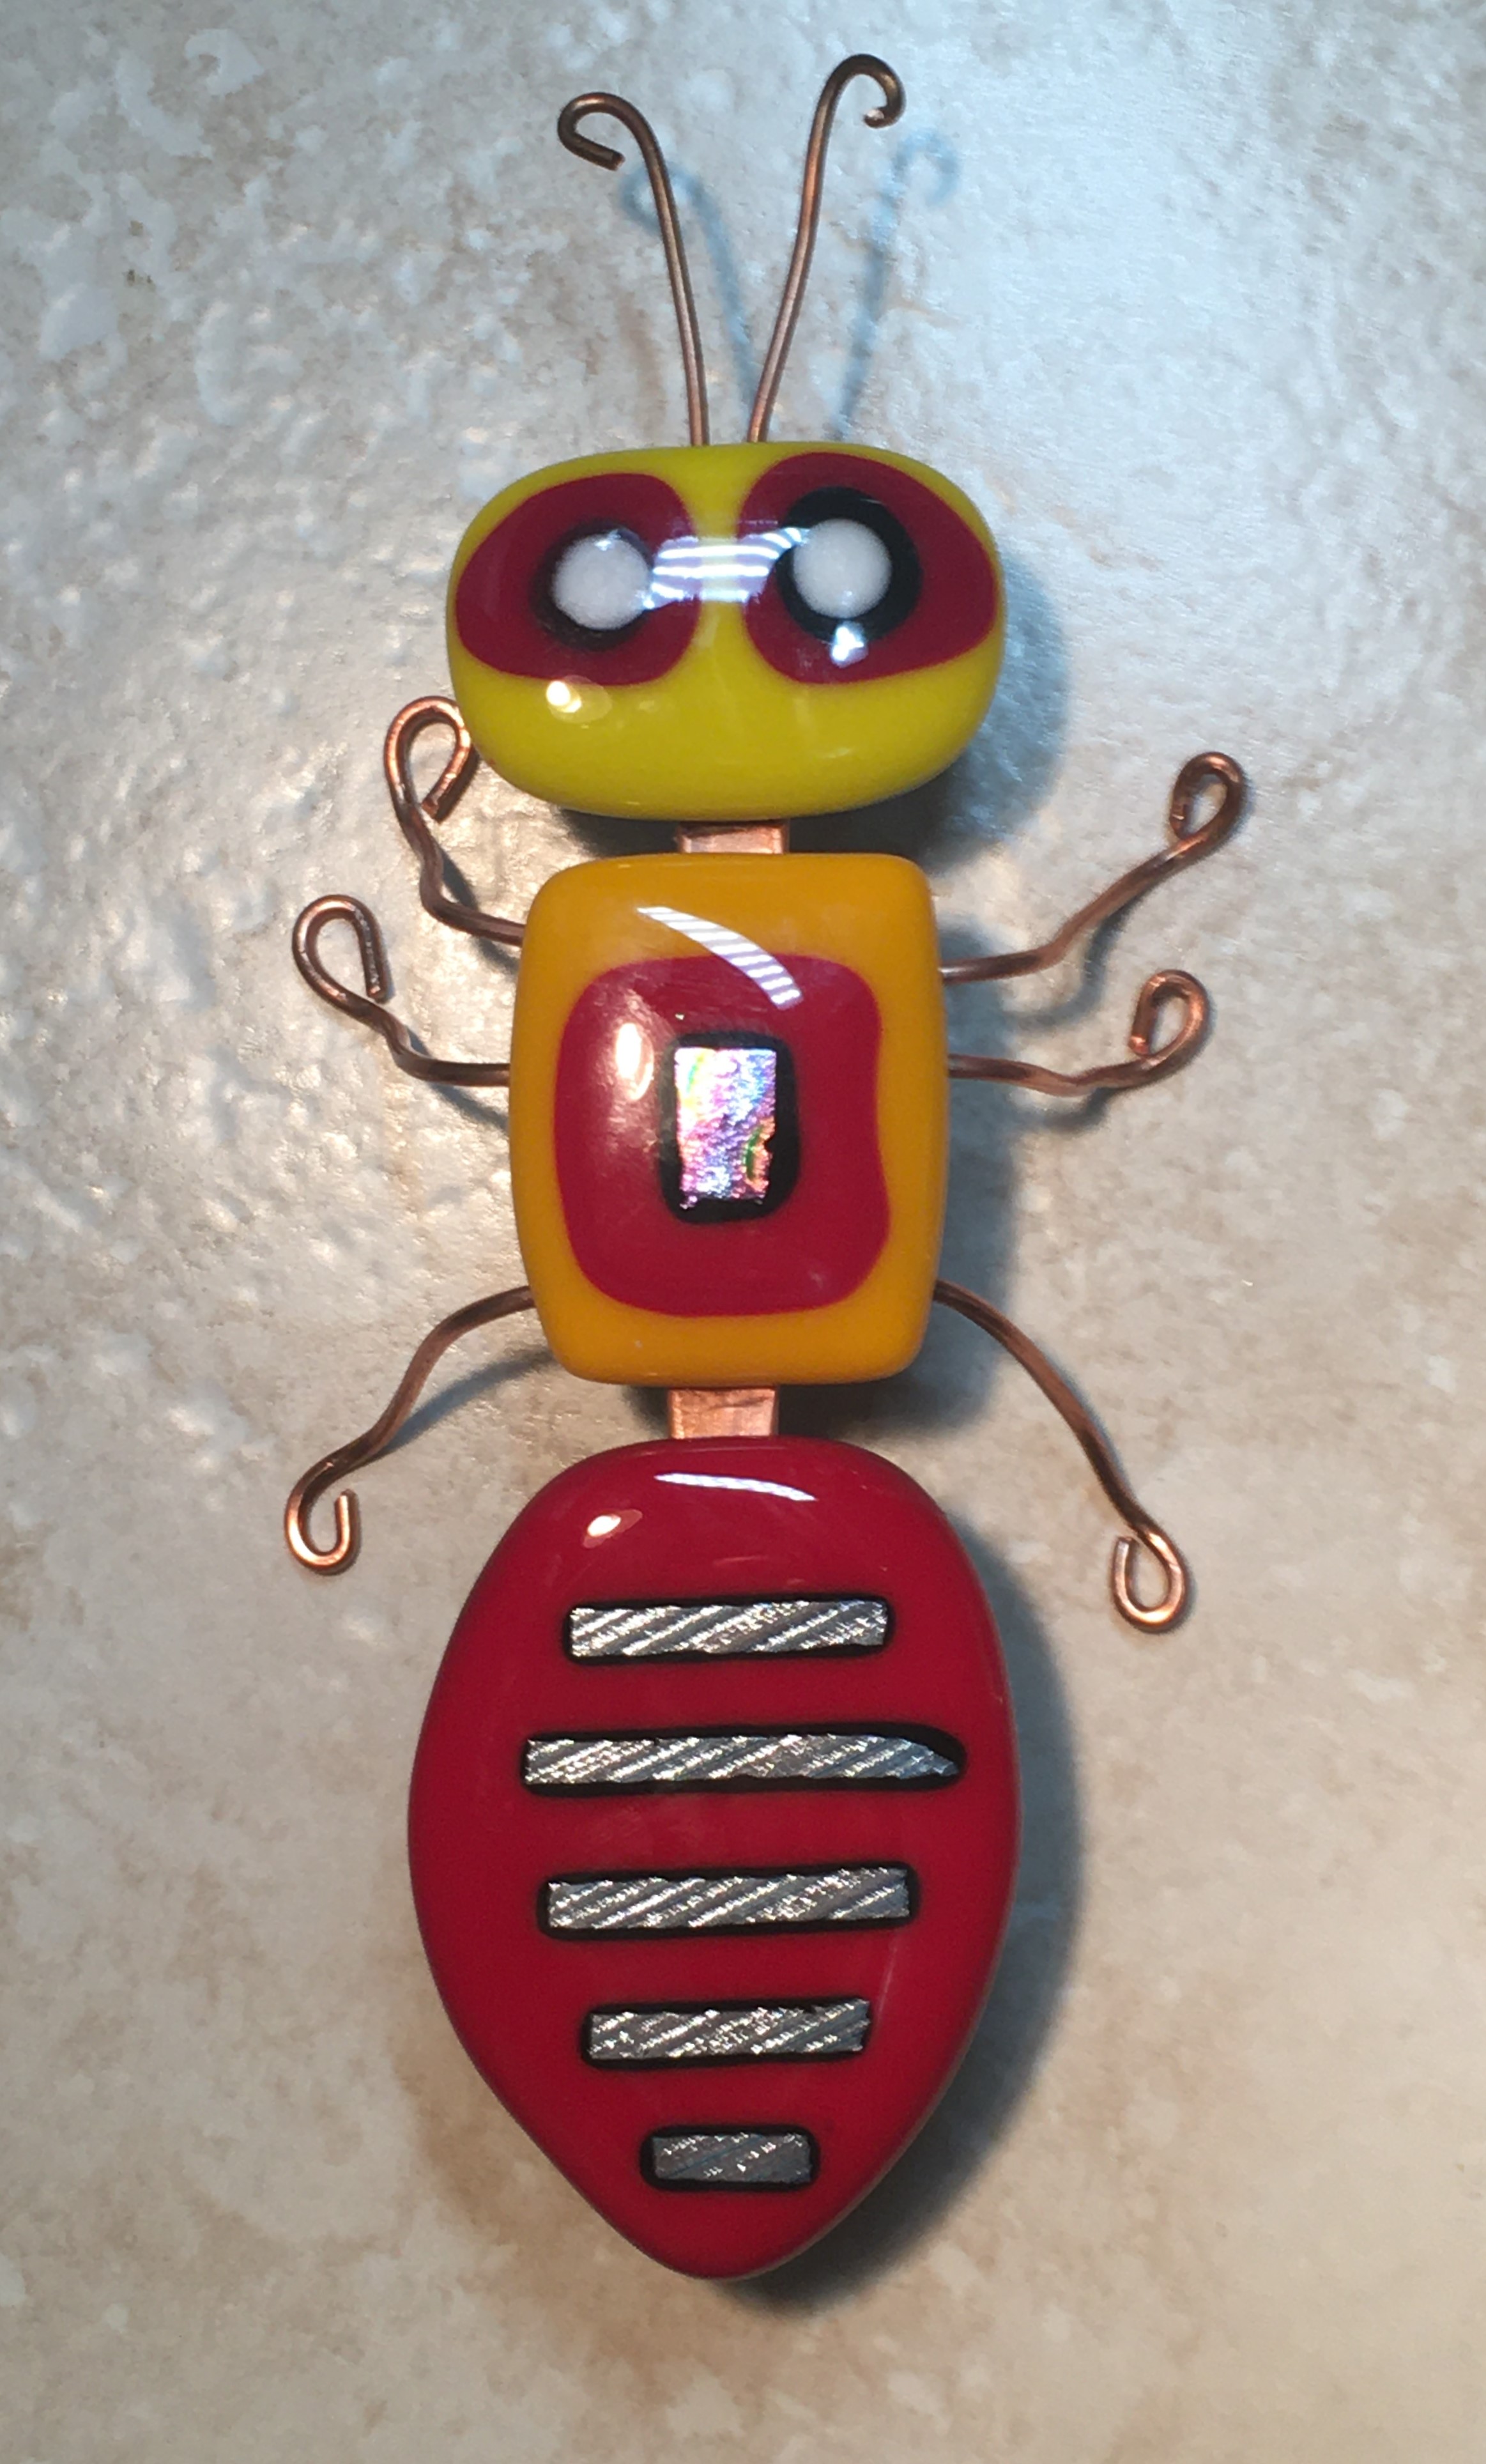
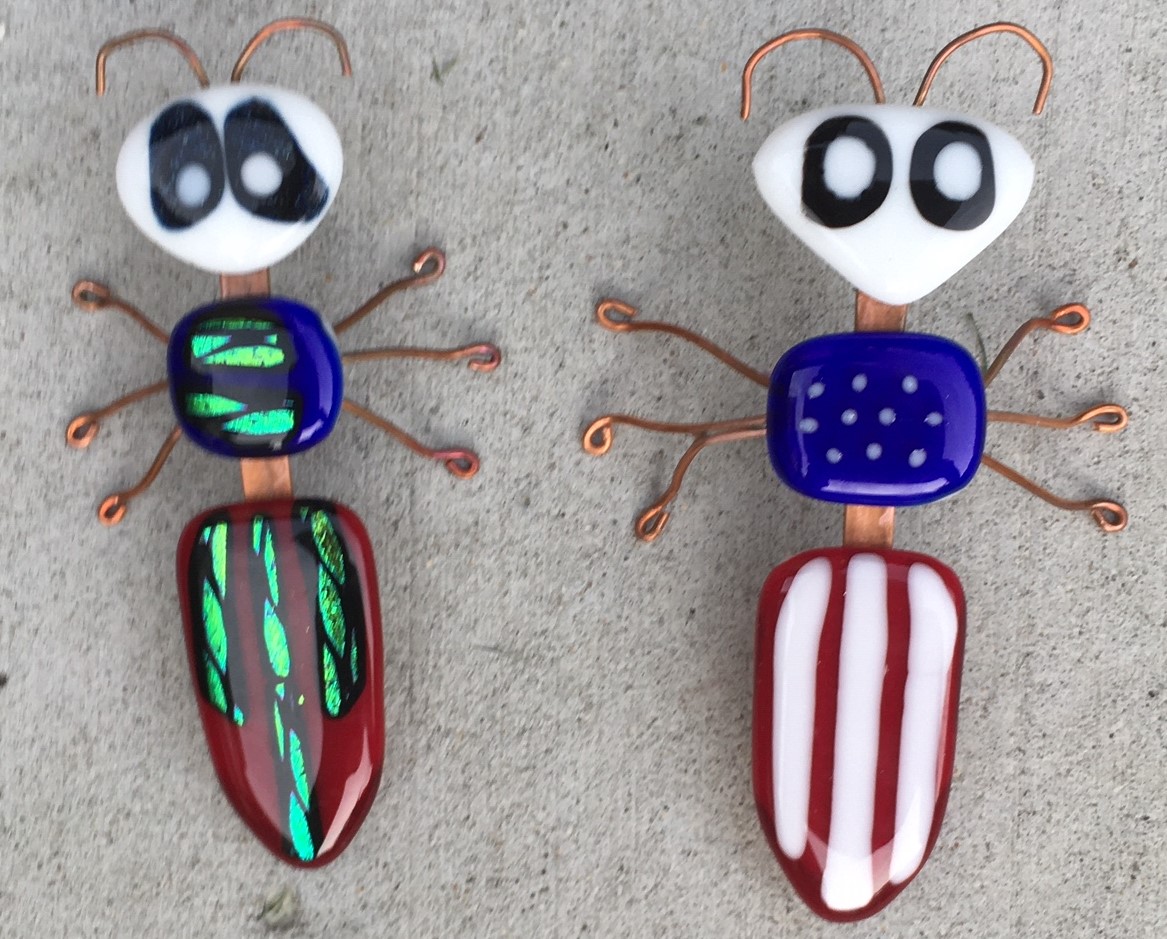
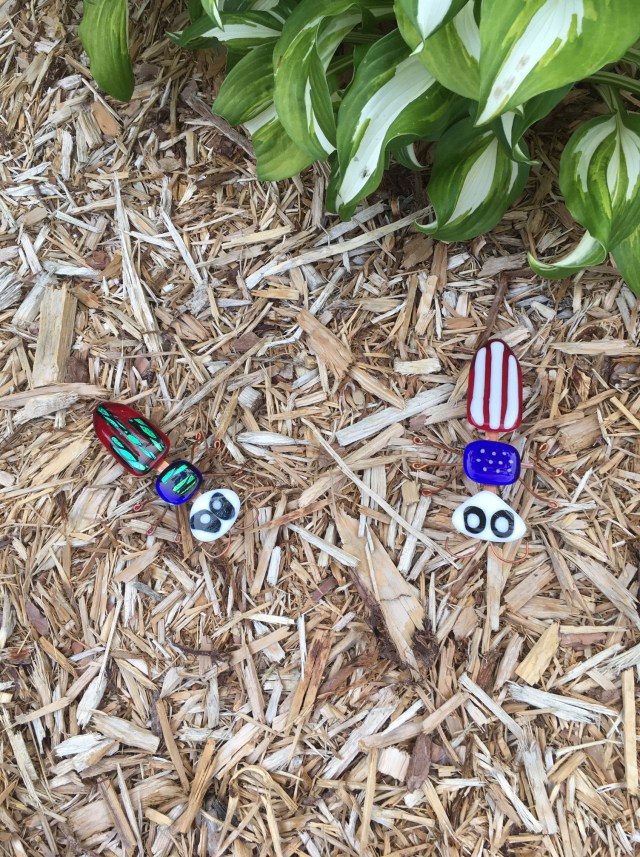
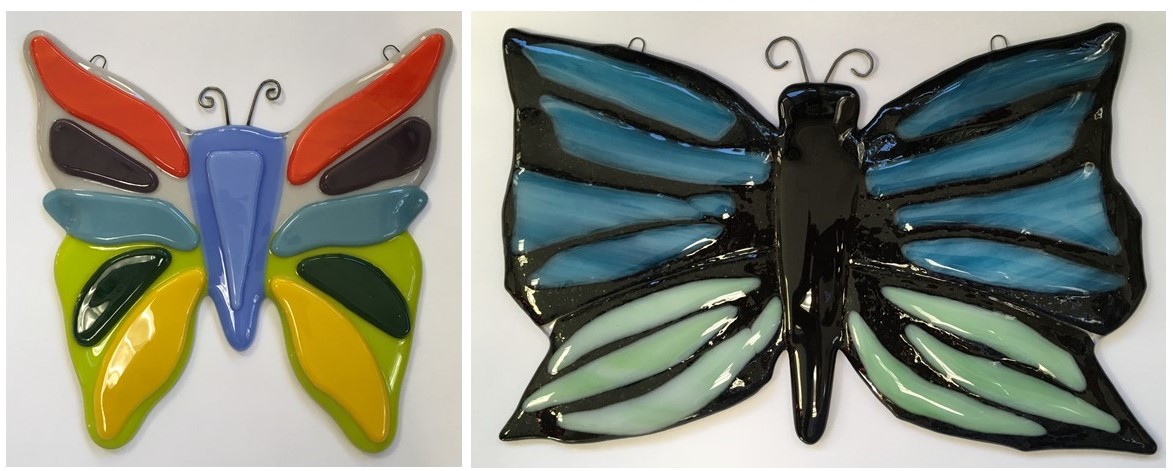
This year I am dealing with a bug invasion of my own making. Having seen some photos of fused glass garden bugs, I decided to make some of my own. Using the same technique that I did last year to make a centipede for my garden (see June 7, 2019), I created some more.
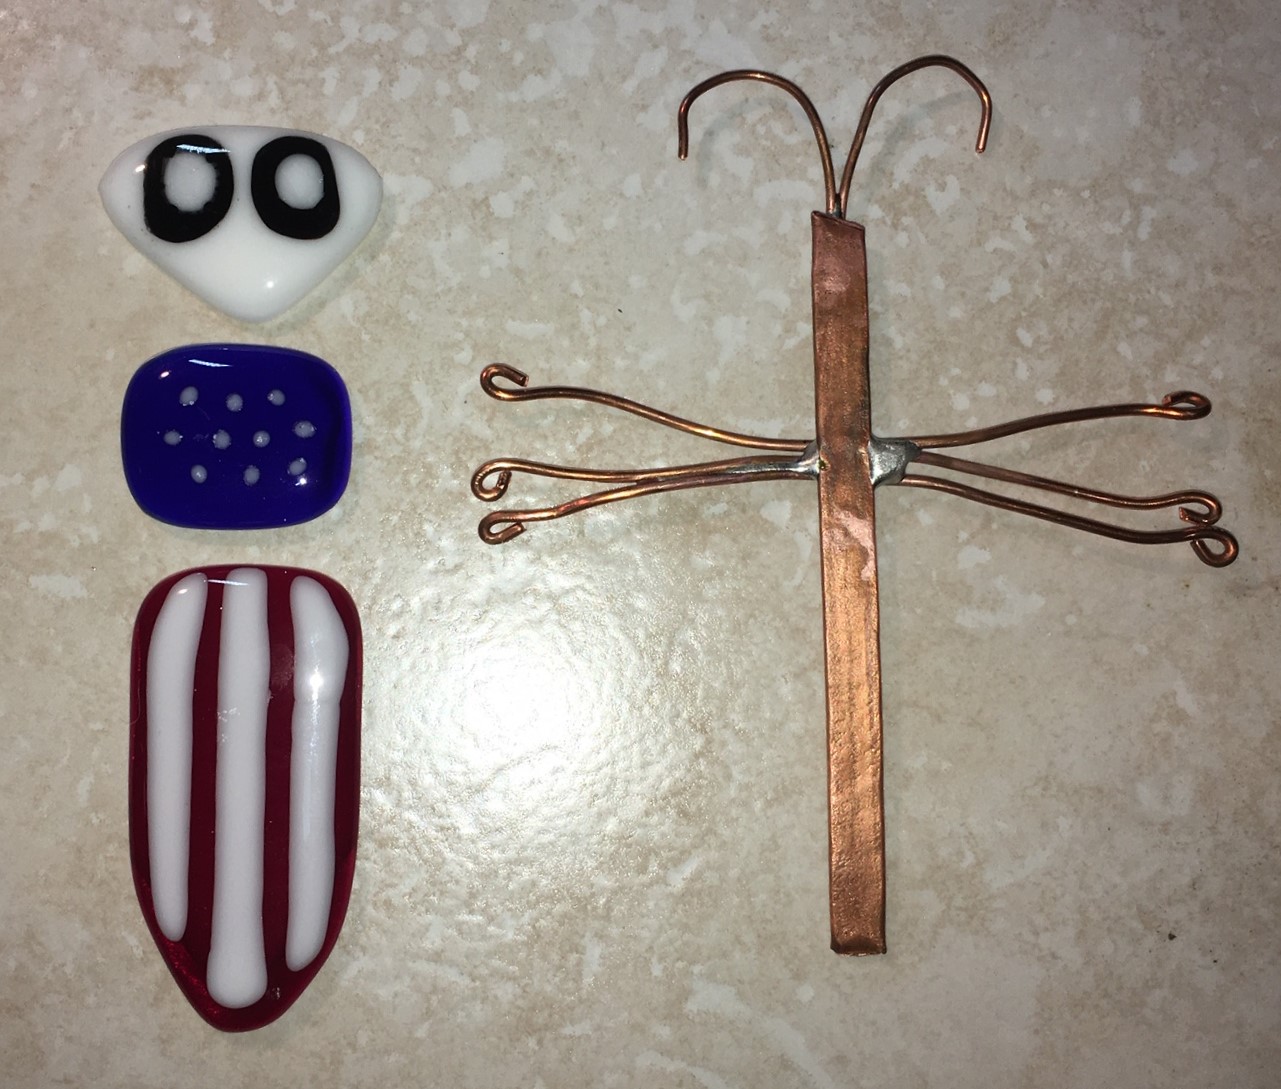
In order to conserve expenses, I sorted through my scrap glass and found pieces that would work for each bug. The glass pieces were then fused following full fuse and contour fuse schedules.
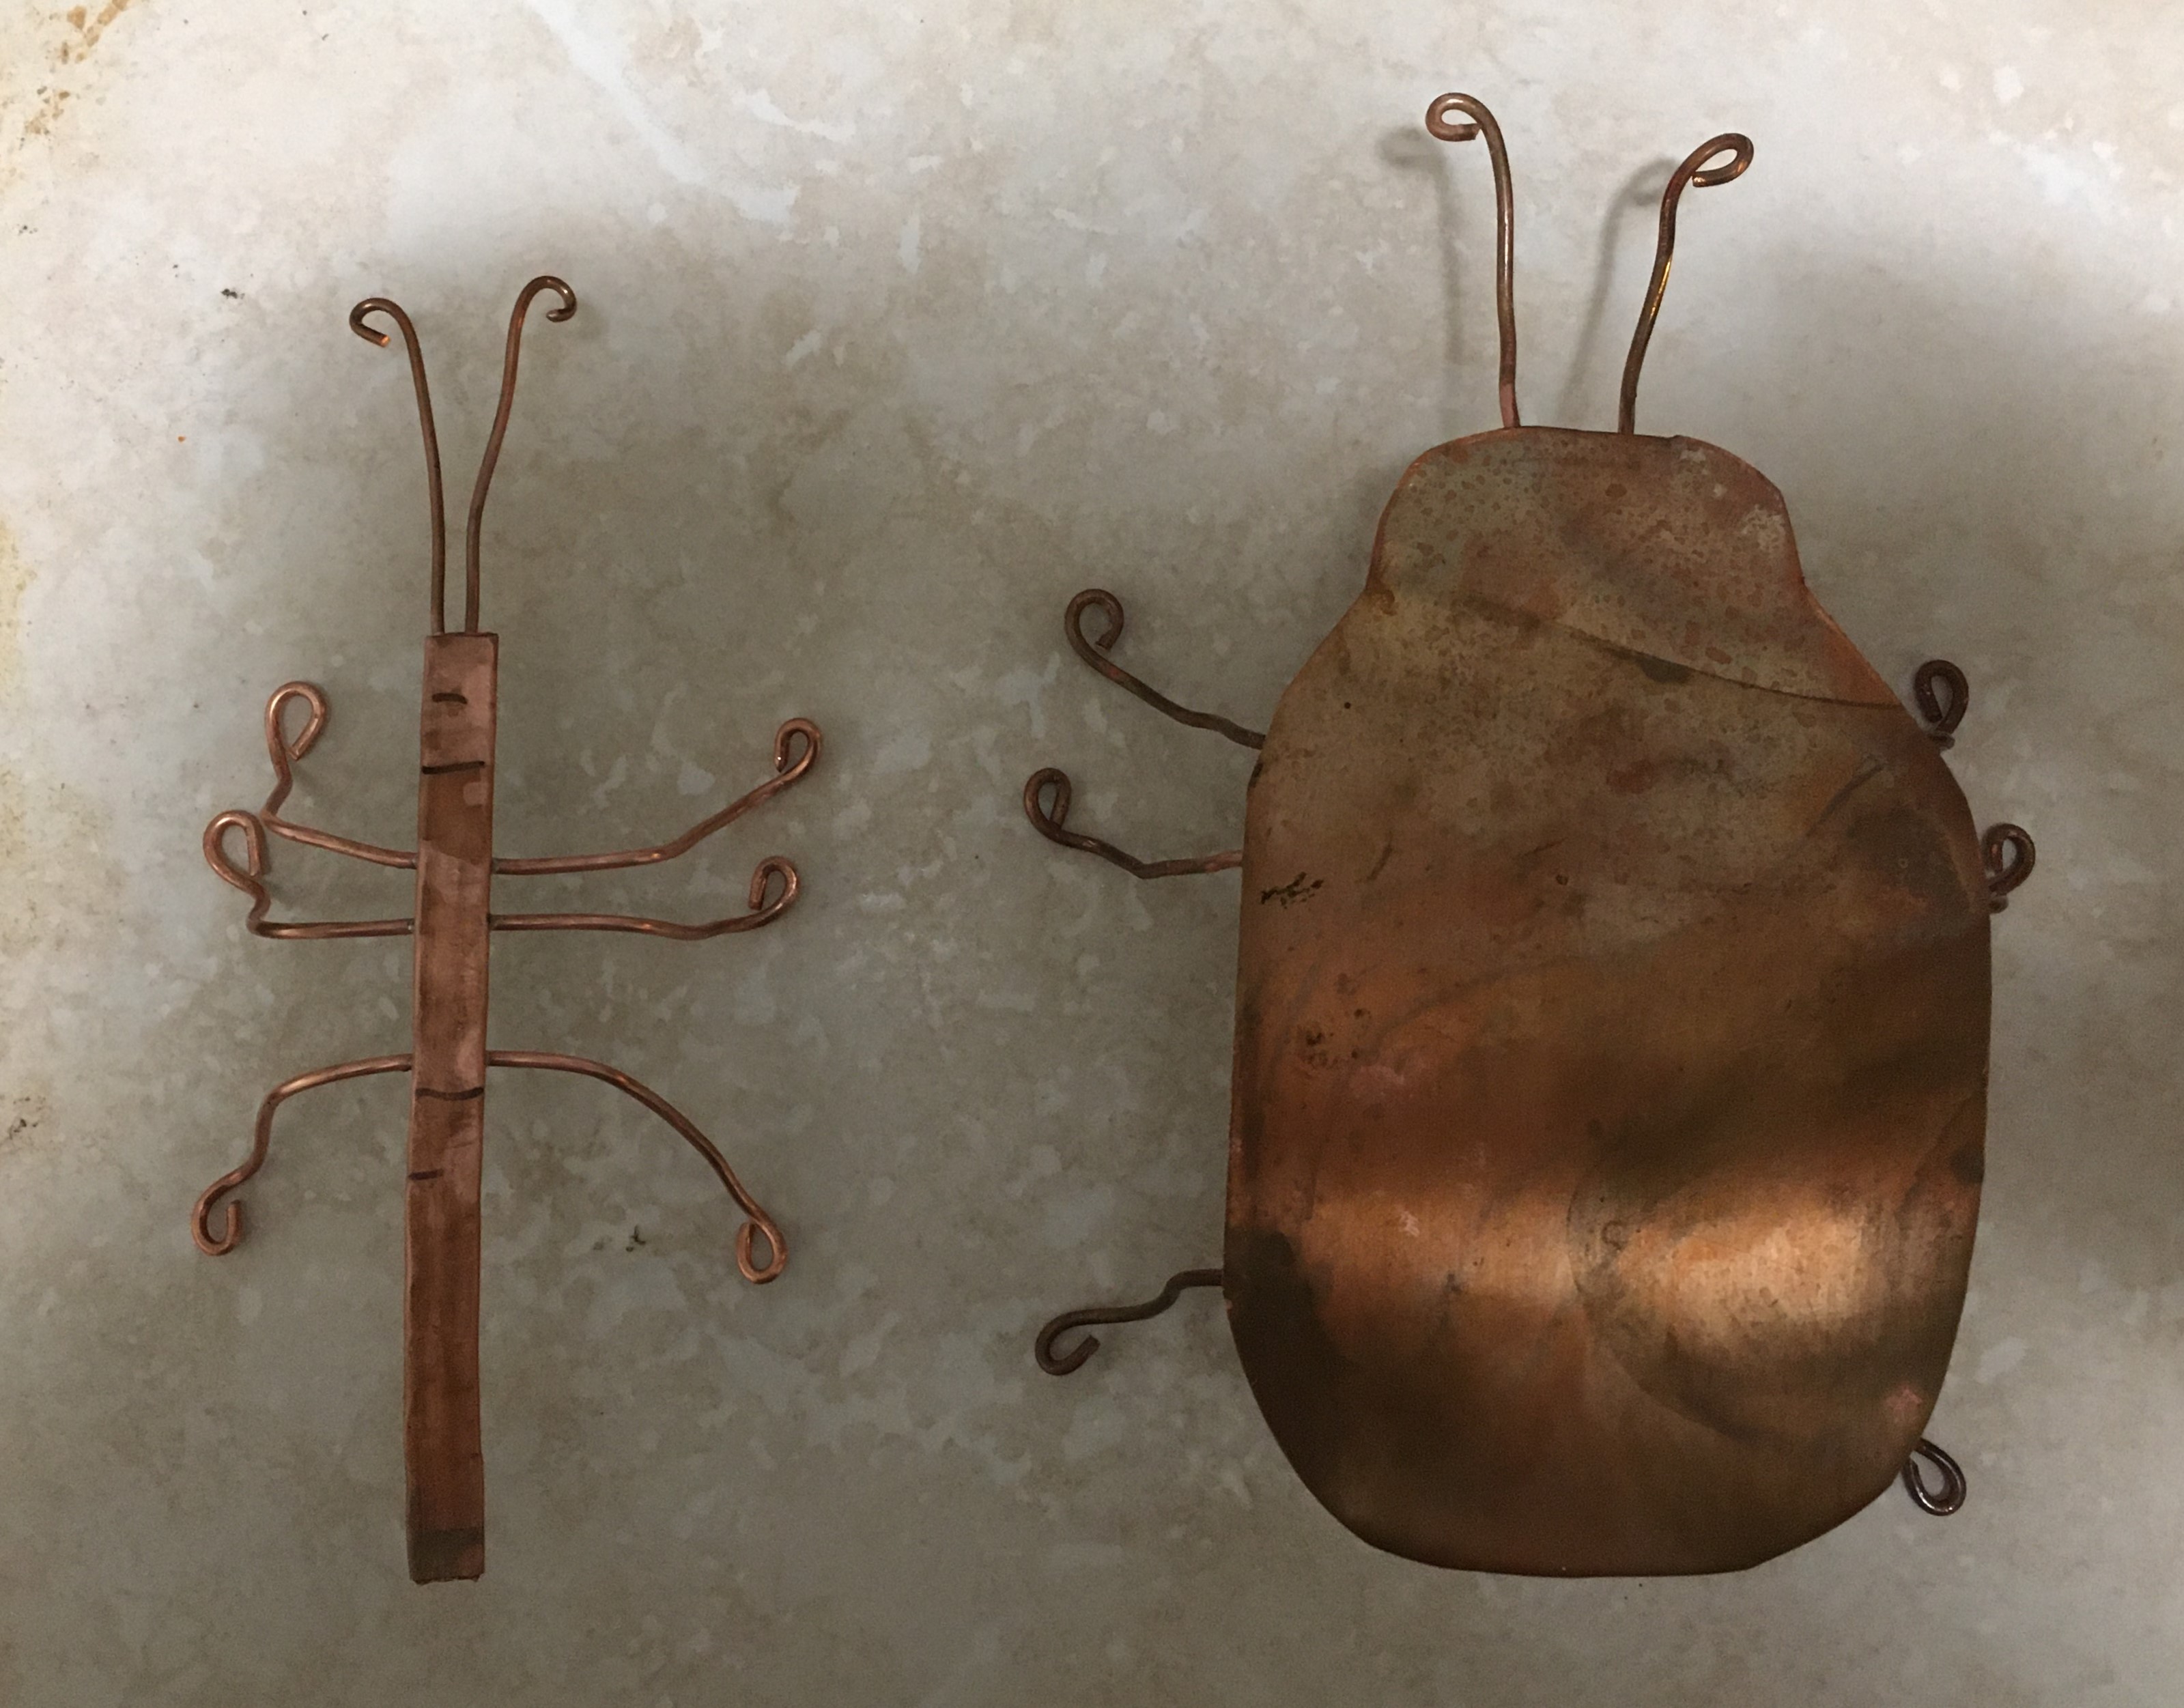
The copper exoskeletons were made from scrap copper sheet, pipe pounded flat and wire soldered together.
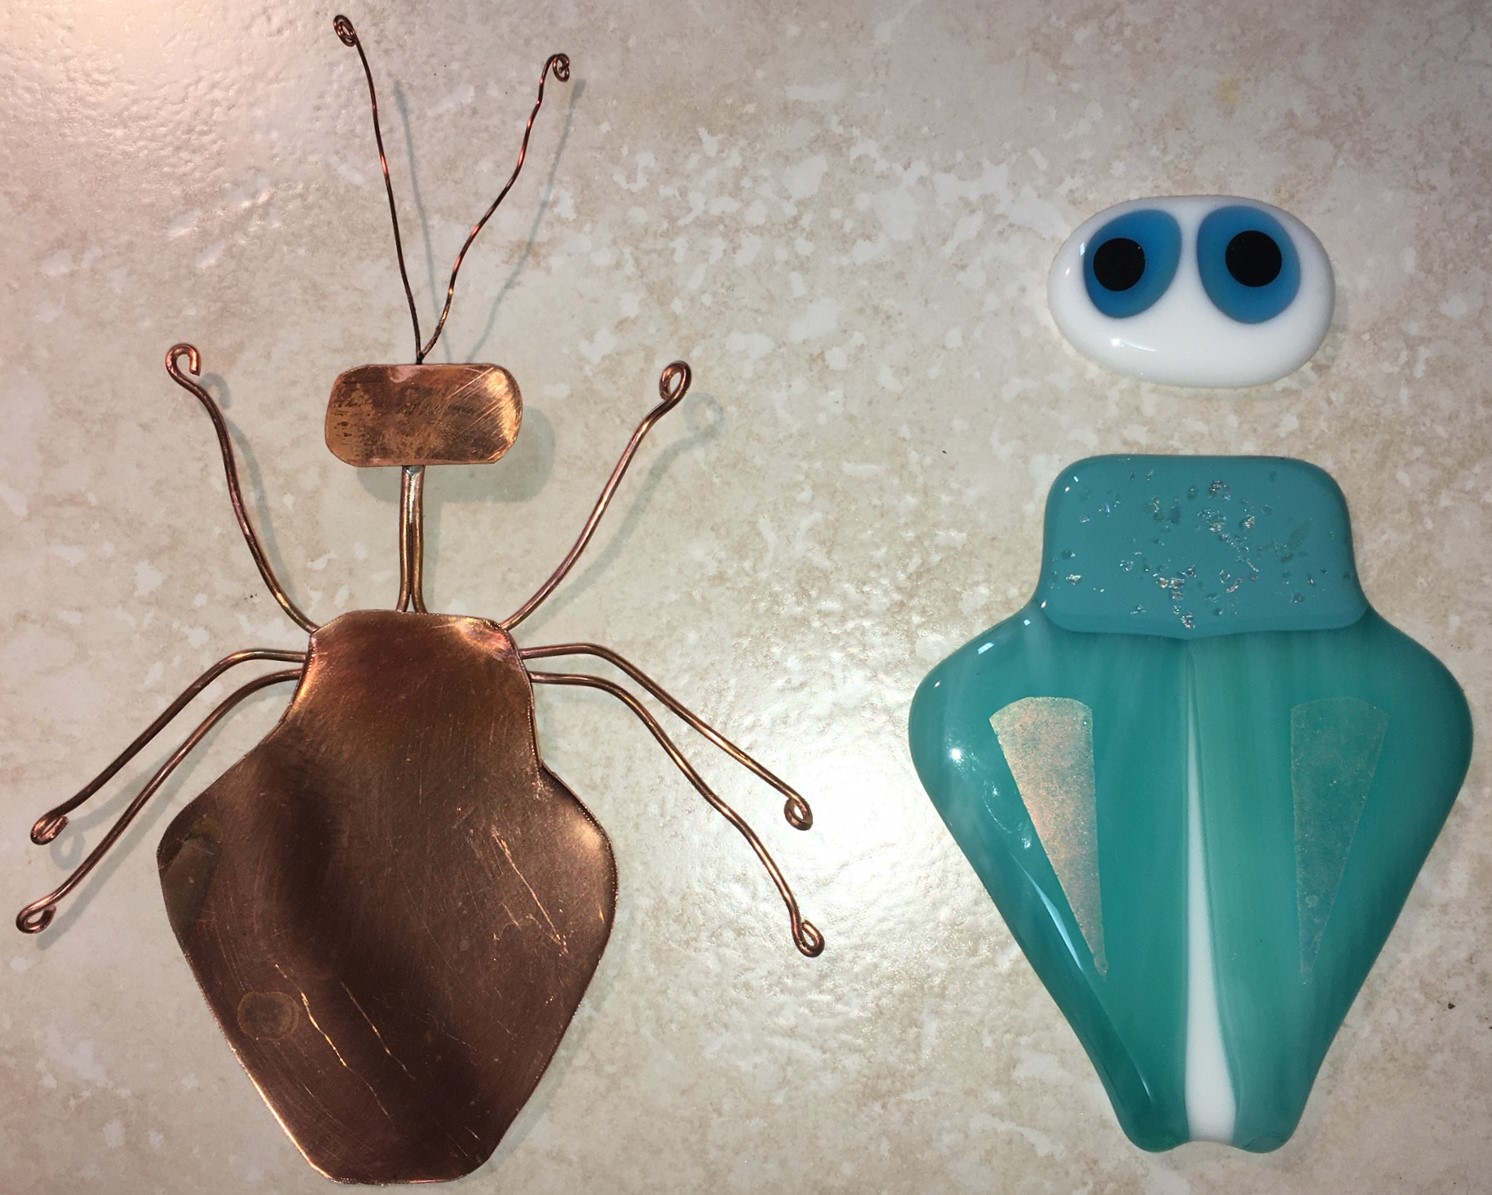
The glass was then adhered to the copper exoskeleton using E6000 adhesive
I now have some fun bugs in my garden. And, these bugs won’t find their way into my house!
For those that are unaware, I am a pediatric dentist by profession. I work with a group of seven doctors and 37 staff. Nearly all of the procedures we perform (tooth cleanings, filling, crowns, etc) create an aerosol. This is problematic in the current viral pandemic because the aerosol could put everyone at risk. So, we know we will need to change our PPE (personal protective equipment) when we reopen our practice.
Because all of the PPE is being directed to medical facilities, as a dentist, it is nearly impossible to obtain face shields and masks. In anticipation of this being a problem, when my son came home from NYC, I spent some time talking with him about 3D printers and how to use one to make our own masks and face shields. I am very fortunate that, as an architecture student, he has lots of experience with several types of printers.
With his help, several weeks ago I purchased a Prusa printer kit. I ordered a kit for two reasons. First, it was less expensive and I could get a better printer for less cost. And, more importantly, the cost of the kit was just below the limit for having to pay import duties. The kit took 18 days to arrive. I am really glad I ordered when I did, because the estimate now is 5-6 weeks.
When the kit arrived, we needed to build the printer. Okay, to be honest, it was mostly my son who put it together. But, I did do a couple hours of the process. The kit was like trying to build a house sold by IKEA! The manual for putting it together was 225 pages long. Fortunately the directions and photos were excellent.
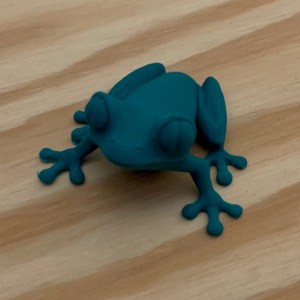
It was exciting when the build was completed. The first thing we printed was one of the sample files that came with the printer. It was a tree frog.
Since the plan is to print things for use in my dental office, I wanted to verify that the printed items could be sterilized in our office steam autoclave. I took the frog to one of my offices and tested it in the autoclave. The plastic filament was not impacted by the heat or the steam. However, I forgot that the frog was printed as a hollow form with air trapped inside. So, when the air heated up and expanded, it caused the belly of the frog to pop out. I now have a pregnant looking frog!!. This should not be a problem with the other items I plan to print because they do not have a large space with trapped air.
I am in the process of testing out different face shield and mask ideas. I’ll give an update on those in a few days.
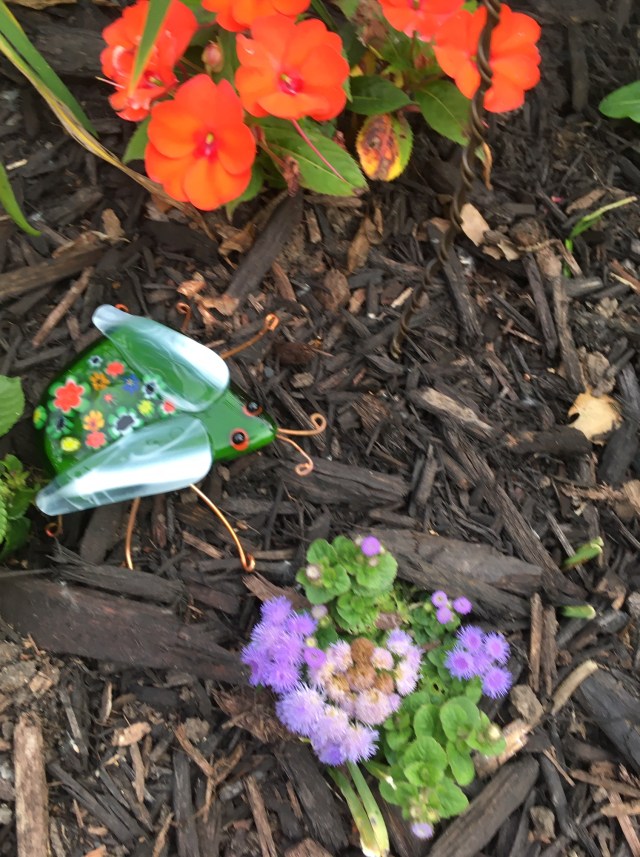
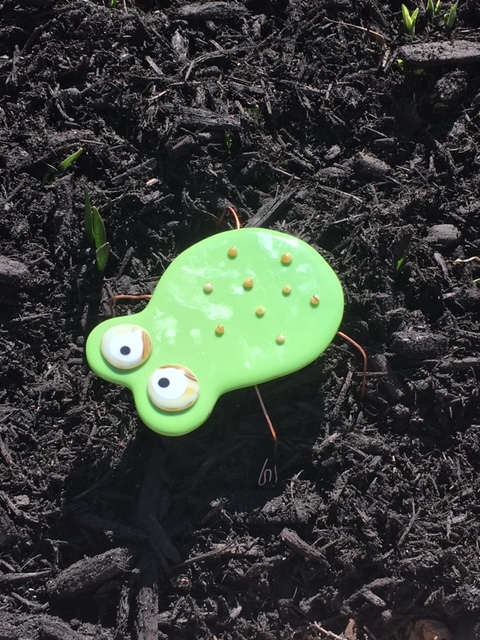
In the meantime, and keeping with the frog theme, I thought I would give some information about a new piece of garden art that is in my flower bed. Over the winter, one of the glass projects I made was a really cute frog.
The construction of this was somewhat similar to the turtle that I made last summer (July 14, 2019 post). It has a copper understructure with copper wire legs soldered and the glass attached to the copper. When making it, I didn’t want to mess around with creating a custom slumping mold to “shape” the frog. So, I left the glass flat. Once the flowers start growing, I think this will be really cute in my garden.
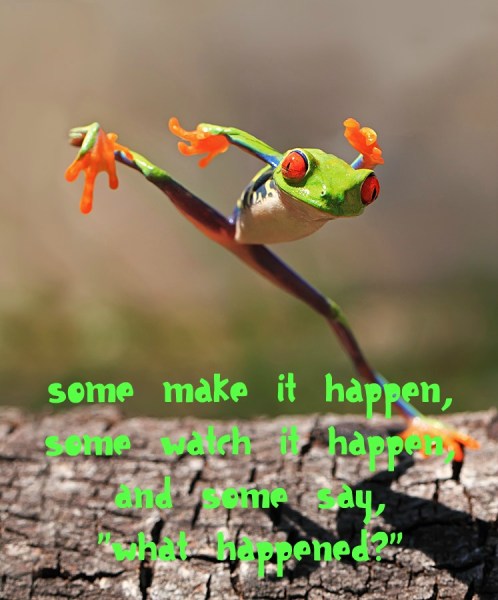
Who knew there were so many inspirational quotes about frogs (google it and see for yourself)!
Each day, I spend time watching webinars, reading research papers and thinking about the ideas on how to prepare for providing dental treatment when we are allowed to reopen, while still protecting my patients, my staff and myself.
But this time can also cause a lot of anxiety. So, this weekend, I also spent some time outside working in my yard. The weather was so much better than last Sunday. Sunshine and fresh air is great for reducing anxiety.
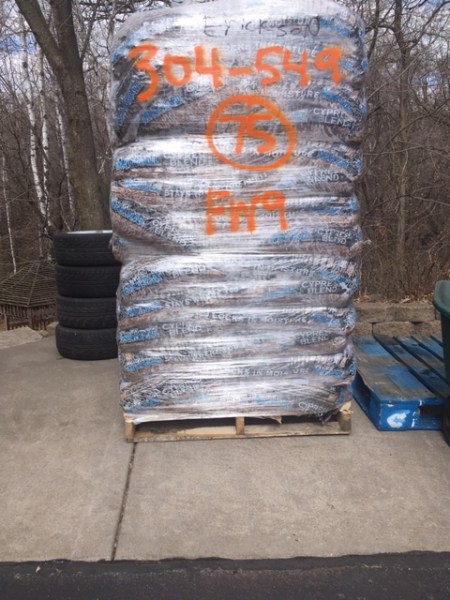
On Tuesday, I had a load of mulch delivered. Seventy five bags of cypress mulch to spread around the shrubs and trees. And, ten bags of black mulch for the flower beds (I like how this mulch looks like dirt when spread around flowers). So, this weekend, I starting spreading the mulch and making my yard ready for summer.
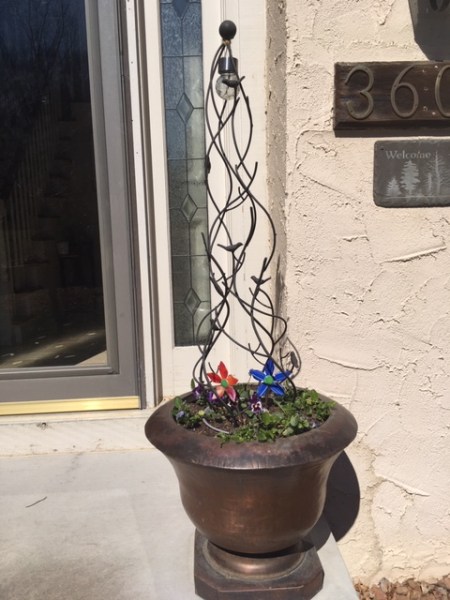
I also pulled out my yard art and put them in the planting beds and planters. It’s nice to have something lovely to lift my spirit.
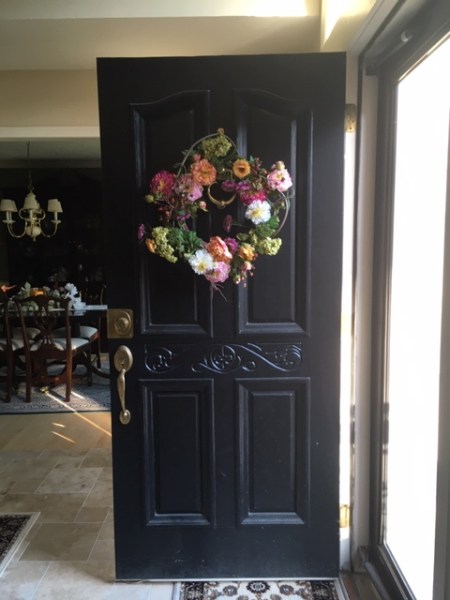
A few weeks ago, I found a lovely flower wreath for my front door. It really brightens up my entryway.
I even put out some new yard art that I made over the winter. I now have a glass frog and a glass ladybug in my planting beds. I’ll give some details on how to make these later this week.
What really made today perfect, was reflecting on God’s creation around me.
The beauty of the flowers popping through the ground.
The delight of the bird’s singing in the trees.
The wildlife wondering through my life (well, maybe not the turkeys!).
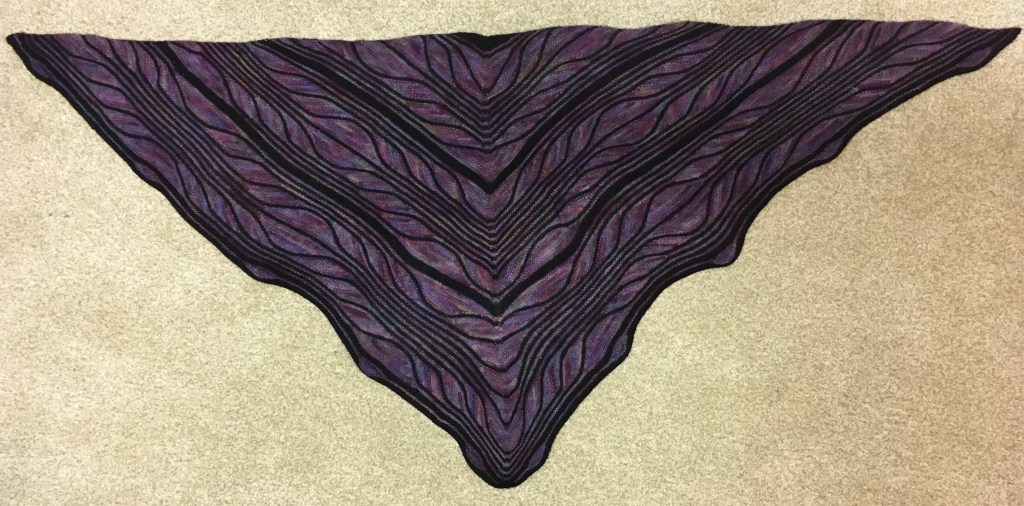
Recently, an email from a yarn store featured several new patterns. The Butterfly/Papillon shawl pattern by Marin Melchoir caught my eye. Later that same week, while shopping a a local yarn store (Three Kittens, Mendota Heights, MN), the owner was wearing the shawl. Written for fingering weight yarn, this was the weight of yarn she had used for her shawl. I really liked the pattern, so I purchased it. However, I wanted the shawl to have more “movement”. So, instead, I knit the shawl in lace weight yarn, using the indicated needle size. This created a softer, lighter version of the shawl, but the same size as the pattern.
I really like how the shawl turned out. However, I’m not sure whether I will make another. This shawl took about 40 hours to complete!
The Minnesota Dental Foundation held their annual One Smile Gala last Friday evening. The gala was an evening raising funds for the Foundations outreach to the under served in the state. It was a fun evening seeing colleagues and friends from around the state.
The vision of the Minnesota Dental Foundation is to eliminate unmet oral health needs in Minnesota. The Foundation raised over $1M in 2018. These funds were used for the Minnesota Mission of Mercy, Give Kids a Smile, and several other programs.
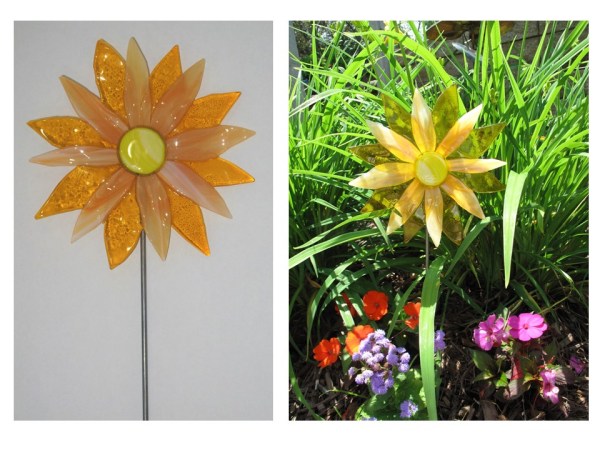
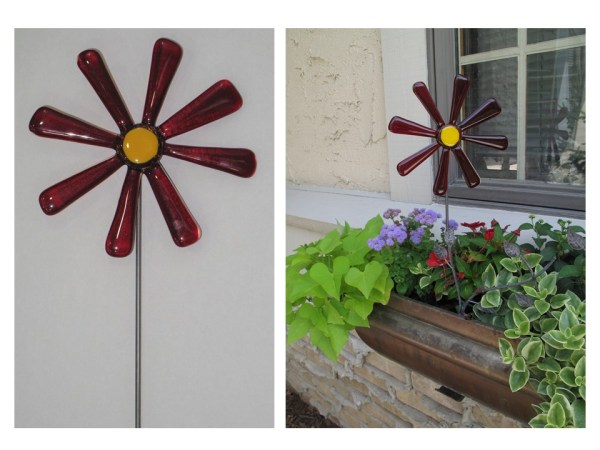
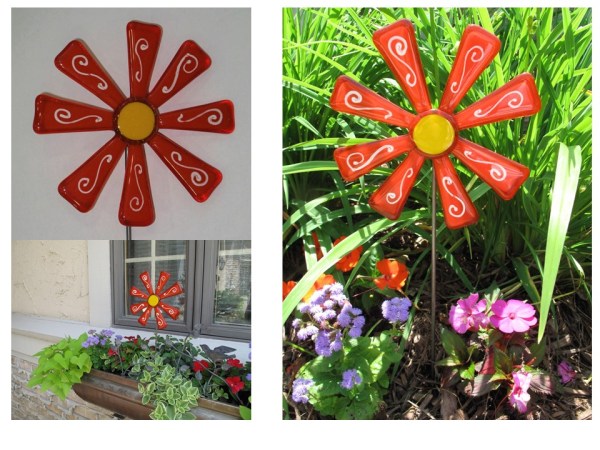
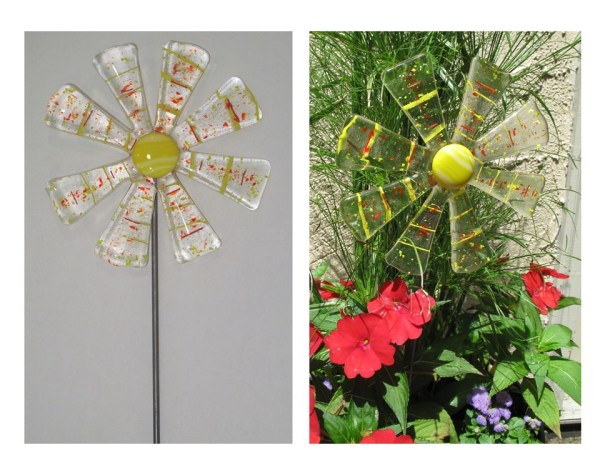
Along with attending the gala, I also donated a few glass items to the silent auction.
These garden flowers were well liked and raised a couple hundred dollars for the foundation. Perhaps next year I will do some other glass garden art for the auction.