I started gardening when my boys were very young. When they were playing outside, I needed to be there to watch and supervise them. While I would play with them, I found myself thinking of ways to enhance my landscaping and would decide to do something new to plant. When I were planting, I would have the boys help me. As young boys, their favorite thing was to haul mom’s supplies with their Tonka trucks. I would often have to walk behind them and pick up plants, rocks and/or mulch that bounced out of their trucks, or weeds that never quite made it to the disposal area. Now that my boys are older and no longer playing in the yard, I still enjoy the time in my gardens. Working in my gardens has become a relaxing and creative thing to do.
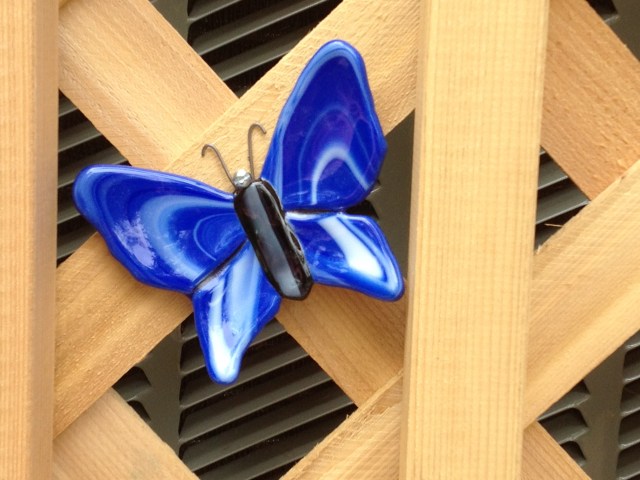
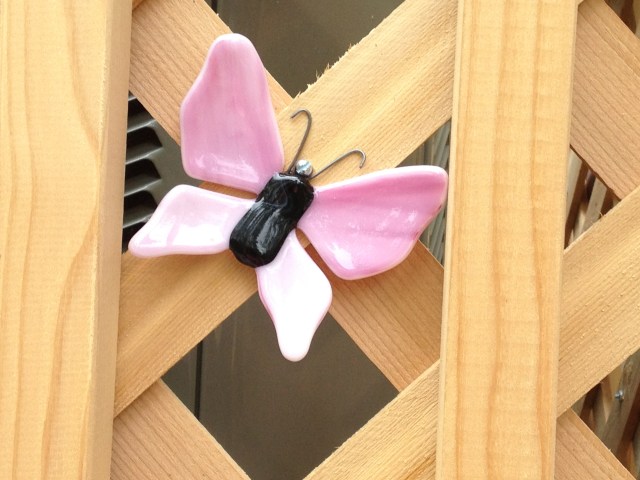
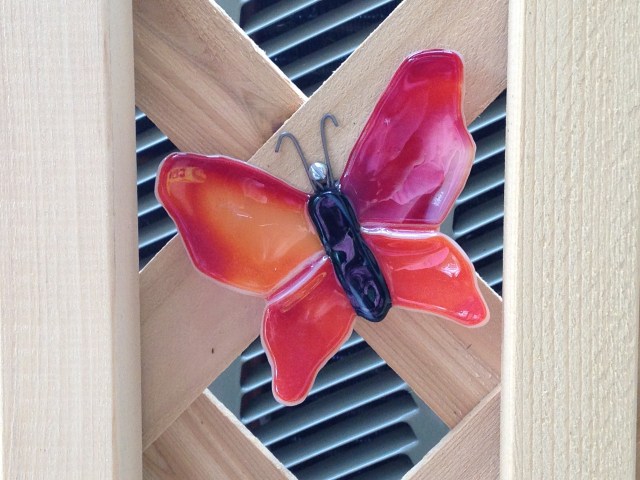
One of my more recent joys is to make art for my gardens. One of these yard art pieces was a beaded watering can that I posted about two years ago (July 12, 21017). Recently, I saw another watering can idea and decided to add it to my gardens.


So, another new project – a lighted watering can!
Materials
- Watering Can. Unable to find a copper one to match the copper art in my yard, I found a copper colored brass one at Target that I decided would work.
- Fairy lights. I originally tried using solar lights, but found that they did not last. After one week, and trying several different types of rechargeable batteries, they would not hold a charge. To replace them, I purchased battery operated lights that had a four hour timer. These have been in my yard for over a month and are still working well.
- Drill with metal drill bit.
- Support to hold battery case inside the watering can.
- GorillaWeld epoxy
- Brass wire
- Shepherd’s Hook
Steps:
- To allow for water to drain, drill a hole in the bottom of the watering can on the same side as the spout.
- To help keep the battery case from getting wet, mount a support for the case to the inside of the watering can on the same side as the handle. The case will be protected by the metal of the can and less likely to be damaged by rain. To mount mine, I searched Home Depot for ideas and settle on a piece of CordMate plastic that was mounted with GorillaWeld epoxy. Follow the directions an allow the epoxy to set properly before proceeding.
- Carefully feed the wires of the fairy lights through the spout of the watering can. This is a slow and tedious step. I found that feeding two strands at a time was more successful than trying to push several through together.
- Insert batteries and place the battery case on the support piece inside the can.
- Detemine the best hanging spot and hang using a Shepherd’s Hook. I drilled two small holes in the watering can handle and used a piece of brass wire to keep the can at the angle that looked best. Depending upon what watering can you use, you may or may not need to do this step.


 Waste Not, Want Not – that is my approach to my crafts. I just hate to throw away fabric, yarn, glass, or anything that could potentially be used in another project. That’s why I have baskets of small pieces of fabric scraps, drawers of larger pieces of fabric, other drawers of yarn, embroidery supplies and beads. I even save small pieces of batting because I never know when I might need only a bit.


 5. Create a slumping mold.

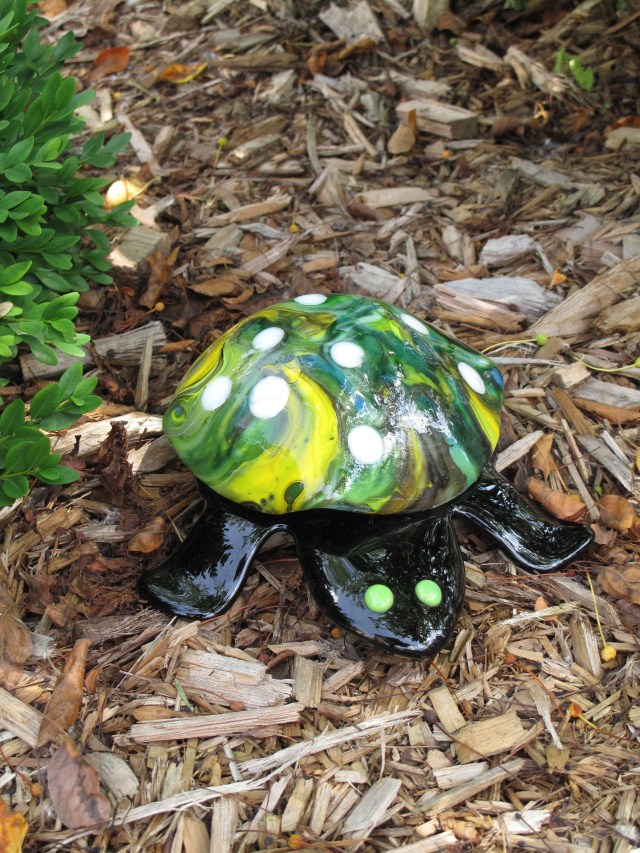
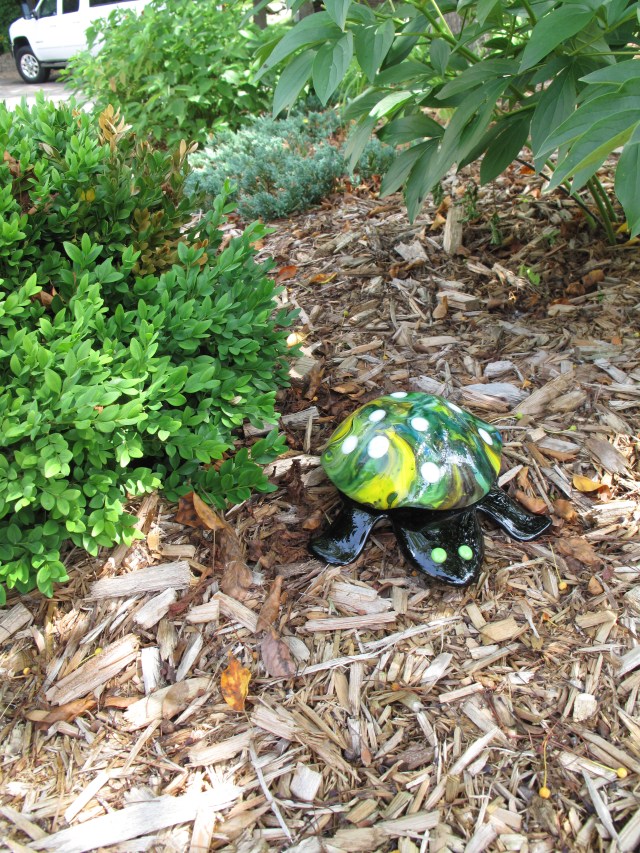
 8. Using the black E6000, adhere one end cap in the center of the back of the turtle and allow to set over night. Meanwhile, run a thin bead of clear E6000 along the edge of the turtle shell and allow this to also set over night. This bead will provide a cushion between the shell and the body of the turtle to avoid having glass against glass that could cause breakage.
 Centipedes (from Latin prefix centi-, “hundred”, and pes, pedis, “foot”) are predatory arthropods belonging to the class Chilopoda of the subphylum Myriapoda, an arthropod group which also includes Millipedes and other multi-legged creatures. Centipedes are elongated metameric creatures with one pair of legs per body segment. They are found in an array of terrestrial habitats from tropical rainforests to deserts. Accordingly, they are found in soil and leaf litter, under stones and dead wood, and inside logs.


 4. Adhere each piece of glass to the framework.


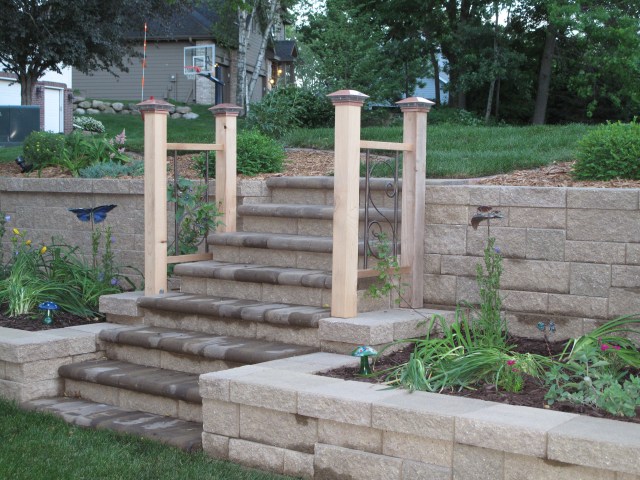
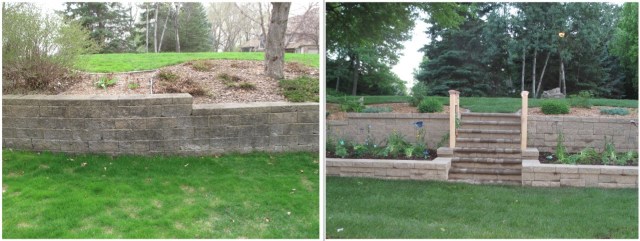
 Our neighborhood is called “The Woodlands” and, true to the name, has a lot of trees. Along with the trees come wildlife – squirrels, rabbits, deer and even a rafter of turkeys. Over the years, I have learned what plants I can and cannot plant to avoid the damage caused by these animals.
 Unfortunately, I did not like the way the nylons looked and wanted to find a better way to place the soap pieces. In my garden shed, I had some old copper pipe. I just needed to make or find something to add to the end of a pipe that could hold the soap. After much thought, I came up with the idea to add a copper “flower”.
 I purchased a rain chain made of copper lotus flowers, separated the chain into individual flowers, added a copper cap to the end of a 2 foot piece of pipe and soldered one flower to the cap. The other end of the pipe was hammered flat, the pipe was pushed into the dirt and a piece of soap (1/8 bar) was added to the center of the flower.


 The first one I made was a circular stone. After cutting the glass, I used contact paper to hold the glass pieces in place. To hold the contact paper in the mold, I used spray adhesive. After mixing and carefully pouring the stepping stone concrete, I let the mold cure for two days. Unmolding was rather difficult, but once I did get the concrete out, I was really pleased with the result.