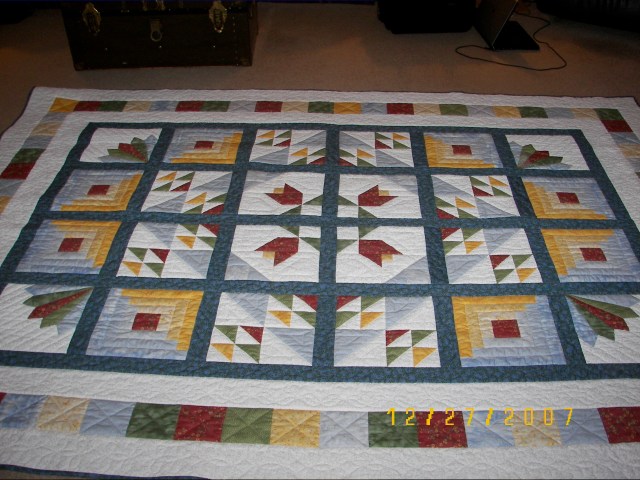
One of my readers recently asked about the quilt that is displayed on the left side of the banner of my blog. Somehow, I have not written about this quilt. Unfortunately, I have many projects that I have completed but then have neglected to write about. So, thanks to this reader for prompting me to make this posting.
My inspiration when designing this quilt was to use up two pieces of fabric that I had purchased on a clearance sale. In the picture, these are the purple and green florals. I had two yards of each of these prints.
The design included several types of Log Cabin blocks. The center star was made with asymmetrical diamond log cabin blocks. Focused on the acute angle of the diamond, these blocks were made with 1/2″ strips of beige and 1″ strips of various shades of teal (to highlight the teal flowers in the inspiration fabrics).
Around the center star are eight square rose log cabin blocks and eight more diamond log cabin blocks, these focused on the obtuse angle of the diamond.

The completed design included several interlocking strips and some additional diamond log cabin blocks around the center design.
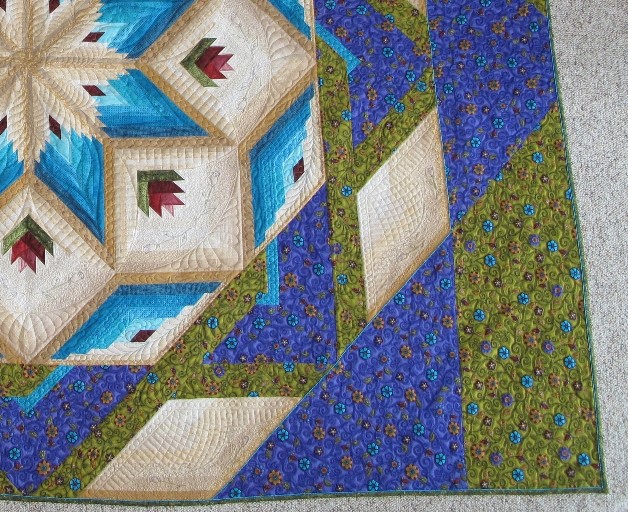
I then had lots of fun creating more design elements with my quilting, featuring some rose buds, feathers, chains of pearls, and various line designs.

This was a fun quilt to make and I like how it turned out.
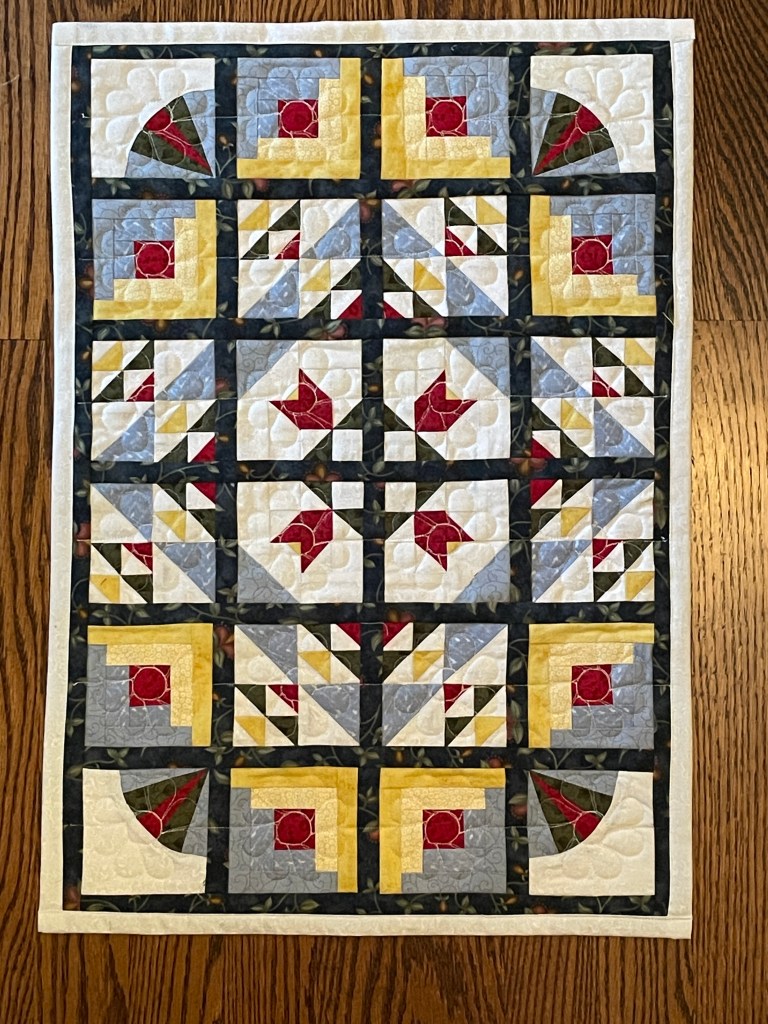
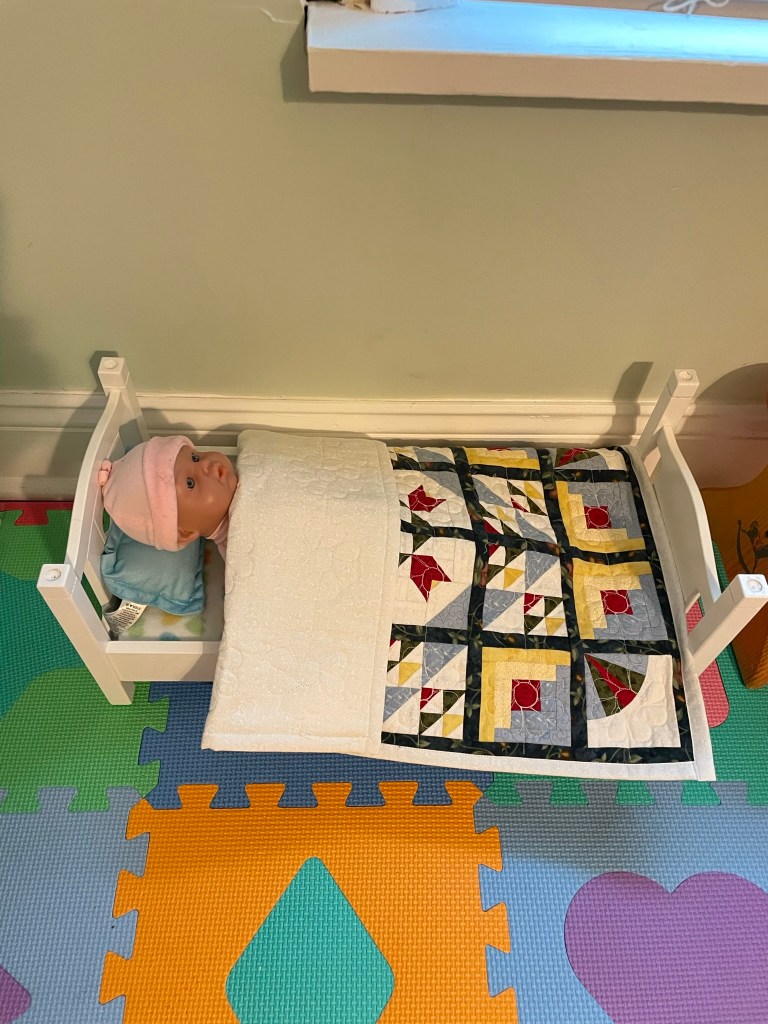
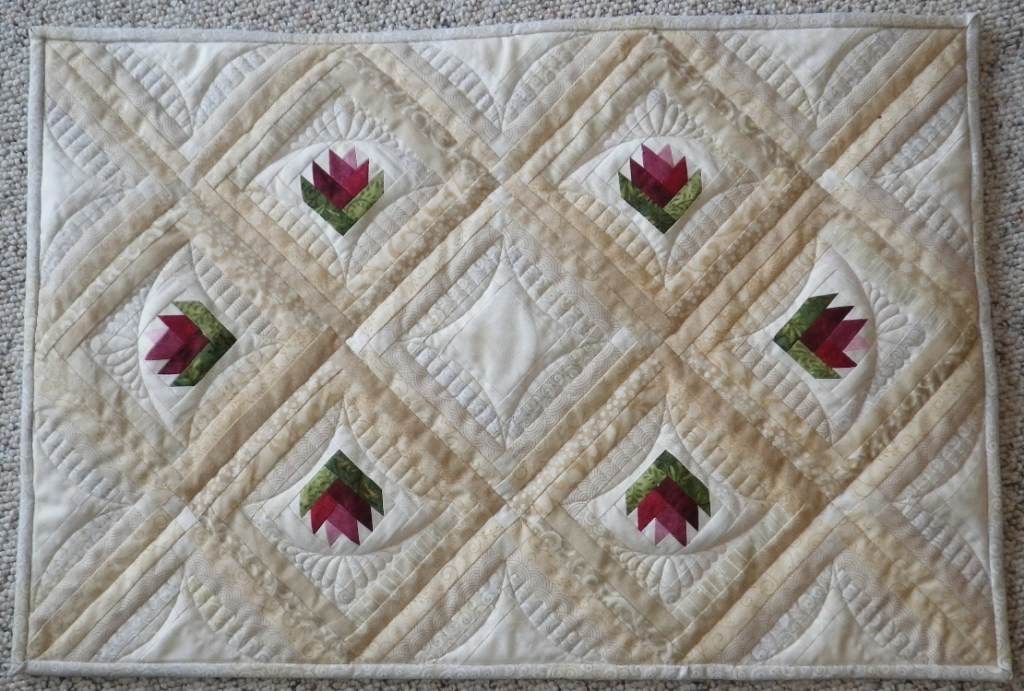
To match the quilt, I also made a doll quilt.

A matching pillow sham with rose log cabin mini blocks.
And, a paper pieced decorative throw pillow.