Quilted Coat and other State Fair Projects

A year ago, when one of my son’s was home for Thanksgiving, he showed me a picture of a quilted trench coat and asked if I could make something similar. The coat was made by a Japanese designer and would have cost nearly $2K to purchase.

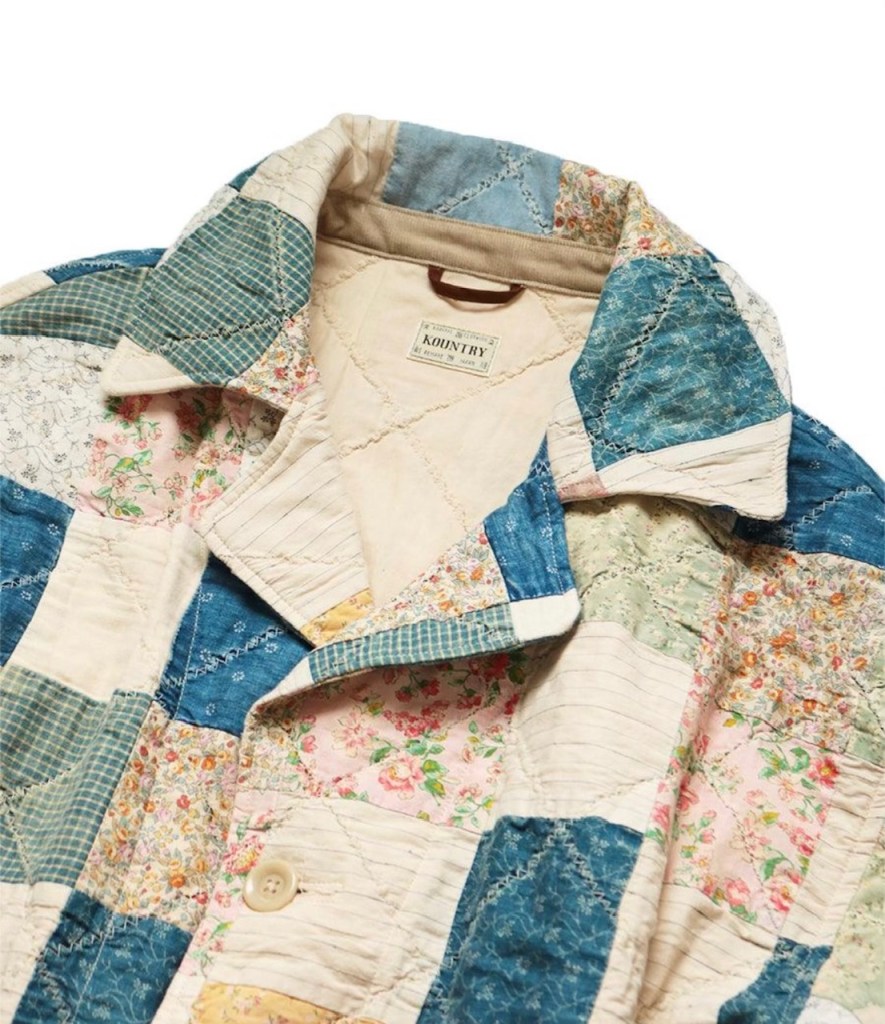
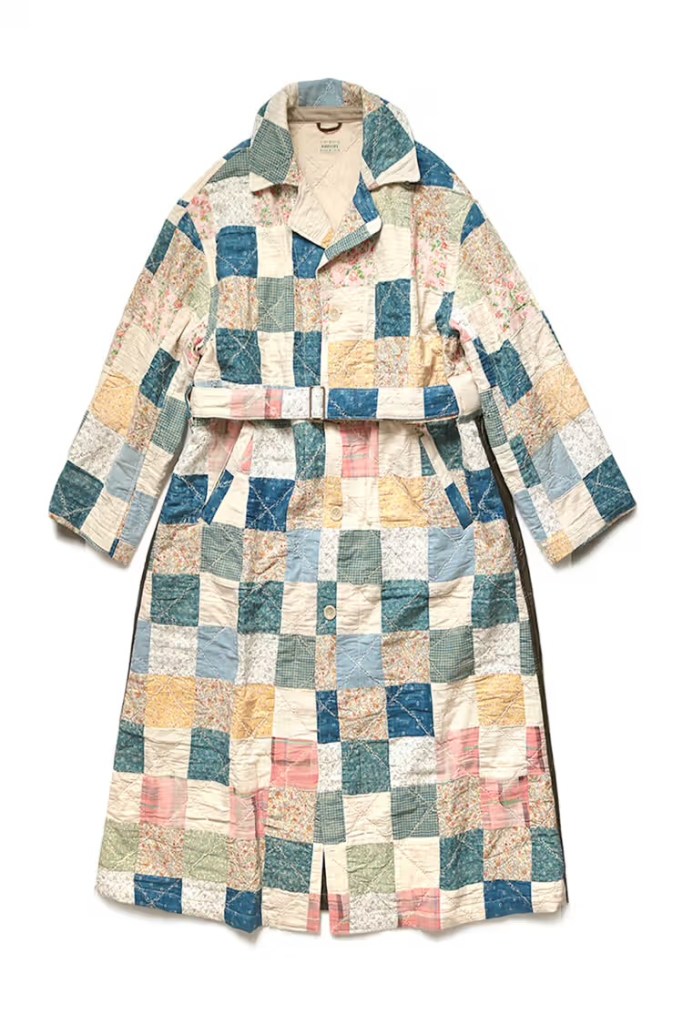
So, while he was home, we found a Burda pattern that he thought would best match how he wanted the trench coat to fit and quarter yard of several cotton fabrics as well as some lining fabric.

After taking his measurements, I used some scrap fabric to make a mock up of the coat for him to try on when he came home at Christmas – no lining, no pockets, just the basic coat.

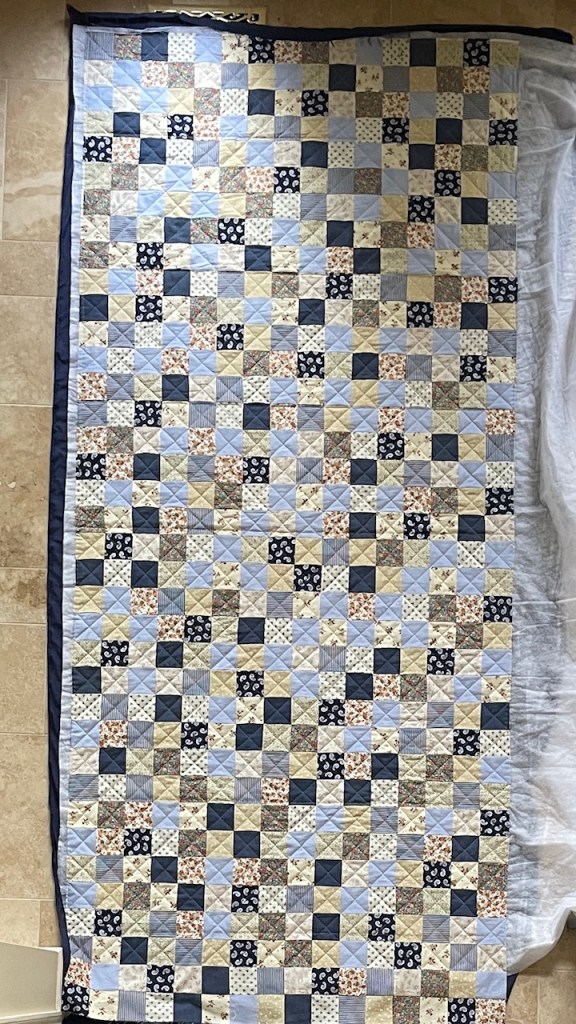
With some adjustments to the pattern, I got to work. This quilted part included 3″ squares arranged alternating print fabric with a shade of blue, 16 squares x 37 squares, quilted in a corner to corner straight line pattern.

The coat was then cut out and sewn together, using my serger machine on the seams to keep them from raveling.

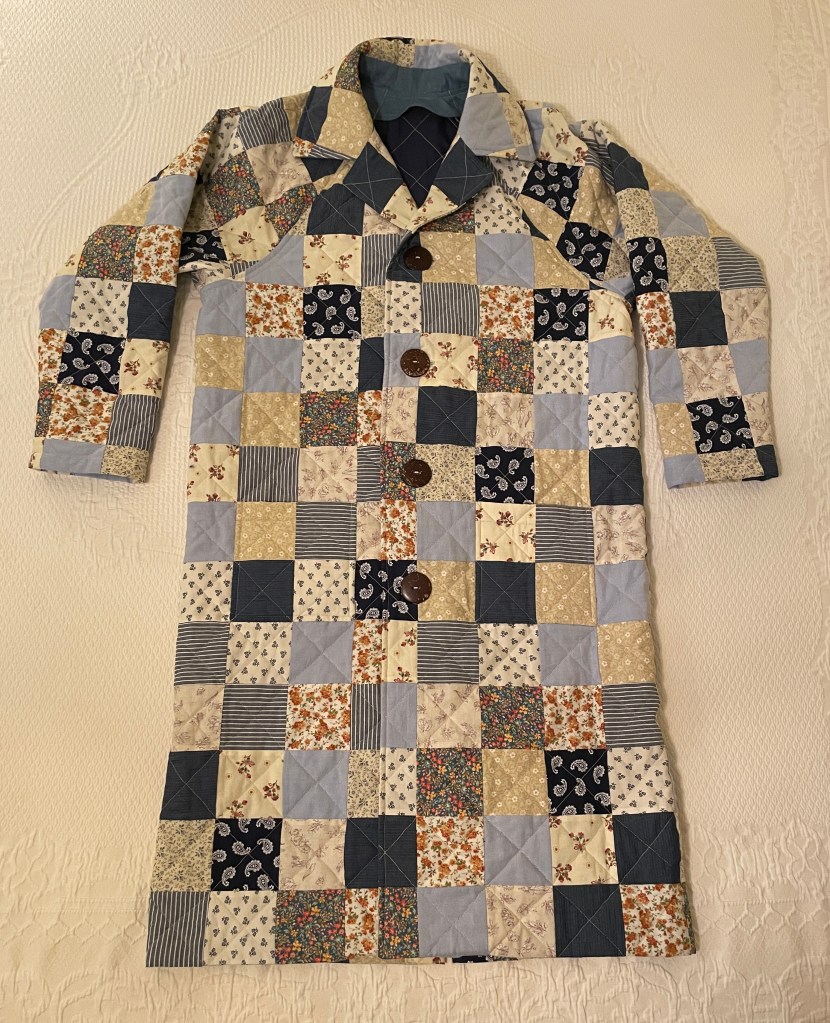
I even added pockets that were matched to the patchwork so that they are somewhat hidden on the front of the coat.

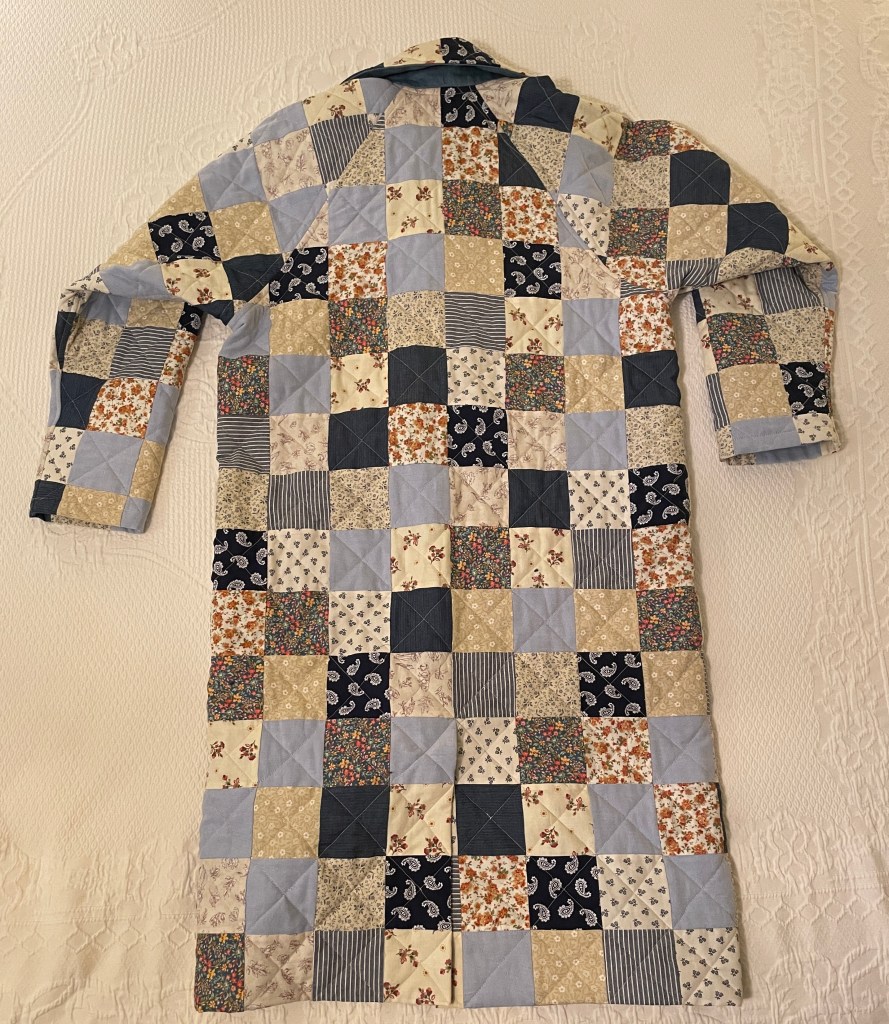
The coat turned out nice and I entered in the MN State Fair this past August, where it received a blue ribbon and medallion.

I kept the ribbon, but the coat was shipped to New York for my son to enjoy when the weather dips this winter.

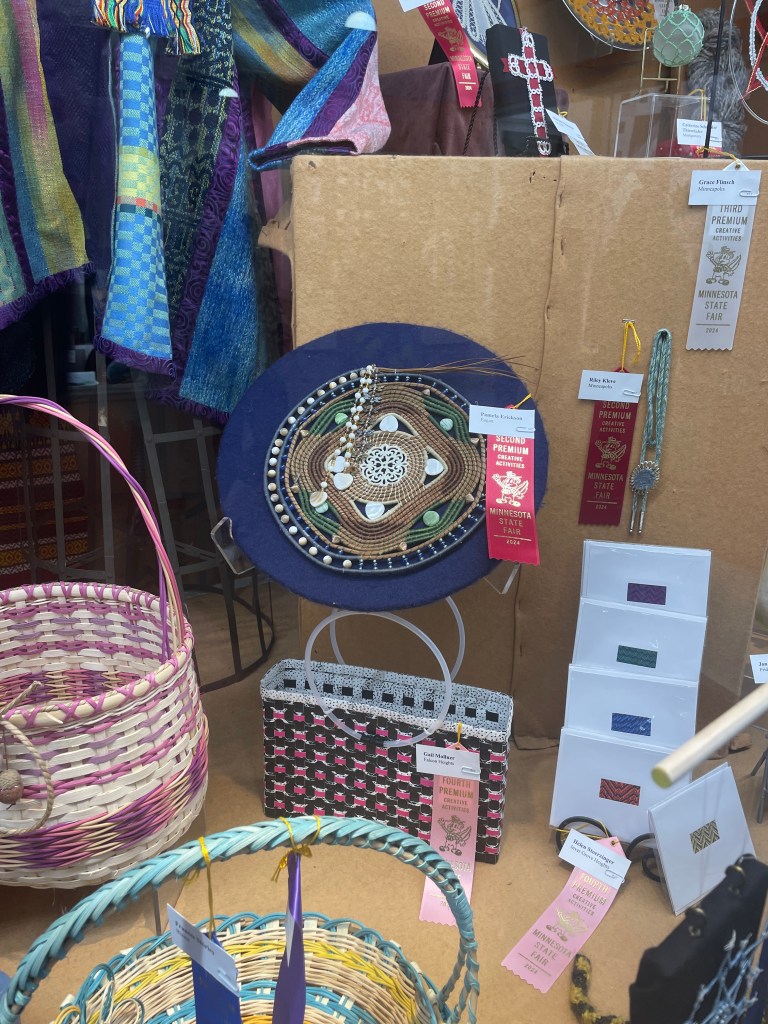
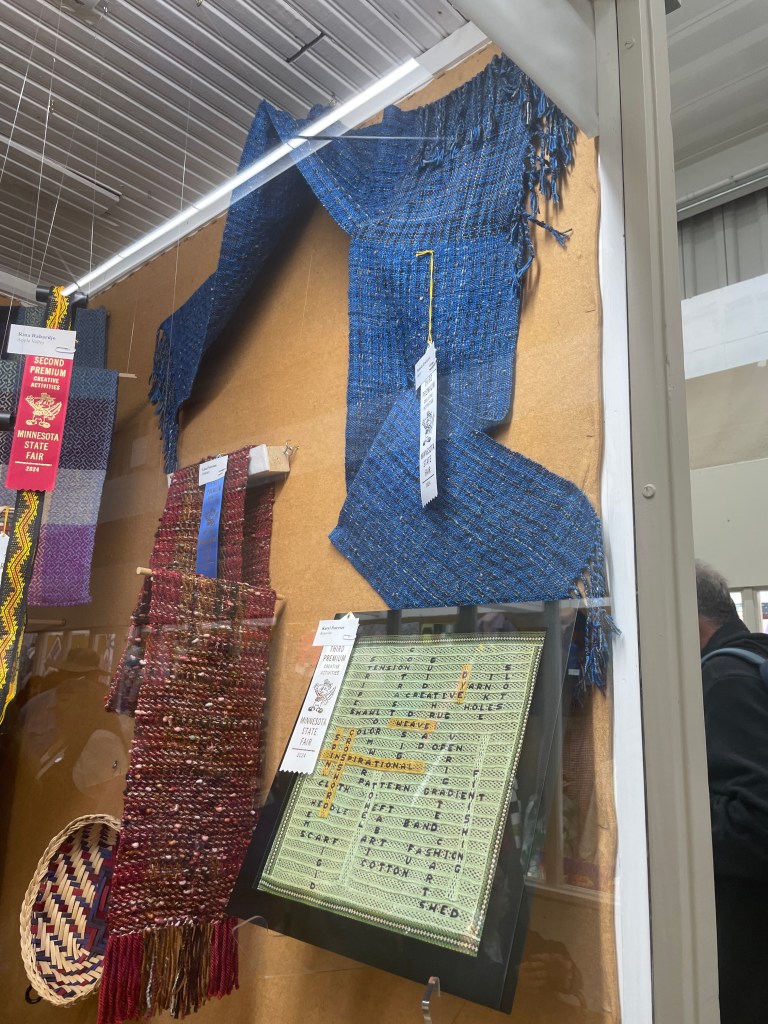
I also entered a few other items in the MN State Fair this year. I received a second place ribbon for a Pine Needle Woven Dream Catcher, a third place ribbon for a Woven V Shawl and a fourth place ribbon for a Crocheted Child’s Jumper.

Fused Glass Fall Decor’

Yes, its been a while since I posted. I’ve been busy making things, but always find something else to do besides writing about my projects. And, since the person I started this blog for, my mother, is no longer able to read the blog, I have less incentive to post things.

For those that follow my blog, I apologize. Hopefully, I will get better at posting. But, I’m not making any promises.

This morning as I walked past my dining room, I felt a twinge of guilt for not posting about the fall glass art that I made over a year ago. If you recall, last winter I posted about some snow themed pieces I made for my dining room table. And, on May Day, I posted about some spring flower pieces. So, here is the update about the fall decor’ that I have made.

Leaf Bowl:

I started out by cutting and contour fusing several shapes of leaves in a variety of colors. I also made a few acorns. Please disregard the sweater and jewelry sets. At the time, I had space on the kiln shelf and so I added a few other items to this run of the kiln.

The leaves were then positioned to form a plate and tack fused together. When I placed the project in my slumping mold, I realized that the size was going to be smaller than I wanted.

So, I contour fused a few more leaves and tack fused them together.

And then slumped into the mold.

Leaf Plates and Wood Turned Apples:

For additional decorations on the table, I pulled out one of the fall dessert plates I made a few years ago. Unfortunately, at the time, I did not take any pictures of how I made the set of four plates. In summary, leaves were cut out of different colors of glass or frit stenciled onto the base. Clear coarse frit and fine frit in a mix of greens was placed around the leaves and full fused. The plates were then trimmed to a square shape and capped with 2 mm clear glass (to make them food safe) and slumped into a dish shape.

I also added a leaf plate made with irridized glass and some wood turned apples that I purchased from a local artist at a craft fair I participated in last winter.

The combination of art pieces make for a lovely table display.