
You have probably seen adult coloring books in stores over the past few years. Meant as a way to unwind from daily stress, these books can take an adult back to their childhood days of coloring.
Since my crafts are my way to relax at the end of a day, I have not purchased any of these coloring books. I have however, looked at the books in stores. The pictures are complex and do provide great inspiration for quilting patterns and applique designs.
Last summer, I paged through one of these coloring books with trees. Each design featured a tree with unique patterns. Some of the designs had animals in the trees – owls, birds and even cats. One day I may make one of these, perhaps a tree with many different owls appliqued on the branches.
Directly next to the display of coloring books, was a different display featuring paper craft ideas. One idea showed strips of wrapping paper cut and glued horizontally in the background, and featured cutouts of black or white paper animals, flowers or trees as the main object. Sorry, but I did not think to take a picture of the display. But, it was a really nice idea.
This idea stuck with me, and besides thinking about making some greeting cards with the idea, I realized that a quilt could be made with a similar design. At the time I first saw the display, my paper craft supplies were buried in the back of my craft storage closet, so the cards would need to wait. But, I did have lots of fabric that I could utilize for a quilt.
So, I set out to work on my new design. Many of my batik scraps were blue and green, which would work well for the background of a tree.


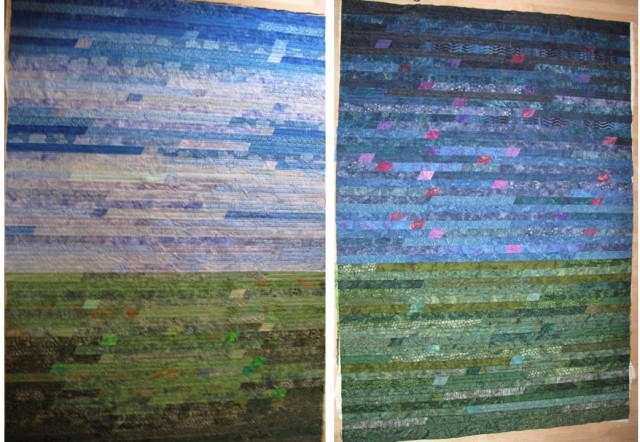
Sorting through the fabrics, I couldn’t decide whether I wanted a the colors to depict a tree during the daytime, the nighttime, or an unsorted scrappy look. After playing around with a graphic program, I ruled out the scrappy look because it was too chaotic for my liking. But, I simply just couldn’t decide which of the other two I preferred. So, I thought I would try something new and make a two sided quilt – one side with bright daytime colors, the other side with darker nighttime colors. After cutting 2 1/2″ strips, the fabrics were sewn together with some shorter pieces inserted periodically to add some variation to the background.
Since I had decided to try to make the applique exactly reversible, the quilting the front and back together would need to be done next. When loading the pieced backgrounds onto my long arm machine, I realized that making a completely reversible quilt was going to be rather difficult.
This year, in particular, my ideas for quilts have been easy in the planning stages, but more challenging when actually sewing. This quilt was no exception. On paper, it looked straightforward – sew the strips, load it on my quilting frame and quilt away. Right! Actually, wrong. Lining up so many seams on the front and the back of the quilt prior to machine quilting was definitely not easy. I discovered that even though my piecing was exact, the number and location of the seams impacted the stretch and movement of the two pieces of fabric. I ended up having to pin along each seam of the layers to try to get my quilting to look right on both the front and the back of the quilt. 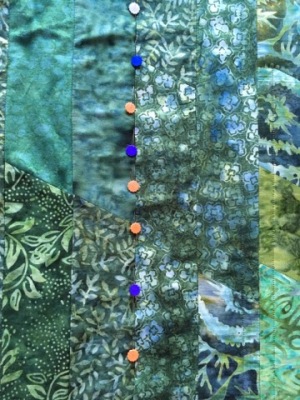
Once the backgrounds was quilted, I decided to get my least favorite part of any quilt (the binding) done before I would start work on the appliqued tree. More on that in my next posting.
Since moving into my newer sewing room, my paper craft supplies are now accessible, so cards can once again be made. That project will be included in a future post as well.

the result is fantastic
LikeLike
Thanks
LikeLike
What a beautiful selection of batiks! I can totally see this as the background for a landscape. Exciting!!❤️❤️
LikeLike
Thanks Tracy. Batiks are my favorite fabrics.
LikeLike