Each year, I enjoy going the the Minnesota State Fair, viewing the artistry of the creative activities entries, as well as entering a couple quilts in the competition. In 2020, I was disappointed when the fair was cancelled.
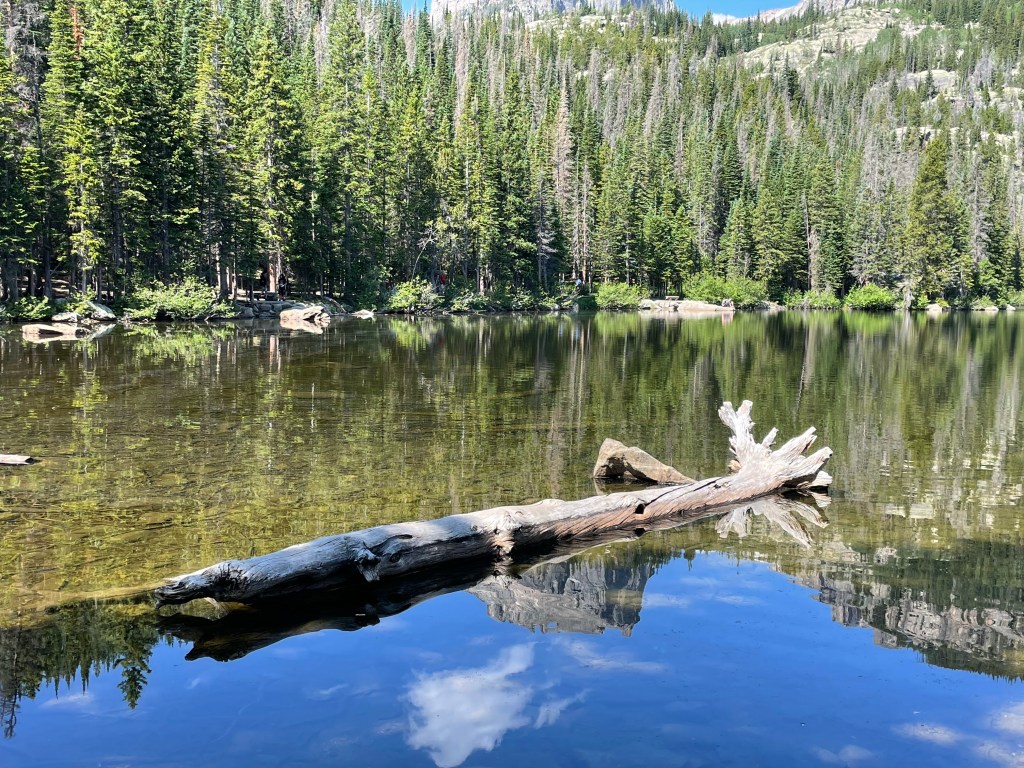
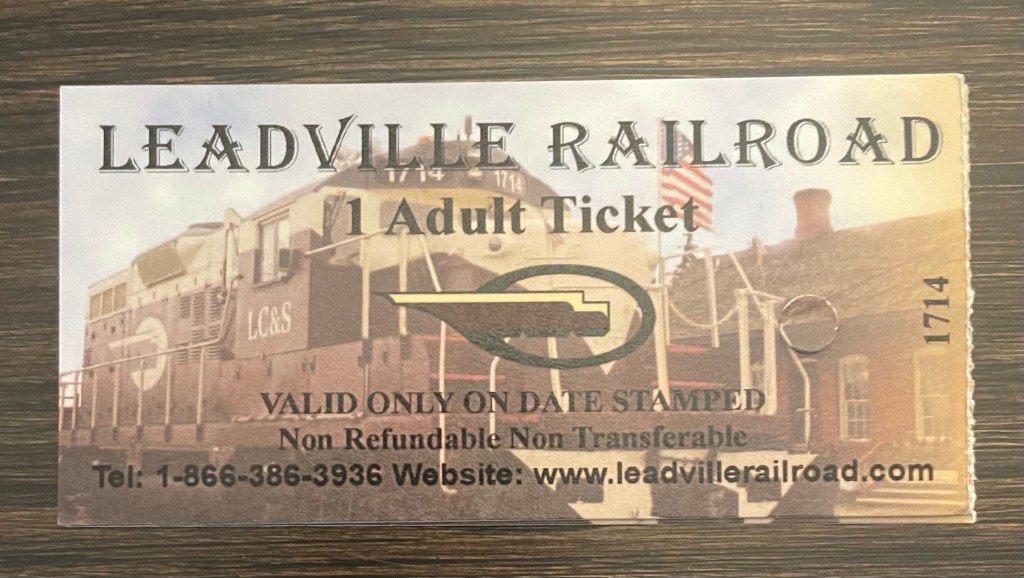
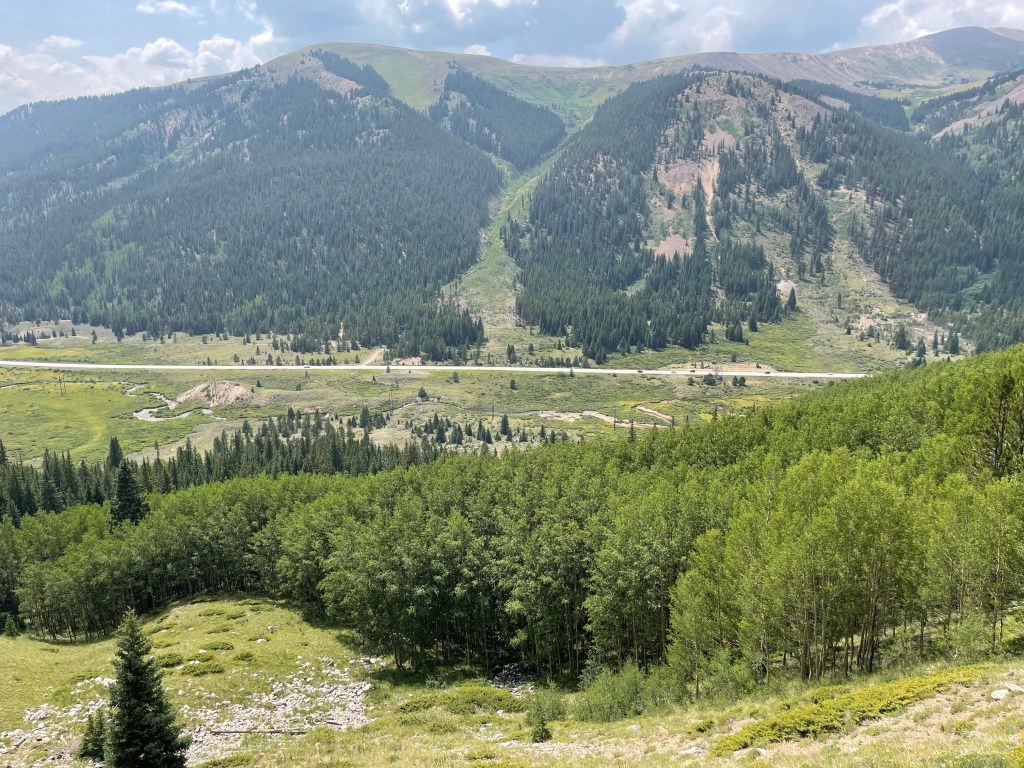
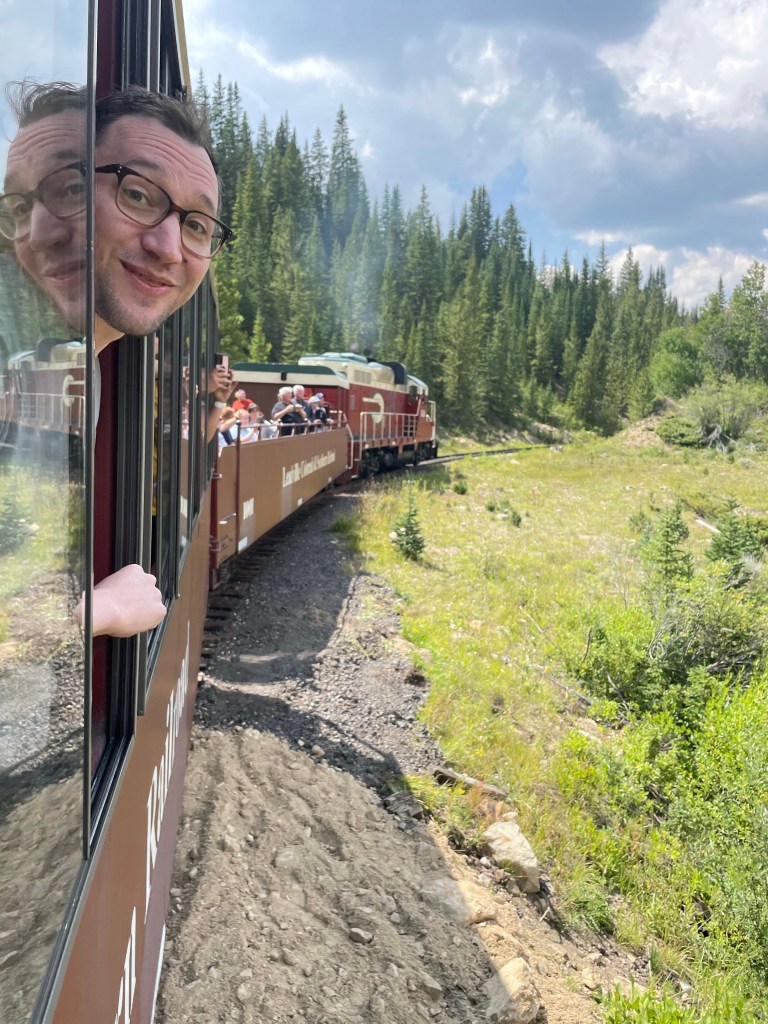
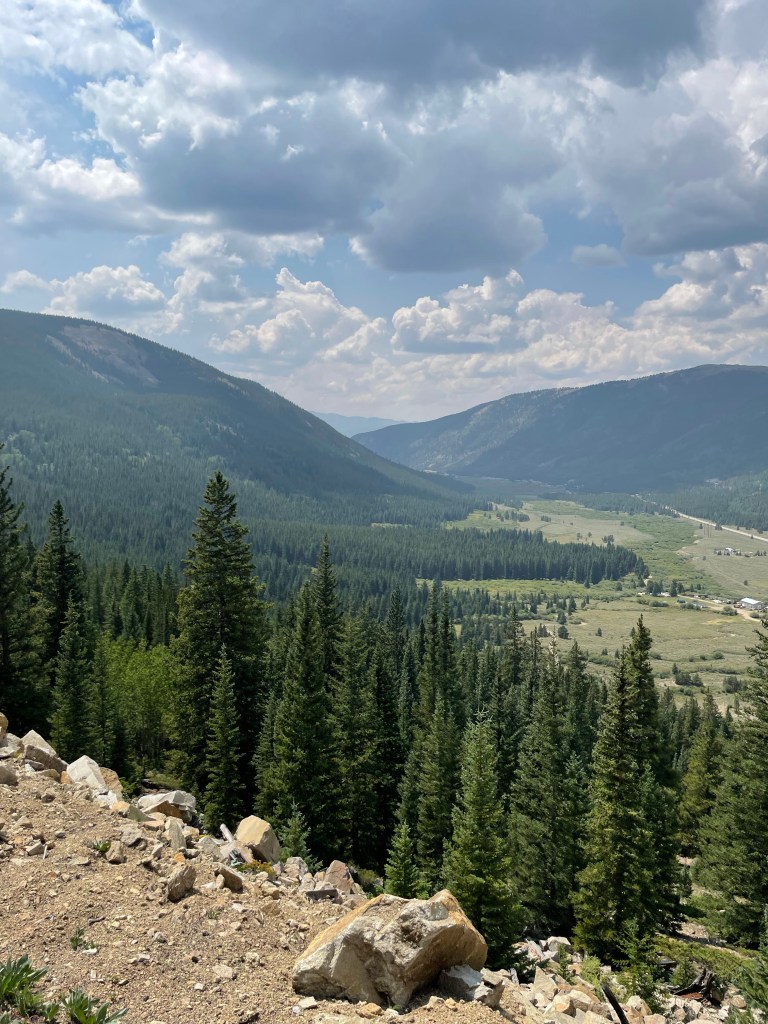
This year, I had originally thought that I would not be able to enter any quilts in the competition. Having a trip to Colorado scheduled during the drop off days for the creative activities, I was at first unsure how I would be able to enter. About a week prior to our trip, I learned that I could drop off entries at the fair office during early drop off days before leaving on our trip.
After entering, I was still hesitant to attend the fair due to the increase in Covid cases. However, with the attendance numbers on previous days being down, I decided to go this morning. Being there from 8 to 11am, the number of people that were there was pretty small. The weather was cool and it was an enjoyable morning.
Things that I did not do:
- Utilize a Park & Ride bus – to avoid the crowds of people on the buses, I left home early morning and was able to find parking in a lots across the street from one of the fair entrances.
- Eat Fair Food – I usually avoid the fair food, so this was nothing new for me.
- Ride any amusement in the Mighty Midway
- Do any shopping in the Market areas.
Things that I did do:
- Wore a mask and avoided crowds
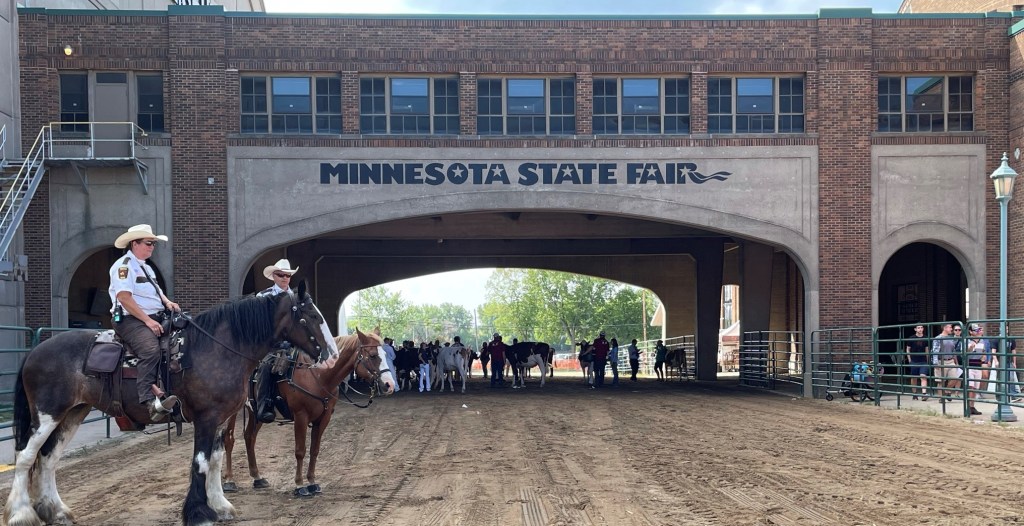
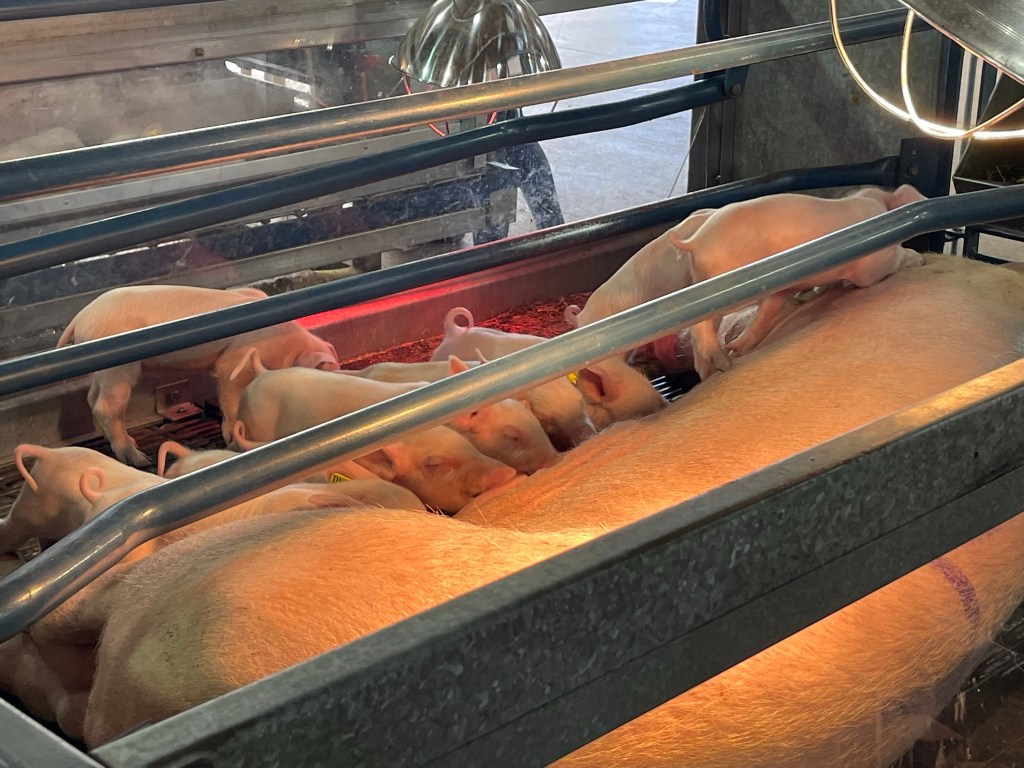
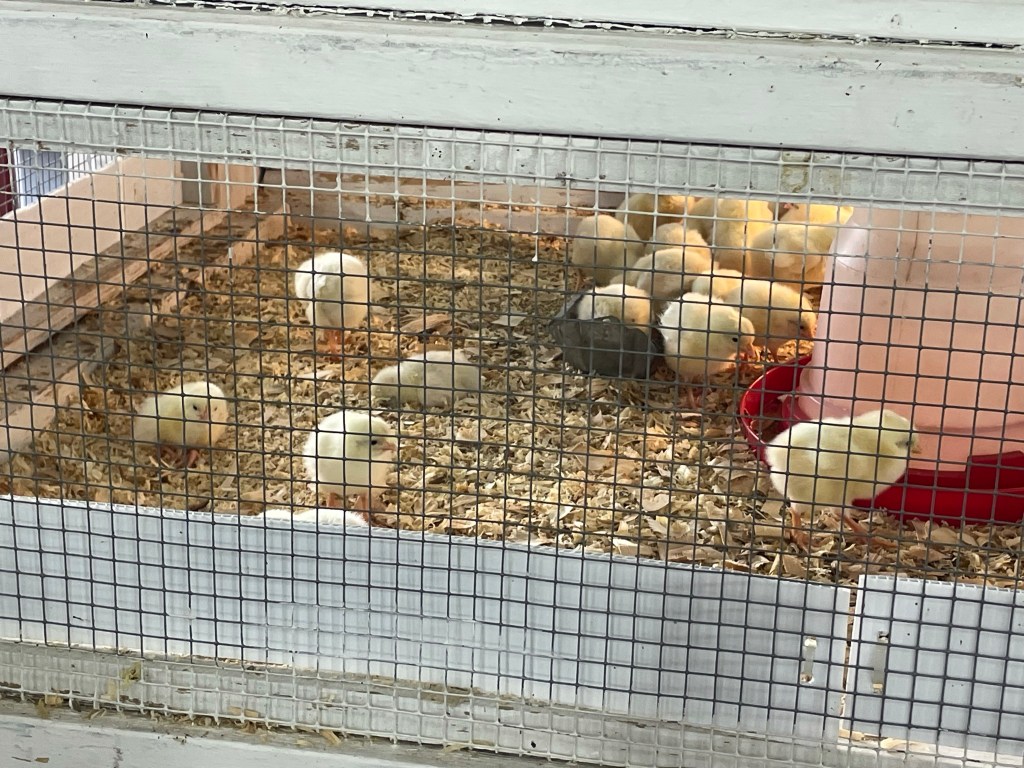
- Arriving early, I walked through several of the animal and 4H exhibits prior to the other buildings opening
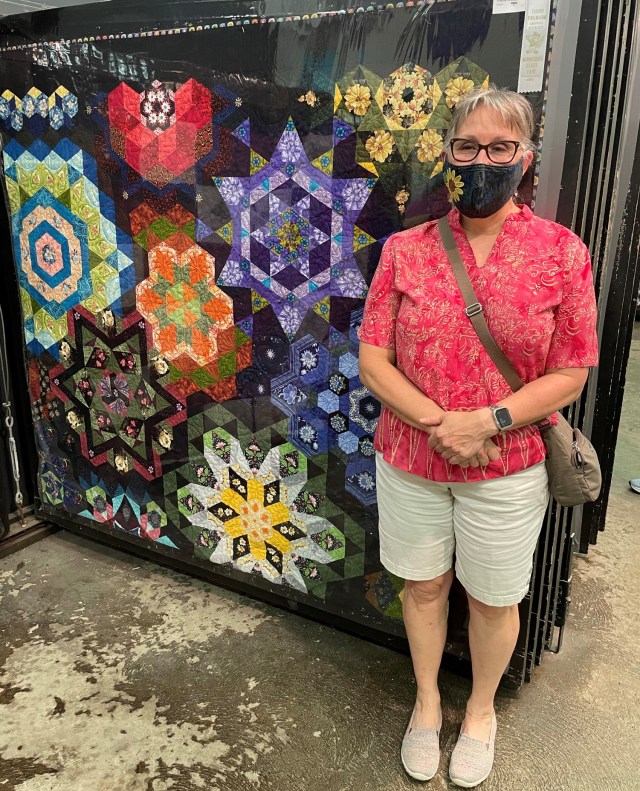
- Enjoyed the artistry in the Creative Activities building, including quilting, weaving, crochet and woodworking
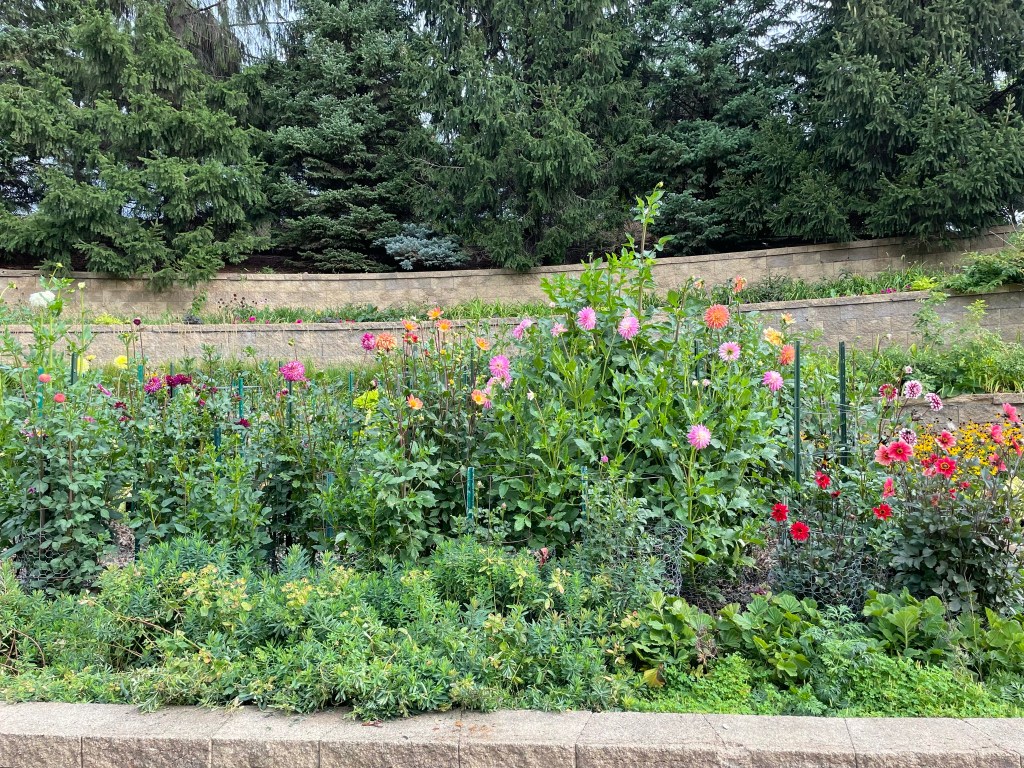
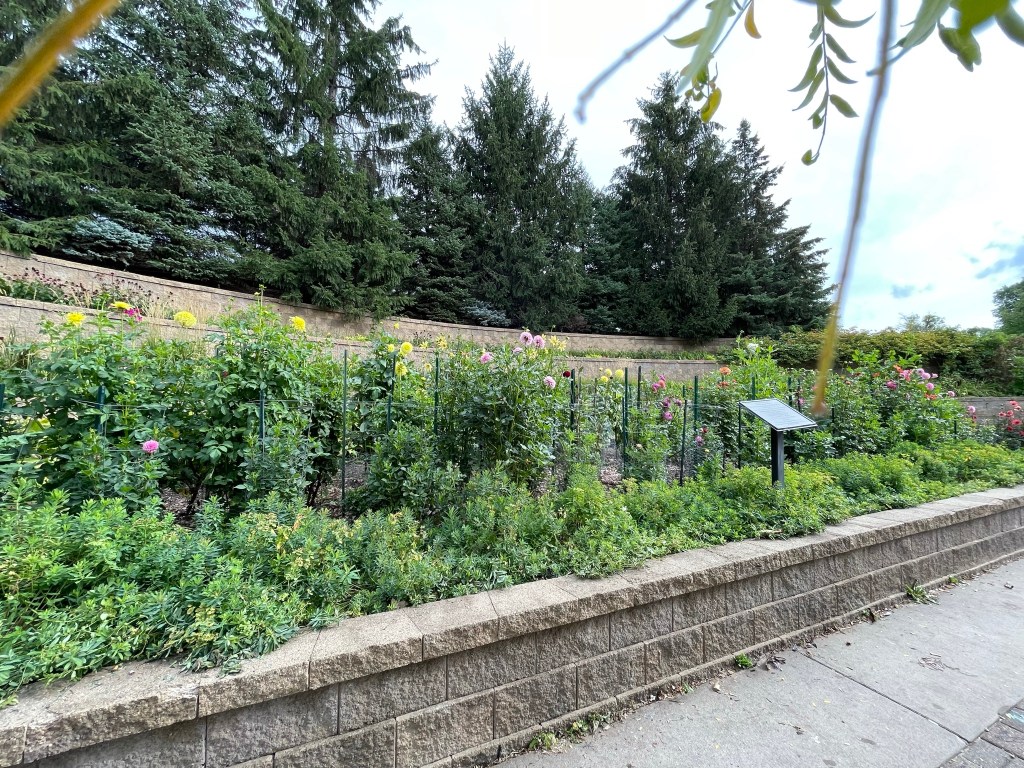
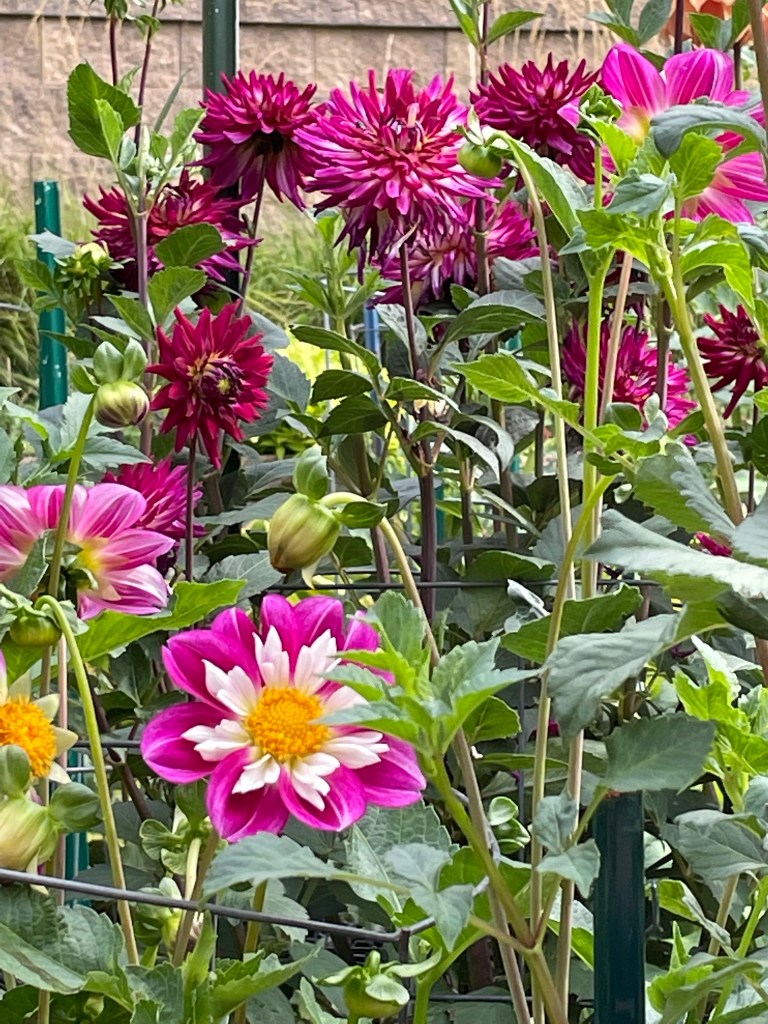
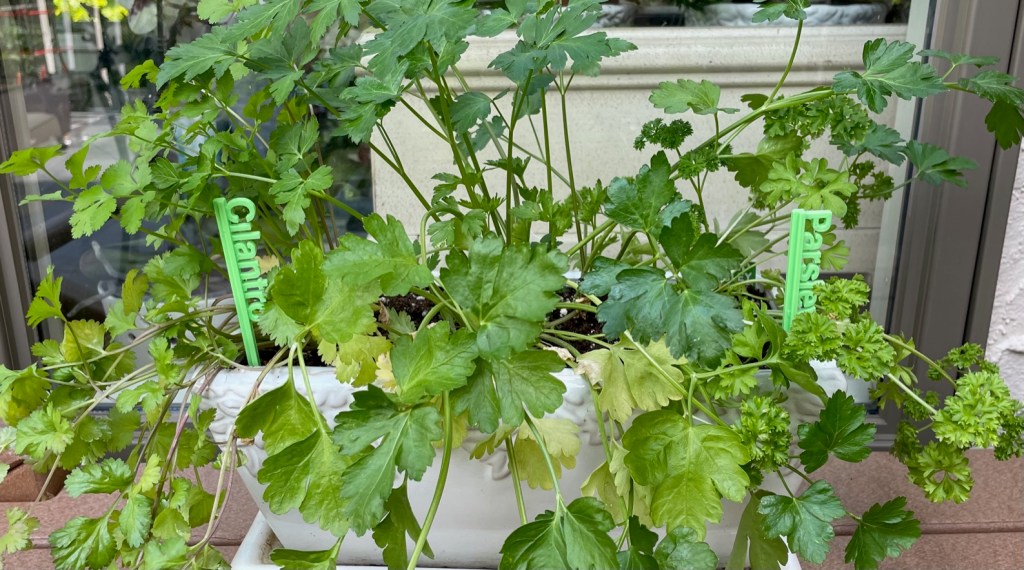
- Enjoyed the flora of the fair, a much overlooked aspect of the fairgrounds
Animals:

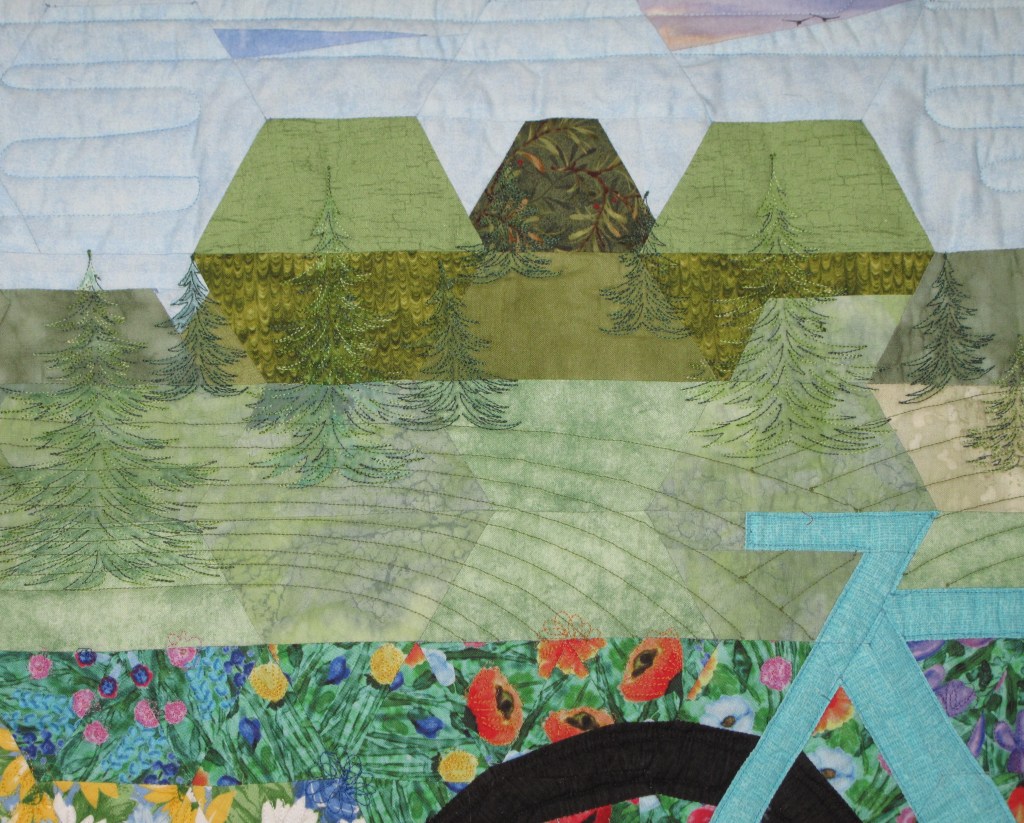
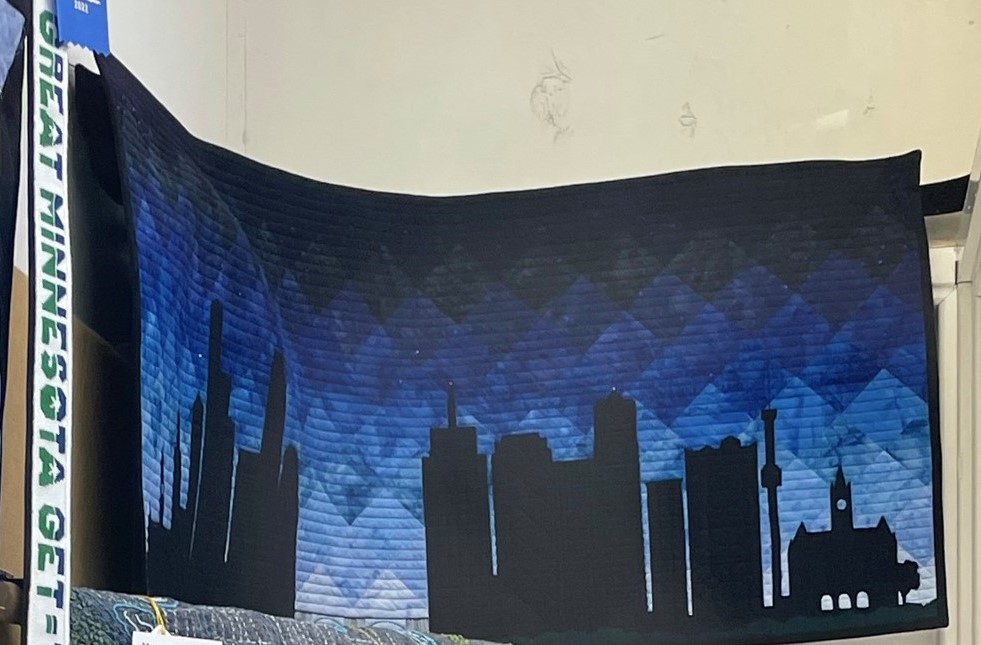
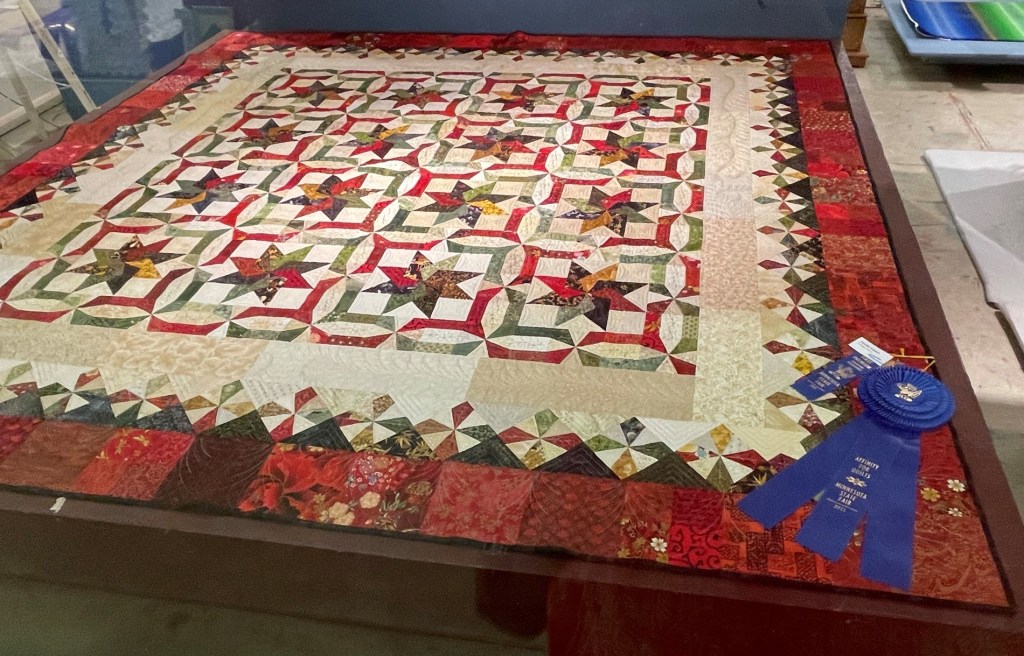
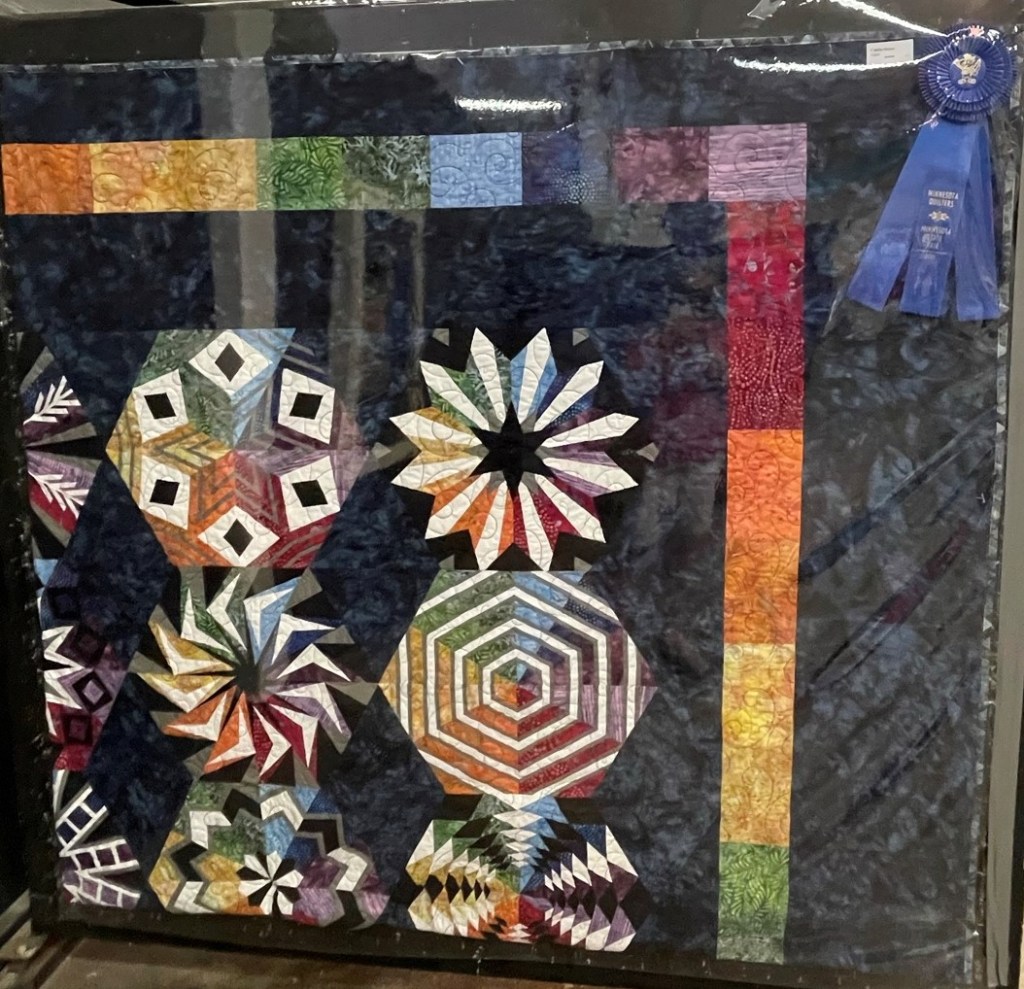
Creative Activities – My entries:

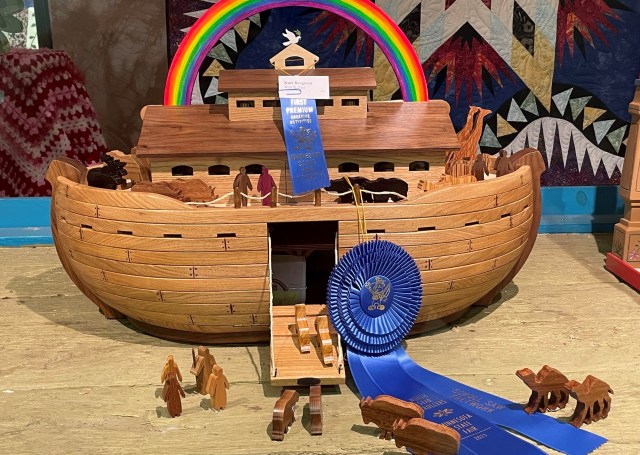
Creative Activities – Noah’s Ark: My absolute favorite of all of the creative activities entries that I saw today!
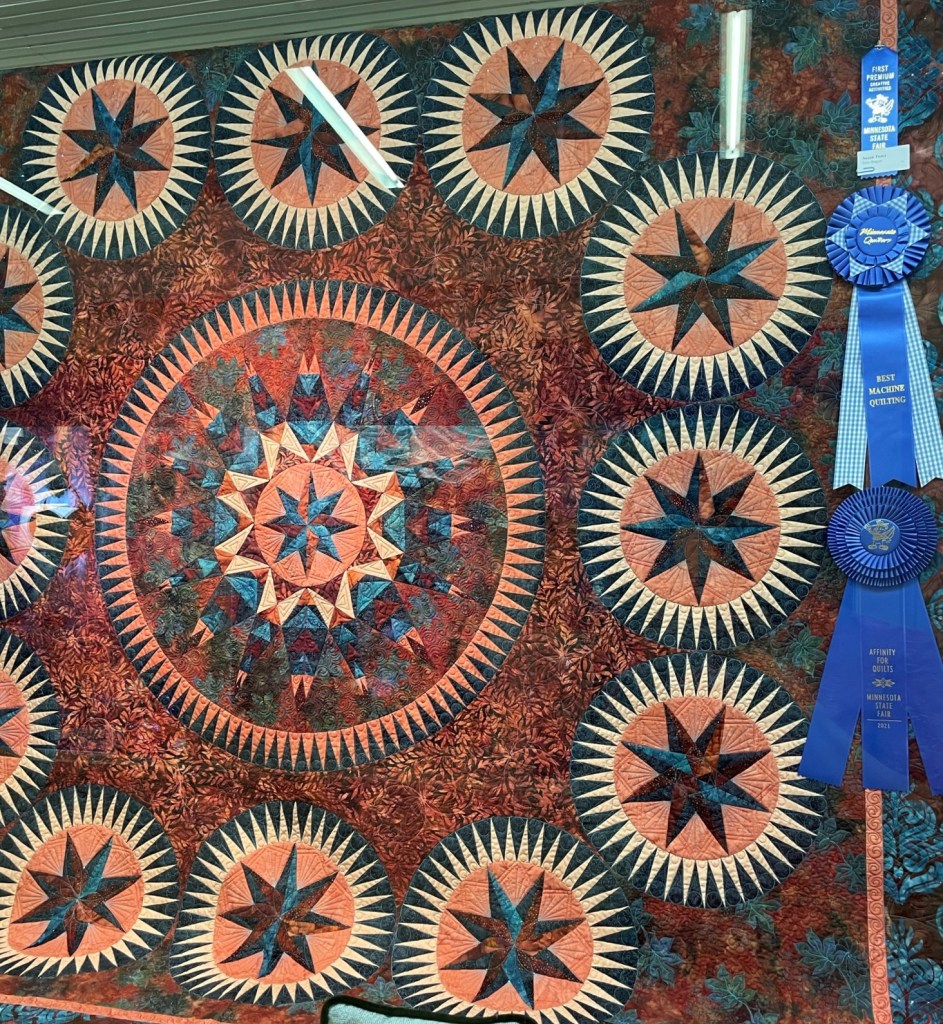
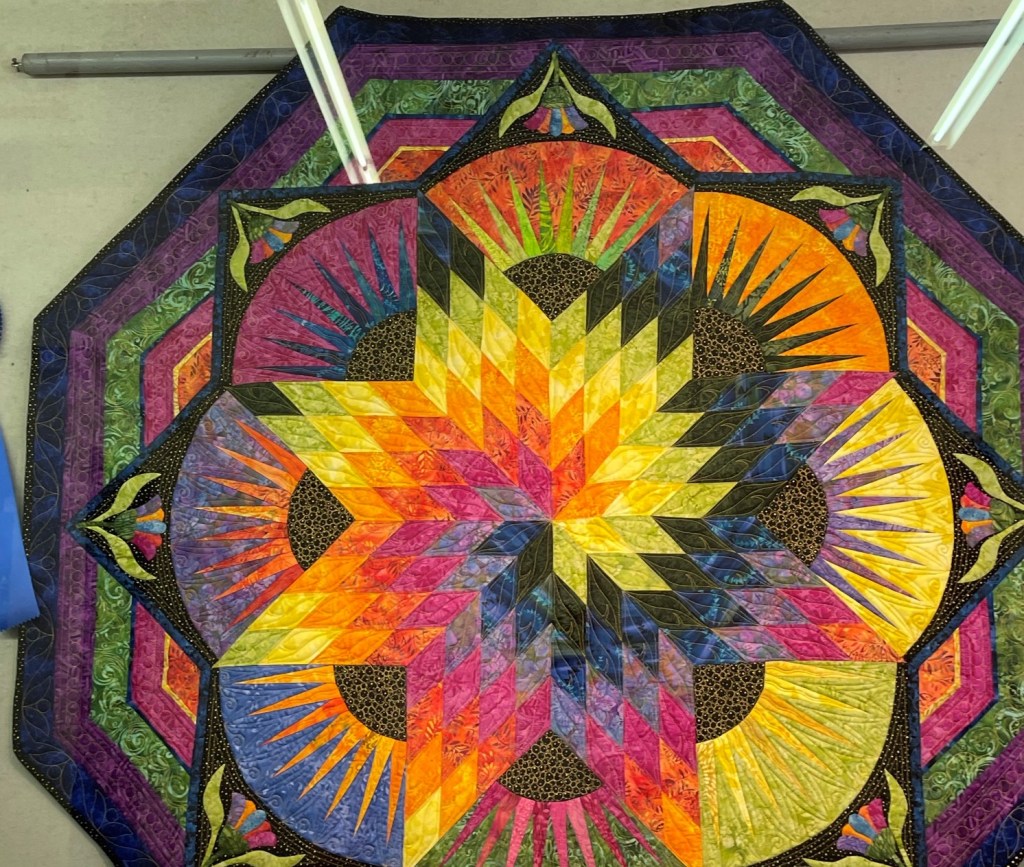
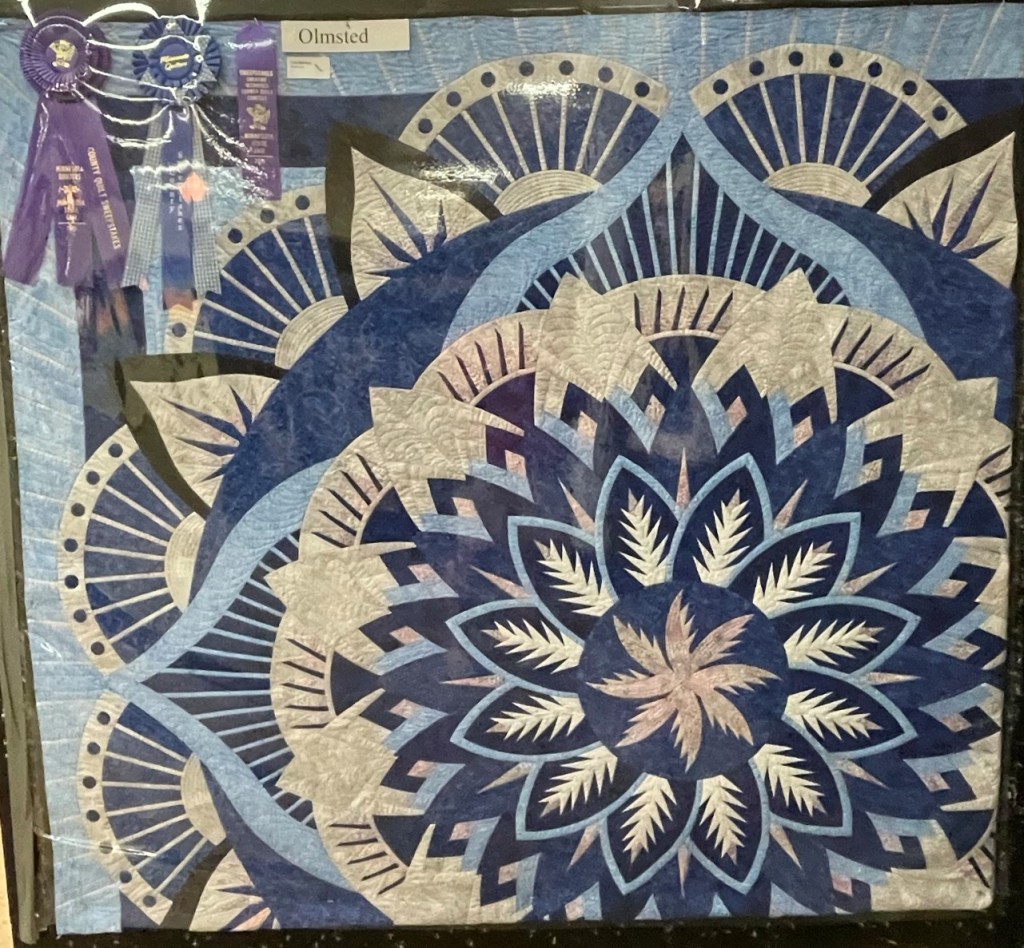
Creative Activities – Other Quilting:


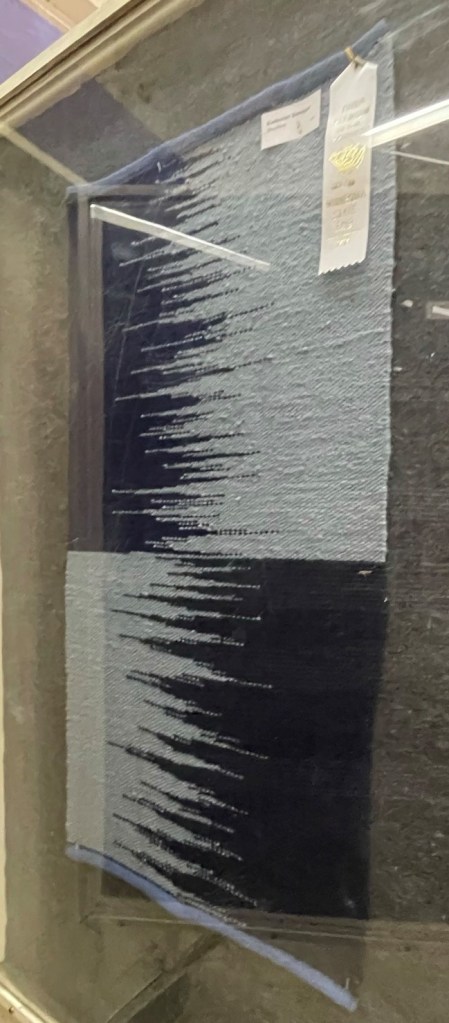
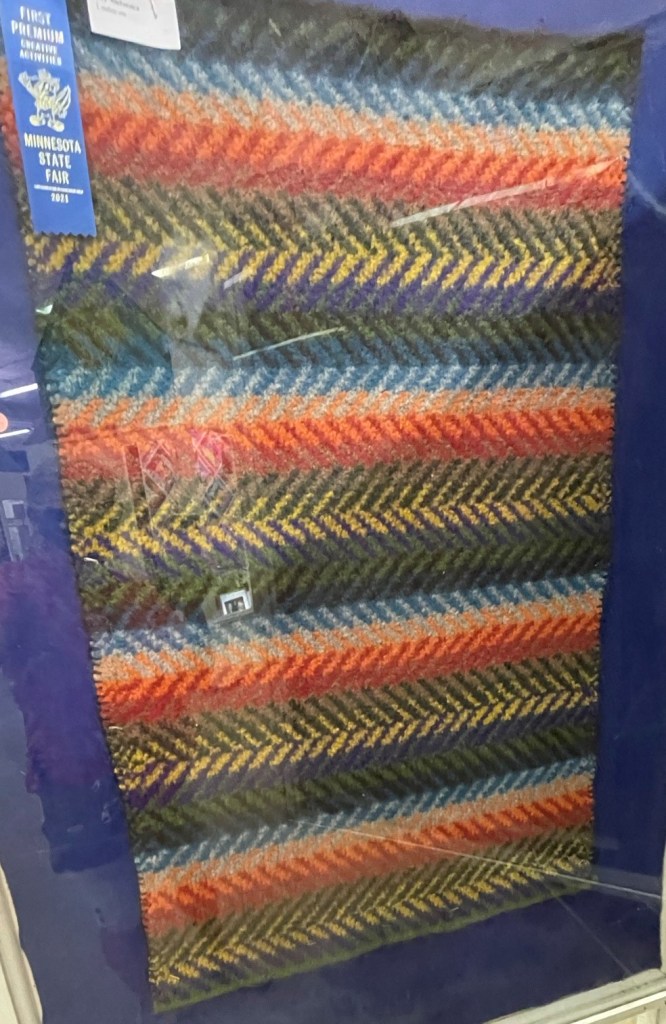
Creative Activities – Weaving:

Creative Activities – Others:


Butter Sculptures of the Fair Princesses:


Flora of the State Fair: