Having several glass landscape design ideas, my latest glass projects were made for a bathroom in our house.
My first landscape was designed to use some of the beautiful Opal Art glass that I had purchased on my trip back from South Carolina in February. This type of glass is absolutely lovely with its rich colors swirled together.
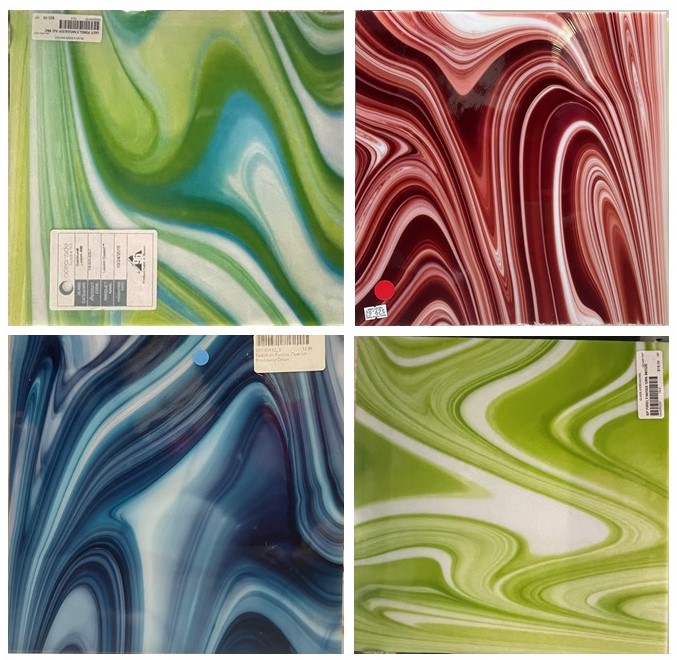
To design the landscape, I took photos of the sheets of glass, printed them, cut out some of the curves to depict mountains and taped the pieces together to figure out what worked best. I was really excited about my first design.
Each of the sections of glass were carefully cut and then full fused to create the background.


Unfortunately, when I opened the kiln the next day, I was extremely disappointed – the glass had large bubbles in the surface. Further testing of the kiln shelf that I had recently purchased showed that the shelf had micro defects in the surface that caused air to be trapped thus creating these large bubbles. Subsequent tests of the kiln shelf resulted in bubbles in the exact same spots. I’m still working with the manufacturer to try to get the shelf replace. I salvaged the bubbled glass for some pot melts and drip melts that I will share in a later blog post.

Using an older shelf, I designed and fused another landscape. I did simplify the design when cutting the glass. Luckily no bubbles developed this time!!


After full fusing the background, I added details, murrini, frit, etc and contour fused the project. The result turned out really well.

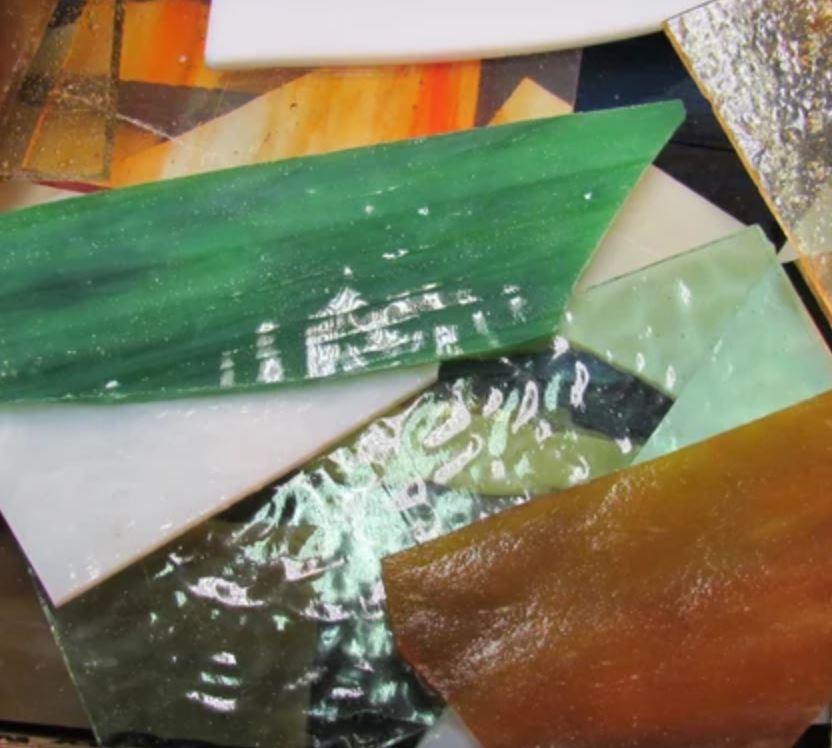
The second landscape I made was more of a floral scene rather than a landscape. For this piece of wall art, I used scrap strips of green glass full fused to create an interesting background. Onto this, I tacked some murrini and several practice pieces of lamp work glass (leaves and flowers) from a class I had taken a few years ago. I also included some freeze and fuse leaves and butterflies and some custom cut flowers.

The result in a playful, colorful bunch of glass flowers.

The third piece of glass art was a trial at making a pattern bar. For this trial, I layered glass frit and scraps in a pattern trying to replicate a tree. After full fusing at 1475 degrees, I sliced the resulting bar into 1/4″ sections. Two sections placed opposite one another gave somewhat of a tree appearance. While not great, this was a successful trial run and I will be trying more pattern bars in the future.


To enhance the look of the tree, I added some additional green frit and full fused again.

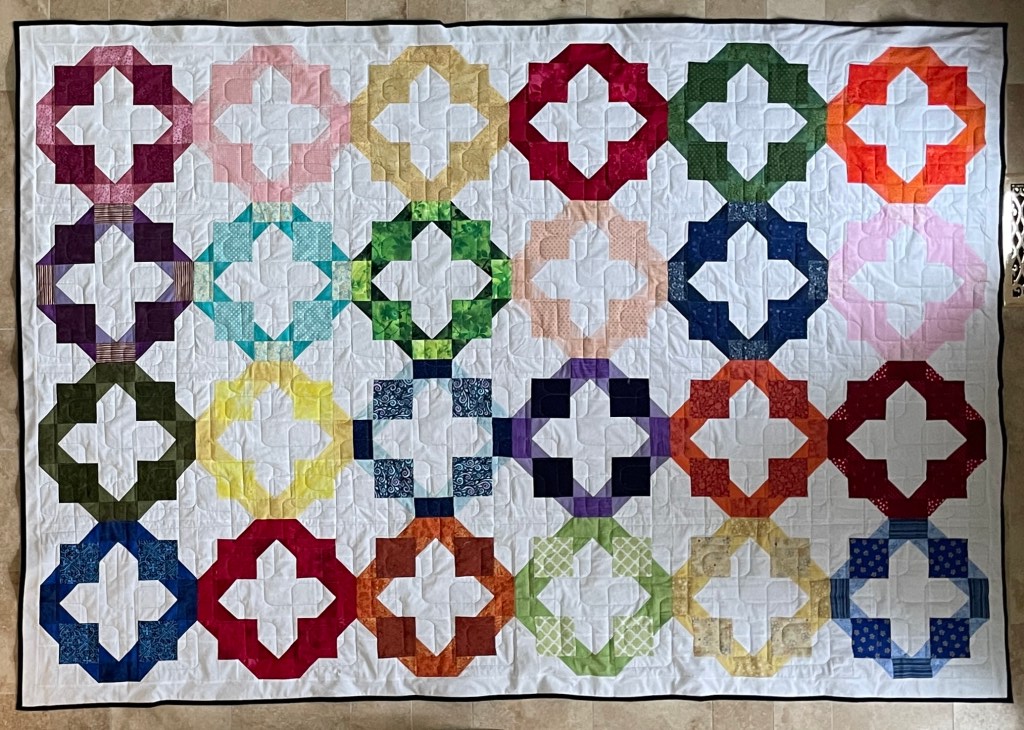
My final landscape was actually two panels. While visiting my mother in the spring, I saw a wall quilt which depicted farm fields with a city skyline in the background. At the time, I thought the idea would work well for a glass art project. To create the background, I cut and full fused several different pieces of glass to make the “patchwork” fields.

To embellish my idea, I thought it might be fun to include some buildings of the Minneapolis and St. Paul skylines. Hopefully, if you know the Twin Cities, you can recognize the buildings that I have included. These were contour fused to each panel.

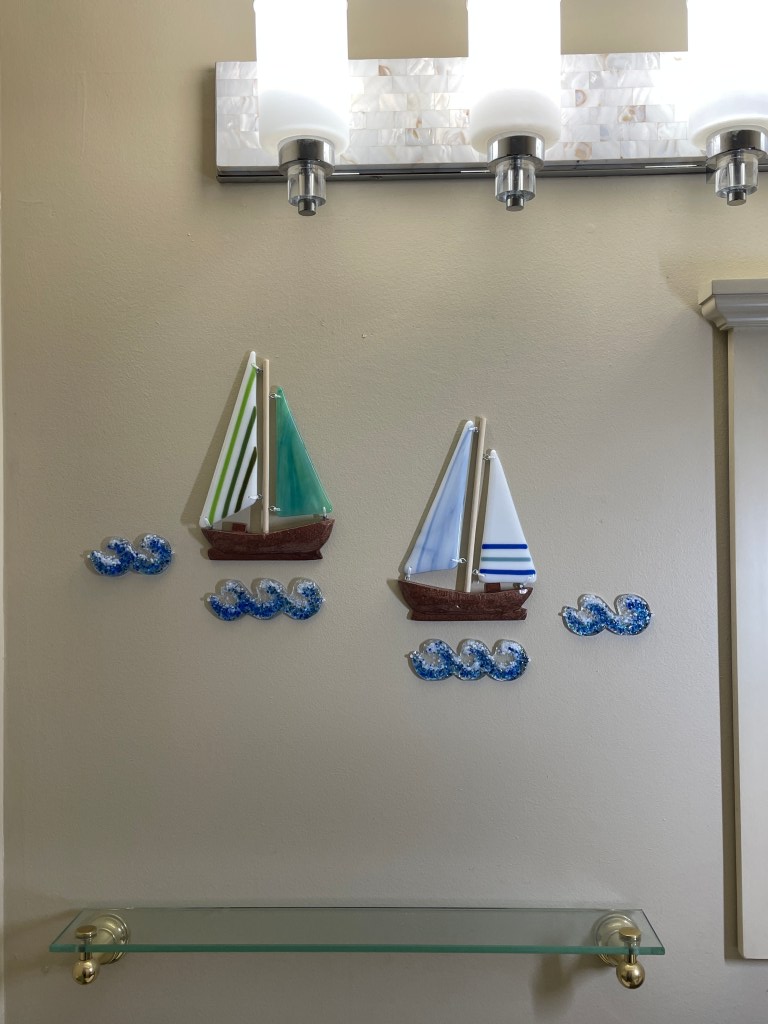
The new art is mounted on the wall in one of my bathrooms and adds a bright pop of color to the room.